Well, I can’t say that I didn’t already finish LBS2 like 2 weeks ago. I did, in fact, and it’s been around the block a few times already. But sadly, since then, there’s been no snow in the weather forecast. Meaningful amounts, anyway – a few flurries fell here and there last week, but what good is that? Do I really need to take this thing to New Hampshire!?
I was counting on some snowfall to let me combine a little testing video with the rest of the build, but given that seems unlikely to happen, here’s the build in its entirety.

The first step in rebuilding is to retire the old design. Here is LBS pulled out of under-table storage. A little dusty, but it still looks kind of glorious.
The big ATV style crashbar is not returning in the new design, because really, it was just too over the top. It was funny and contributed to the very unique look of the thing, but it also weighed about 10 pounds (made of surplus 1/8″ wall steel tubing…) and the mounting design was very much optimized for the old frame and I couldn’t quite make the design work with the new aluminum one.
Otherwise, electronics aside, many component parts of LBS are being reused. I don’t think I’m quite at the level of the Ship of Theseus yet…

LBS has been reduced to components. I took the opportunity to perform a mass cleaning of all the track parts because they had been subject to substantial dirt and grime buildup. The chains, especially, took a distressing amount of soaking in brake and carb cleaner and like an entire roll of shop towels. Chains are terrible things.
Its former frame was used as a collection bin for most of my other retired aluminum-bodied projects. I was intending on pitching it in a shop’s aluminum recycling dumpster, but ended up putting it up on Reuse (the free stuff mailing list) for people’s amusement. I figured that had I been a happy froshy bunny during this time, I would be so extremely excited, jumpy, and otherwise bunny-like if somebody posted a pile of waterjet-cut aluminum parts to Reuse that I might start building project of my own spurred by the simple fact of possessing these items. That was the plan, anyway. Paying it forward for the next happy bunny that bounces into MITERS.
(Some of it was used immediately in a productive fashion).

One of the first build exercises was spacer and standoff-making. Most of these short ones shown are parts that will go into the motor mount, suspension, and new bogies.
I’ve been gradually liberalizing from my usual hardline t-nutting policies in favor of using material more effectively when the design calls for it. In fact, LBS was one of my last major giant t-nutted plate assemblies (the other being Make-a-Bot). I actually can’t think of anything I built from scratch in 2011 and 2012 which made gratuitous use of plates where they weren’t effective.
I’m thinking it’s about time to update the How to Build your Robot Really Really Fast document I wrote some time in 2010 to be a more thorough treatment of various design for assembly manufacturing methods, rather than a cursory overview of standoffs and t-nuts.

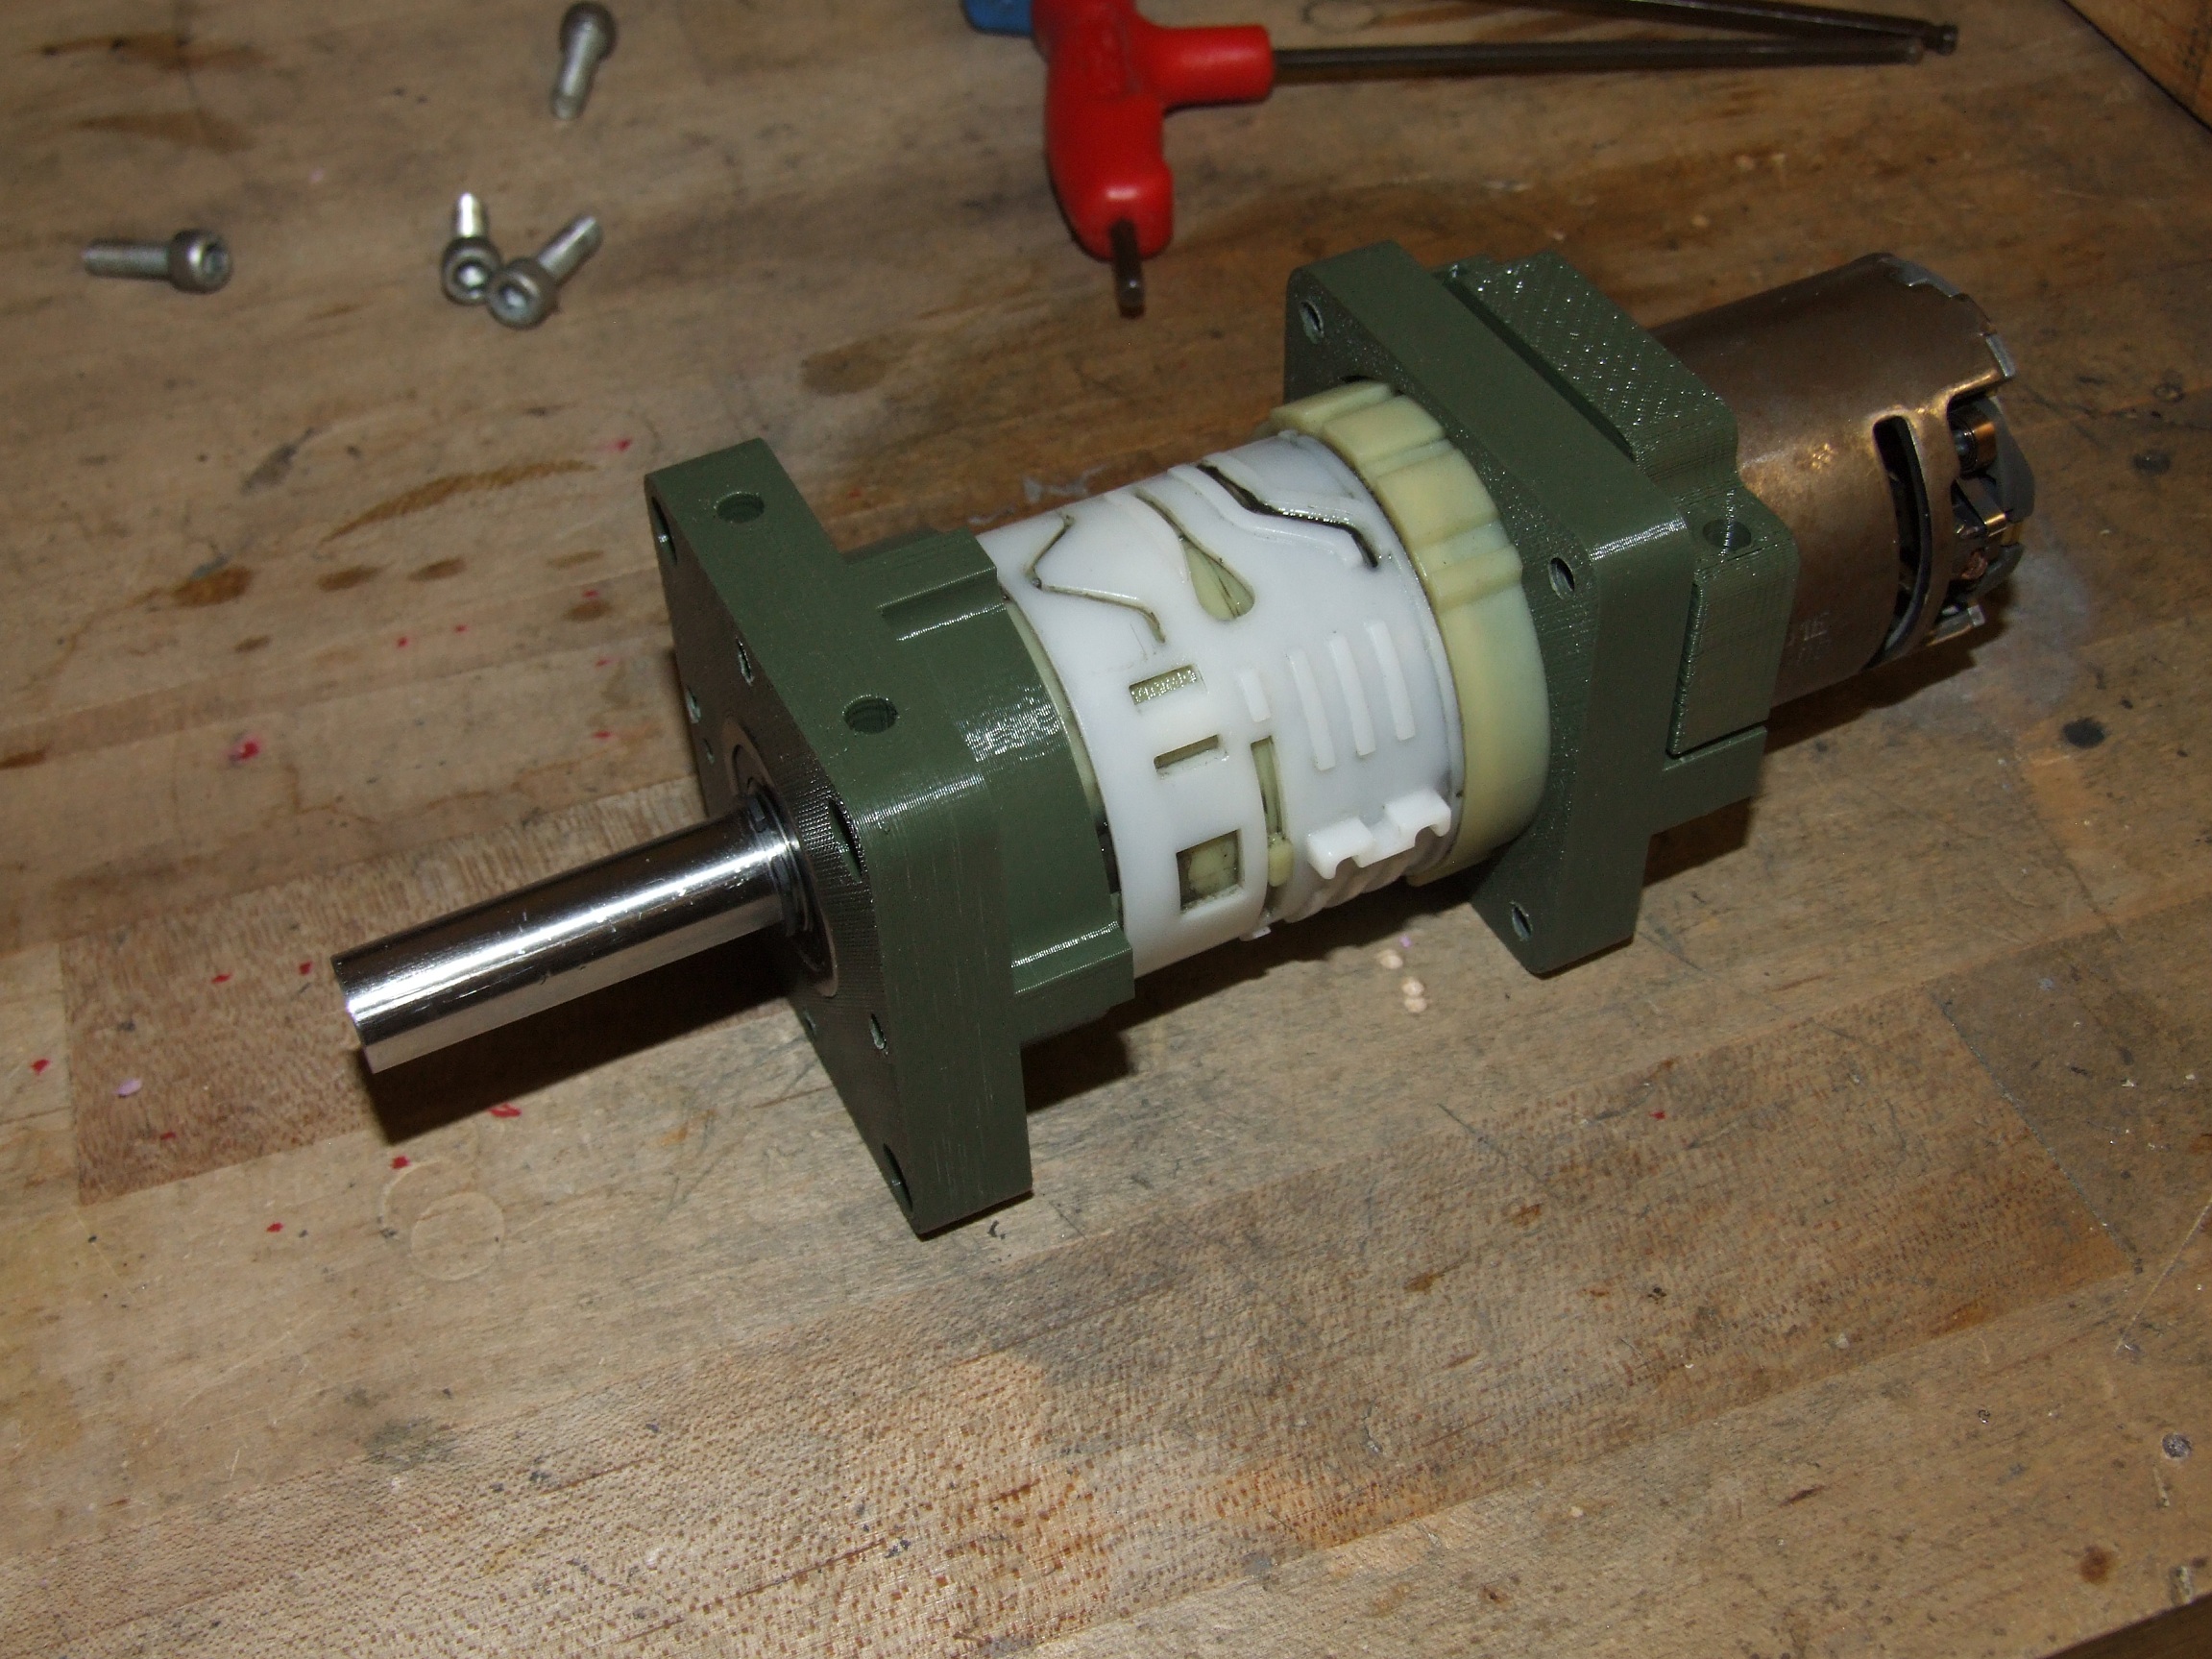
With a few of the necessary spacers done, I turned my attention to assembling my Fake Andymark Gearboxen. I’m a fan of their very inexpensive (compared to industrial suppliers, anyway) hubless spur gears because for most robotics-related purposes, hubbed spur gears add unnecessary bulk and weight if you are just making cluster gears anyway, or using another method of power transmission like splines or direct coupling to the driven member. In fact I’m such a fan that I’ll plug them some more: SPUR GEARS!
(Some mixing and matching may be involved.)
The way my intermediate gear shaft goes together is simple. Take a hex shaft chunk, stuff a bushing into it (drilled and bored on tinylathe), then start piling hex-bore spacers and hex-bore gears onto it. A hex bore custom sprocket is in the middle somewhere. On each end is a bronze thrust washer to keep everything in check axially.

The whole assembly was purposefully made a few thousandths of an inch shorter than the length of the center standoff – involving shaving a bit of material from one of the hex bore spacers – that it could spin freely once lubed up a little, and kept itself in place. Bam, fast-build gearbox without machining complex shafts and retaining features.
I’ll also admit I am a slow convert to the hazardous, addictive, and self-destructive world of hexagonal shafts. They’re just so easy.

The two Fake Andymark Gearboxen completed. These have no mounting bolt pattern – they are hung from the center Big Shaft of the vehicle, and kept from moving by chain tension on one side and the chain tensioner on the other, upon which they brace against.

Onto frame assembly. Did I say I wasn’t going to make T-nutted things any more?
Nah, no way. I’ve not become that unprincipled. There are still a few holding the frame together, but they are no longer the majority contributor to frame rigidity. In this case, it’s pretty much just for making the right angle joint that will be backed up by long threaded rod-and-spacer preloaded columns (see Carly Rae Jepsen’s build style), which can add much more rigidity than an equivalent floppy plate span.

The bogie frames this time are much lighter in section, and maybe a little too flowy looking. The reason is that these never took subtantial structural loads anyway – recall that even in LBS version 1, they were hinged in the center at the Big Shaft. The load path goes from the rider weight into the Big Shaft, where it is met by reaction force coming from the ground, going through the track sprockets and into the track axles. But that load is expressed primarily in torsion (out of plane twisting) of the bogie frame sides, because the suspension is so damn stiff that it’s basically a truss member. LBS has always ‘sagged’ a little as a result of this torsion (think overloaded car), so there was no reason to keep using the huge heavy side plates.
The much lighter cross section of the new bogies saves about 3 pounds and cuts the design down to basically the bare amount needed to connect the dots in terms of mounting points.

Now it’s starting to look like some kind of cracked out Mars rover, or a kinetic sculpture. Everything gets slid onto the Big Shaft at once, secured by shaft collars. I switched to a 3/4″ diameter axle this time – LBS1 had a 20mm one, which is a dimension I have no clue why I picked initially, but 20mm shaft collars are espensive and I needed a few more of them anyway. 3/4″ was the closest size to 20mm that still allowed me some space to clear the CIM motors, and wouldn’t be bendy under rider weight.

After a brief game of Which One-off Spacer Is This?! I began to put the track wheels back on, and also slipped the motors onto the Big Shaft.

Without the outside bogie frames keeping the axles on center, slipping on the track itself was easy – the whole assembly just kind of bent in enough. I did have to spreader-clamp the axles to make all the screws go in, though. Overall, the track tension has increased over version 1, since it was known to be somewhat loose.

After the track pods were slipped back on, the project reached criticality. At this point, with the chains not hooked up yet, I was supermanning it and coasting down the hall – not very far, of course.

Moving onto electronics, I’ve punched together the electronics box and mounted the switch and cooling fan. Little rubber grommets have been installed in the bottom where the motor wires will enter. I also drilled, tapped the eventual RageBridge mounting holes and installed standoffs.

The box mounts to the frame using these little hanger hooks which interface with bolt heads sticking out of the electronics box. The arrangement is self-securing (the force vector of the box being loaded downwards tends to pull the hooks tighter together), or at least theoretically so – if not, zip ties will rescue it. The rear hooks were swung out, the entire box slid into position and rested on the front hooks, then the rear ones tightened down again.

Much of the wiring was recovered from the old LBS, and I made the RageBridge wiring harness to match it. Here’s one of them mounted to test for fit and wire clearance.

I took some time to finally repair LBS’s somewhat decrepit batteries. These were made 2 years ago and suffered a balancer cable short & fire some time afterwards. Since then, they have been wrapped in bubble wrap and duct tape, charged and discharged without regard to inter-cell balance.
To my surprise the cell banks were at most 50 or so millivolts out from eachother. While still alot, it’s quite a testment to the durability of A123 cells. Too bad the company itself… isn’t very.
I remade the balance harness, this time carefully routing the cables out the side of the pack, then wrapped the entire thing in some foam rubber with Kapton and fiber-reinforced strapping tape. After a night of balance charging, they were all leveled out and ready again.

The two RageBridges were stacked together with some 3/4″ tall standoffs, and linked via a small custom Y-cable going to the receiver. The bottom one powers the cooling fan through the 15V rail (which, incidentally, is going to be missing from RB version 3 to be replaced by a 5v fan output).
Each RB controls only 1 motor per side – the system is set up in mechanical parallel. Hypothetically, if one controller fails, the other can still move the vehicle at 50% power, but it of course depends on the mechanism of failure. If the failed controller becomes a short, then it would be very hard to power against the shorted motor, for instance. There was no intent of providing redundancy, just a convenient means of controlling more current than one Ragebridge can effectively put out.

With no custom software needed, it was drop the batteries in and go. LBS is basically a dumb ROV at this point, no different from one of the battlebots. The RageBridges were put into “mix” mode because the simple 2 channel Hobbyking radio does’t handle any of that fancy stuff.

After putting the other battery in, things started getting…. crowded. Batteries are retained on the bottom with a healthy dose of Velcro, and the virtue of being confined keeps them from jiggling around otherwise.
The wiring harness is admittedly a rat’s nest, but hey, salvaged wiring. It’s also be a good chance to test RB’s robustness under non-ideal wiring conditions.

Closing the top up… I designed this version to be way easier to service in case something goes wrong inside because the electrical box lid is removable through the top, after the board itself is removed.

And here’s the 98% complete shot. At this point, I didn’t yet receive my threaded rod to finish the two standoffs in the front and rear. Without those, the frame bowed a little when I stood on it. But it was functional enough for some superman-style hallway blasting.

There was one problem I discovered during this testing. The motors could exert so much tension on the chain that they were physically bending the rear bogie frame inwards, collapsing the hollow cutout and making the chain jump off the sprocket.
Well, that was dumb. The placement of the chain tensioner was pretty much in the middle of a totally unsupported span. I could, in fact, unbend it with some big channel-lock pliers. I definitely hit copy and paste a few too many times…
To address this issue, the rear bogie frame side was recut to be solid and the tensioner mount itself was made a little fatter and angled.

Here’s a picture of the bottom of the beast, showing the drive chain setup and the batteries. Still, missing standoffs (which have since been added).
I don’t have any testing video yet, since there hasn’t been exciting enough weather to do so. The new arrangement, however, has demonstrably increased torque and better steering response too. The Ragebridges are synchronous rectification drivers, meaning the motors exert a torque against any external changes in speed unless commanded to that speed, so the tracks have increased dragging ability on either side. It can alsofinally turn in place, even with rider weight on it. The top speed is right around 8 or 9 miles per hour.
Once the weather gets more interesting, expect some updates with videos!