Reassembling a Bridgeport J-head with Uncle Charles! And More About Hooking Up Your Annoyingly Chinese VFD

You know what? I’m tired of having sweet-ass machinery sitting around not hooked up. Last time in “Charles takes forever to set up his own shop because he’s sick of setting up shops”, I did some battle with a generic Chinese VFD and completed what the damn factory couldn’t be buggered to by adding the dynamic braking components.

Though Bridget ( <3 ) ran since then, there were some issues. The spindle brake was so worn it was difficult to change tools, and the head made the “Bridgeport Clack” from the high/low speed dog clutch being worn. The motor’s V-belt was also severely worn. I wanted to tear it down for a rebuild of sorts, so I spent a little while watching “How to rebuild a Bridgeport head” videos. I decided that all of these videos sucked, and that I was really only interested in repairing the brake and replacing the timing belt and V-belts.

So here is my documented take on how to take apart a Bridgeport 1J head. In it, I discover that it wasn’t as terrifying as I had thought originally, and that old-school American engineers might commit some abominations but damn they’re good abominations. I guess this is kind of a Beyond Unboxing, too.

Step 1: Dismount the motor, which is retained by two studs, one with a set of two jam-nuts to let it move a little for belt tensioning, and another that’s the ball handle (you unscrew the ball handle and then untighten what it’s attached to). Then, crank the head about the Y axis (roll) 90 degrees.

Six socket head cap screws live underneath the belt cover casting and retain it to the steel back-gear housing. You can take all these off; pins retain the belt cover afterwards, and it needs to be yanked off. Don’t worry, it’s not heavy. But there’s one catch:

The back-gear timing belt pulleys both have flanges. To remove the belt cover means taking off one of the pulleys with it, and that means removing the belt with it. You have to remove the four slotted head screws that keep the pulley flange on. Once it’s gone, the belt slides off with everything, like this:

This setup is quite the abomination. The timing belt has no tensioner – it relies on good will and good spacing. Mine was getting a little loose from the years. While I haven’t run the machine hard in back-gear range to see if the belt skips, I ordered a new belt anyway since it’s a “Might as well” item. The belts, and other rebuild components which will be seen, came from H &W Machinery Repair.

While the cover was off, I cleaned off the thick layer of congealed rubber dust and spindle oil. I didn’t break into the back gear cavity, however – if you do, remove the nut on the big pulley and use a gear puller or Three-Phase Prybar to pop it off, then undo the remaining screws. Some times the gear cavity is filled with grunge; if your machine had multiple owners, chances are it has both grease and oil in it.

I loosened the cover and a lot of remnant oil started pouring out, so I’ll likely keep it together but drown it through the front oil port later.

The second step pulley and back gear timing pulley live with the belt cover and has a large bearing carrier assembly under it. To undo this, I need to remove the shifter mechanism.

The pins that ride in the shifter groove also help retain it completely. Problem: One of them was completely stripped and wobbly. Due to the pressure exerted by loading springs underneath the pulley, I couldn’t get the pin to bite on its remaining threads and back out. So I drilled straight down the center and threaded the hole for a #4-40 screw that I could then grab with pliers and pull on:

The stock machine has slotted head pins; H&W sells a replacement with a hex wrench drive. Here’s the victim screw driven in…

And a few tugs later, the shifter ring is freed.

The pulley then flies off the other side, since there are loading springs underneath it.

And here we have the brake assembly. The brake is simply a phenolic drum brake setup that crams against the interior of the pulley. Nothing sophisticated at all!

To remove the brake, you have to remove the 3 slotted-head shoulder screws holding it down. However, to do that, beforehand you have to undo the three hex nuts on the top side (underside in these photos) – they prevent the shoulder screws from loosening.  After that, the brake can be wiggled off gently. It will snap closed, due to its own return springs, so watch your fingertips .

The small tongue on the upper right of the bearing bore is the cam that toggles the brake shoes.

Many times, when a Bridgeport spindle brake is worn, it means two things – one, that the brake shoes are worn down, but what I found is that the cam had also dug a little trench into the brake shoes where it makes contact. So this has reduced the effective travel length and caused the brake shoe to lose engagement. In fact, it seems like the harder you wail on the brake lever, the quicker you induce this 2nd failure mode.

Also, Brigeport brake shoes are expensive. Speciality exotic part, sure, but I can do all 4 brakes on Mikuvan for less money using nice ceramic pads too! So I wasn’t going to replace these, but simply make the cam bigger.

Returning to the top side, the brake cam escapes if you untighten the set screw holding its handle pin in place. The pin slides out and the whole thing falls apart.  The cam and shaft assembly are on the upper right.

The fix? Make the cam bigger by welding repeatedly over it, building up more metal, then sanding and filing it down! This was after the rough-sanding stage. I filed a gentle round onto the engaging edges so it doesn’t cause further erosion of the phenolic laminate brake shoes.

Alright, we’re now on the reassembly path. The brake cam is going in back in…

Secured up top, along with installed brake shoes and re-tightened locking nuts.

I reassembled the shifter ring after cleaning the whole area and thoroughly greasing it. In Bridgeport maintenance, you’re supposed to oil the shifter ring daily in production use. I think I’m fine with putting in a few greasewads where it needs to be instead of having to clean up even more crusty oil grunge down the line.

The belt cover is remounted now.

Before final assembly, make sure to thread the timing belt and V-belt back onto the pulleys. Then as you line the belt cover on, wiggle the timing belt onto its large pulley.

When finished, you can then replace the small screws and pulley flange.

Putting this motor on was the precarious part, since it involved holding something pretty heavy and wiggling it from an awkward angle! I threaded the two jam nuts onto one side in order to hold it in place for….

Final head tilt. Here are the newly installed parts! And there we  have it. Shifts great, runs smoothly. Still makes The Bridgeport Clack, but further research showed me that is all in the quill spline drive and there is not really a way to R&R that short of replacement. I’m fine with it.

Moving onto controls! I can’t use this thing from a potentiometer dangling by its wires forever. You may, but I have standards.

I put a little money on eBay into some more machine style switches and buttons.

I had two buttons left over from a project long ago, so they were going to be used as the Run and Stop functions. The same potentiometers got transplanted into a panel mount which I screwed into the housings. Knobs were a matching pair (rare! legendary!) found at MITERS.  The two-position switch will control forward vs. reverse.

The wiring was concocted using disembodied Ethernet cord, which is one of my favorites for pirating cables from their intended purposes. The VFD’s Use of Manual™ just showed a bunch of normal looking switch symbols connected to the forward/reverse, start/stop/reset, etc. inputs.

This is where I discovered another great undocumented feature of Use Of Manuals. The diagram was a lie, but only enough to get you in trouble.

I had problems with it accepting my switch configuration. I found that the VFD didn’t want to read my stop button at all, and it accepted any flip of the direction switch as a “run” command. That is, I can toggle the forward-reverse switch for it to change directions, but it wouldn’t take my stop button input. I’d have to hit the STOP button on the control panel of the VFD. After that, I couldn’t start it by using the start button, but just changing the state of the direction switch would let me turn the knob and increase speed again. Well, all of my settings seemed to be correct for the job, so I was a little confused and figured there must be Undocumented Behavior. This was certainly inconvenient to use the damn thing intuitively, and I certainly wouldn’t let anyone else touch it in this condition.

It took a few friends with experience in industrial controls to point out what I was doing wrong.


That is a diagram for a normal industrial magnetic contactor, showing how Start and Stop buttons are typically wired. In these things, the STOP switch is always closed unless something causes it to open (either by accident or on purpose). The Start switch, on the other hand, briefly powers the contactor coil which pulls in not only the main contacts, but a little auxiliary contact that keeps the coil energized and hence the contactor latched. You can see how any number of interlocks (e-stop systems, overload detection, etc.) can work its way into the STOP circuit and turn the machine off when needed.

The VFD is technically designed to replace this setup, so it’s expecting the Stop button to be normally closed. Well, all my switches are N/O type (close when pressed). So the VFD was waking up in an unexpected mode, I guess, where it seems to default to treating any forward/reverse switch inputs as “Okay, start running”. Well this seems a little scary of a failure mode.

Anyways, the Use Of Manual shows all switches as N/O, so it definitely assumes you already know industrial control practices to use it. That’s another endearing characteristic of Chinesium… you better know exactly what you’re searching for, or else you might find it.

Well that’s quick fix. I didn’t order modular contacts with my switches, but luckily they’re manufactured modularly enough to use the same set of contacts, just internally turned upside-down, to become N/C. Now my control panel works as expected – the stop button puts the VFD into slow-down-and-brake, then start will ramp the motor back up to the previous speed it was at. In run mode, I can change speeds at will, including braking down to zero speed manually.

And here’s the test video.

Now that I understand this setup (or do I….), I can build the second control box accordingly. It’s also easy now to add an anti-face-eating emergency stop mushroom button anywhere in line!

The next machine to go online will be Bridget’s cute Japanese friend, Taki-chan!

how about no

Operation ENDURING BROWN: The Battle for VANTRUCK Rages On

Awww yeah, it’s getting warmer! Let’s go work on some vans! Aww, it’s raining. Okay, it’s dry now! Crap, I can’t lift this myself. WTF? Why is it 30 degrees tonight!?

-me for the past 2 months

After the skirmish with the insurance company, I spent several weeks scanning Ford Truck bro forums, Facebook groups, and Craigslists all up and down the east coast for 80s and 90s era F-350 dually long beds. This was a triple threat challenge. First, the year range meant the majority of them had long dissolved. Second, short bed trucks were (and are) more popular, so a long bed is already a harder find. And last, it had to be the dual rear wheel version with the built-in fender; while buying a single rear wheel bed and adding fenders was an option, I found that the fender flares were 1. about equally hard to find, and 2. about equally expensive.

I obviously passed up a whole bunch of really crappy ones; those which if I weren’t out to have something nice looking at the end, I would snap up in a hurry, weld patches over rust holes, and ship it. Other choices were simply too far away (i.e. rust-free desert states) to be economical to get. So I bided my time and reached out also to some of the area auto yards I went to previously. I even called one of the ones I frequented in high school back in Atlanta to ask them to keep an eye out in their network. If I’m not obsessive, at least I’m resourceful.

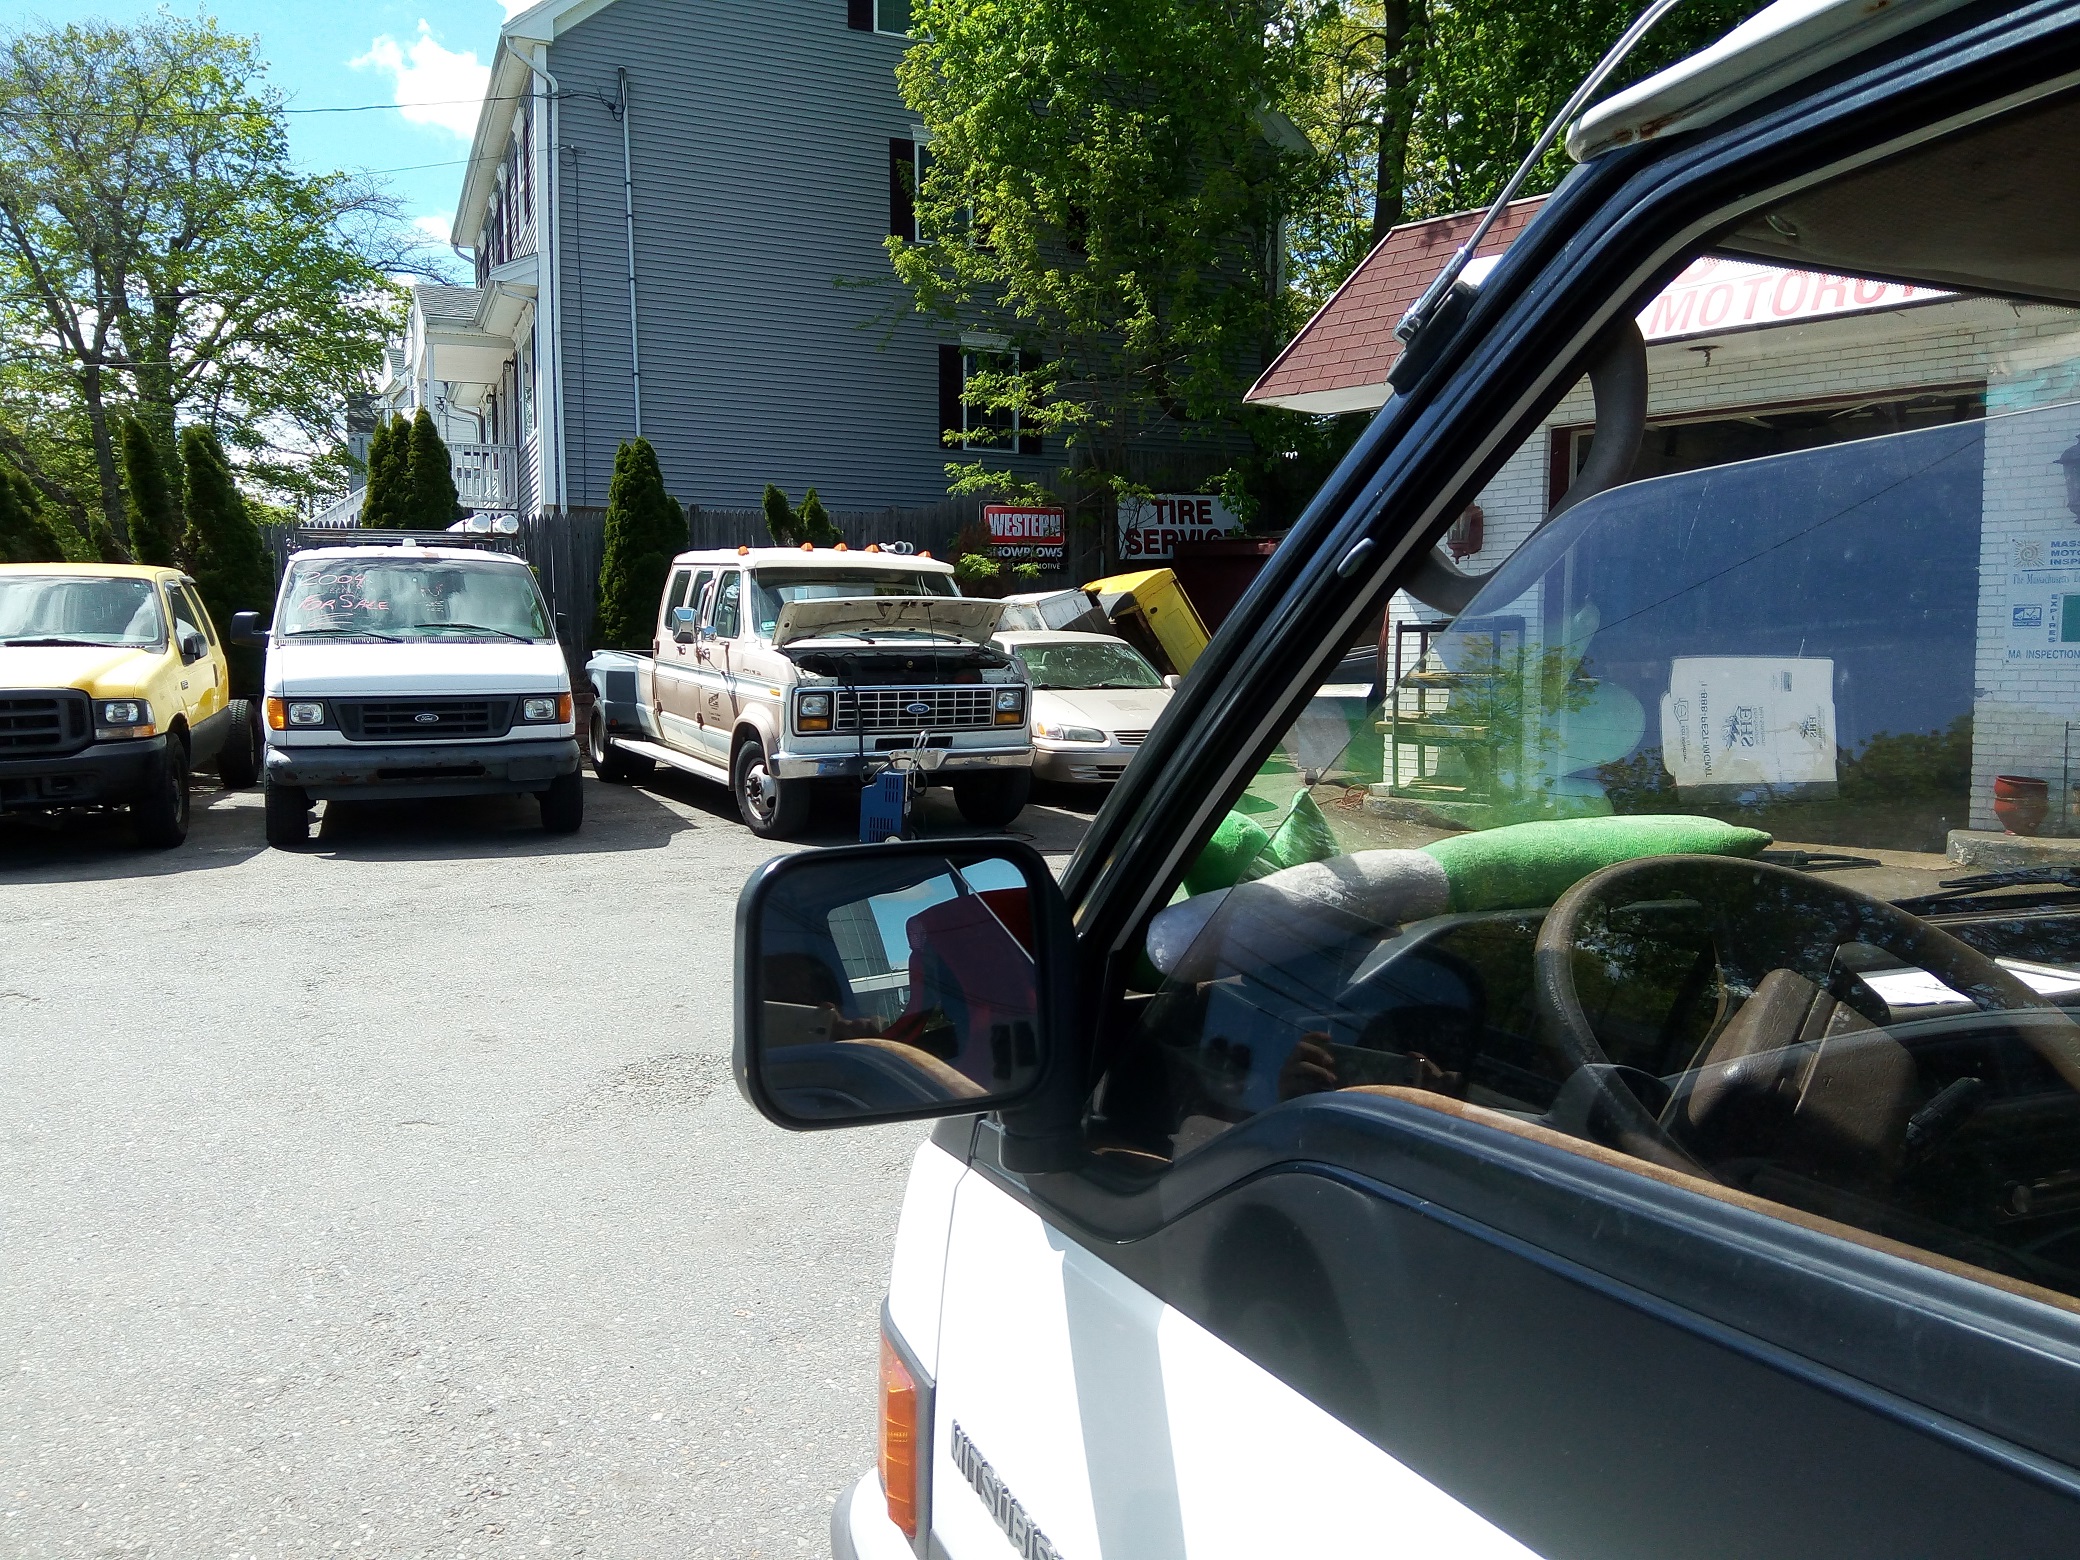
In the mean time, Vantruck’s runability problem worsened dramatically and for reasons I couldn’t easily determine at the time; I can’t be arsed to sit outside during the middle of winter at night and fix vans that often. While previously during the failed Motorama run it made it all the way past Framingham, MA (and back) with only minor hiccups, now it was beginning to fall asleep almost at random. Basically it felt like it would lose fuel feed, stall out, and then take a while to start back up again. Its confident usability radius was decreased to Home Depot runs and moving heavy objects to and from MITERS.

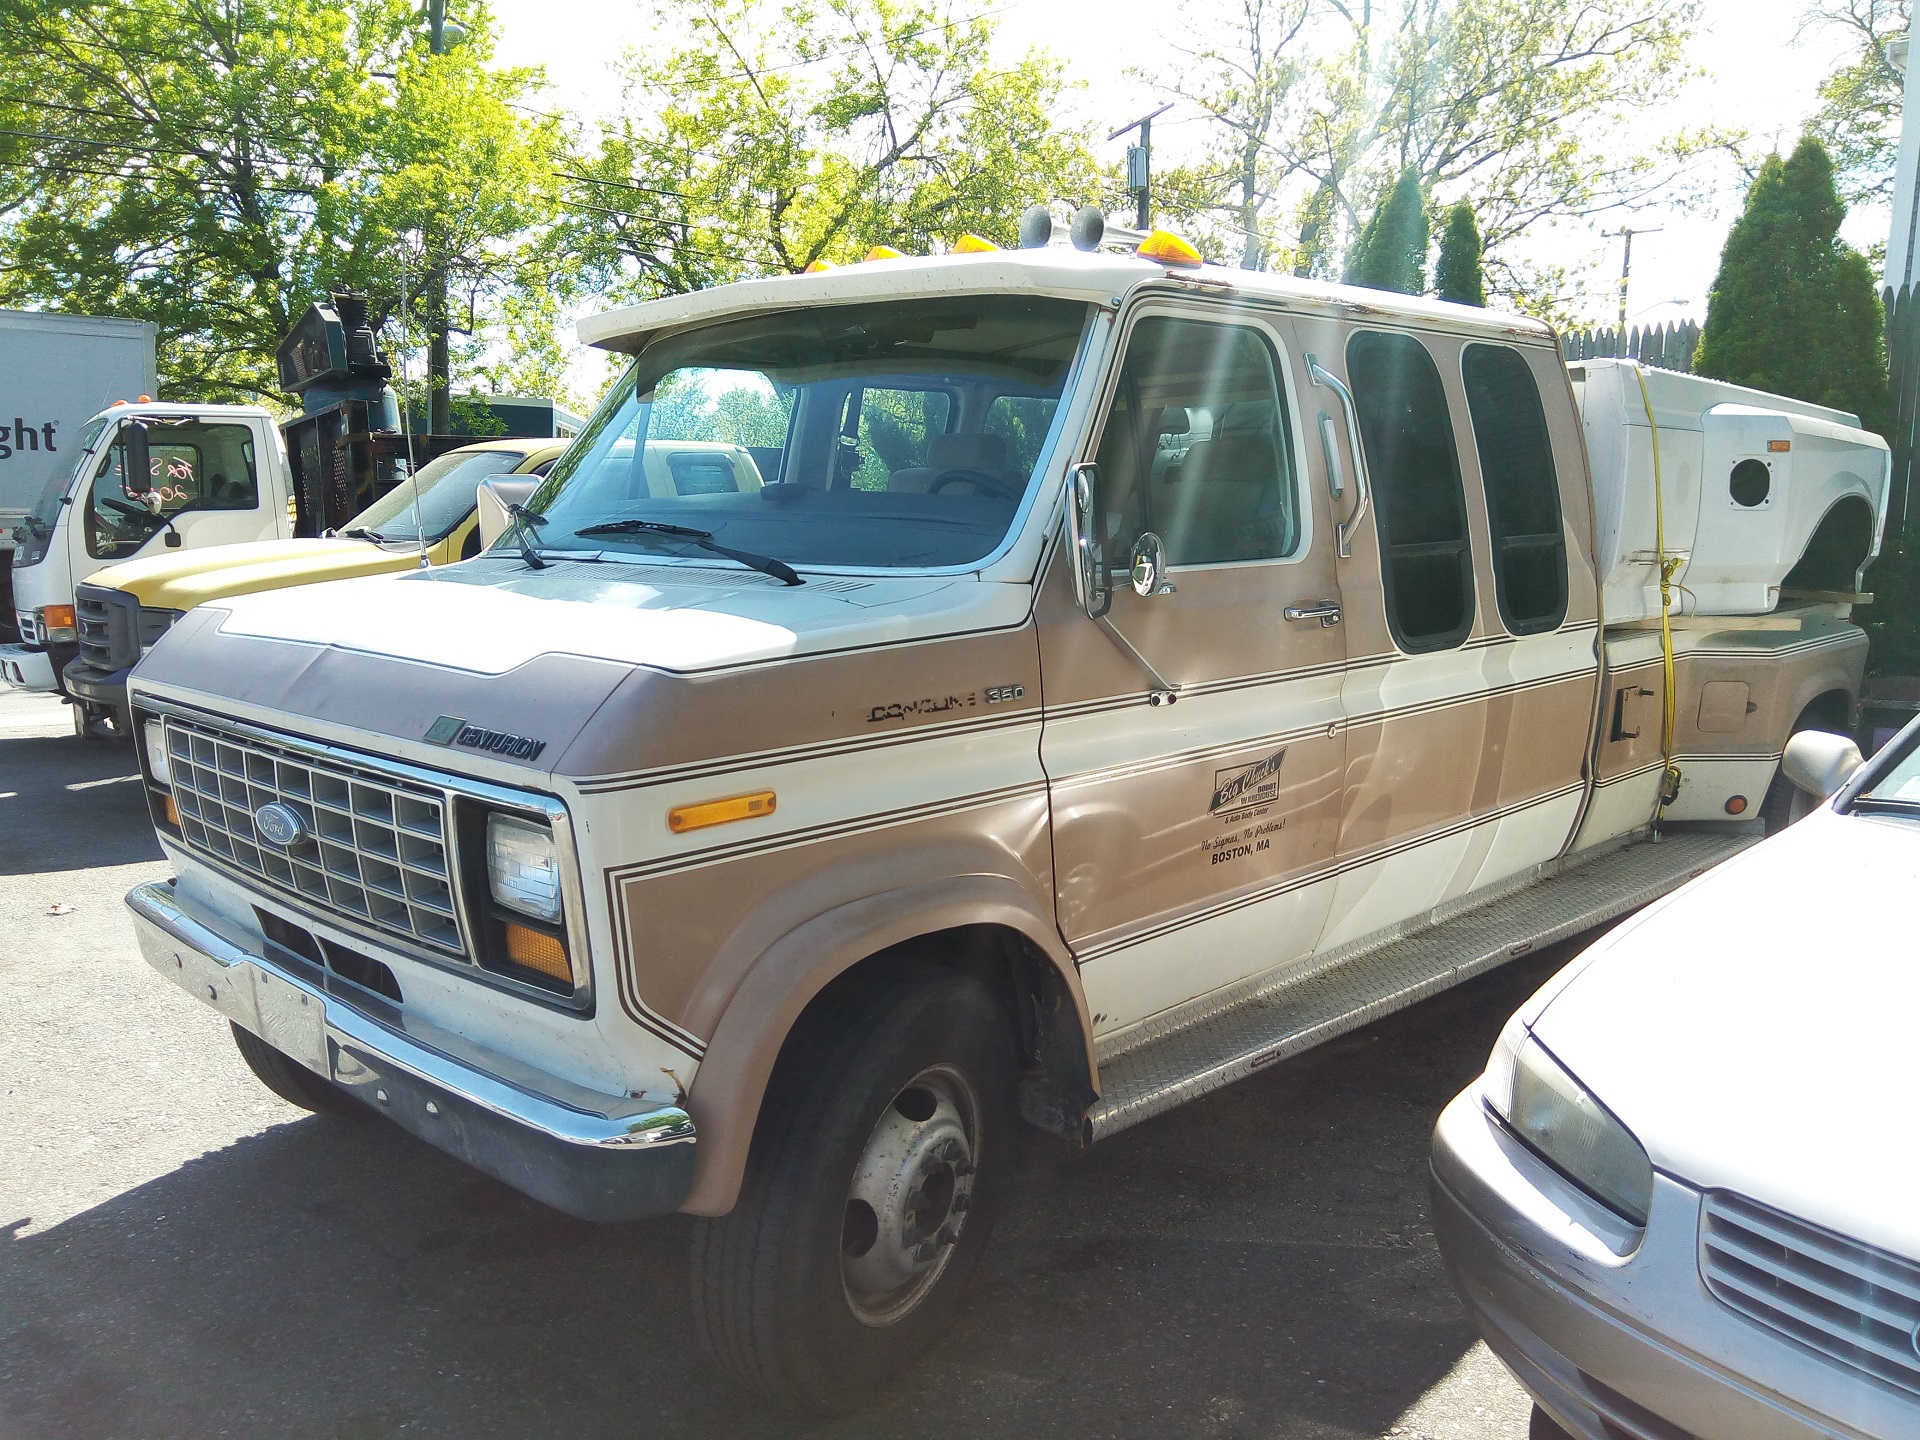
Well that’s no way to own a truckensteinian monster. In mid-March, I decided to send it to live with the same mechanic who performed the exhaust and fender repairs pre-accident, with the idea that he’d pick at it while I searched for a bed. I’d bring the bed to him afterwards and we’d carry on with the anticipated restoration. This plan almost worked:

Hurrrr

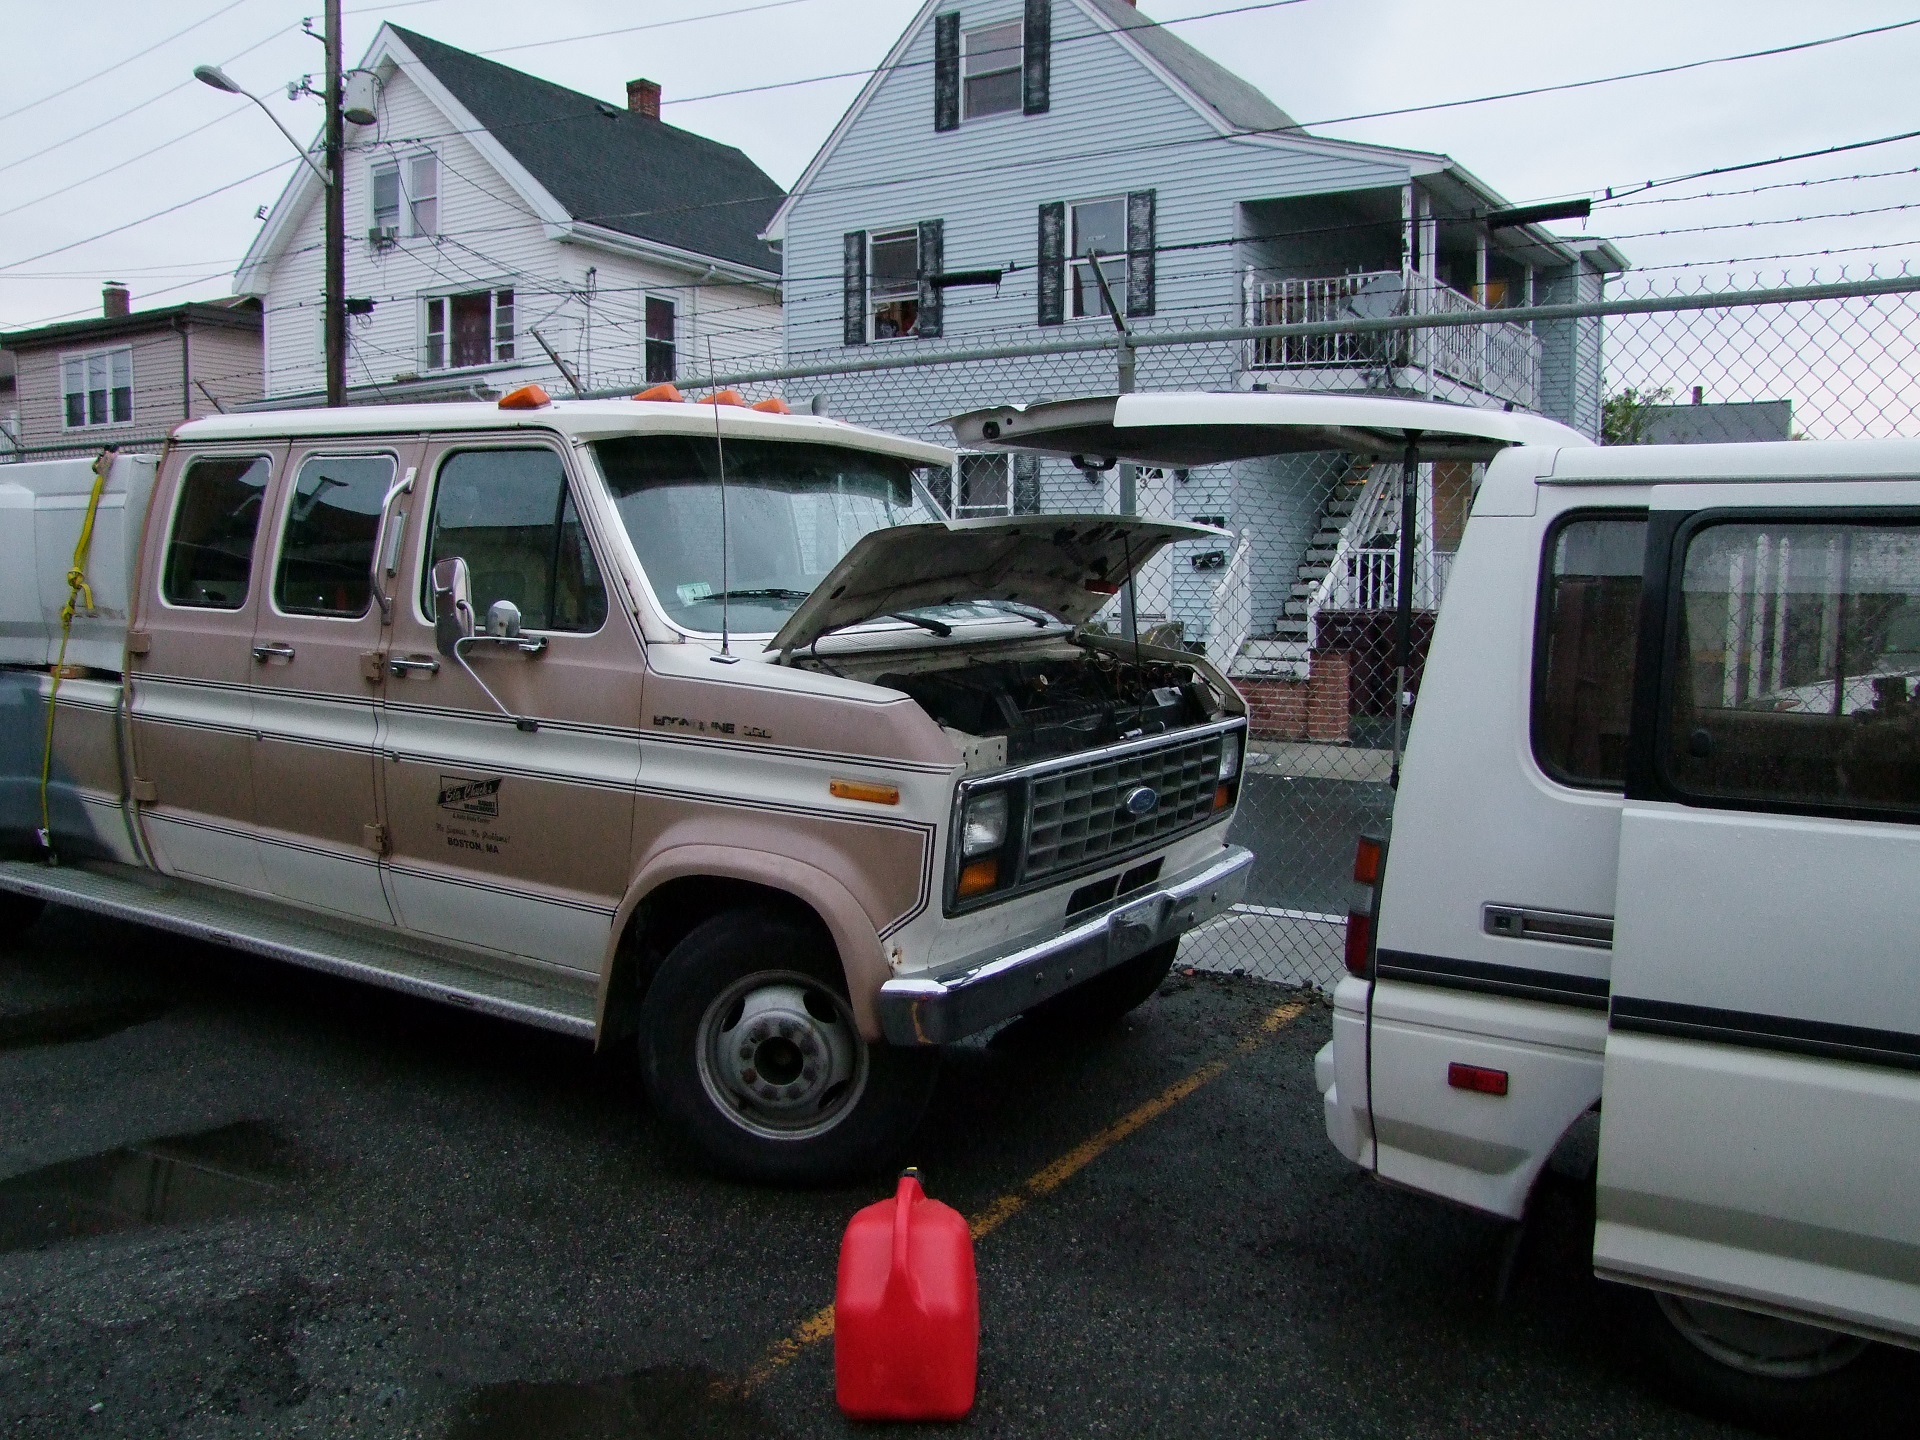
I made it about 3 miles out before it had trouble staying running. Being it was still several more to the mechanic, I decided to abandon the mission, turn around, and got maybe 1000 feet. No amount of sweet-talking or coercion could elicit more than a few seconds of running. Not wanting to dump the battery trying to start too often, I called for backup.

That’s one of my friends who has a diesel F-250 which at the time had half a lift kit installed (notice the front of the truck is higher than the back). And in between that truck and Vantruck is a yellow Harbor Freight tow strap. This unique assemblage slowly confused its way through four Boston-area towns. Now, if you guys have flat-towed your friend’s beater down the highway for the 5th time this year, this might not sound like a big deal. Here’s the path we had to take:

Several miles through ill-timed red lights, one-way tight (for something 21 feet long without power steering or power brakes) turns, and the occasional displeased taxi driver. Luckily, and somehow, no police. Needless to say this was a less-than-legal, literally fly-by-night operation!

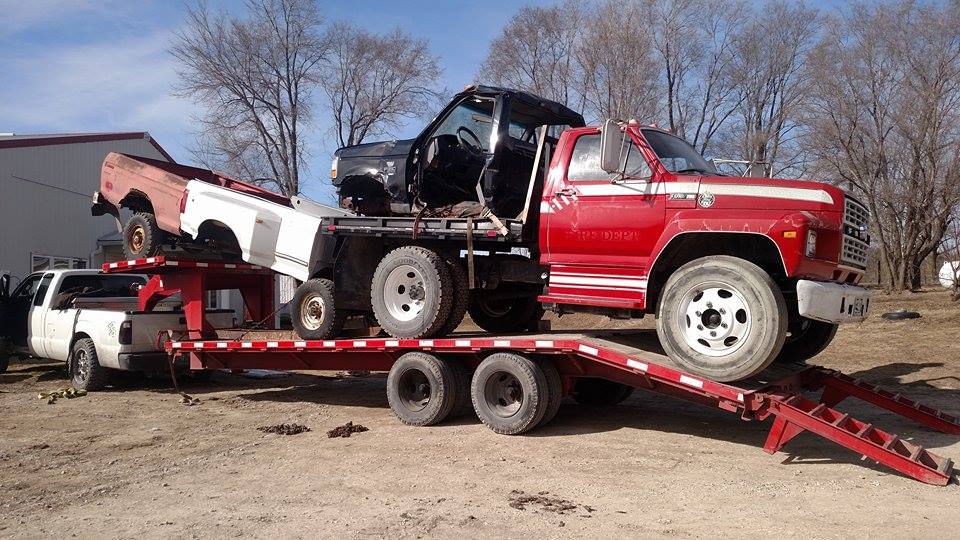
Alright, well that was exciting. A week later, I got a lead on a great condition 1997 dually bed, which was awesome since it was the newest it could get. The seller was located in Kentucky, and the bed only had some surface rust and a dented tailgate. Among the ad photos was this gem:


Yeah, uhh, I’ll take that one. No, that one over in the middle. No, more middle!

I need to up my van game, man. This guy has me beat in a topological sense.

It so happened that the seller had a delivery to make in eastern Maryland in 2 weeks. I offered to meet him in Harrisburg PA (roughly halfway between us) and do the handoff, and he agreed! Well crap, now I had to figure out what to transport a 8 foot dually truck bed with! Gee, if only I had some kind of truck-like vehicle with an 8 foot bed and dual rear wheels. Now, at this time, the mechanic had yet to duplicate the same failure mode consistently, and I wasn’t about to risk rushed work to go 800 miles in its first mission. I’m only marginally smarter than that!

It was time to get Mikuvan a trailer hitch. So begins Operation ENDURING BROWN…


Fast forward a week, after I bothered the local U-Haul guys to call several of their hitch distributors, many of which responded with “What?” when presented with the year, make, and mode. I’m used to it. One of them said their computer system says they had one in stock, but he would have to wait until the following Monday to go verify because he’d “never recalled seeing it on that shelf”.

Well, good – Mikuvan itself, despite its local uniqueness, also hides in plain sight like that, since most people’s descriptions of it stop at “white van”. Your move, Cambridge police.

Fortunately, it was indeed in stock, and I had it rush delivered. The package exploded in a cloud of warehouse dust when I opened it up. Yes, I can tell you’ve never seen it on the shelf. It actually didn’t attach where I thought it would; Mikuvan has two structures at the end of the frame near the leaf spring shackles which I thought were tow hooks, but in fact this hitch mounted to them and not the more numerous thru-frame holes. Makes sense – they’re likely to be the single strongst parts of the frame.

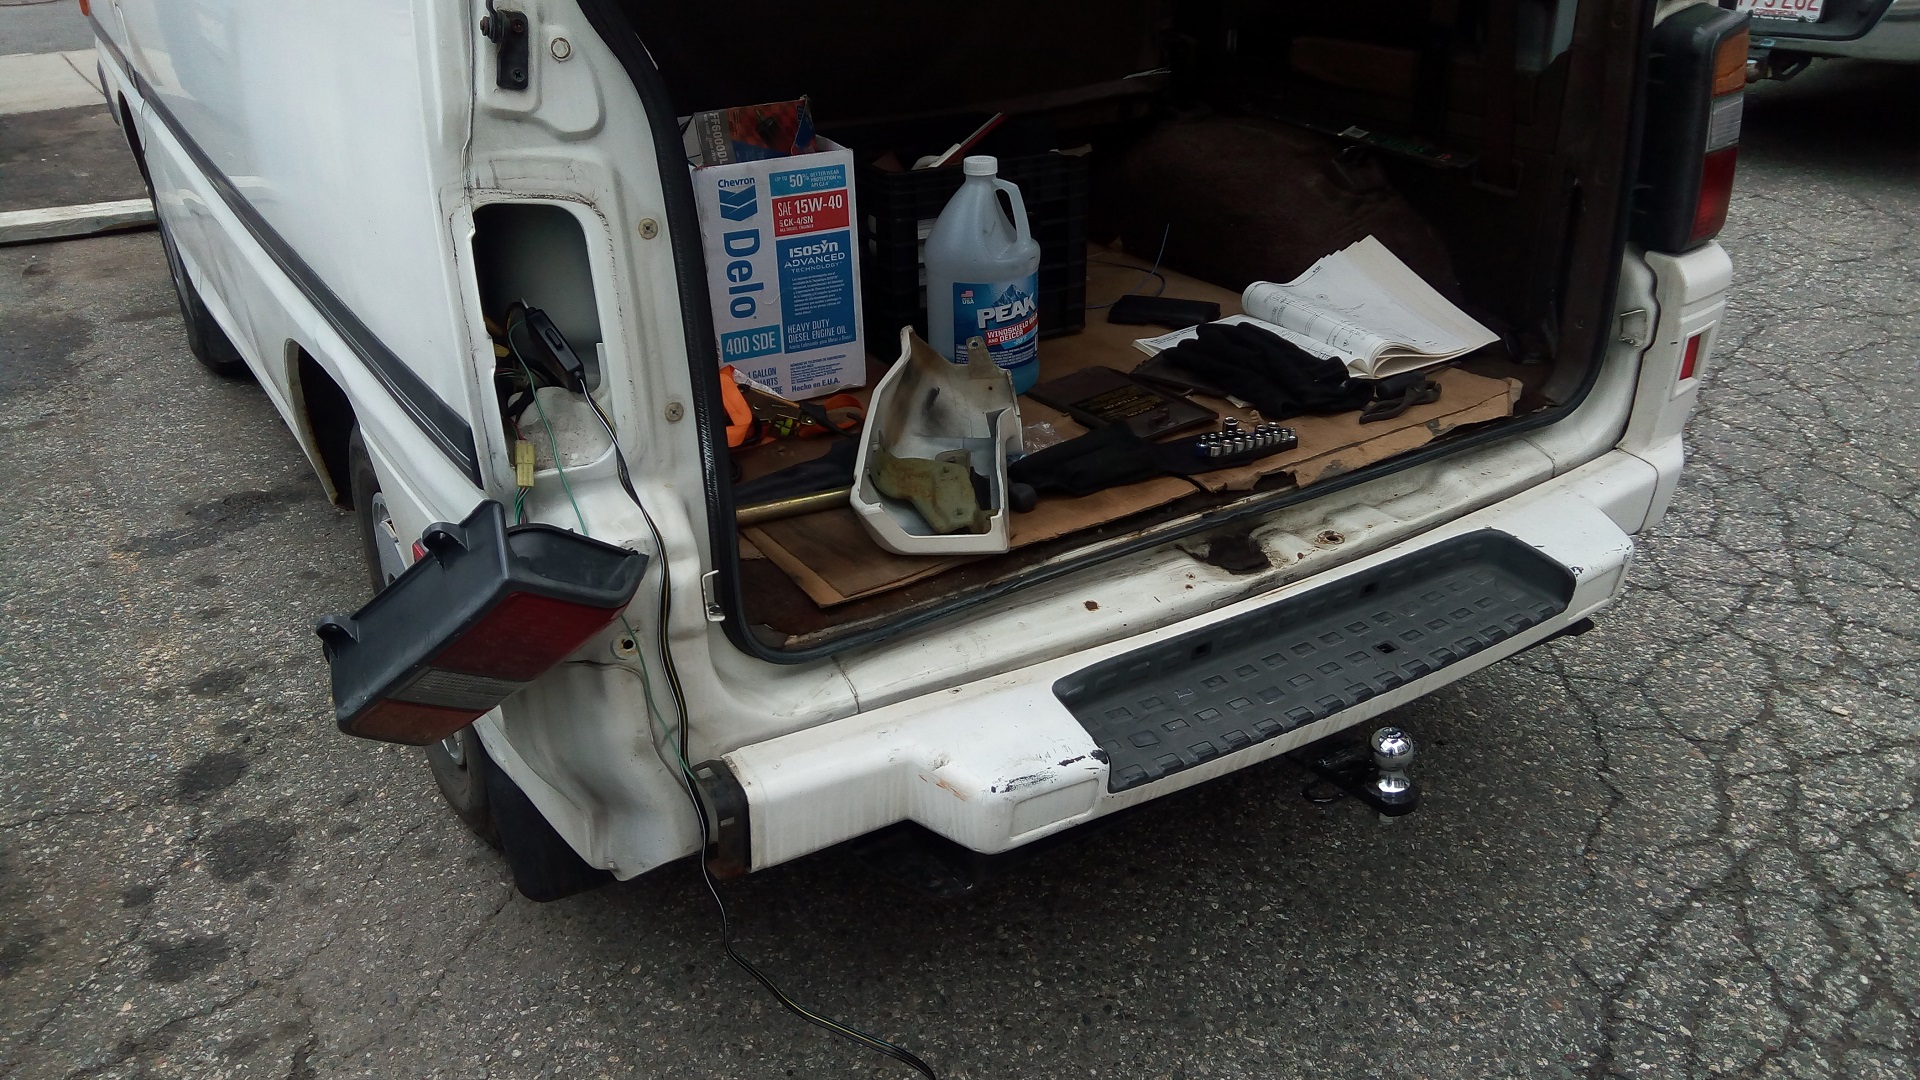
U-Haul wouldn’t sell me a trailer without a lighting harness, so I had to pull out one of the tail lights to install one. The system they sell is quite well-packaged. It’s a little headcrab thing that splices into the turn signal, running light, and brake light circuits, derives power from any one of them, and at the same time senses which light is activated, piping this information to the trailer lights.  It took me about 45 minutes to install.


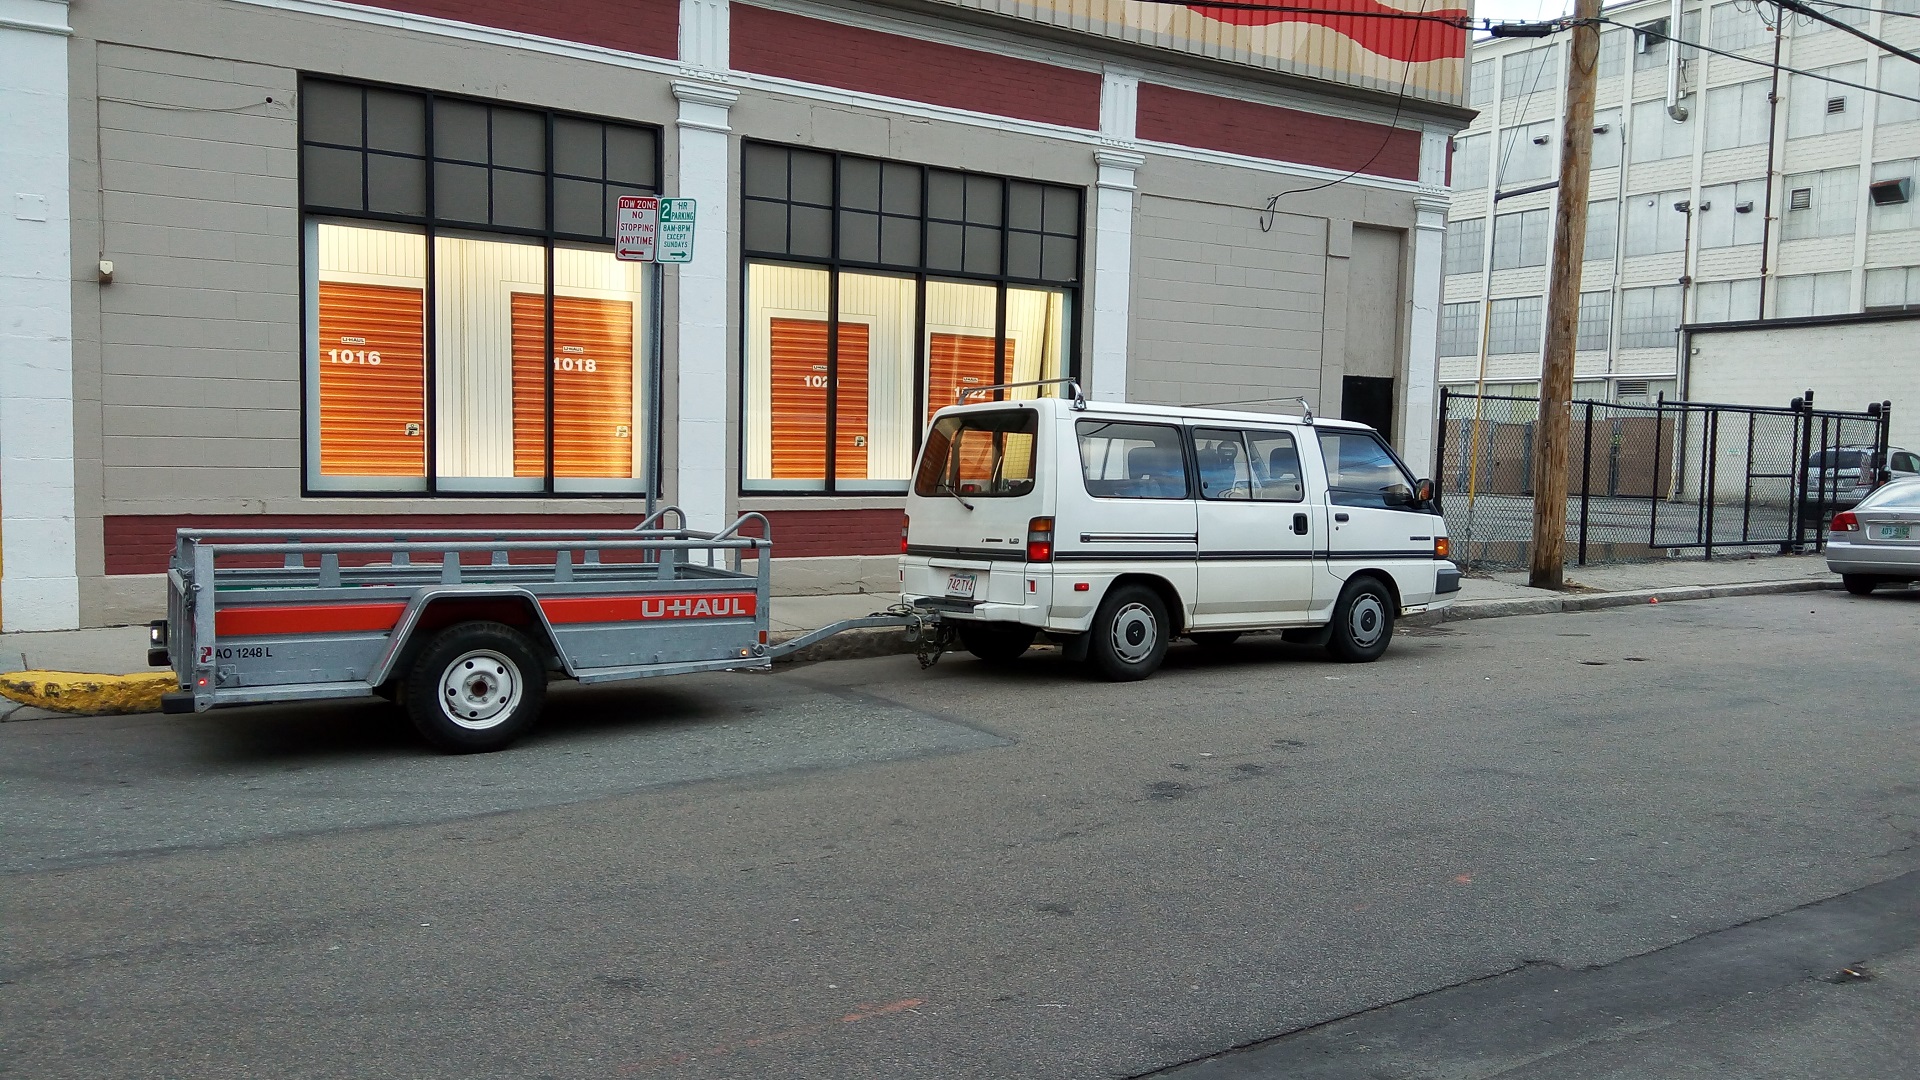
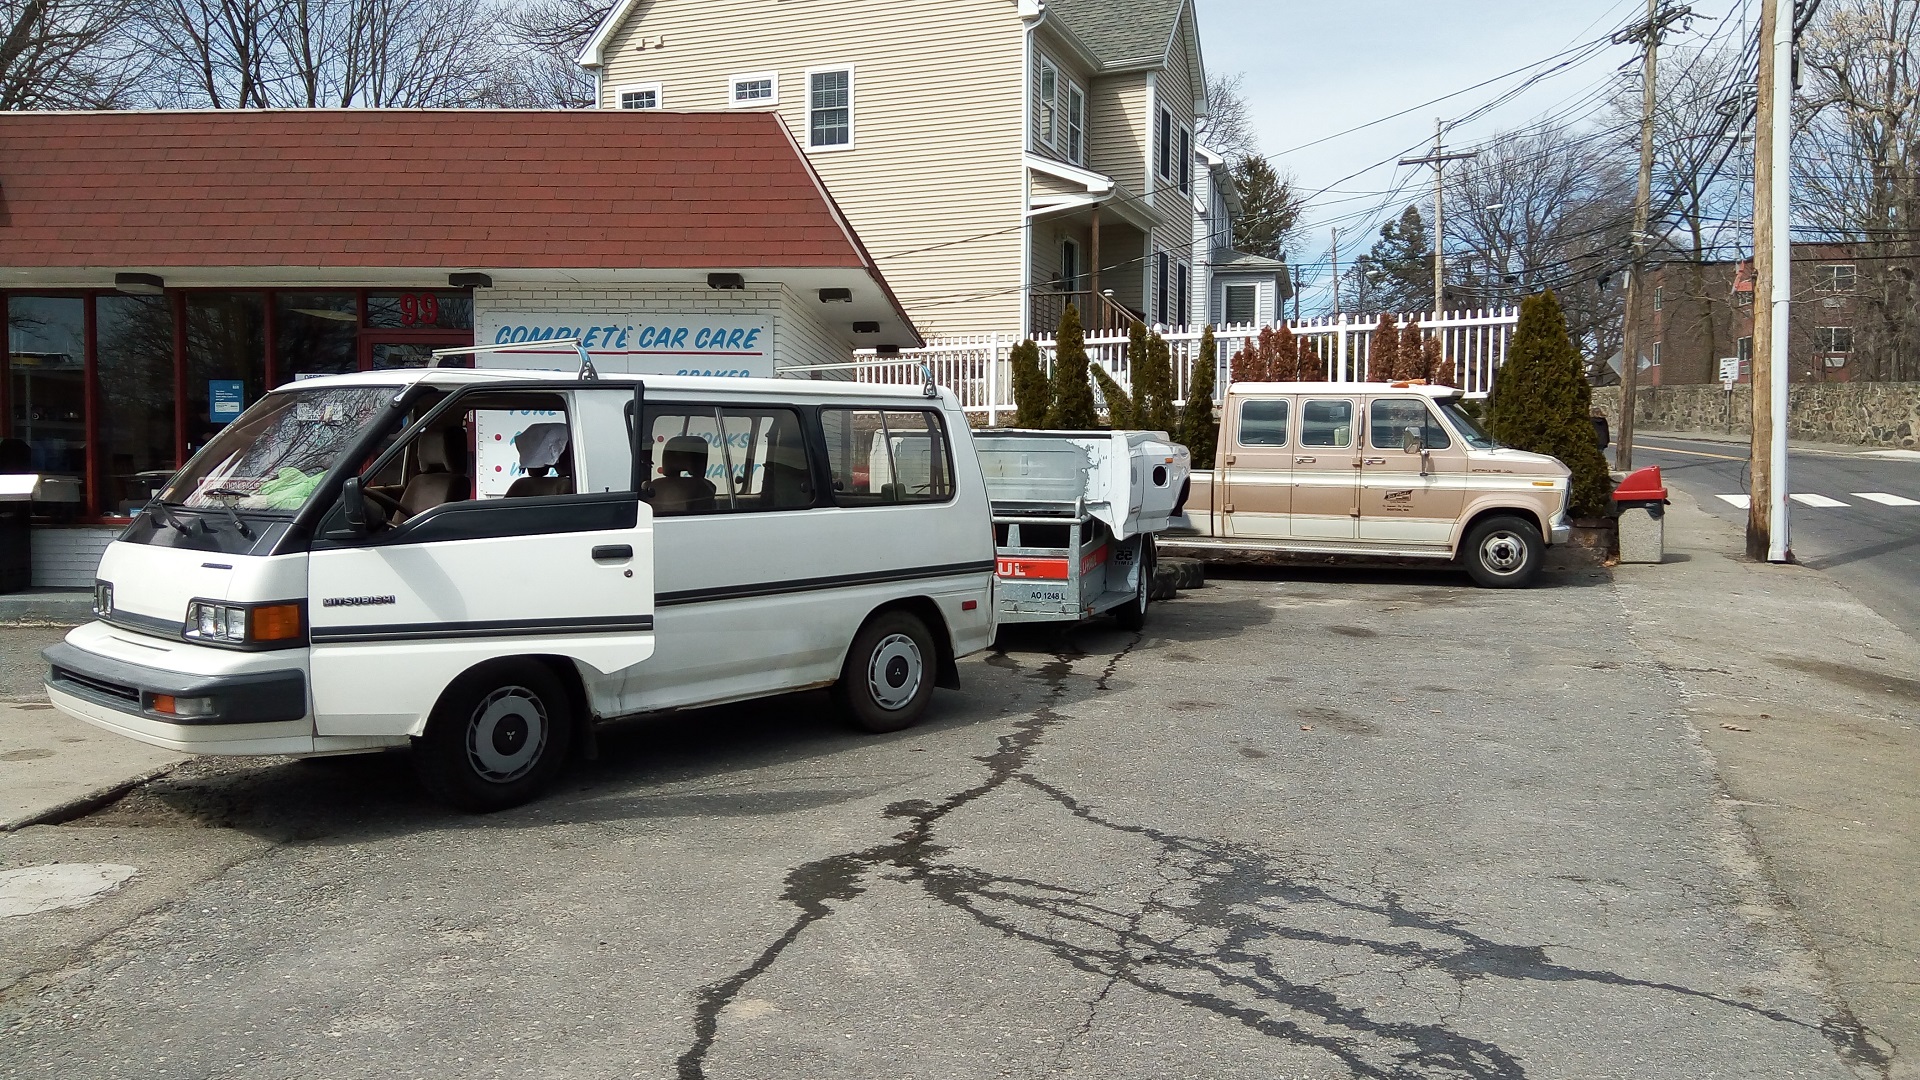
It’s a bright and early April! After making sure the seller wasn’t just a friend of a friend playing an elaborate April Fools joke, I set out with a 11′ U-Haul trailer. My, how the tables have turned.

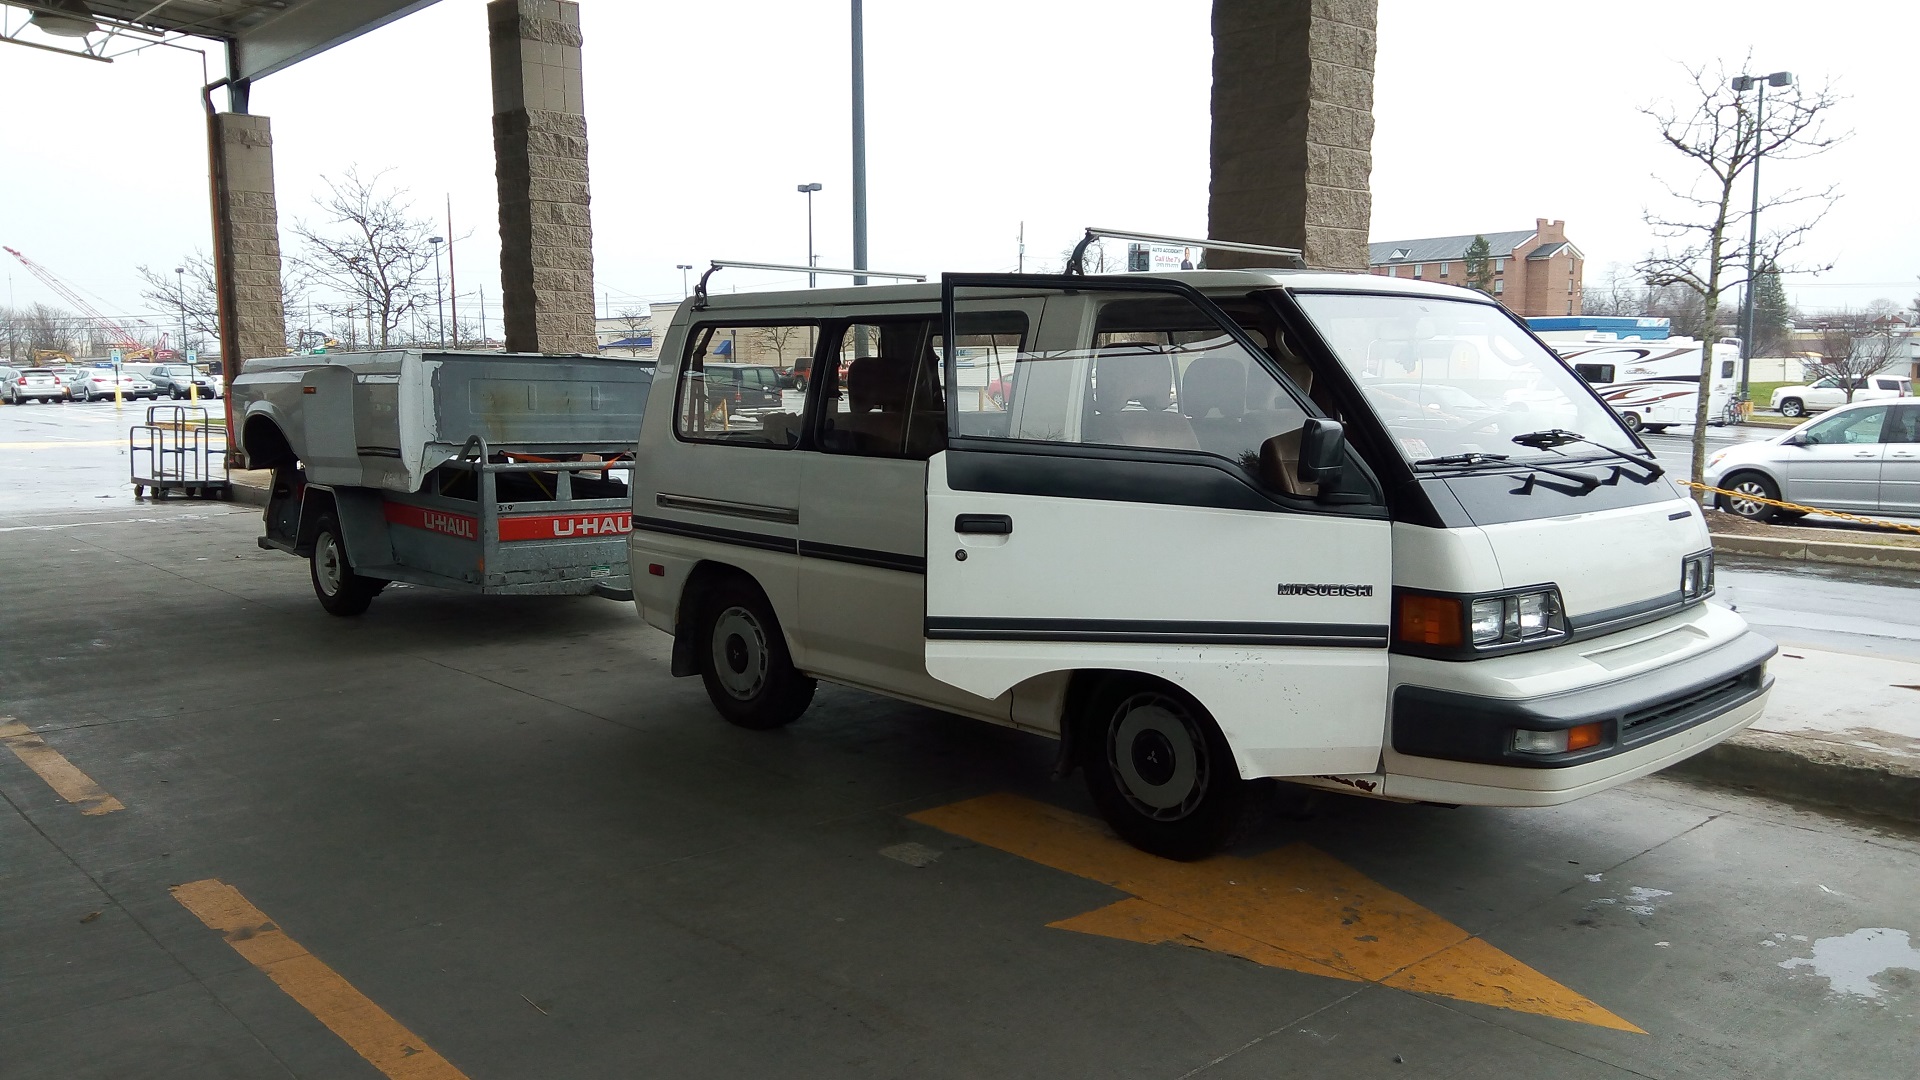
They don’t have flatbed trailers, so I made sure the bed could fit over the roughly 4′ 6″ spaced side rails of their standard utility trailer. Worst case, I’ll throw some 2x4s on top of it.

This trailer weighed 900 pounds empty. I could feel that every bump when it would tug on the hitch and Mikuvan’s short wheelbase failed at not bobbing up and down. This was going to be exciting indeed. A couple of hours later, and I end up in….


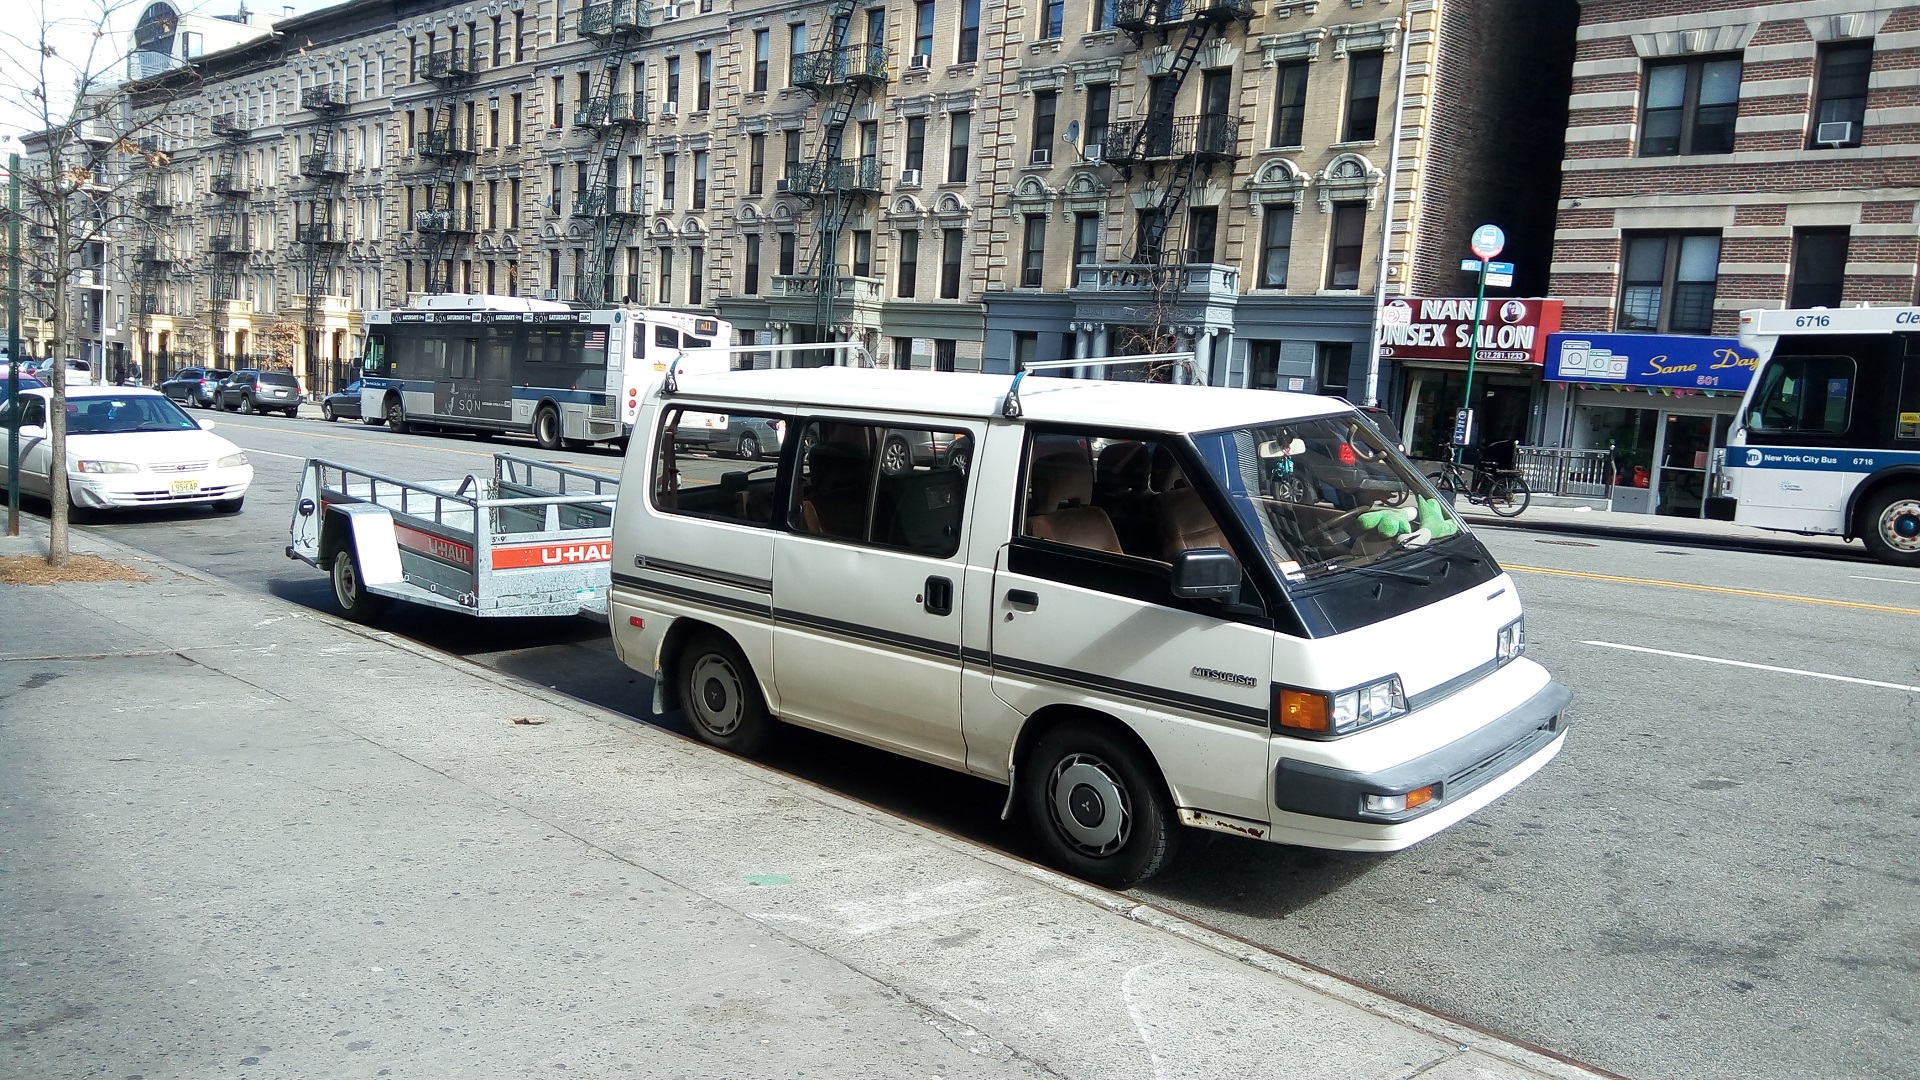
….Upper Manhttan!? Wait, this isn’t Harrisburg!

I needed lifting (bro) help, and all of my friends are gainfully employed and couldn’t head out on short notice on a weekday for a mission with an unknown completion date (van missions NEVER have a competion date!)

I thus enlisted the help of Cassandra, fellow van connoisseur , with the only issue being I had to take that trailer into Manhattan to pick her up. I don’t know which was more painful, threading a trailer through 133rd St., or paying that much money to New York State for the privilege. (The observant would note that maybe I could have gotten a 1-way trailer from Harrisburg; this would have cost much more than a two-day local rental. There are no miles kept on trailers, and I also wanted to make sure I got a feel for it on the way down)


On site in our favorite Waffle House parking lot. This Waffle House is my gateway to the South; it’s been part of every Dragon Con trip so far, usually in both directions. Leaving the Harrisburg Waffle House is like exiting the Panama Canal, or rounding the Cape of Agulhas.

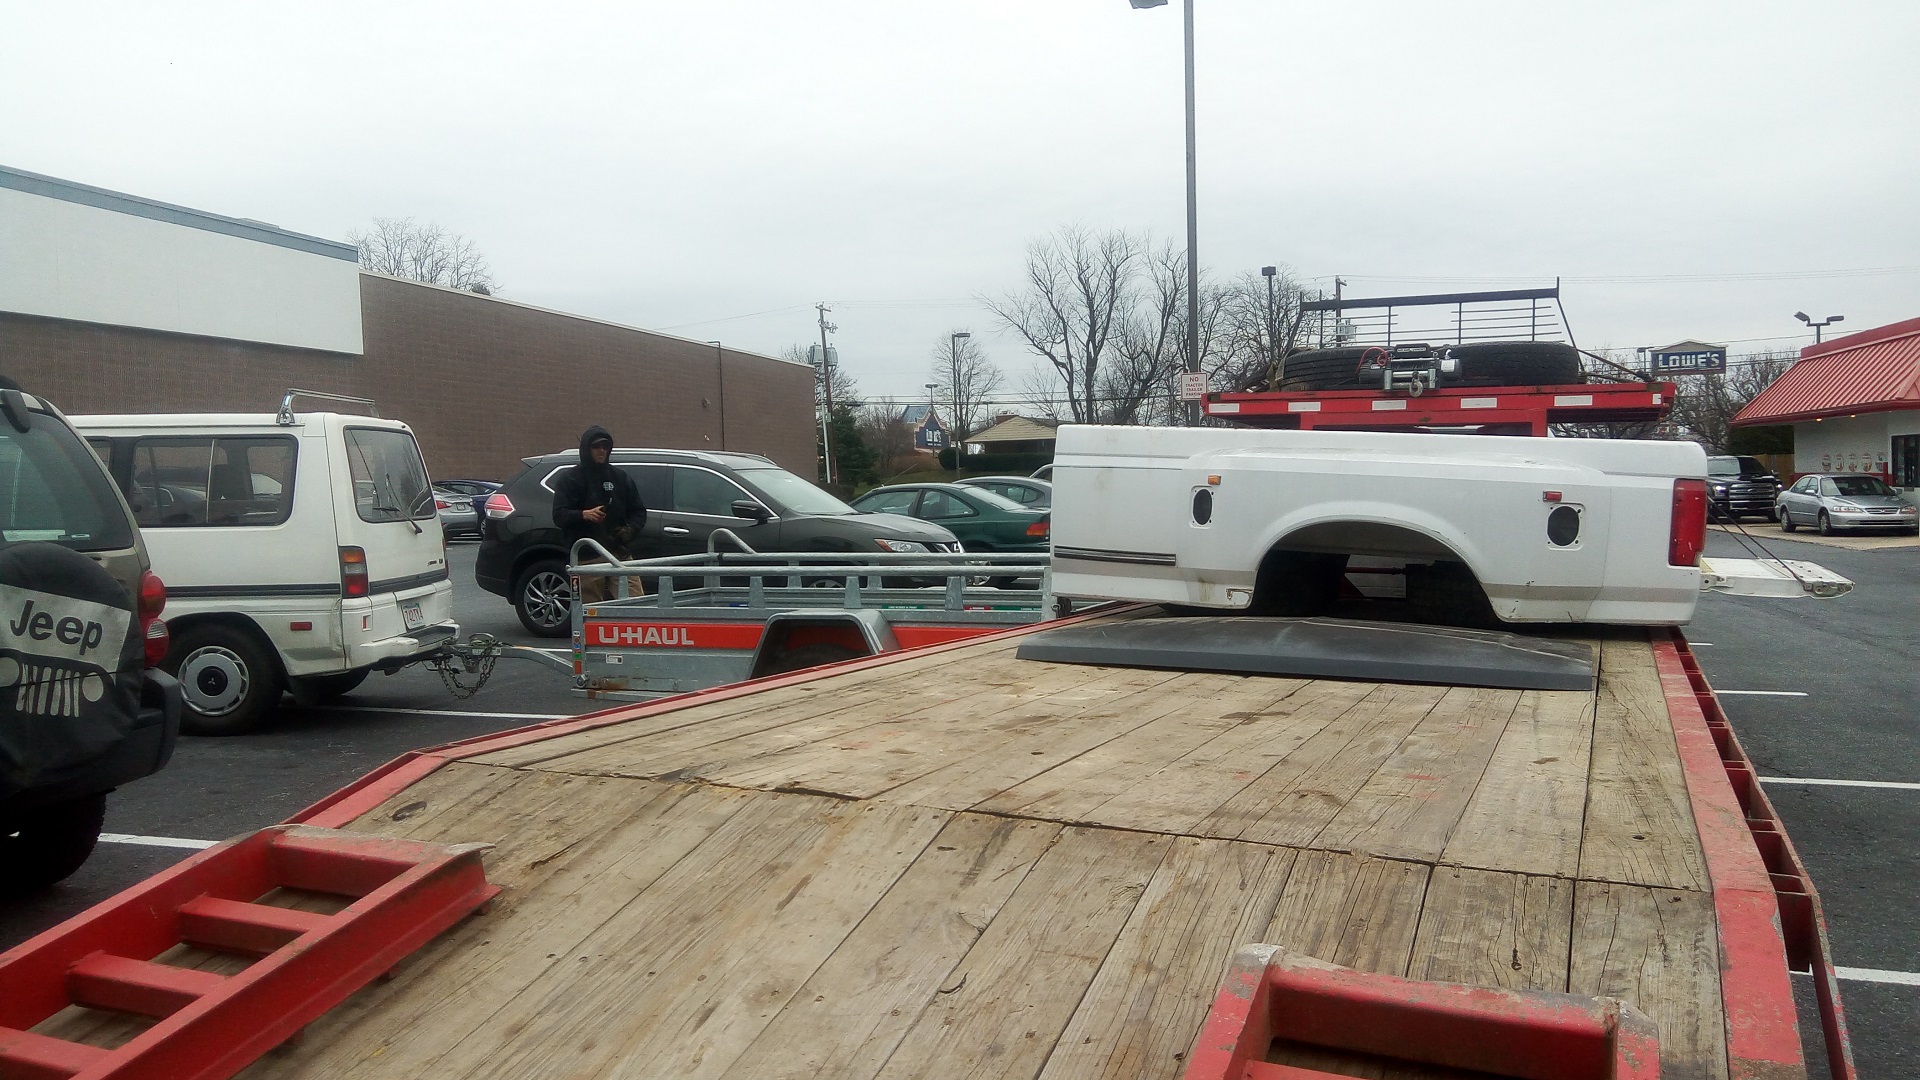
The seller showed up with the same red flatbed, just with less trucks on it. The transfer went quite smoothly – the U-haul trailer’s side rails were only a few inches taller than the flatbed, so less lifting than we both anticipated was needed, more sliding.

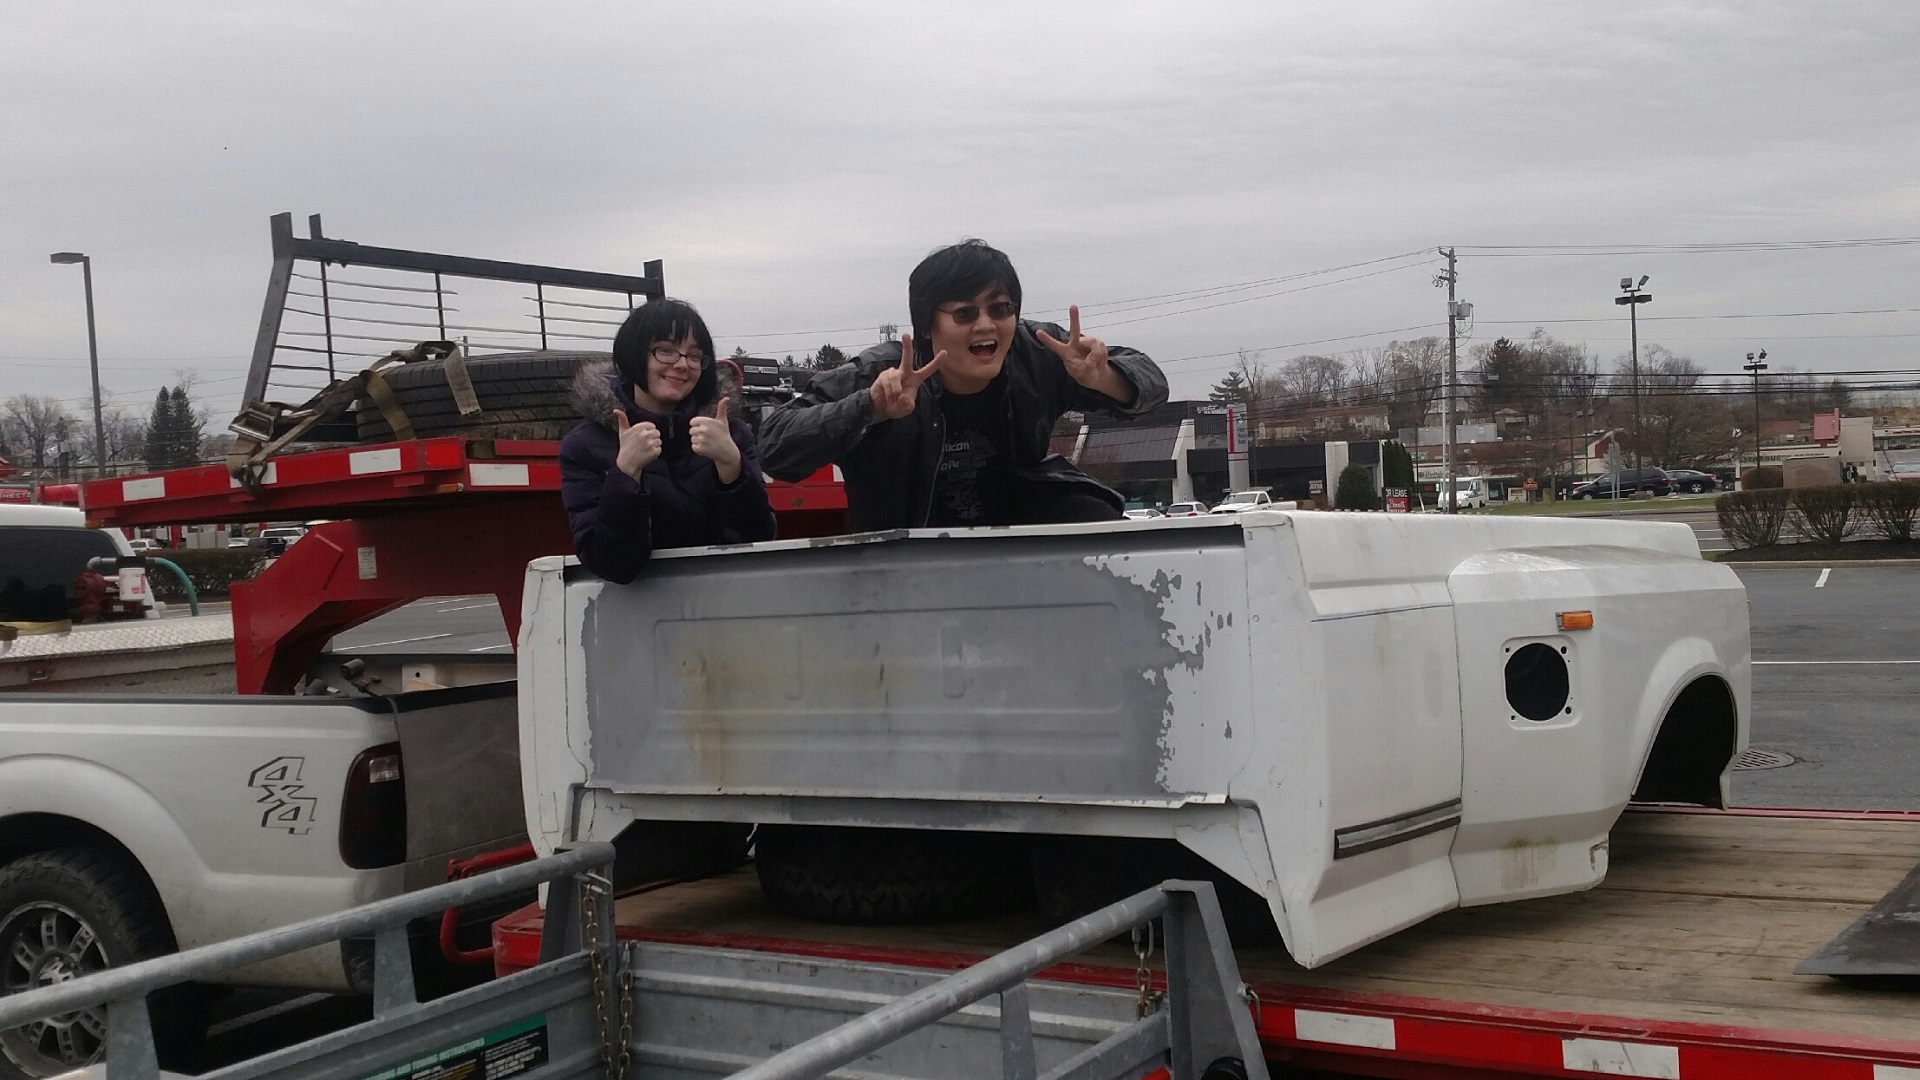
Here’s Cassandra and I posing for the glory shot.

Next, it was off to Lowes to pick up heavier-duty ratchet straps and a rubber floor mat to cut up and insert between the bed and the trailer’s side rails to prevent damaging the bed on the bottom.  I mostly rigged the bed straight down to hooks on the bottom of the trailer floor; this had the added advantage of looking like the bed is just hanging on for dear life to everyone else on the road, so hopefully they stay further away!

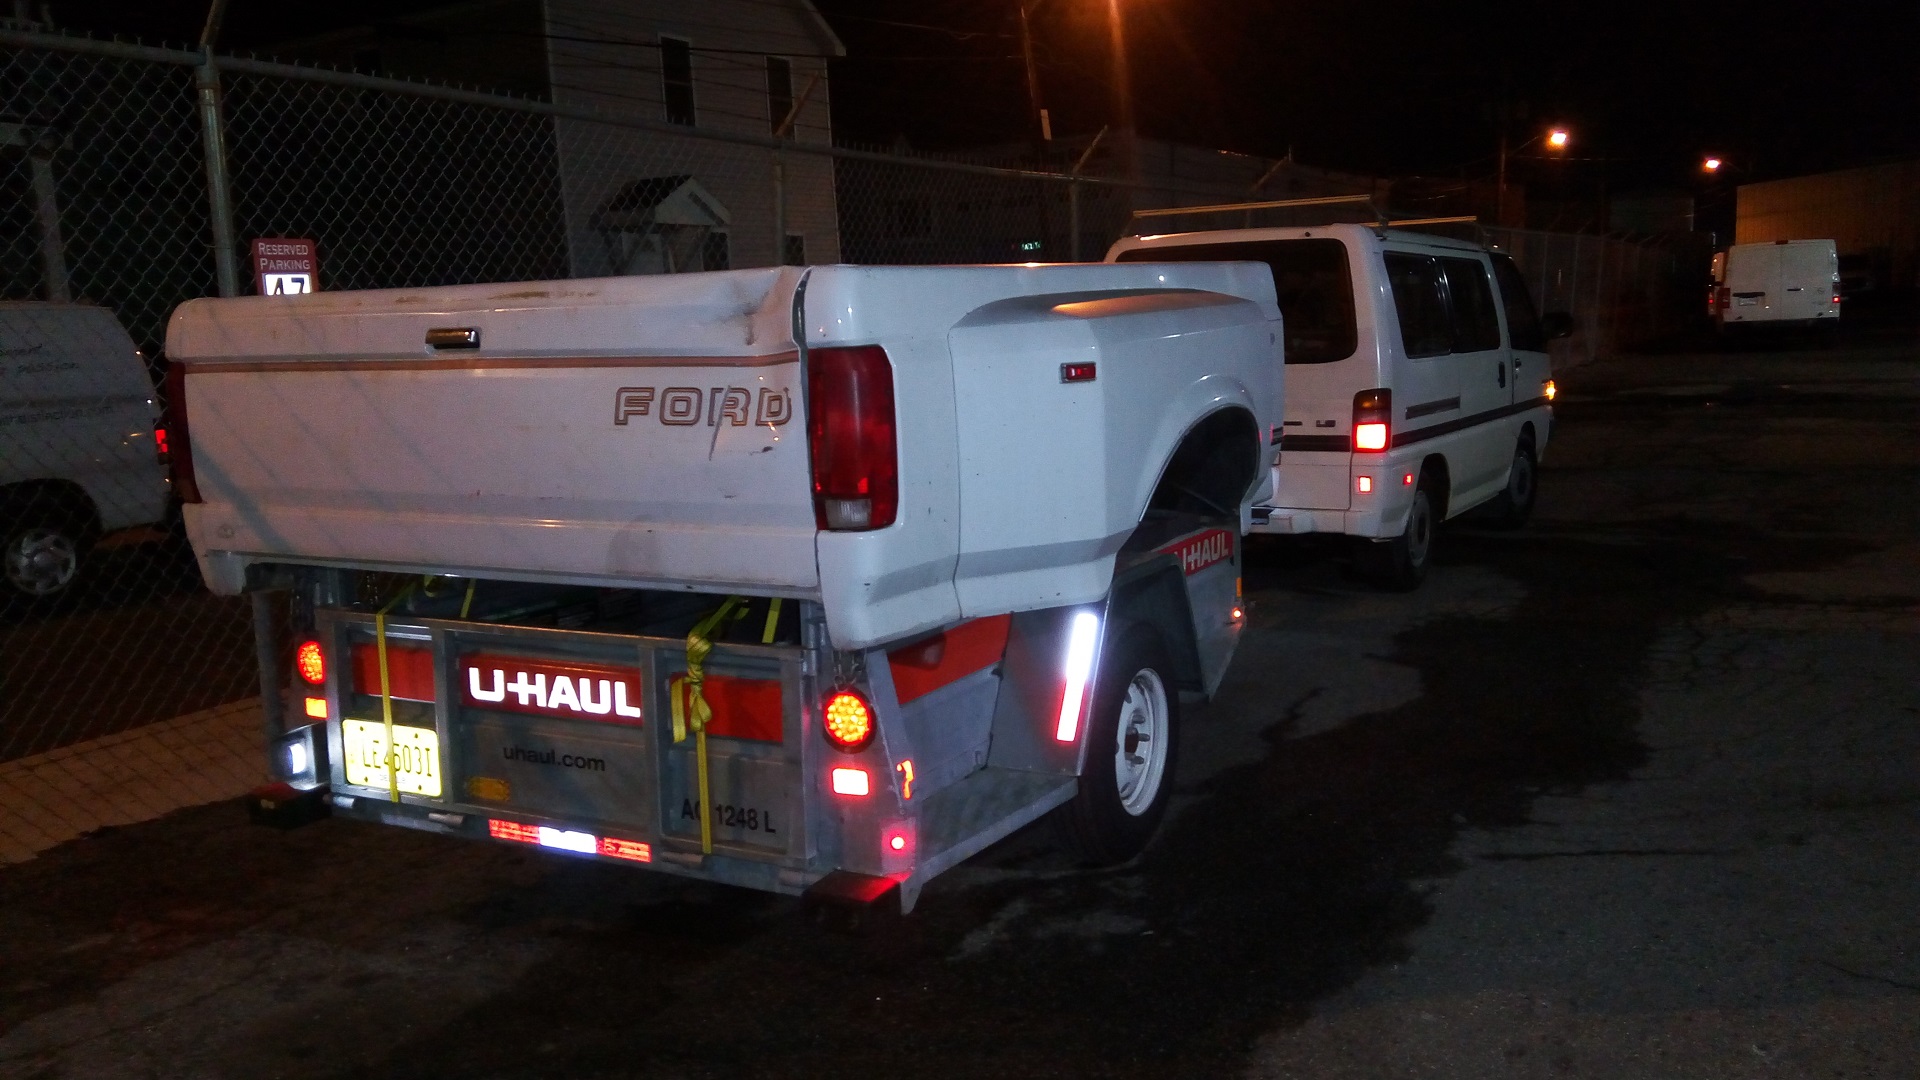
Not less than eleven hours later, I emerge on the other side of hyperspace in the warehouse parking lot. A typical Motorama return run takes 6.5 to maybe 7.

This was probably the single most stressful thing I’ve done in my life so far. The trailer itself was well behaved and did not wobble. Beyond that, I had zero rear vision. Day turned into night quickly after leaving Harrisburg, with a fucking rain front chasing me the whole way. Furthermore, the bed weighed a few hundred pounds on its own, and also presented a huge cross-section to the wind. It limited my speeds to generally 55-60mph just by being unable to power past it without hammering the engine the whole time, which put me square against all the 18-wheelers who wanted to go 75-80. And when they pass, the wind load would push the trailer a few inches sideways; Mikuvan of course lovingly and devotedly followed each time.

Then it came time to drop Cassandra off in Manhattan. So here I am, blindly driving a flying truck-ass through Manhattan and up the George Washington Bridge, at night, in the rain, with weeknight post-rush-hour traffic. People there don’t take kindly to that sort of thing. Are you fucking trying to kill both of us, or are you trying to make some kind of statement by buzzing me on the right? I have a flying truck-ass. You don’t.

I also couldn’t return through the Hutchinson and Merritt Parkways, which forbid trailers, so I had to fight it out on I-95 in Southern CT. By then, the rain had turned into sporadic mist and fog, so I was also working with reduced visibility; the only way I could tell there was an incoming semi was the soft yellow halo around the bed getting more intense, then getting shoved aside a foot. Let me tell you about when this happened on both sides at the same time as I was in the middle lane near Stamford.

Around 1AM east of Bridgeport, I decided to pull into a rest stop and regroup. Leaving there around 2AM, I got back into town at 4:30. I just sort of died mentally the day after. Sorry for not answering your calls about where your trailer is, U-Haul. You have my credit card info, now fuck off.


A day later, I drop the bed off at the mechanic’s! Things were gonna be AWESOME!

If only it were that simple. The next thing to hit me was tax season – let me tell you, the government is not pleased with me refusing to be a wage slave. Seriously, there’s not much love for the self-employed going on here. What it put me in was a situation where it was not adult-responsible to have a $6K project car build coming up. By the way, do you need something designed or prototyped? How about some Ragebridges?!


Not like they were having any more luck on their end. I asked them to prioritiz getting it running before any of the planned bodywork. After a carburetor rebuild did not resolve the sporadic running problem, I decided to cut my losses for the time being and asked them to stop work, and put it mostly back together so I could have it towed back to base. I didn’t want to run up more shop charges on something which hasn’t yet done anything consistently to diagnose. If it was going to become throwing parts at it, I’d rather take the time to do it myself.


I went over to help with the rigging of the replacement bed in preparation for a return tow. See, this is what I’d WANTED to do to get the bed in the place! Doing this at least made me feel better in one way: All the important exterior dimensions lined up. There might be some hope, then, that it is a drop-on replacement. Even if not, it 1. won’t be fugly, and 2. might only require some flat adapter plates.

The same night, I got a call from the truck driver that he was on the way over. I actually passed him going the other way:

Ah, nothing like watching your hopes and dreams pass by on a hook.

I spent the next few days pondering my priorities. Do I want a working vantruck, a white vantruck, or a Tesla-powered vantruck? These are almost 3 different goals. What if I just replaced each cylinder with a melon and a bevel gear?

I considered going to an aftermarket EFI conversion kit (like this!) first, as an intermediary step. You can’t begin to get me to trust carburetors, no matter what, even if it’s not the cause of the problem, which it looked increasingly like it wasn’t. At least that would bring it up to something in this millenium! However, I wanted to make sure I found the root of the problem before buying anything drastic.

Hell, I even considered the nuclear option of selling it as-is with the new bed attached (where-is?!). That would put me ahead financially and subtract a potential eternal project / rental liability from my life (as I’m not in a position or area where it’s easy to keep a non-running vehicle hanging around forever. Anyone have a front yard and some cinder blocks?)

but where is the fun in that

The great battle of the U.S.S. BROWN C. STENNIS continues. Stay tuned for more!