There seems to be a disturbing trend in all my recent projects of everything progressing smoothly and going right, then the whole project grinding to a halt at the last possible second before completion and being wholly unrecoverable without spending an additional hefty sum of money. Case in point: TB4.5-SP1 for Motorama had essentially half the robot become crippled the day before I had to leave for the tournament.
New case in point: Snuffles Reloaded half-existed for about 30 seconds before the motor controller failed. The failure is undiagnosed at the moment, but probably revolves around blowing a voltage regulator which then shot the controller logic with 35 volts.
Here’s some build pics from over the past few weeks, and the (95%) complete vehicle, along with the half-existance video.

As the mechanicals were nearing completion, I started playing with the electronics. The R/C airplane controller requires a 1 to 2 millisecond long pulse spaced every 20 milliseconds, which is a hobby industry standard for control signals. However, the electric bike throttle I was going to use puts out an analog voltage from 0.8 to 4.2 volts. This is, again, a different industry standard control signal.
I decided to use a microcontroller to translate between the two instead of the awesome ghettomongous discrete-part boardamathinger that I built for the first scooter. A bit of messing around with blinkenlichten on a MITERS STK500 and I was in business.
After playing with the analog-digital converter, I made the output LEDs act as a throttle display meter of sorts, for kicks. Full throttle, all LEDs lit, and they go out in sequence as I let off the throttle. I might actually implement this using a LED bargraph chip in the future.
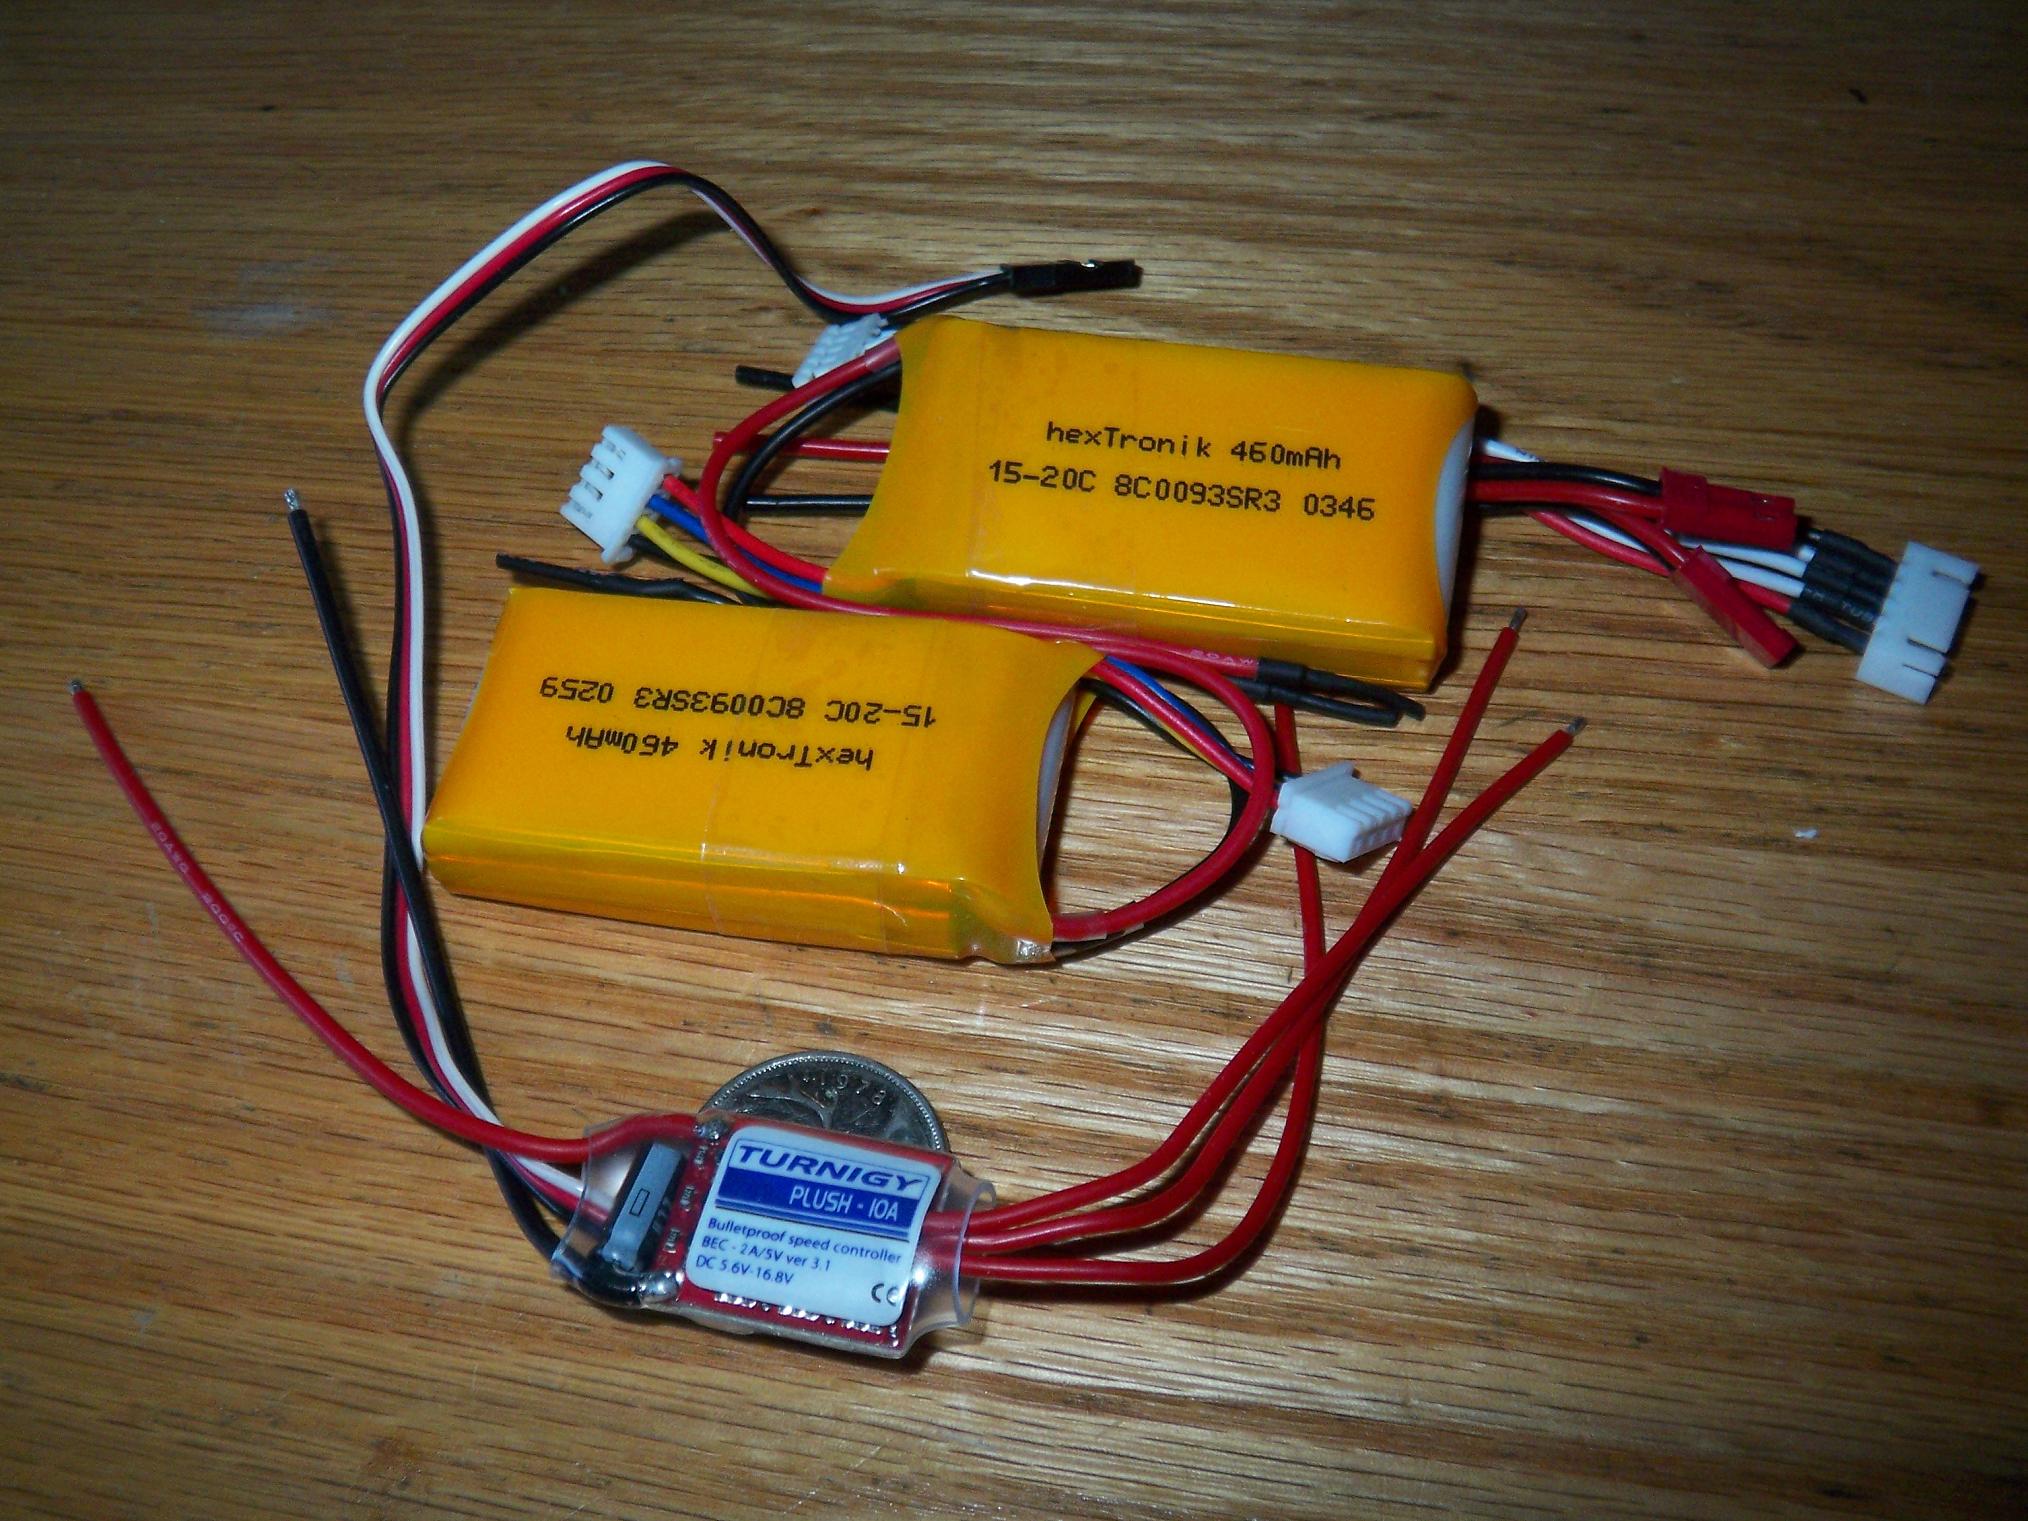
Next up was assembling the eight giant lithium-polymer cells without killing myself or burning down buildings.

To solder epic batteries, you need an epic soldering iron. Unfortunately, I couldn’t find the epic soldering iron I used at the Media Lab to assemble A123 cells, which are even more epic than my 4AH lipos. So if you do not have an epic soldering iron, you need an epic soldering tip.
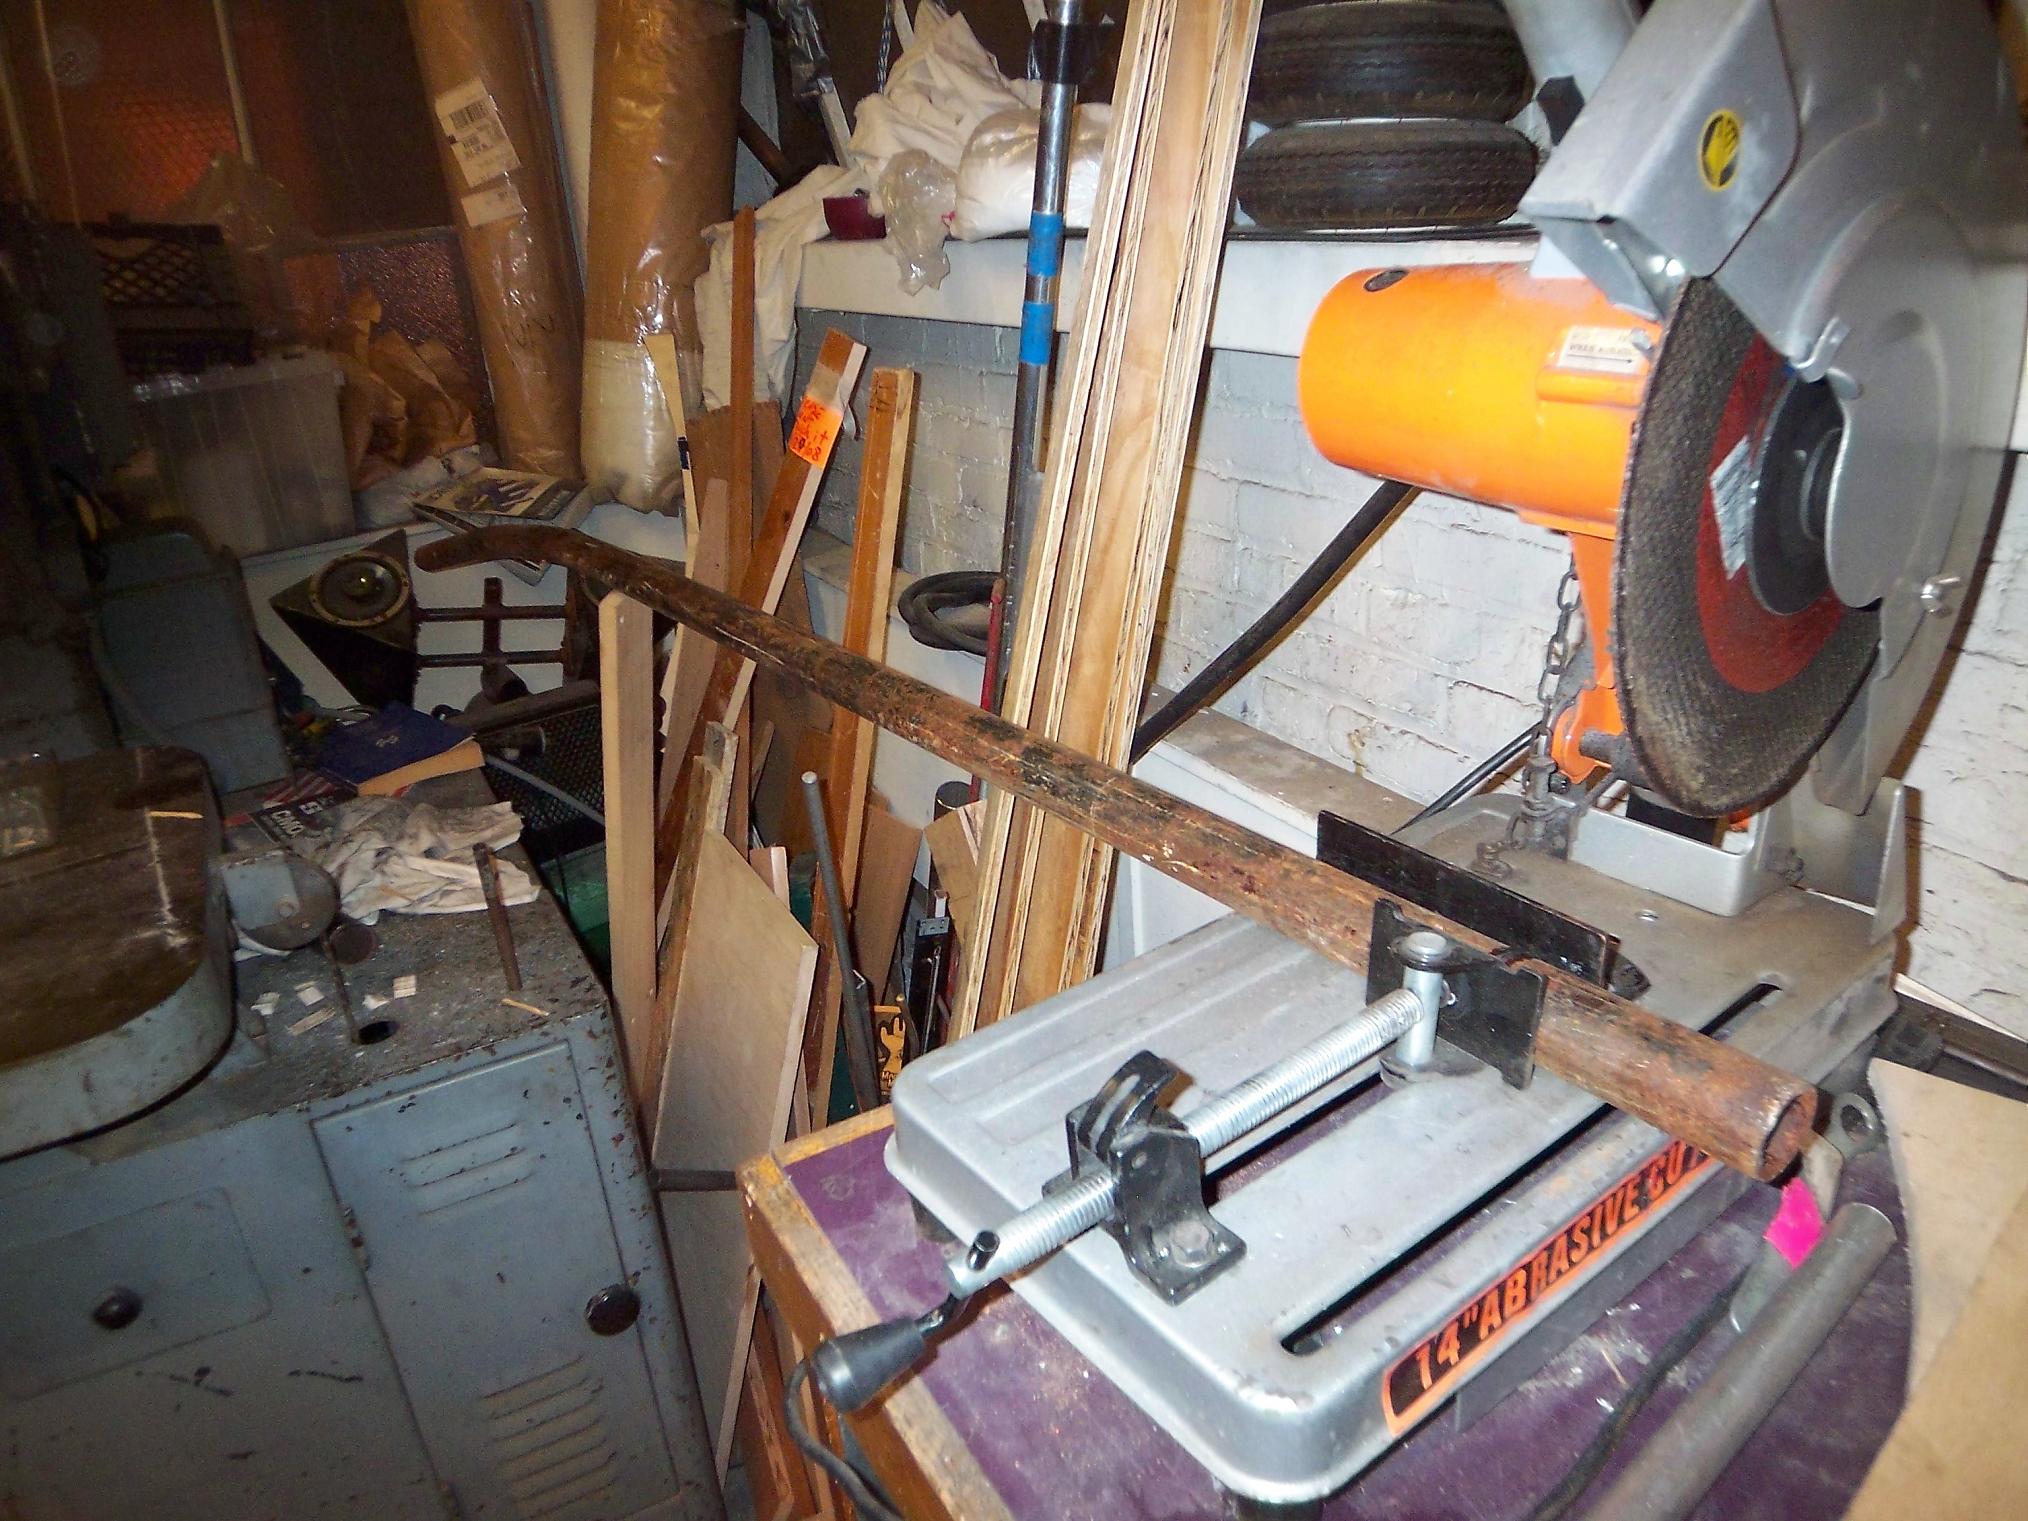
A scavenged rod of copper and some lathe time later, and I had an epic soldering tip which fit a Radioshack 40 watt soldering iron, which I do have. The whole thing is 2.5″ long and is .400″ in diameter at the larger half.
The brass one was for testing and practice, since a rod of copper is actually pretty pricey these days to just fuck around with.

The bottom battery pack completed after some careful iron maneuvering. The epic tip made the whole operation touch-and-go, exactly what you want for soldering batteries. You never want to park the iron on a battery cell for more than a second or two.
This was a bit of a risky operation since I was laying the cells face-to-face to conserve wiring volume. Normally, batteries like this are stacked and the cell tabs folded over one another. One wrong move with the massive solid copper tip and I was probably looking at replacing a cell.
After each joint was made (and its balancer lead installed), it was covered in electrical tape. When all the joints were completed, I slammed the whole thing in a tube of giant heatshrink and parked the heat gun over it.
Giant heatshrink should be a primary structural fastener. When it starts tightening down, everything inside sort of scrambles for the lowest volume configuration, and the end result is a very neat package of parts. The pack was embedded into its mount with some also primary-structural double-sided tape.
This pack constitutes cells number 5 through 8. The balancer lead is a standard 3-pin R/C servo plug, which serves the interconnects between cells 5 and 6, 6 and 7, and 7 and 8.

And the test assembly. The connectors fit into the LASER-cut acrylic endcaps as they should, and some CA glue retains them.

Building the internal electronics bay was more interesting, since I had to fit batteries, large power wiring, a controller, a switch, the charging port, and all associated connectors inside. I cut out a rectangular piece of aluminum as the substrate (way to go, conductive mounting surface?). Originally, it was going to be flanged and shaped with a sheet metal machine to accommodate the parts, but I decided to not get fancy and just mount everything with double-sided tape or epoxy.
The same procedure of soldering and wrapping was done to the 4 internal cells (#1 through #4), with the exception that their balancer leads went straight to the Convenient DB-9 Connector of Cell Balancingâ„¢. An 8 cell pack requires 9 pins to be fully tapped. Guess what has 9 pins?
Three of the DB9 pins went to the rear of this pack, where they met with an R/C servo pigtail which connected the back half of the pack to the balancing port. Two large power wires also connected to the bottom battery pack, one of which is the 0v (ground) line, and the other an interconnect between cell 4 and 5.

After everything was assembled, it was time for a test run. Verdict: It moves.

Some shoving and… it fits! To install the thing, I had to take off the folding hinge, cram the assembly through to the back side about halfway, insert the folding hinge nut plate, then slide it in the rest of the way. The nutplate sat snugly above the controller, but not enough as to pinch wiring. This precision engineering part of the build came out (went in?) great.

Before I fitted the internal electronics, I threw together a source of 5 volts for the motor controller. It is an opto-isolated controller, and so needs separate logic and power rails. This was a simple 7805 regulator jammed in the empty space between the controller and switch.
Here’s an assembled-on-the-table test run video (.MOV, 4.8 megs) using the creepy custom throttle interface device. The mechanical noise is from the completely unbolted and unclamped motor and chassis resonating on the table.
Unfortunately, this regulator would ultimately cost me all the work for the past few nights and a good bit of money. Protip: A linear regulator cannot drop such a huge percentage of its input voltage and output any appreciable current. I was most likely hitting the top end rating of the 7805, around 35 volts, and expecting it to output a solid 5 volts with at least 100 or more milliamps of current. Shortly after the video was taken, some things went pop.
My best guess is that the controller logic board was hit with the full 30+ volts of the battery. A switching regulator, or even two stages of linear regulators (inefficient, but hey), even mounted externally, would have prevented this disaster.
Anyways, here’s a pic of the almost-running vehicle.

The ’empty weight’ is probably around 13 or 14 pounds. Yes, I had to remove the rear brake in order to pass the motor cables – perhaps it would have been better to route them externally. But who needs brakes anyway?!
Regardless, there’s 29.6 volts of 4AH lithium polymer cells, a (former?) 100 amp motor controller, and a very chunky brushless motor shoved into the space of a Razor scooter. I think it’s pretty damn awesome just for that.
I will need to get a new motor controller and devise a new solution to get a stable 5 volts out from the battery pack before the vehicle will run. Seeing as how this will easily cost over $100, it might have to wait a bit. Possibly a long time – we’ll have to see.
Here’s a closer shot of the undercarriage, which houses all the interesting bits.

In the mean time, finals! Bot on, folks, while I attend to these…uhh, pressing matters.