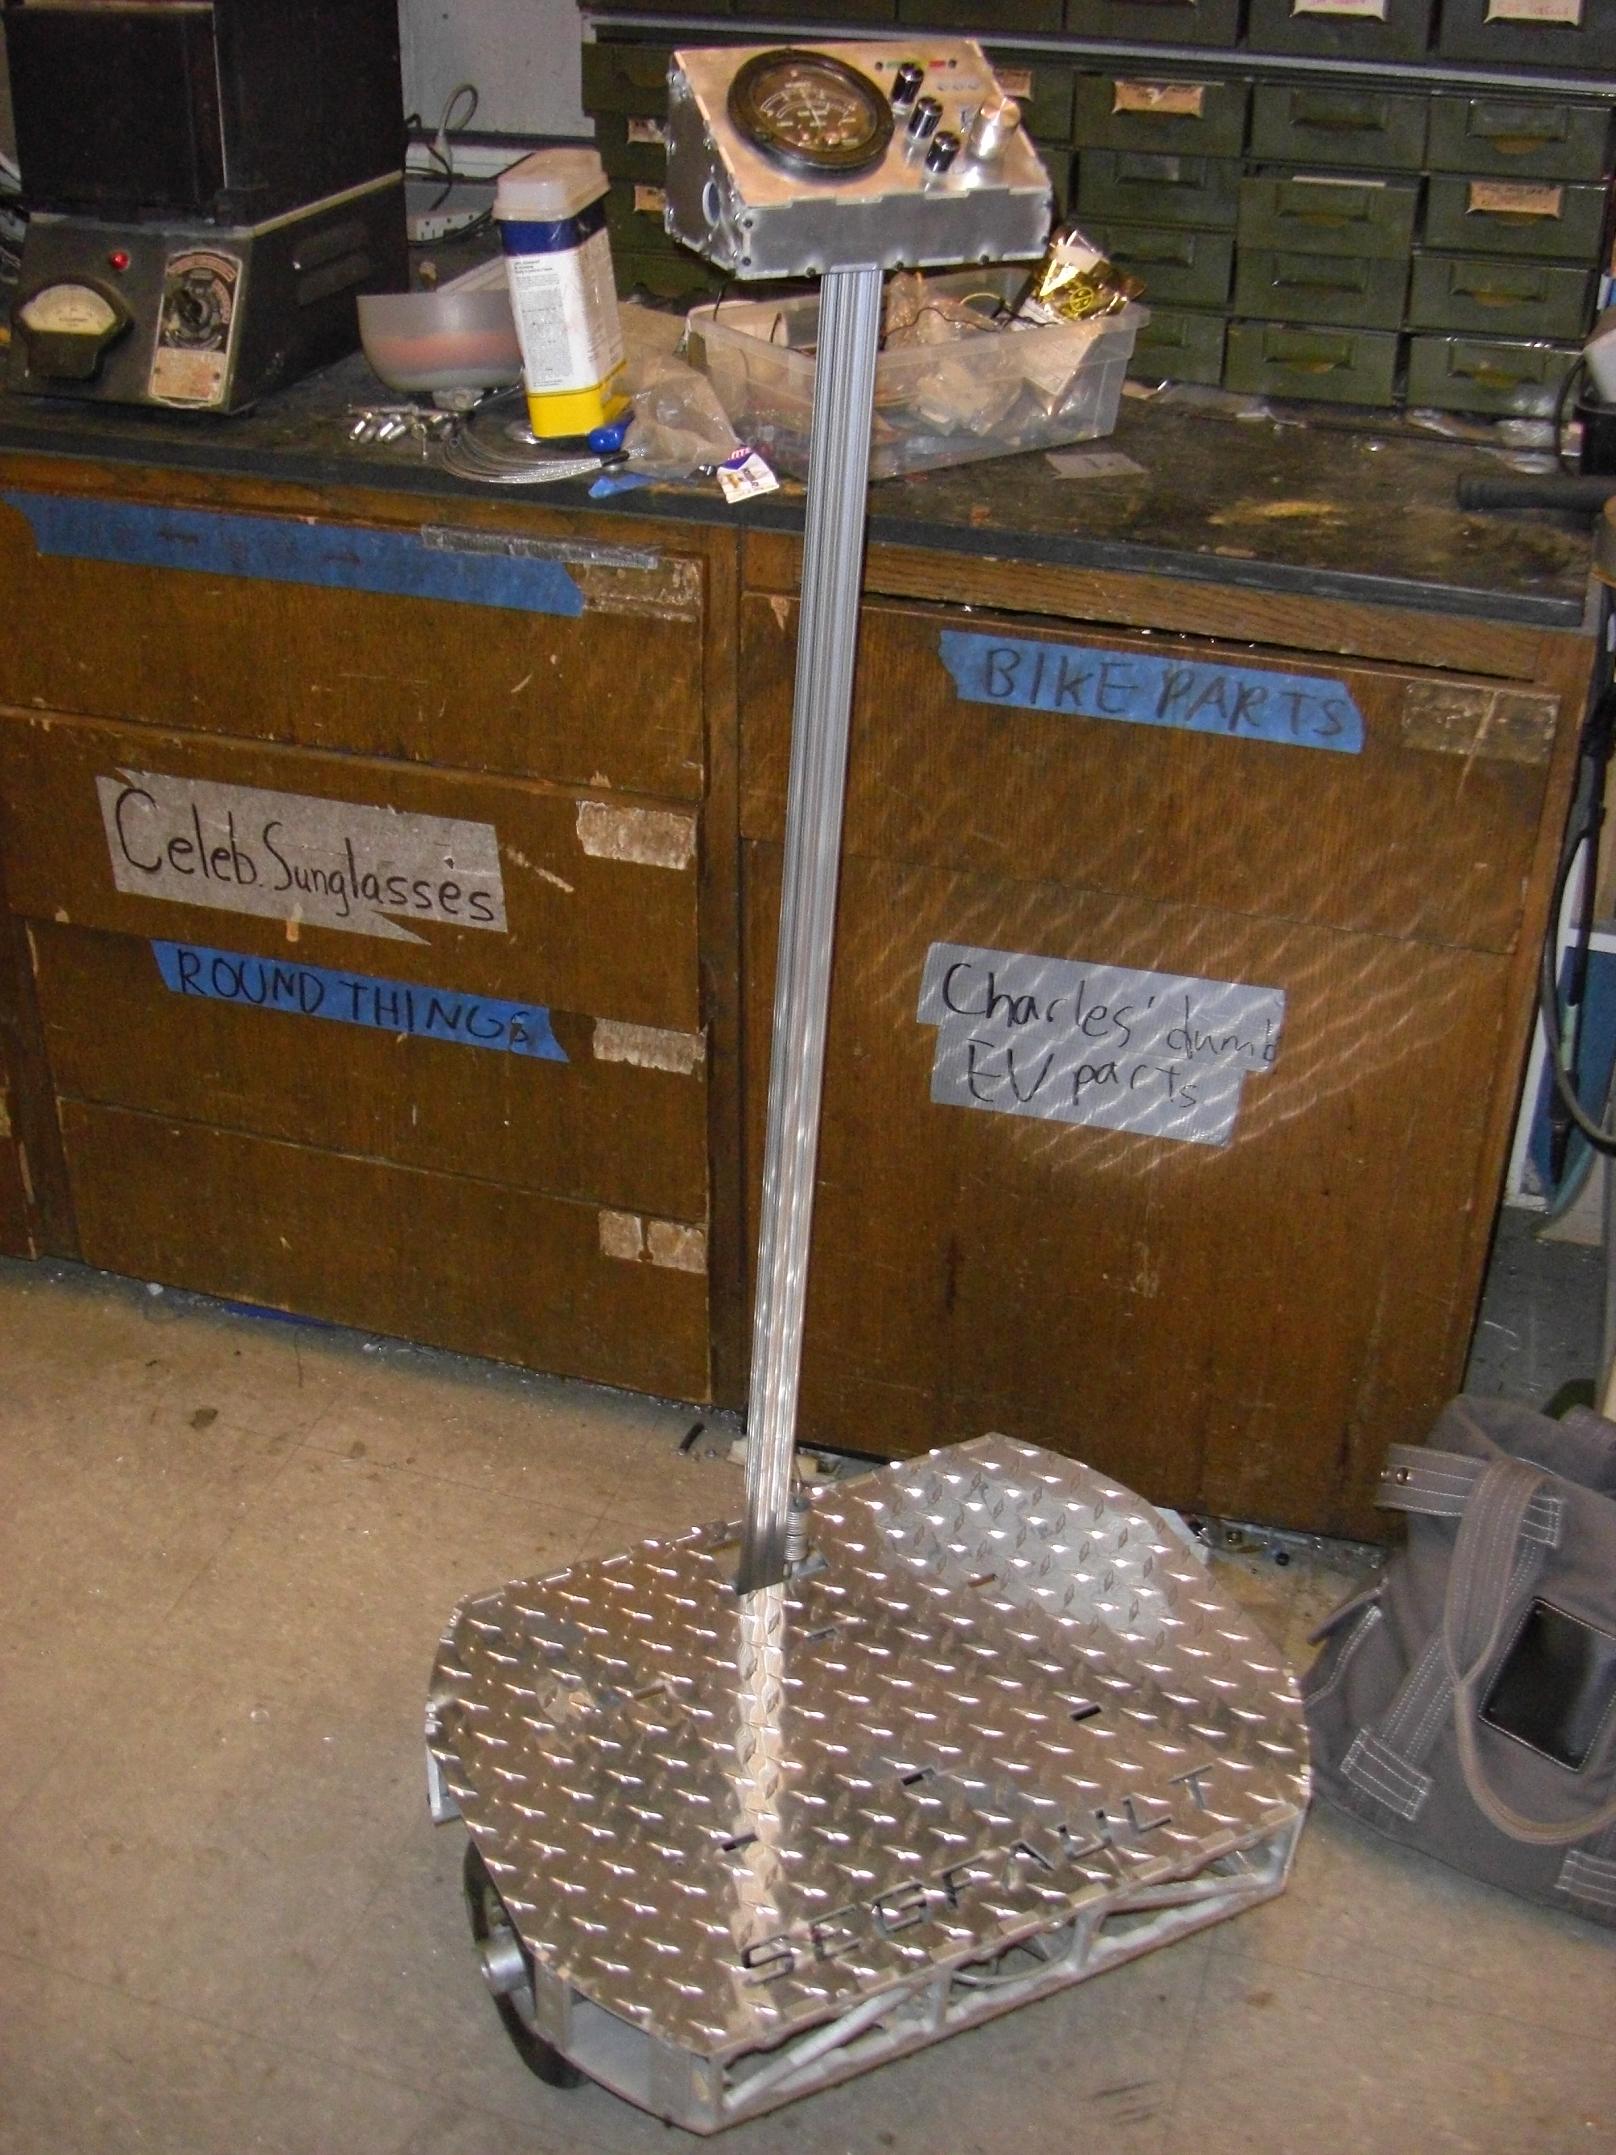
You can’t have drive wheels without hubs. Before I slinked back to Atlanta for two weeks, I wanted to get Segfault at least off the ground on its own two wheels. I have yet to actually lay out the control electronics or devise a way to center the steering column.That will probably happen after I return, since I’m not taking all of MITERS with me (but I’m guaranteed to, given the opportunity, trust me.)
To make large wheel hubs, you need large chunks of metal.
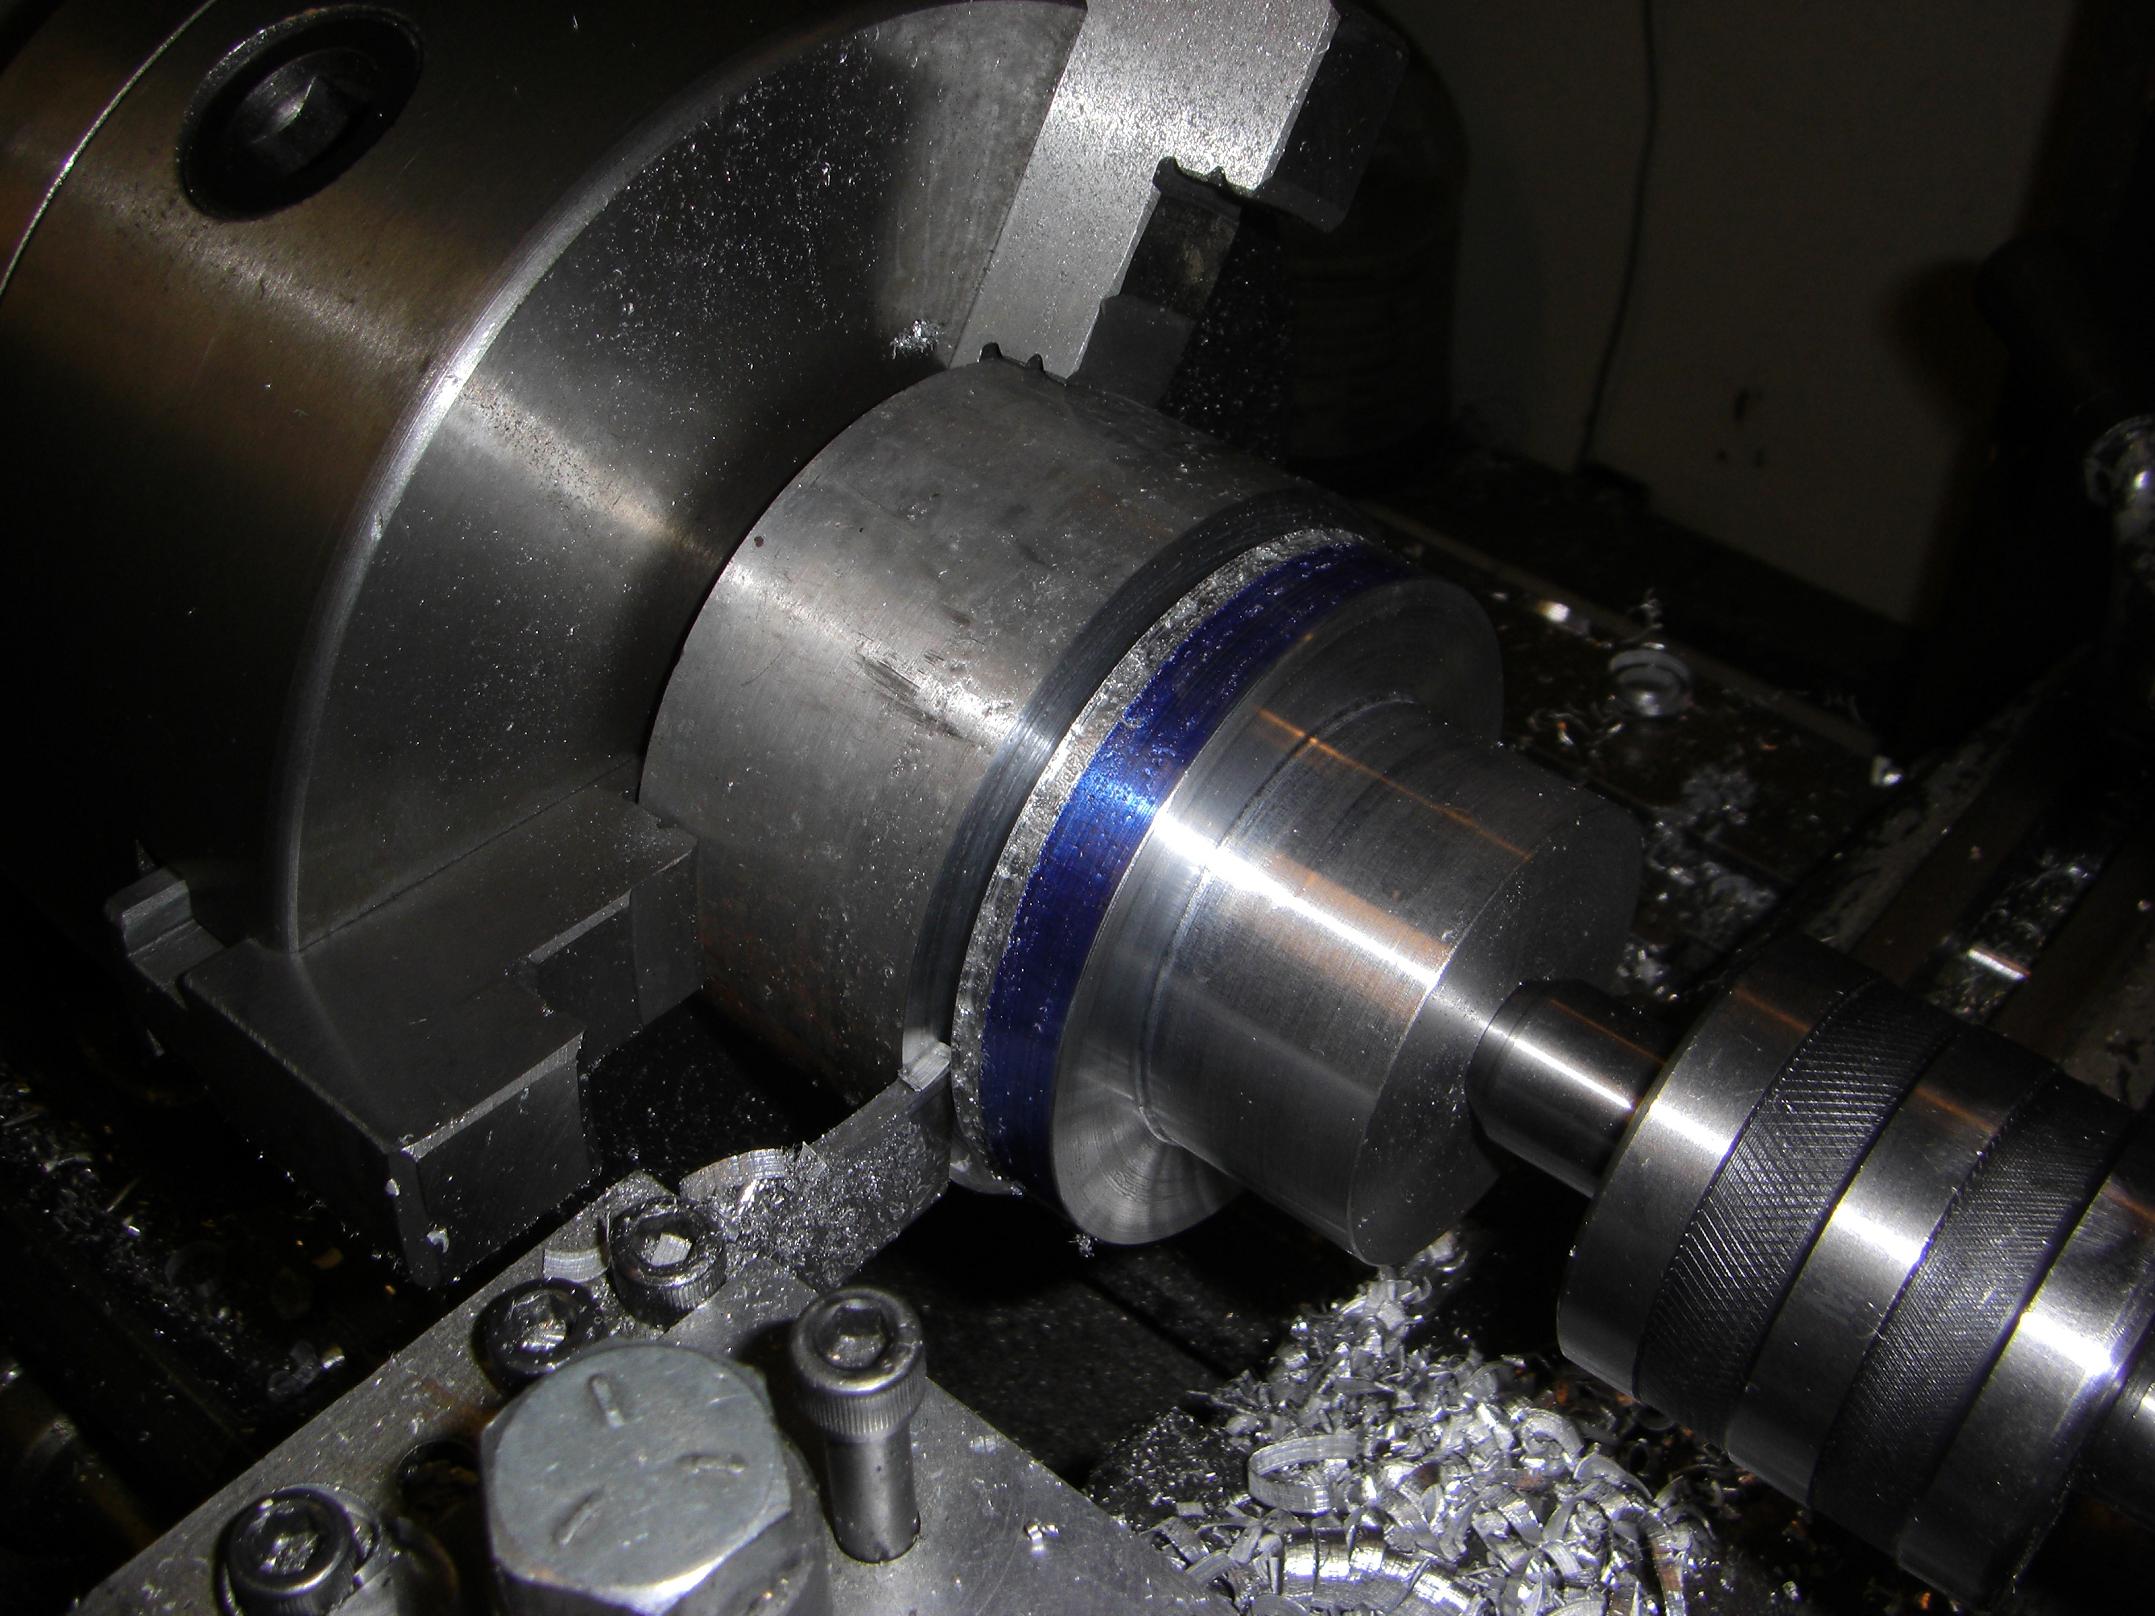
Which I have plenty of. The hubs were designed on the fly and are made from a 3″ diameter round of aluminum. I quickly popped off the basic shape and external features on the MITERS Old Mercedes (so called because of its completely beat-to-shit but flawlessly reliable nature) before transferring to the mill to drill the bolt circle.
Here’s an idea of the fit. After putting in the bolt circle, I took a trip over to the Formula SAE team shop and borrowed a keyway broach. The KOOOOOOOOOOOOOOOOLmorgen motors have a 1/2″ keyed shaft, and I figured that using the existing keyway was better than hacking my own solution, or keypepgging.
No design of mine is complete without a Giant Set Screw. So here it is, sitting directly over the keyway. I discovered that the Bridgeport spindle has enough rotational inertia in low gear to crank a 1/2″ tap through half an inch of aluminum just by coasting.
That is why I am dismayed by “miniature” machine tools.
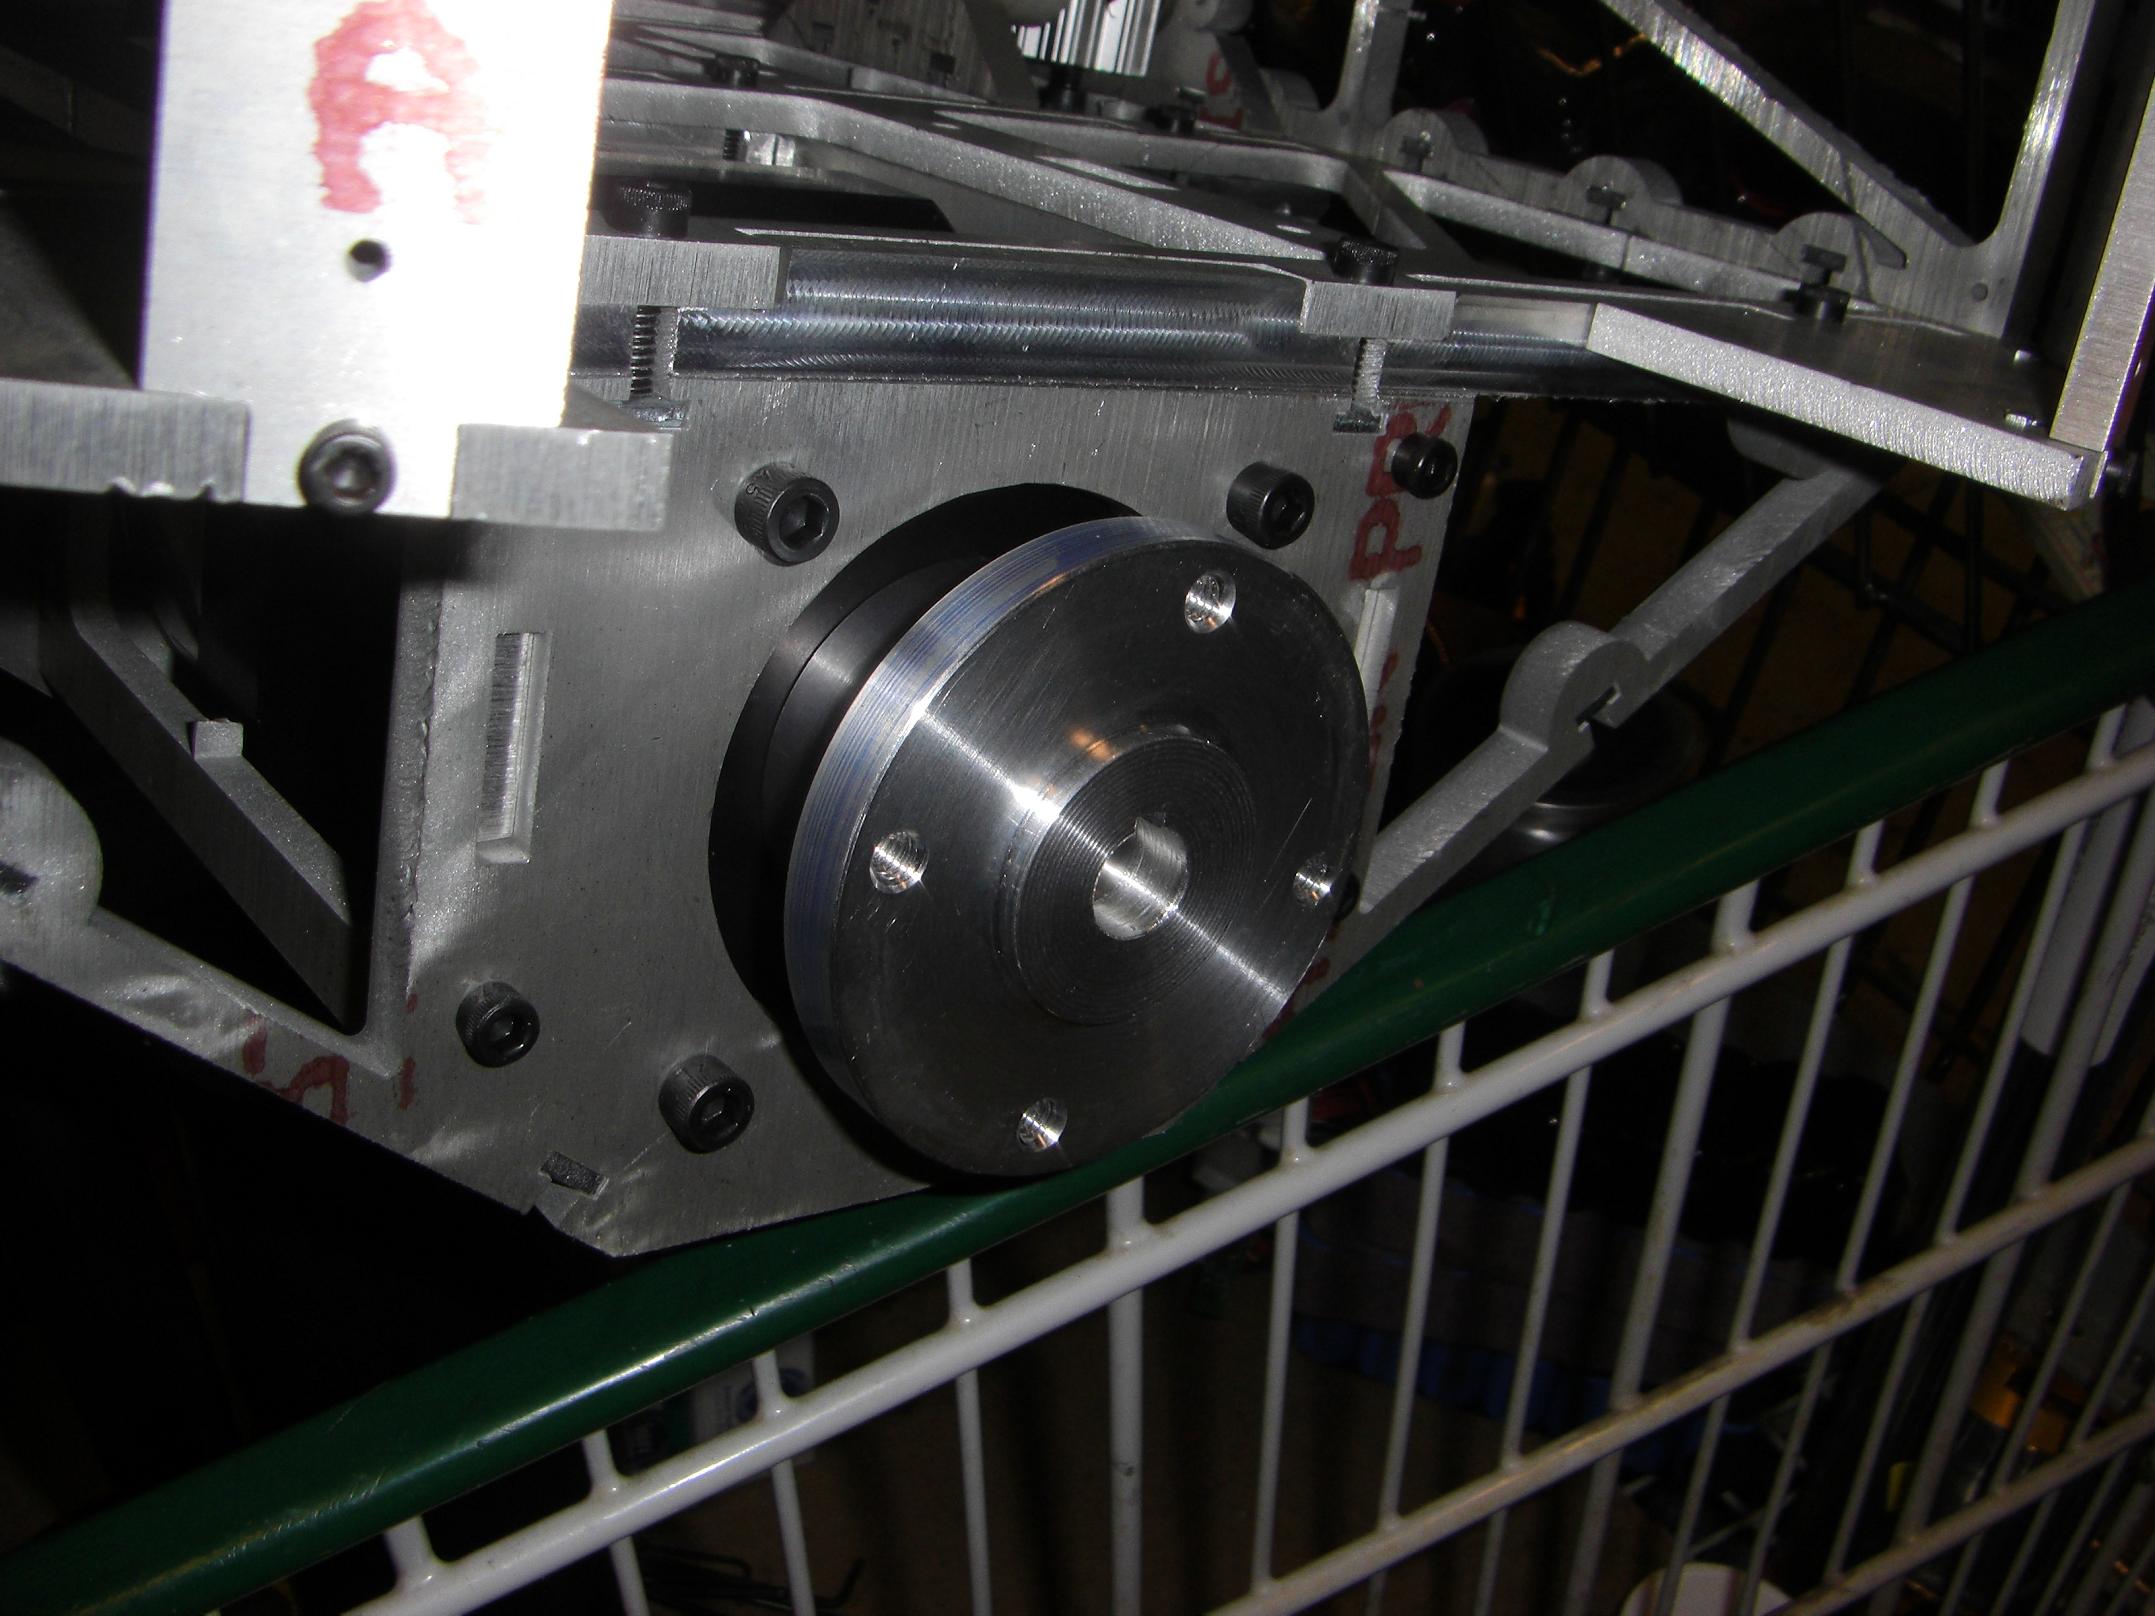
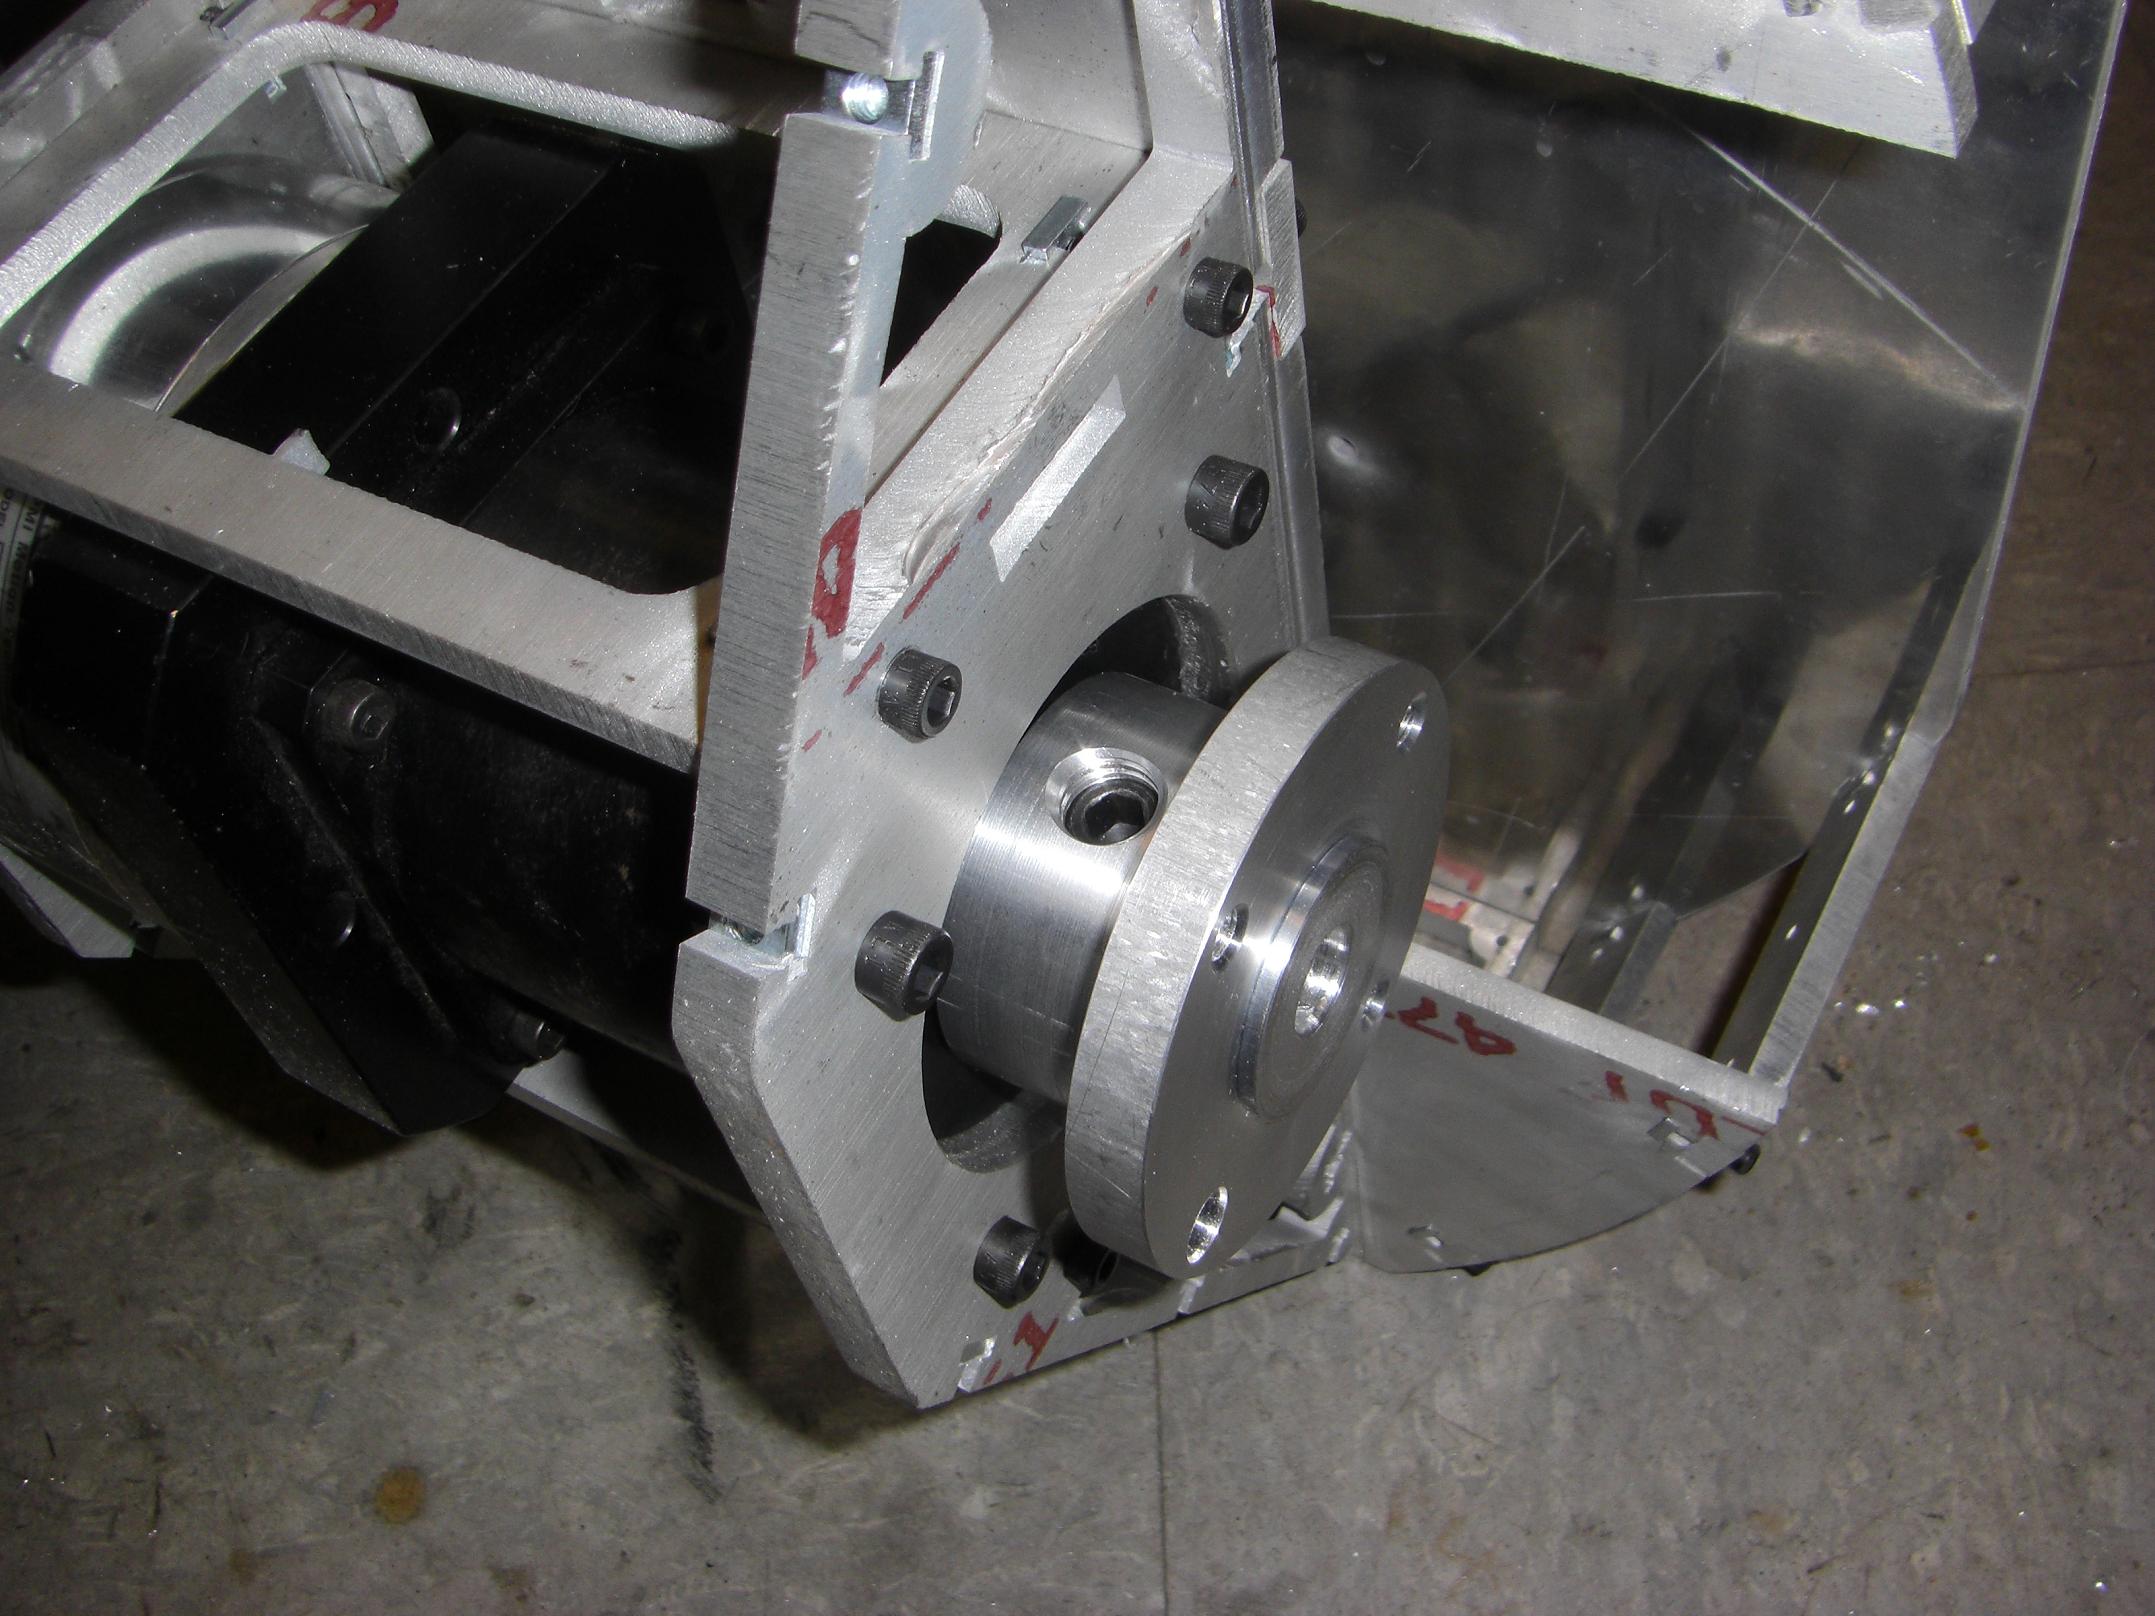
The wheels bolt on and…
AAAAAAAAAAHHHHHHHHHH
IT’S BALANCING ITSELF!
No, just kidding.
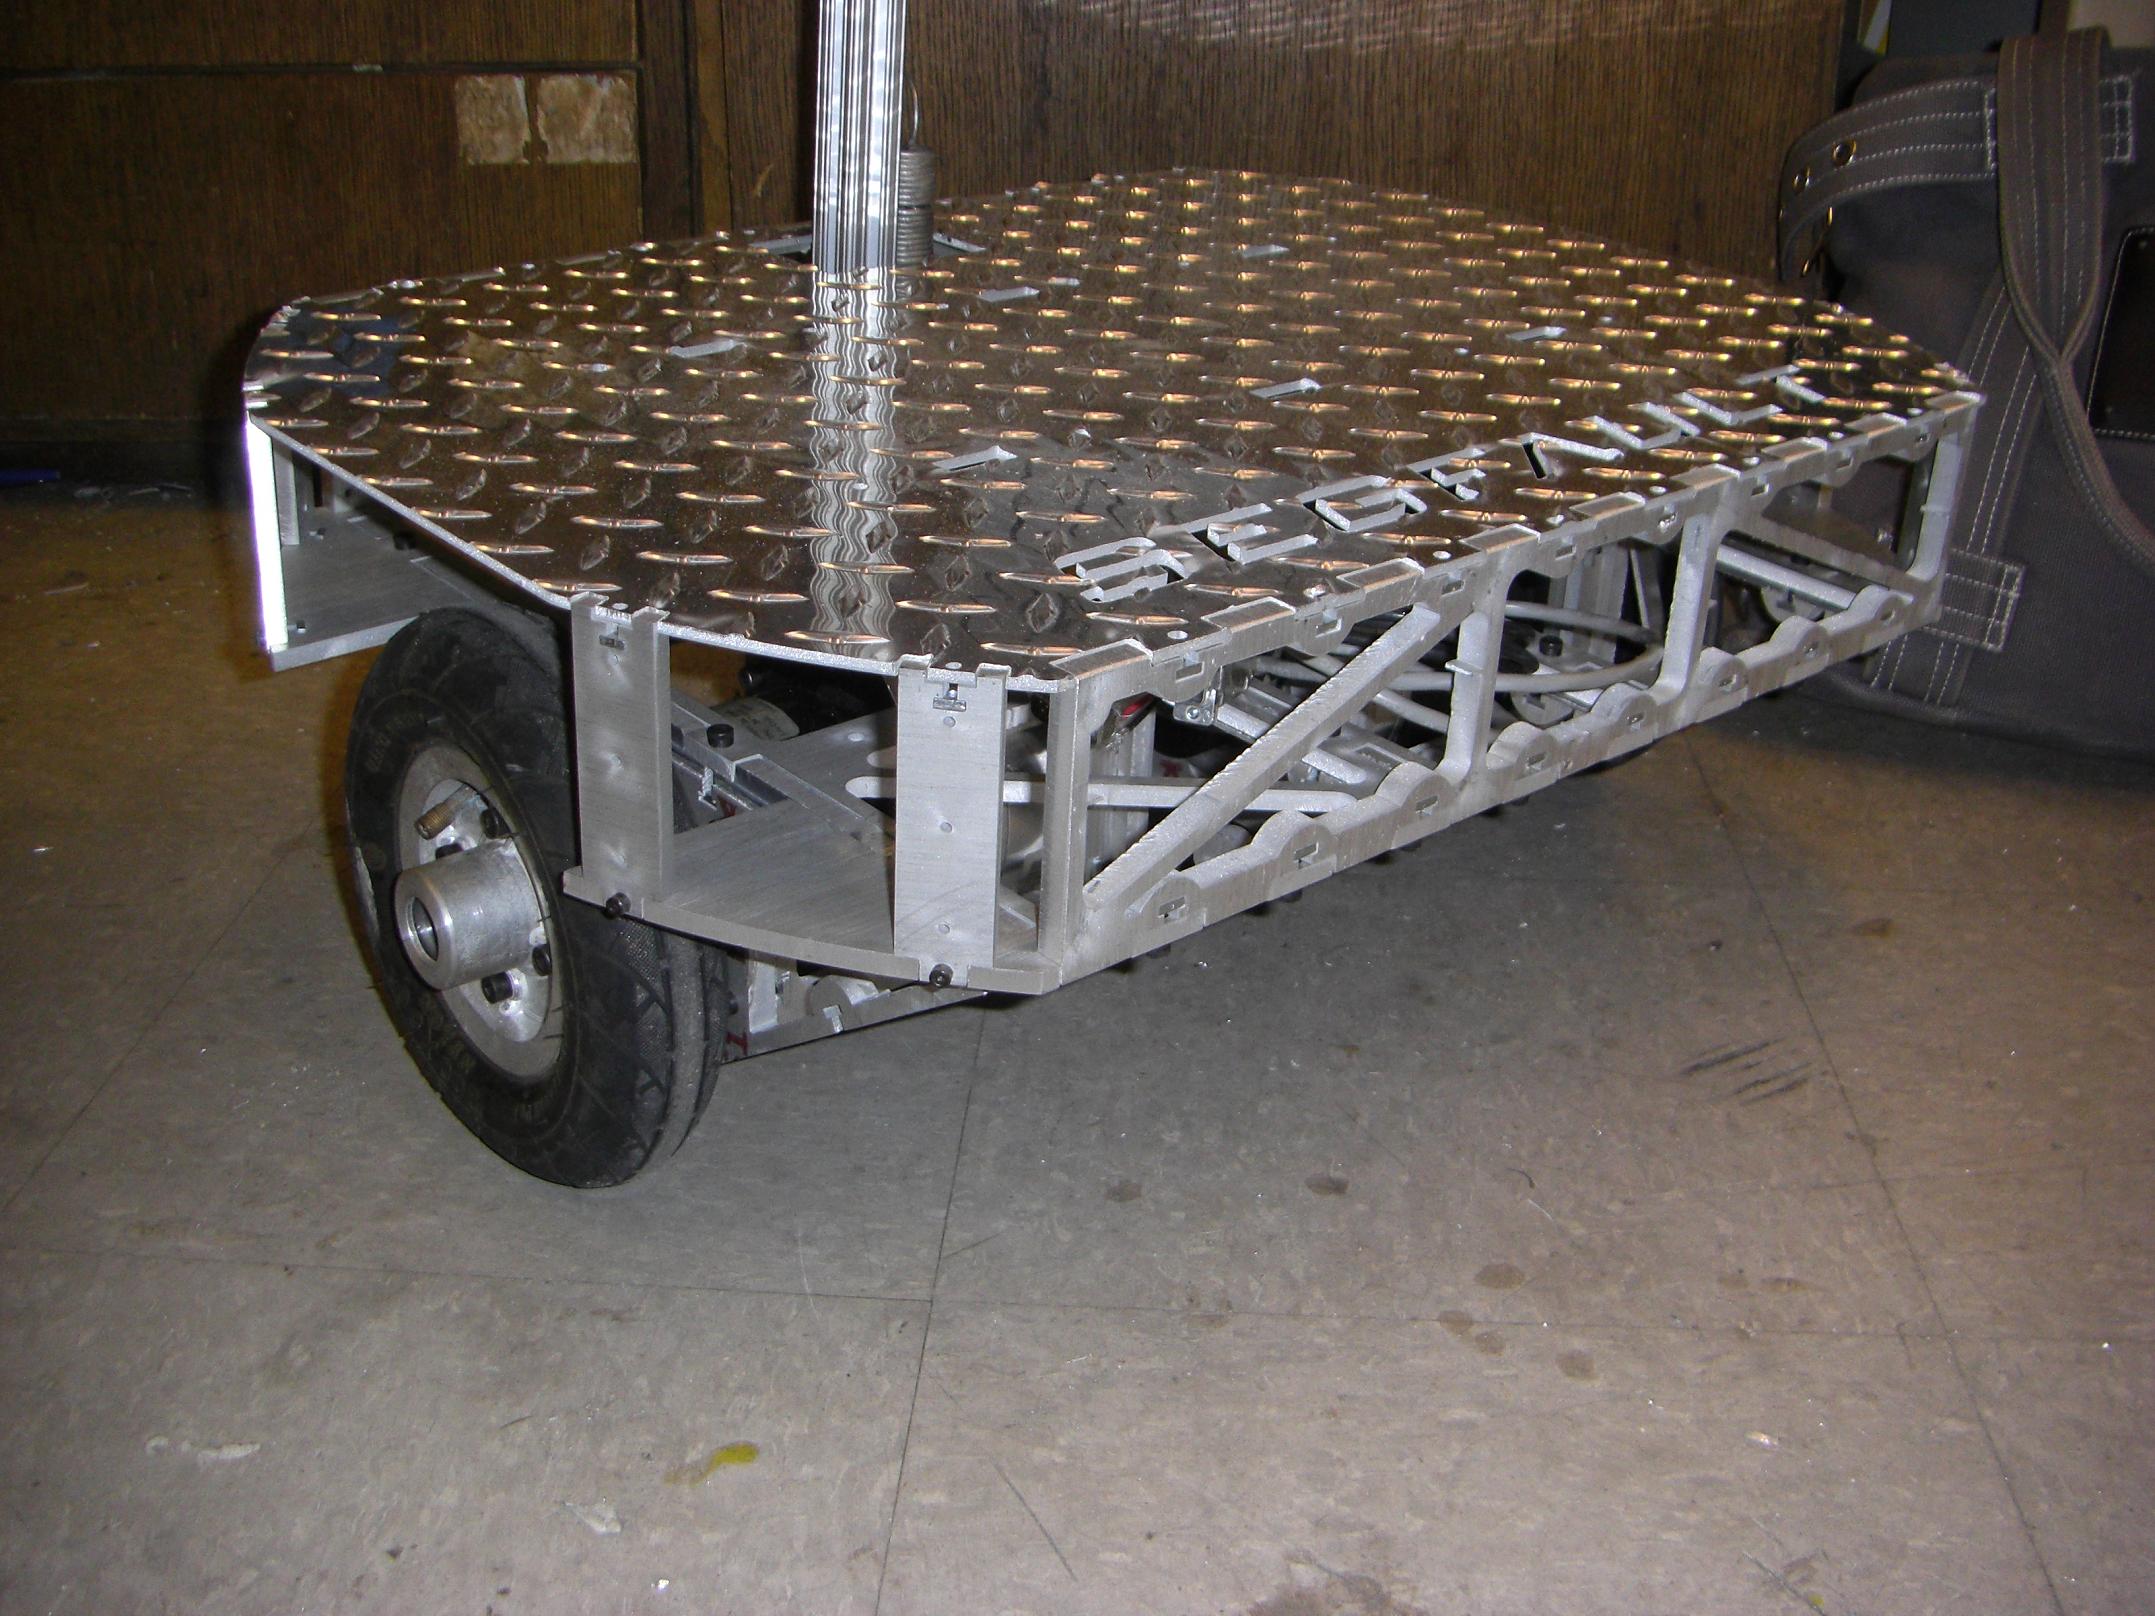
Here’s a view of the drive wheels, as featured in an earlier episode of Charles’ Amusing Non-Academic Distracting Adventures (CANADA). There is no additional support past the motor shafts, so here’s hoping those KOOOLmorgen motors have really stiff bearings.
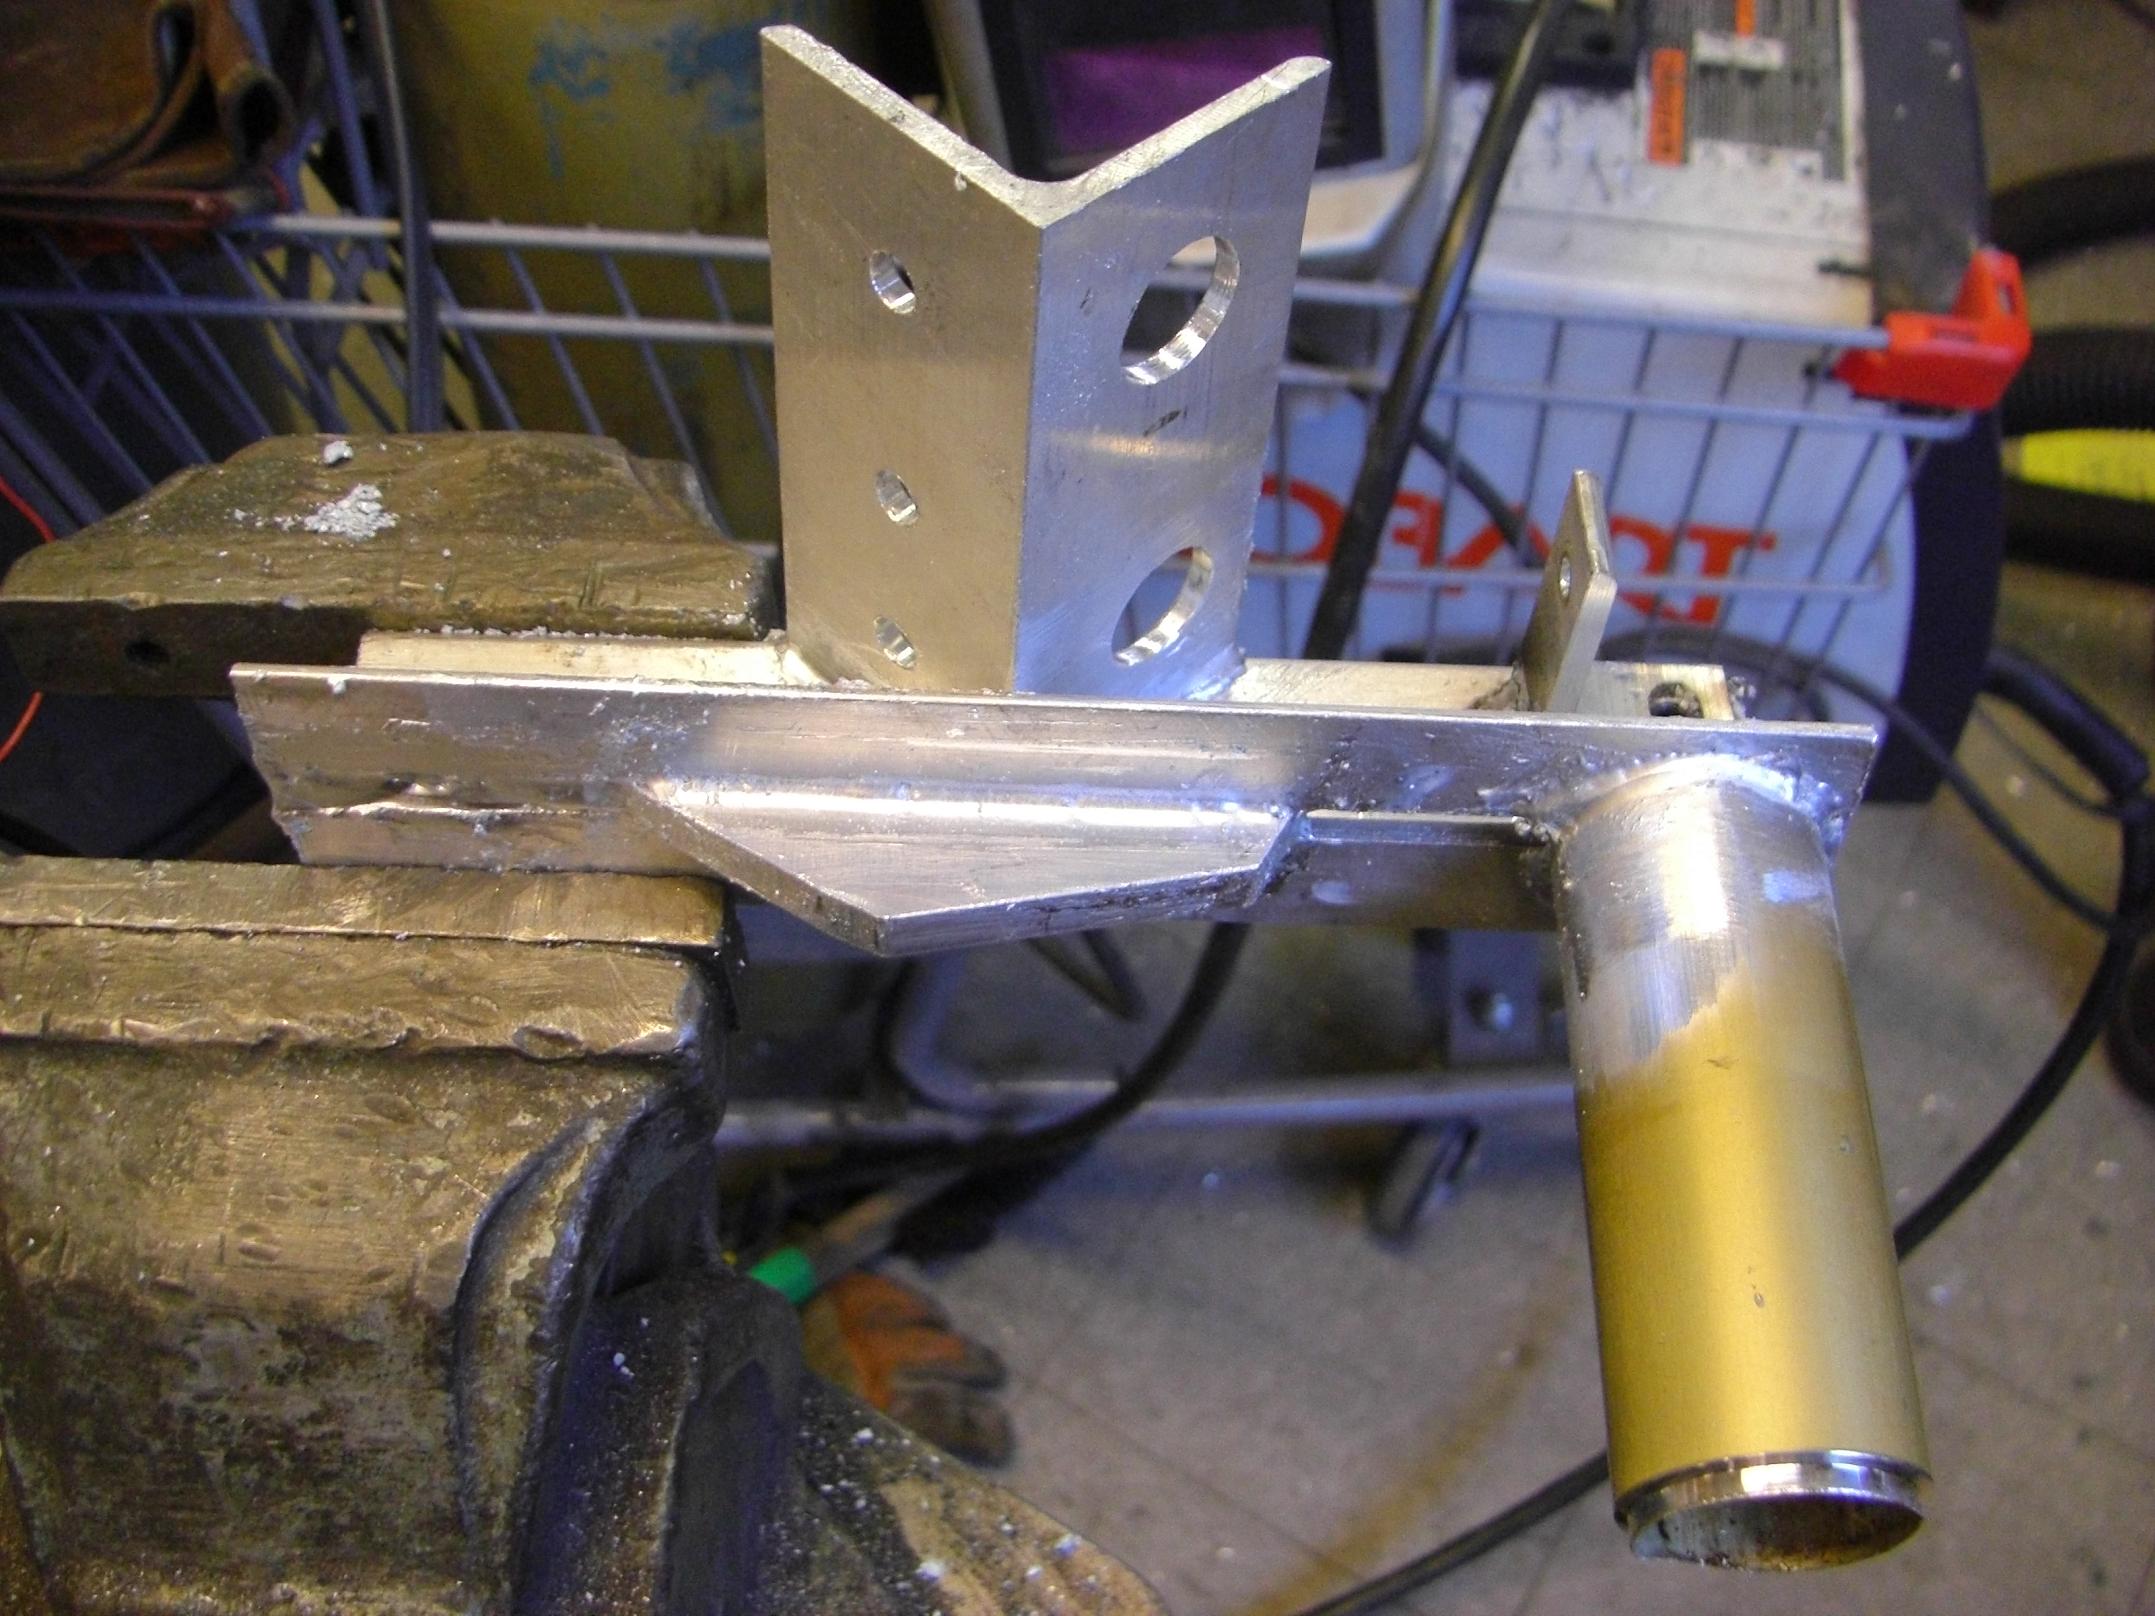
Alright, so this thing isn’t really any good without handlebars to hold onto. At this point, I pulled out a diversionary project that I embarked on a few weeks ago to explore new means of lazily putting together pieces of metal.
The handlebars, just some pieces of 7/8″ diameter bike frame tubing, are attached. Hey, what’s that holding them on there – are those fillet welds?! Did MITERS finally get a TIG welder?
Has Charles finally broken down and welded something together, knowing that some times, sturctural integrity is more important than the ability to be easily disassembled?!
No, and yes. I remembered the existence of low temperature aluminum brazing solutions and decided to give it a run. The most promiment label in this field seems to be Durafix. Basically, the alloy rod is a high aluminum-content zinc material that melts at around 750°F and flows over bare aluminum metal. You’d heat the metals to be joined to greater than 750 degrees, higher seemingly better, then rub the rod over the joint to break the oxide layer. Using a stainless steel wire brush and abrading the joint results in better flow because the oxide layer disintegrates under mechanical pressure. The process is flux-free.
I have a hard time coming to terms with the no-flux part, but have also been having trouble finding high temperature (700+F) aluminum soldering flux. The vast majority seems to be designed for lead-tin soldering of aluminum which occurs at lower temperature. Whatever. The dude in the demo video could do it, so I can do it, right?

I saw that McMaster listed a similar “zinc-aluminum solder” in their catalog. I’m a stickler for instant gratification, and McMaster is about as close to instant as I’ll get this stuff. It came in a tube, in the form of bunch of 1/8″ diameter rods.
Leap of faith! Using my newfound joining abilities to put together random pieces of scrap aluminum, I discovered that…
- You really need to get the parts HOLY FUCK HOT. After sufficient heat is applied, the stuff just sort of flows itself across the joint without much assistance. The problem is the HFH requires a massive heat source, and much time (like sitting there holding the torch for a minute or two), and so far, my torching ability is only limited to small or thin parts. The 1/8″ thick pieces took forever.
- It seems too viscous to “wick” into tight joints, at least without the help of flux. It’s great for fillet and butt joints, but I don’t see it filling the entire inside surface of, say, a lap joint.
- No, it’s not welding. There’s no mixing of the alloy with the parent aluminum, unless you melt the aluminum. Then you’re doing it wrong.
- No, using a soldering iron doesn’t work, not even if your soldering iron is 15″ long, has a copper tip an inch in diameter, and has a 300 watt heating element. Clearly it just needs overvolting.
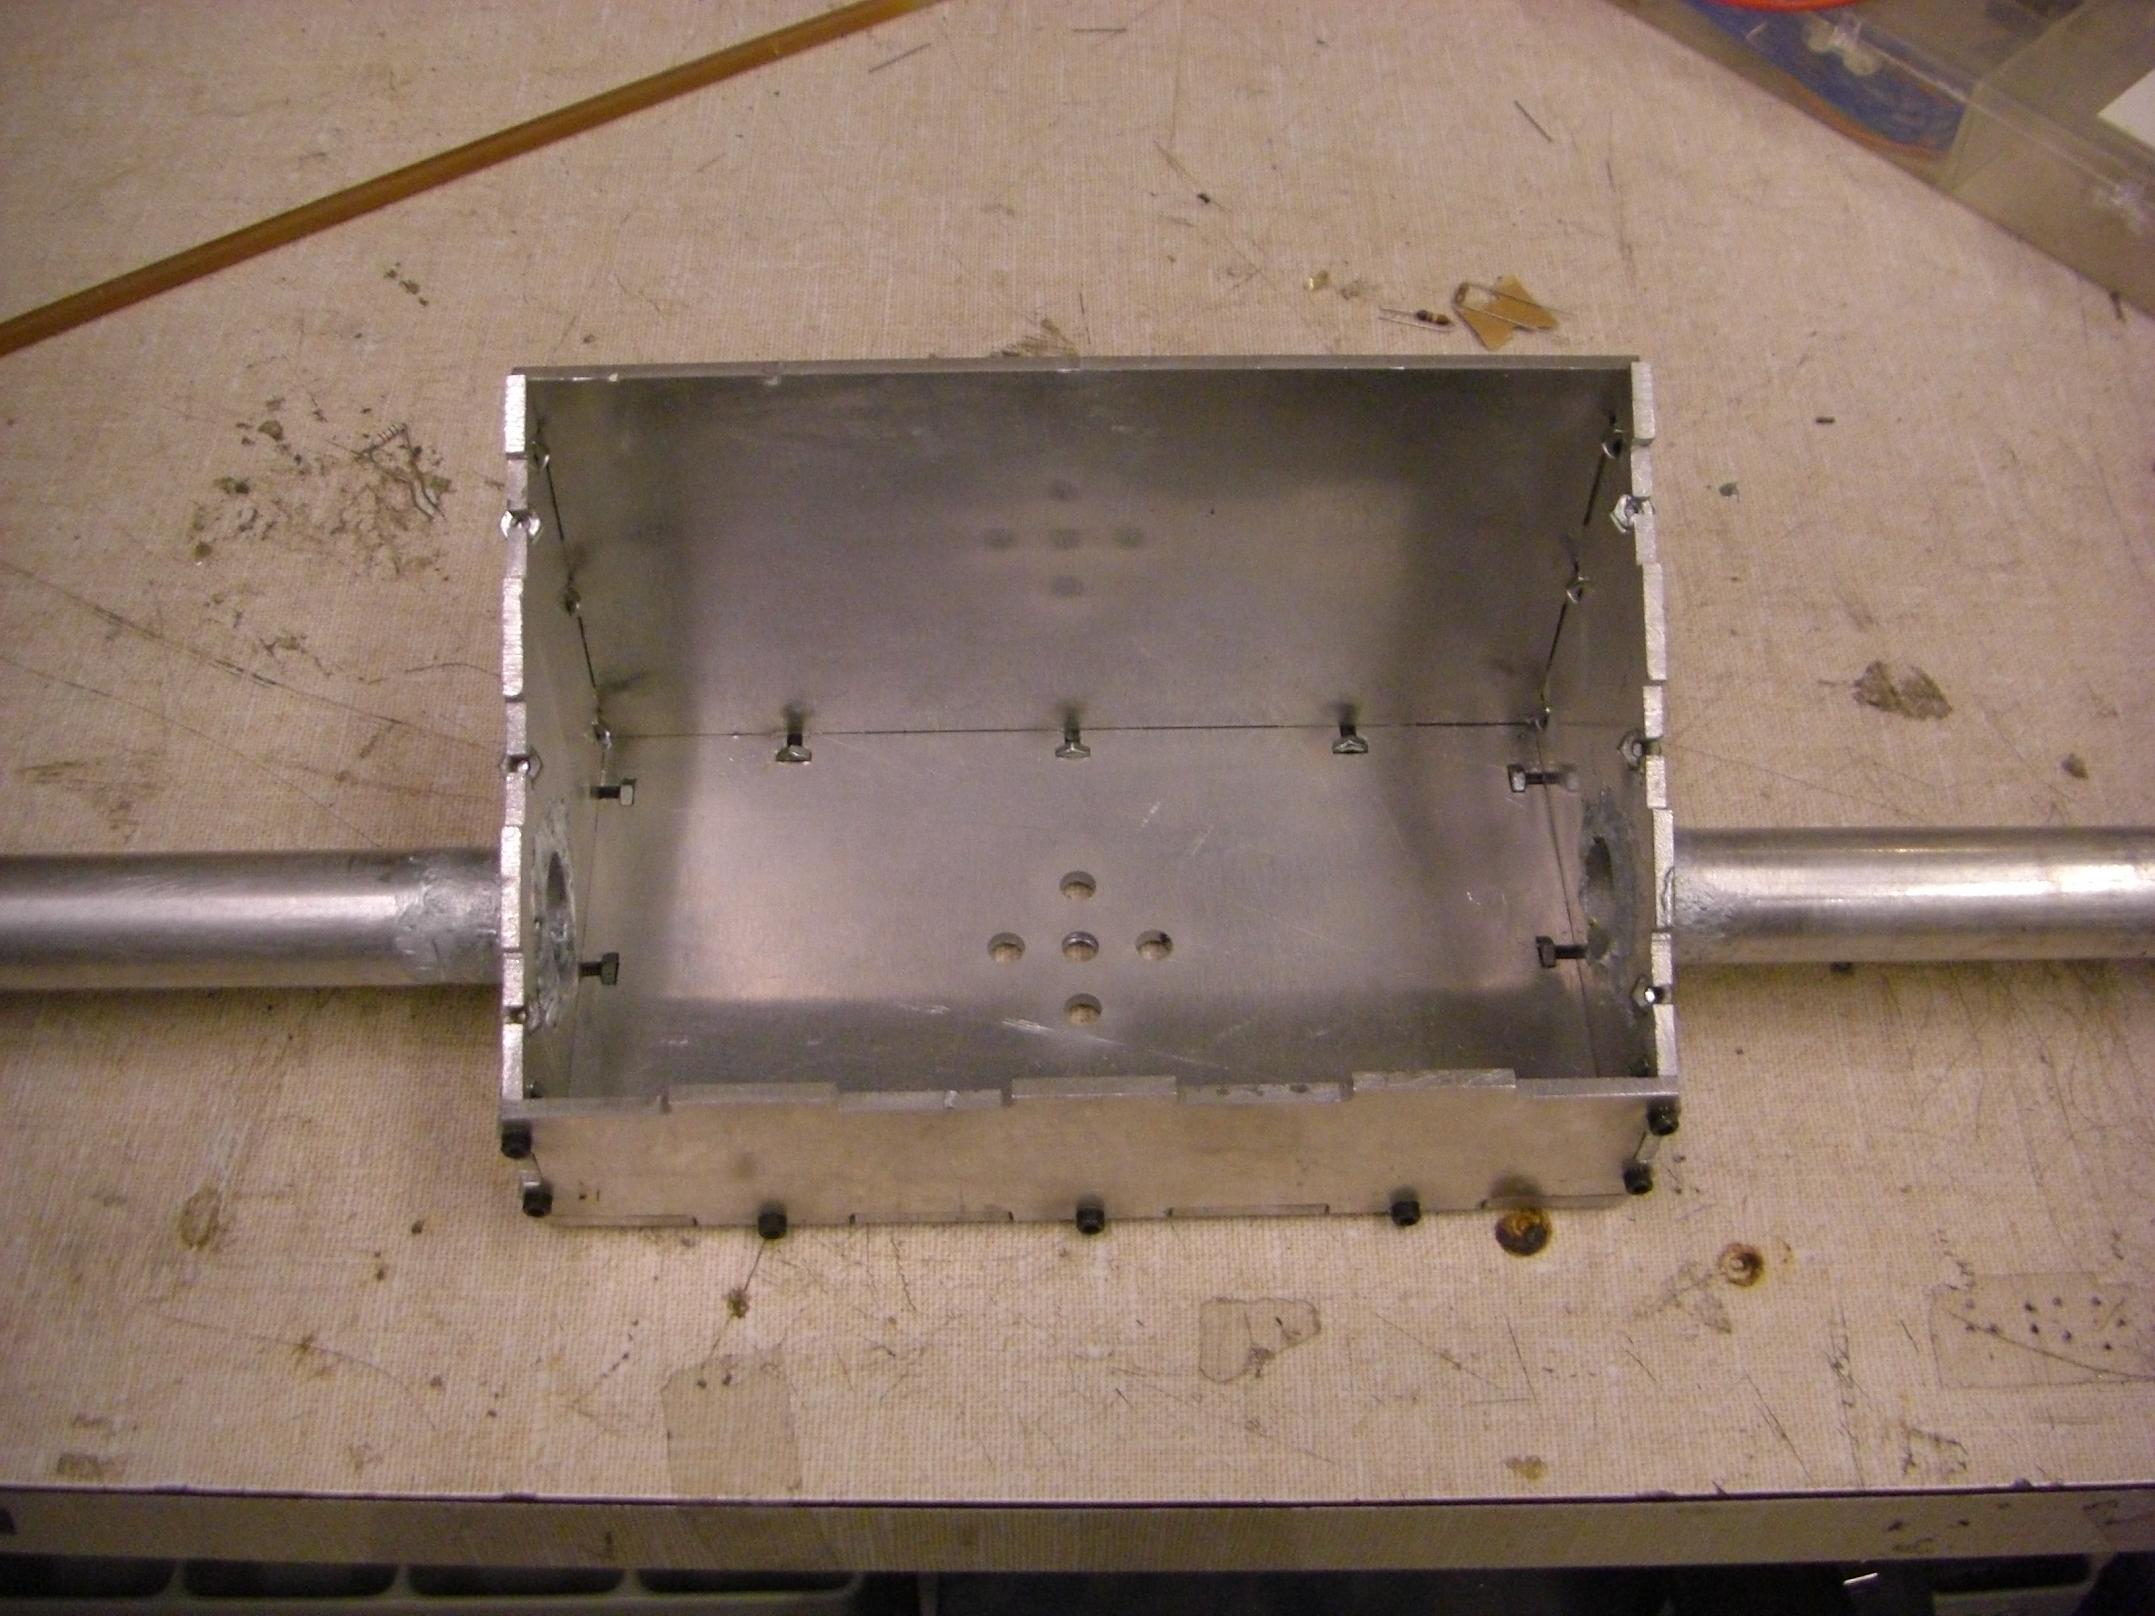
With that established, here’s the joint on the control box!
Eww. This is probably the most obnoxious overuse of the stuff on the planet. It looks like more of it got on irrelevant surfaces than in the actual joint. I think I dumped at least a third of a rod onto this thing.
What made it worse was that I didn’t have a good set of wire brushes. I totally wrecked two cheap plastic ones because… well, once the stainless wire gets hot, they just sort of melt off. To do this right, I’d need a good set of wood or metal handled brushes.
As I hinted at before, the tab-and-slot construction of the control box itself is *very* amenable to this type of unwelding.

That looks MUCH better.
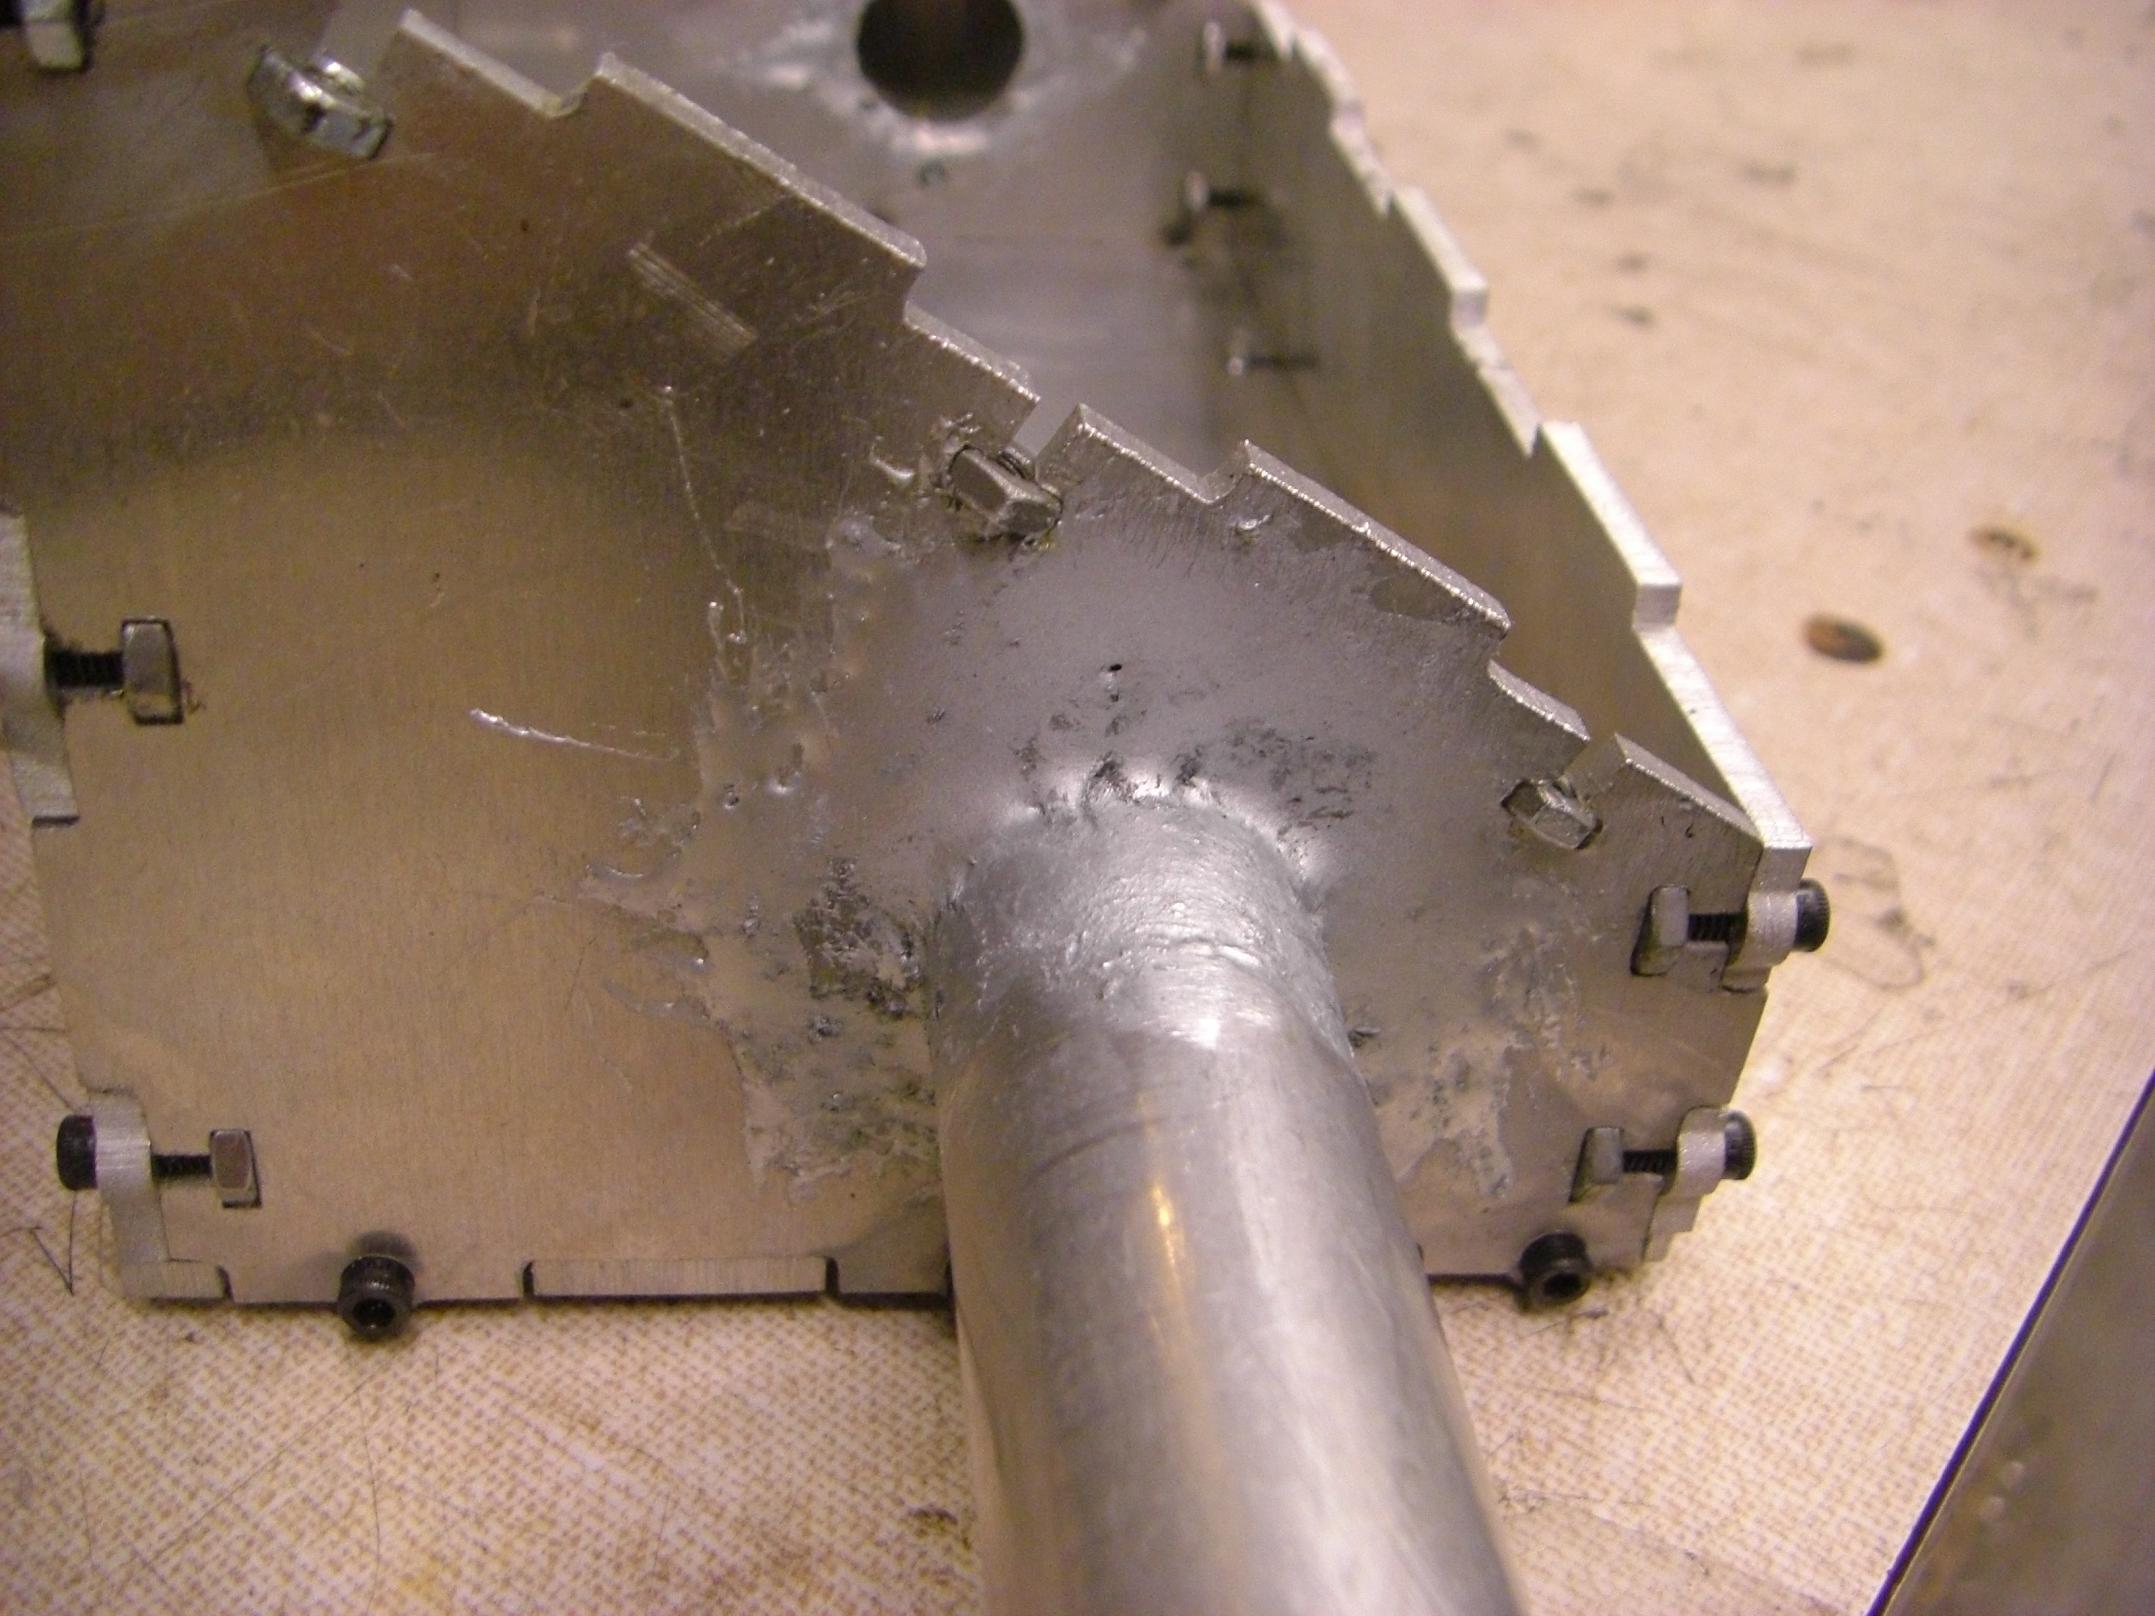
I did a few things differently on this joint. I thoroughly sanded and brushed down both surfaces so there is minimum surface oxide present. I held the torch to the pieces for about two minutes, and made sure the whole joint was evenly heated by moving the torch around. This was tested just be pushing the rod against the joint to see where it melted the easiest. Then I added the alloy kind of like how you’d add filler metal to a TIG joint (slightly hard to describe past “poke-swirl-move-repeat”) .
The process was repeated for the inside joints. I made sure that there was metal holding onto metal on both sides of the control box (i.e. it’s two fillets, not just a butt joint).
That worked substantially better, and it was without in-process brushing. Still a bit globbier than I’d like it, but that’s something which gets better with practice.
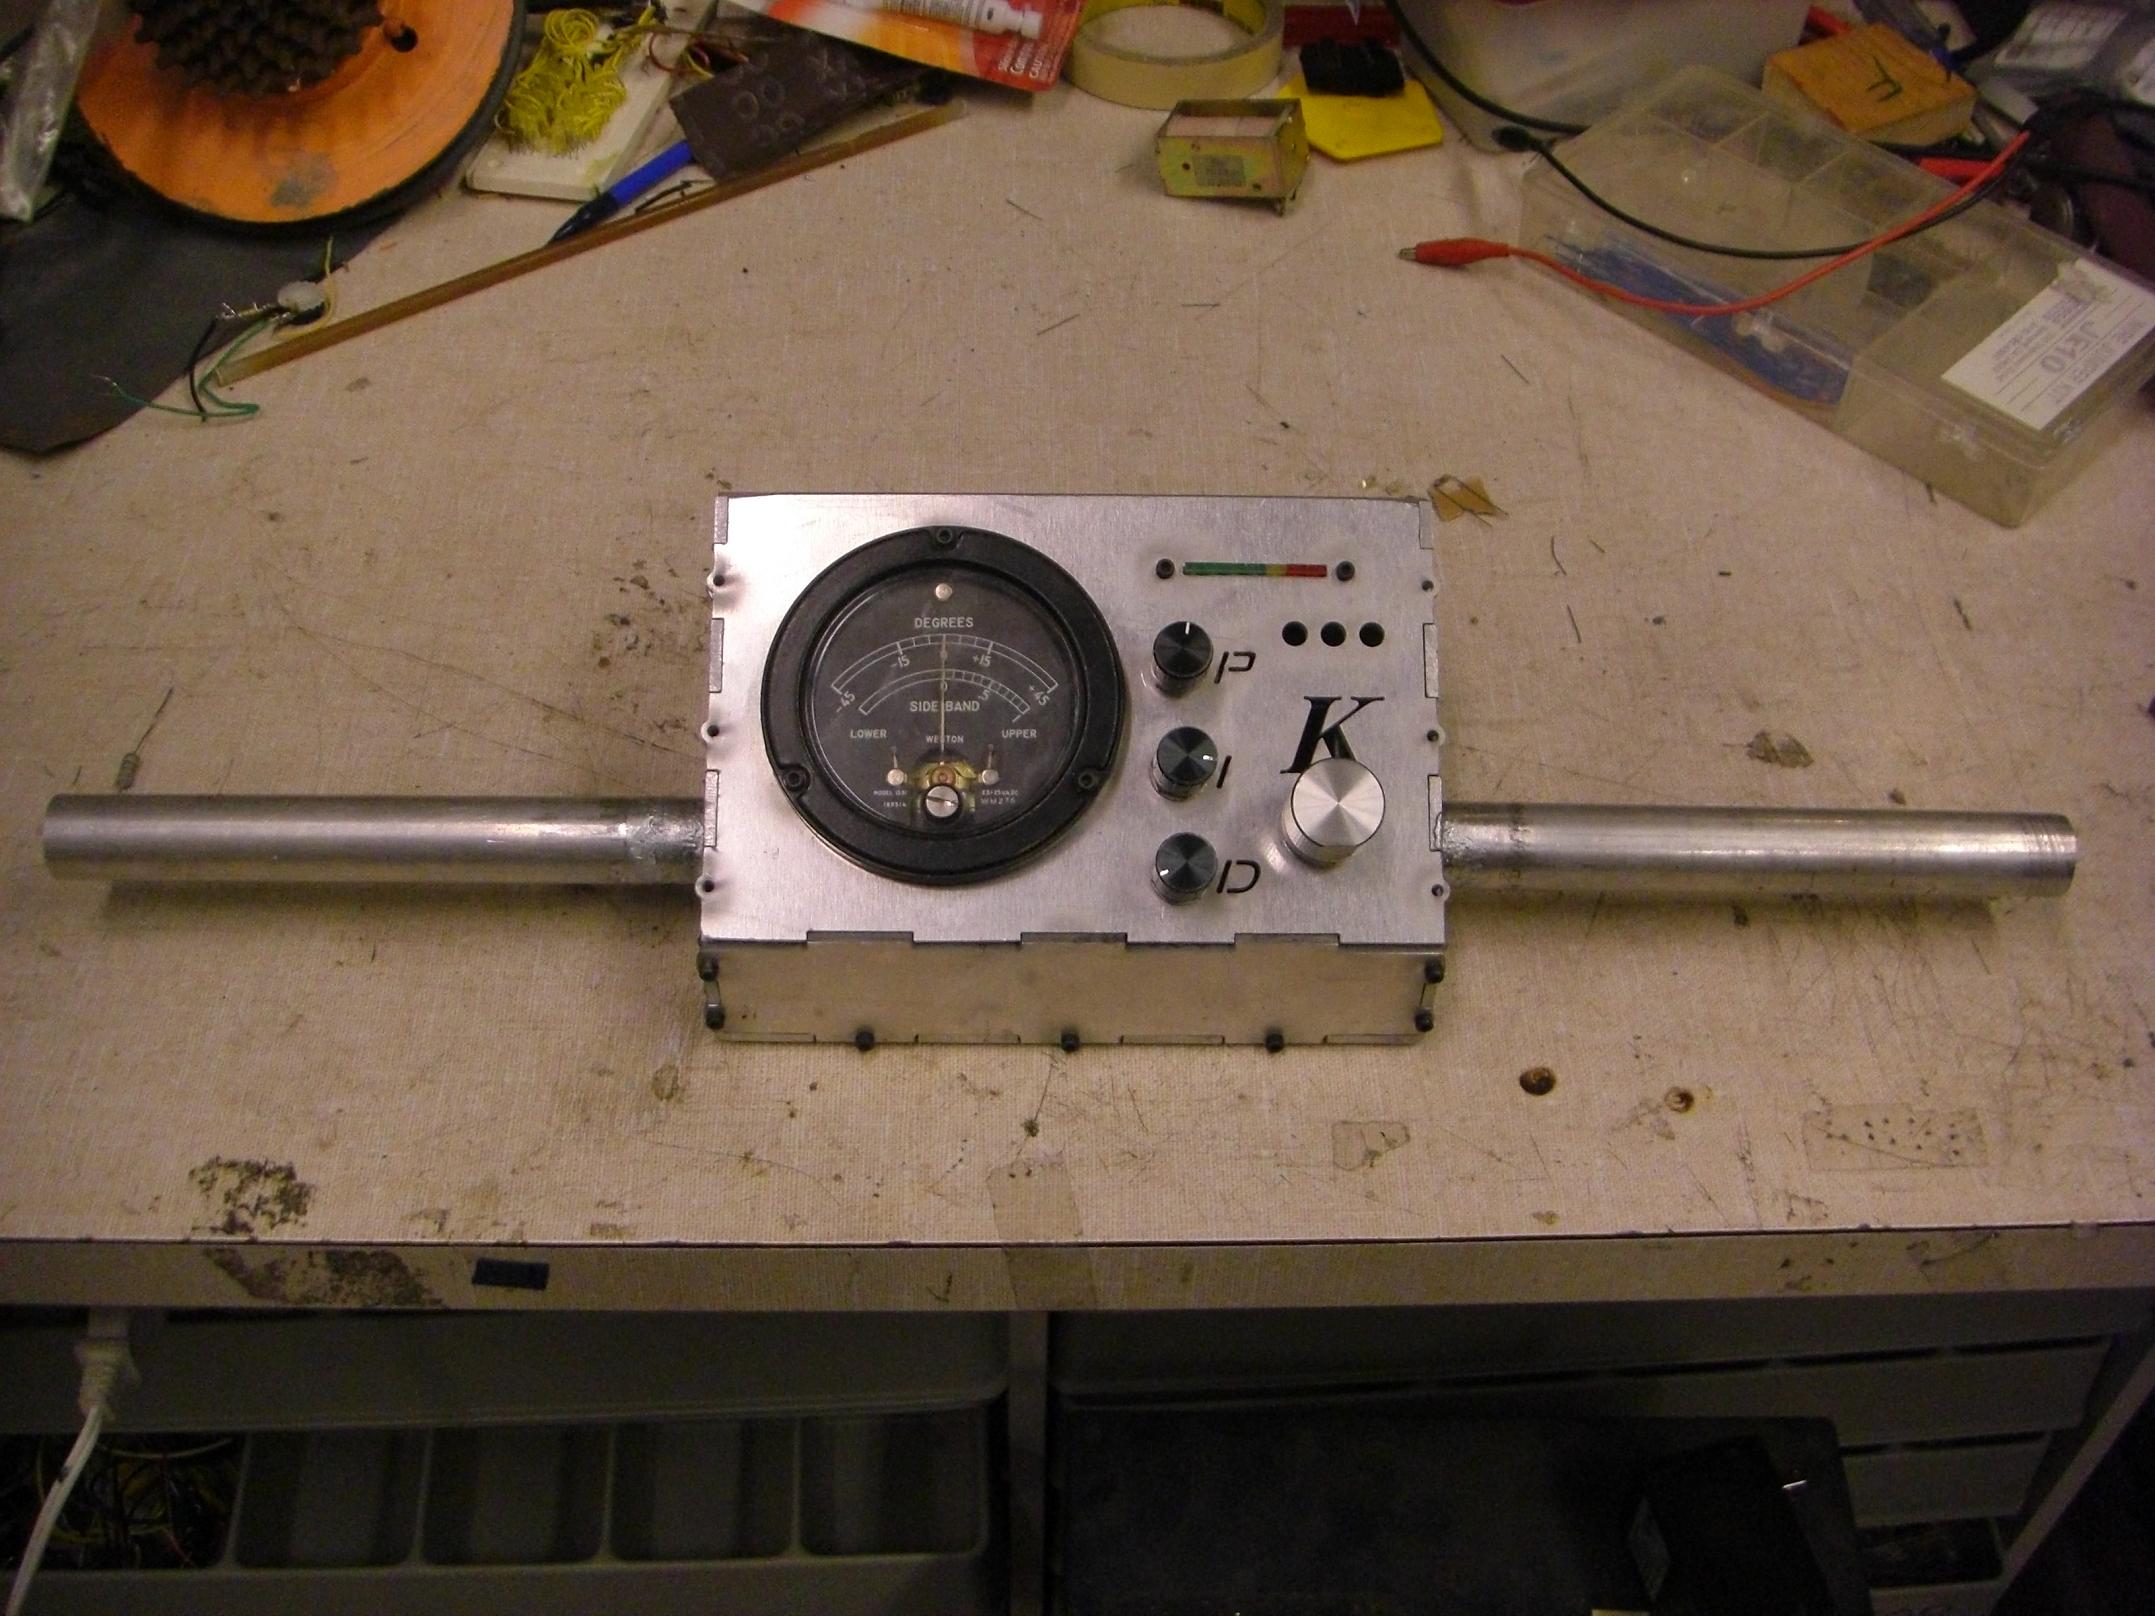
Completed control box!
I’m very satisfied. Time will tell how my crazy unwelding job holds up.

Alright, it’s glamor shot time!
Yes, this picture is totally posed. How’d you know?
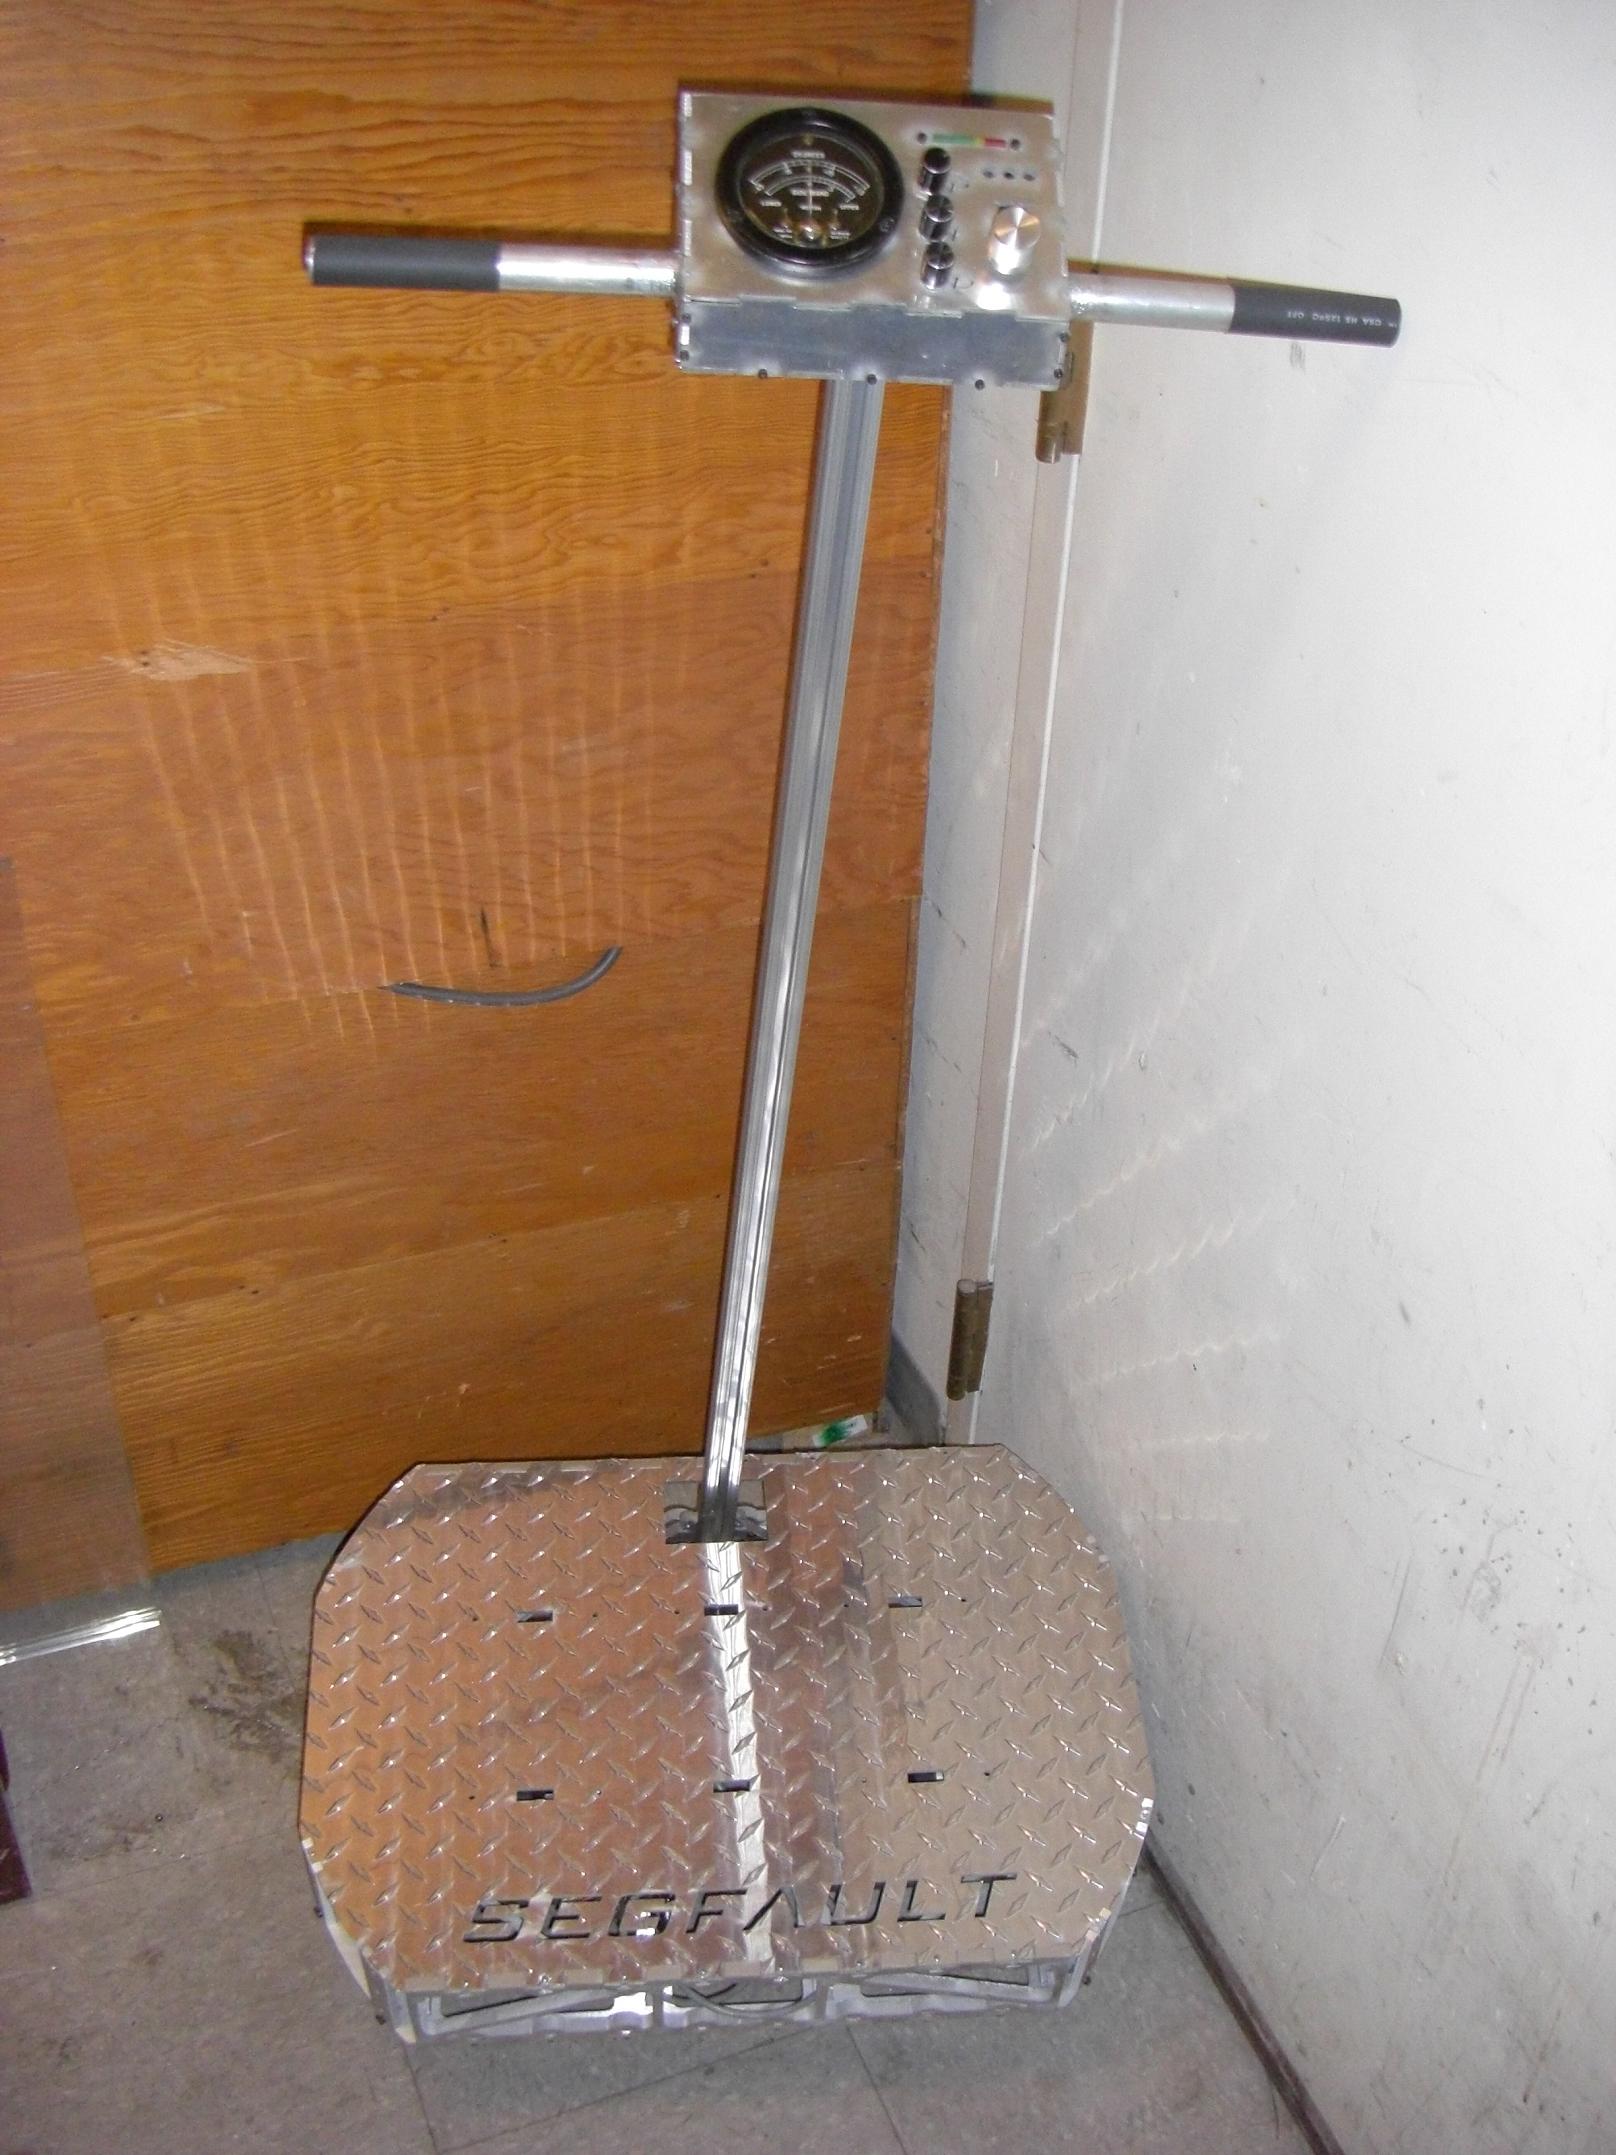
And one more, showing the SHIIIIIIIIIIIINY aluminum top plate.