So the past 48 hours has been kind of awesome.
I threw RazEr rEVolution in a suitcase and blasted off from Boston (to no incident, surprisingly enough) and landed in Zürich several hours later. After discovering that Google just senses your location and assumes you speak the local language, I continued on to Nice (which is really nice), hopped on a bus, and ended up in Monaco. That Monaco. James Bond Monaco. I’ll say right away that the places looks exactly like it does on postcards.
Also, that’s the first time I’ve legitimately used a ü.
About 12 hours later, the MIT Scooter Party gave a presentation to a collection of academic types at EVER Monaco 2011 about… well, scooters. More specifically, on the design and construction of the hub motors that we keep building nonstop. The nature of our presentation was very much different from the general atmosphere, which as expected of a conference, is rather academic and stuffy. Generally speaking, presenters don’t have hardware, and especially not with them. They especially don’t ride around on them while on stage.
I believe the presentation was well-delivered and very well received.
Afterwards, scooter testing on the Cote d’Azur!
The rest of the time so far has been filled with wandering around the exhibition that is taking place at the same time as the conference. It’s primarily small, bubbly electric cars that I can’t stand the thought of driving. I’m led to believe most of them are physically incapable of doing burnouts, which I find distressing. Otherwise, electric bicycles abound, and also (full size) electric motor scooters.
Usually I’d make a long post with pictures and snarky captions, but since I’ve already done so elsewhere, I’ll refrain from redundancy and just make you look through this failbook album.
The remaining time will probably be spent drifting in and out of other presentations and probably checking the scene in Monaco before the Sunday afternoon departure.
more chuckranoplan
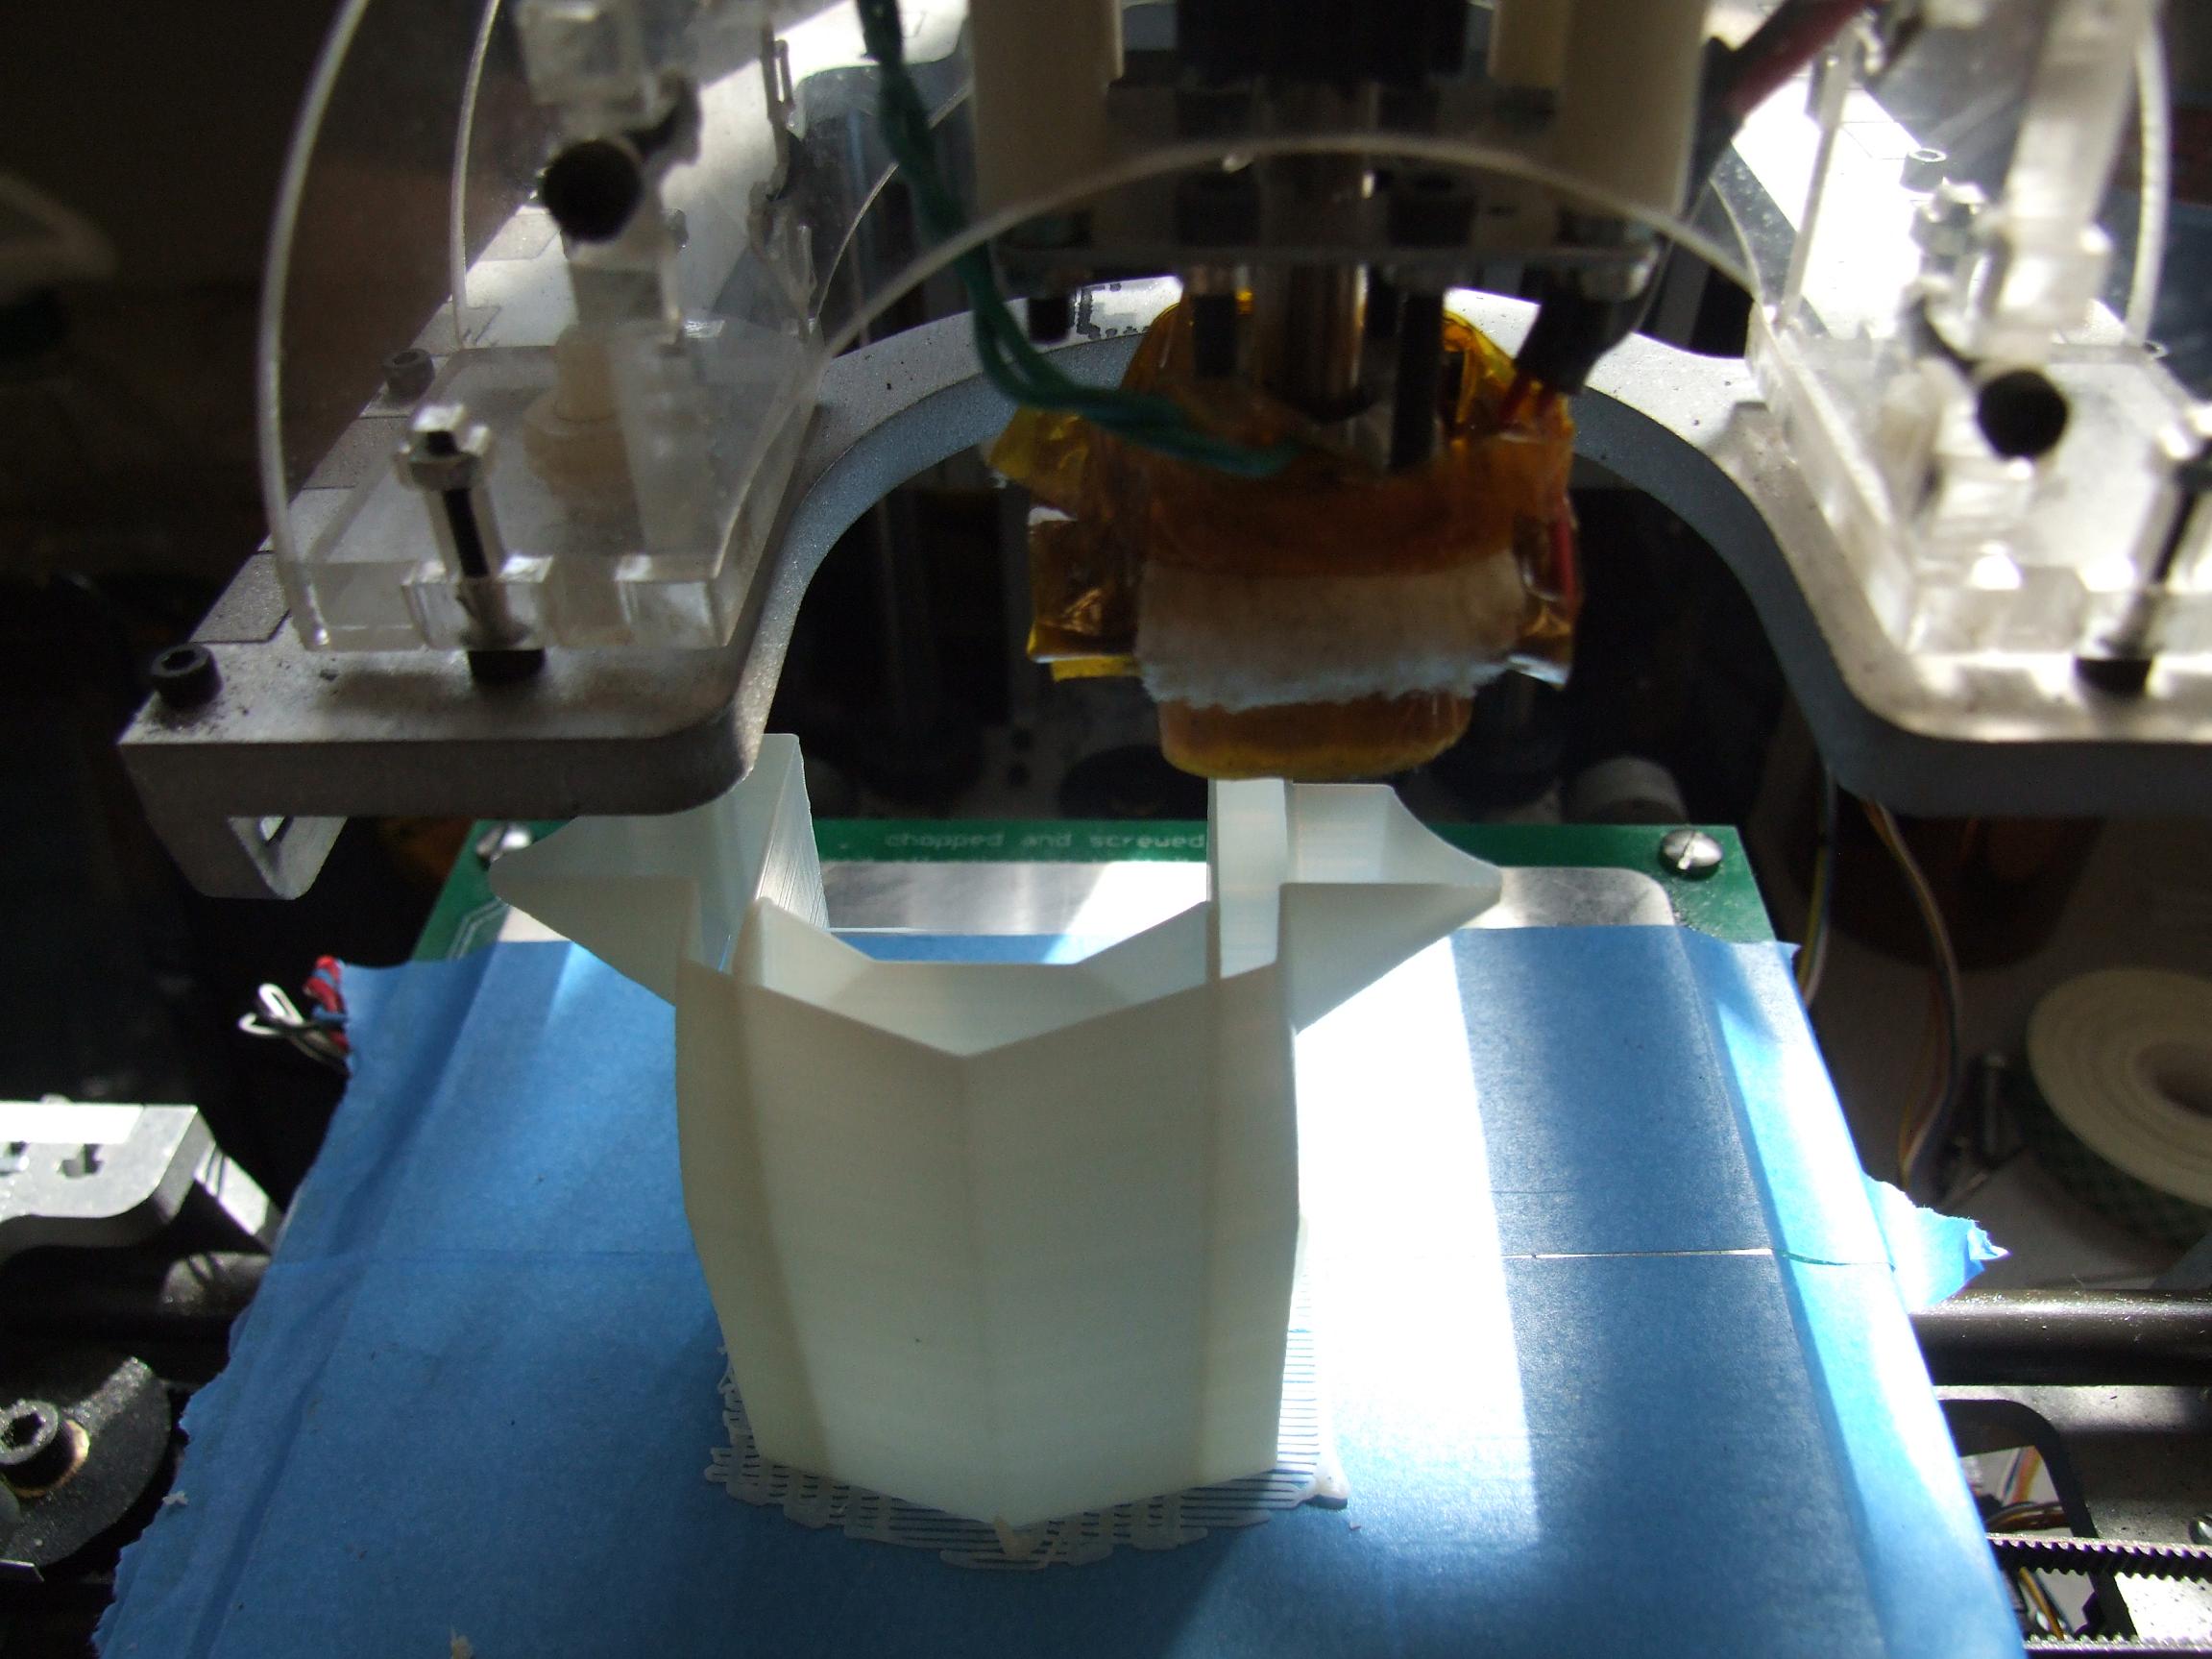
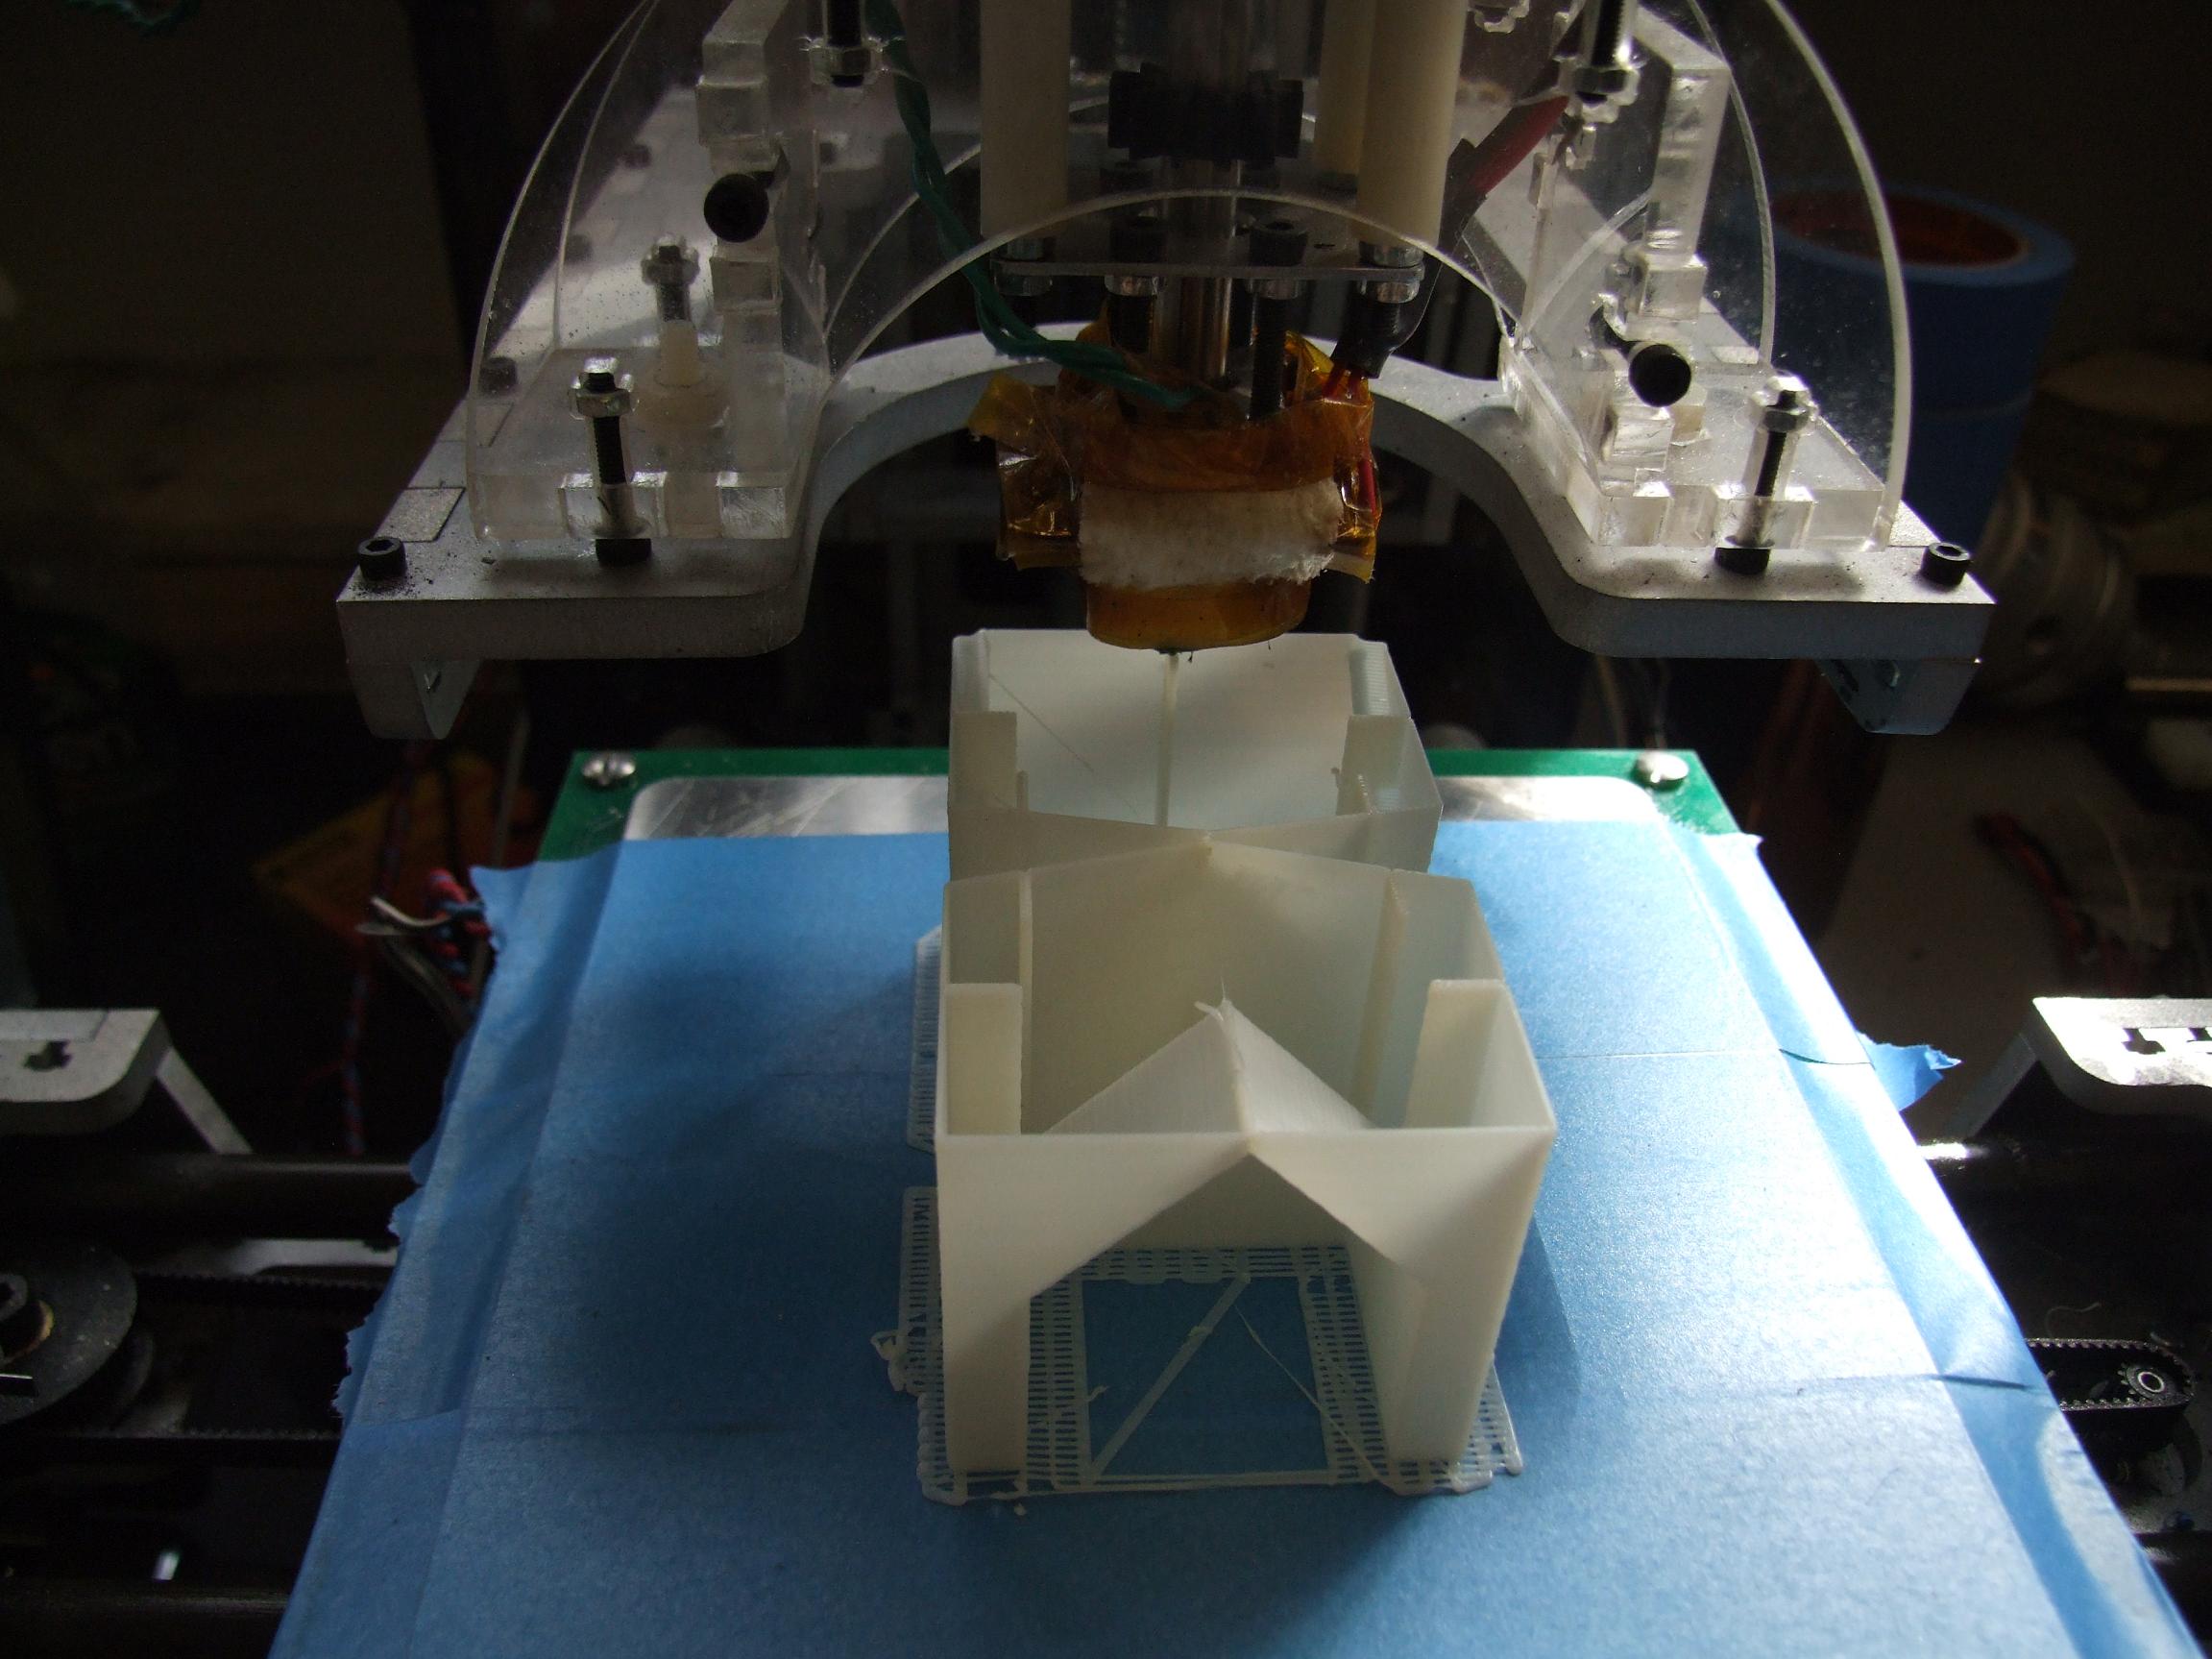
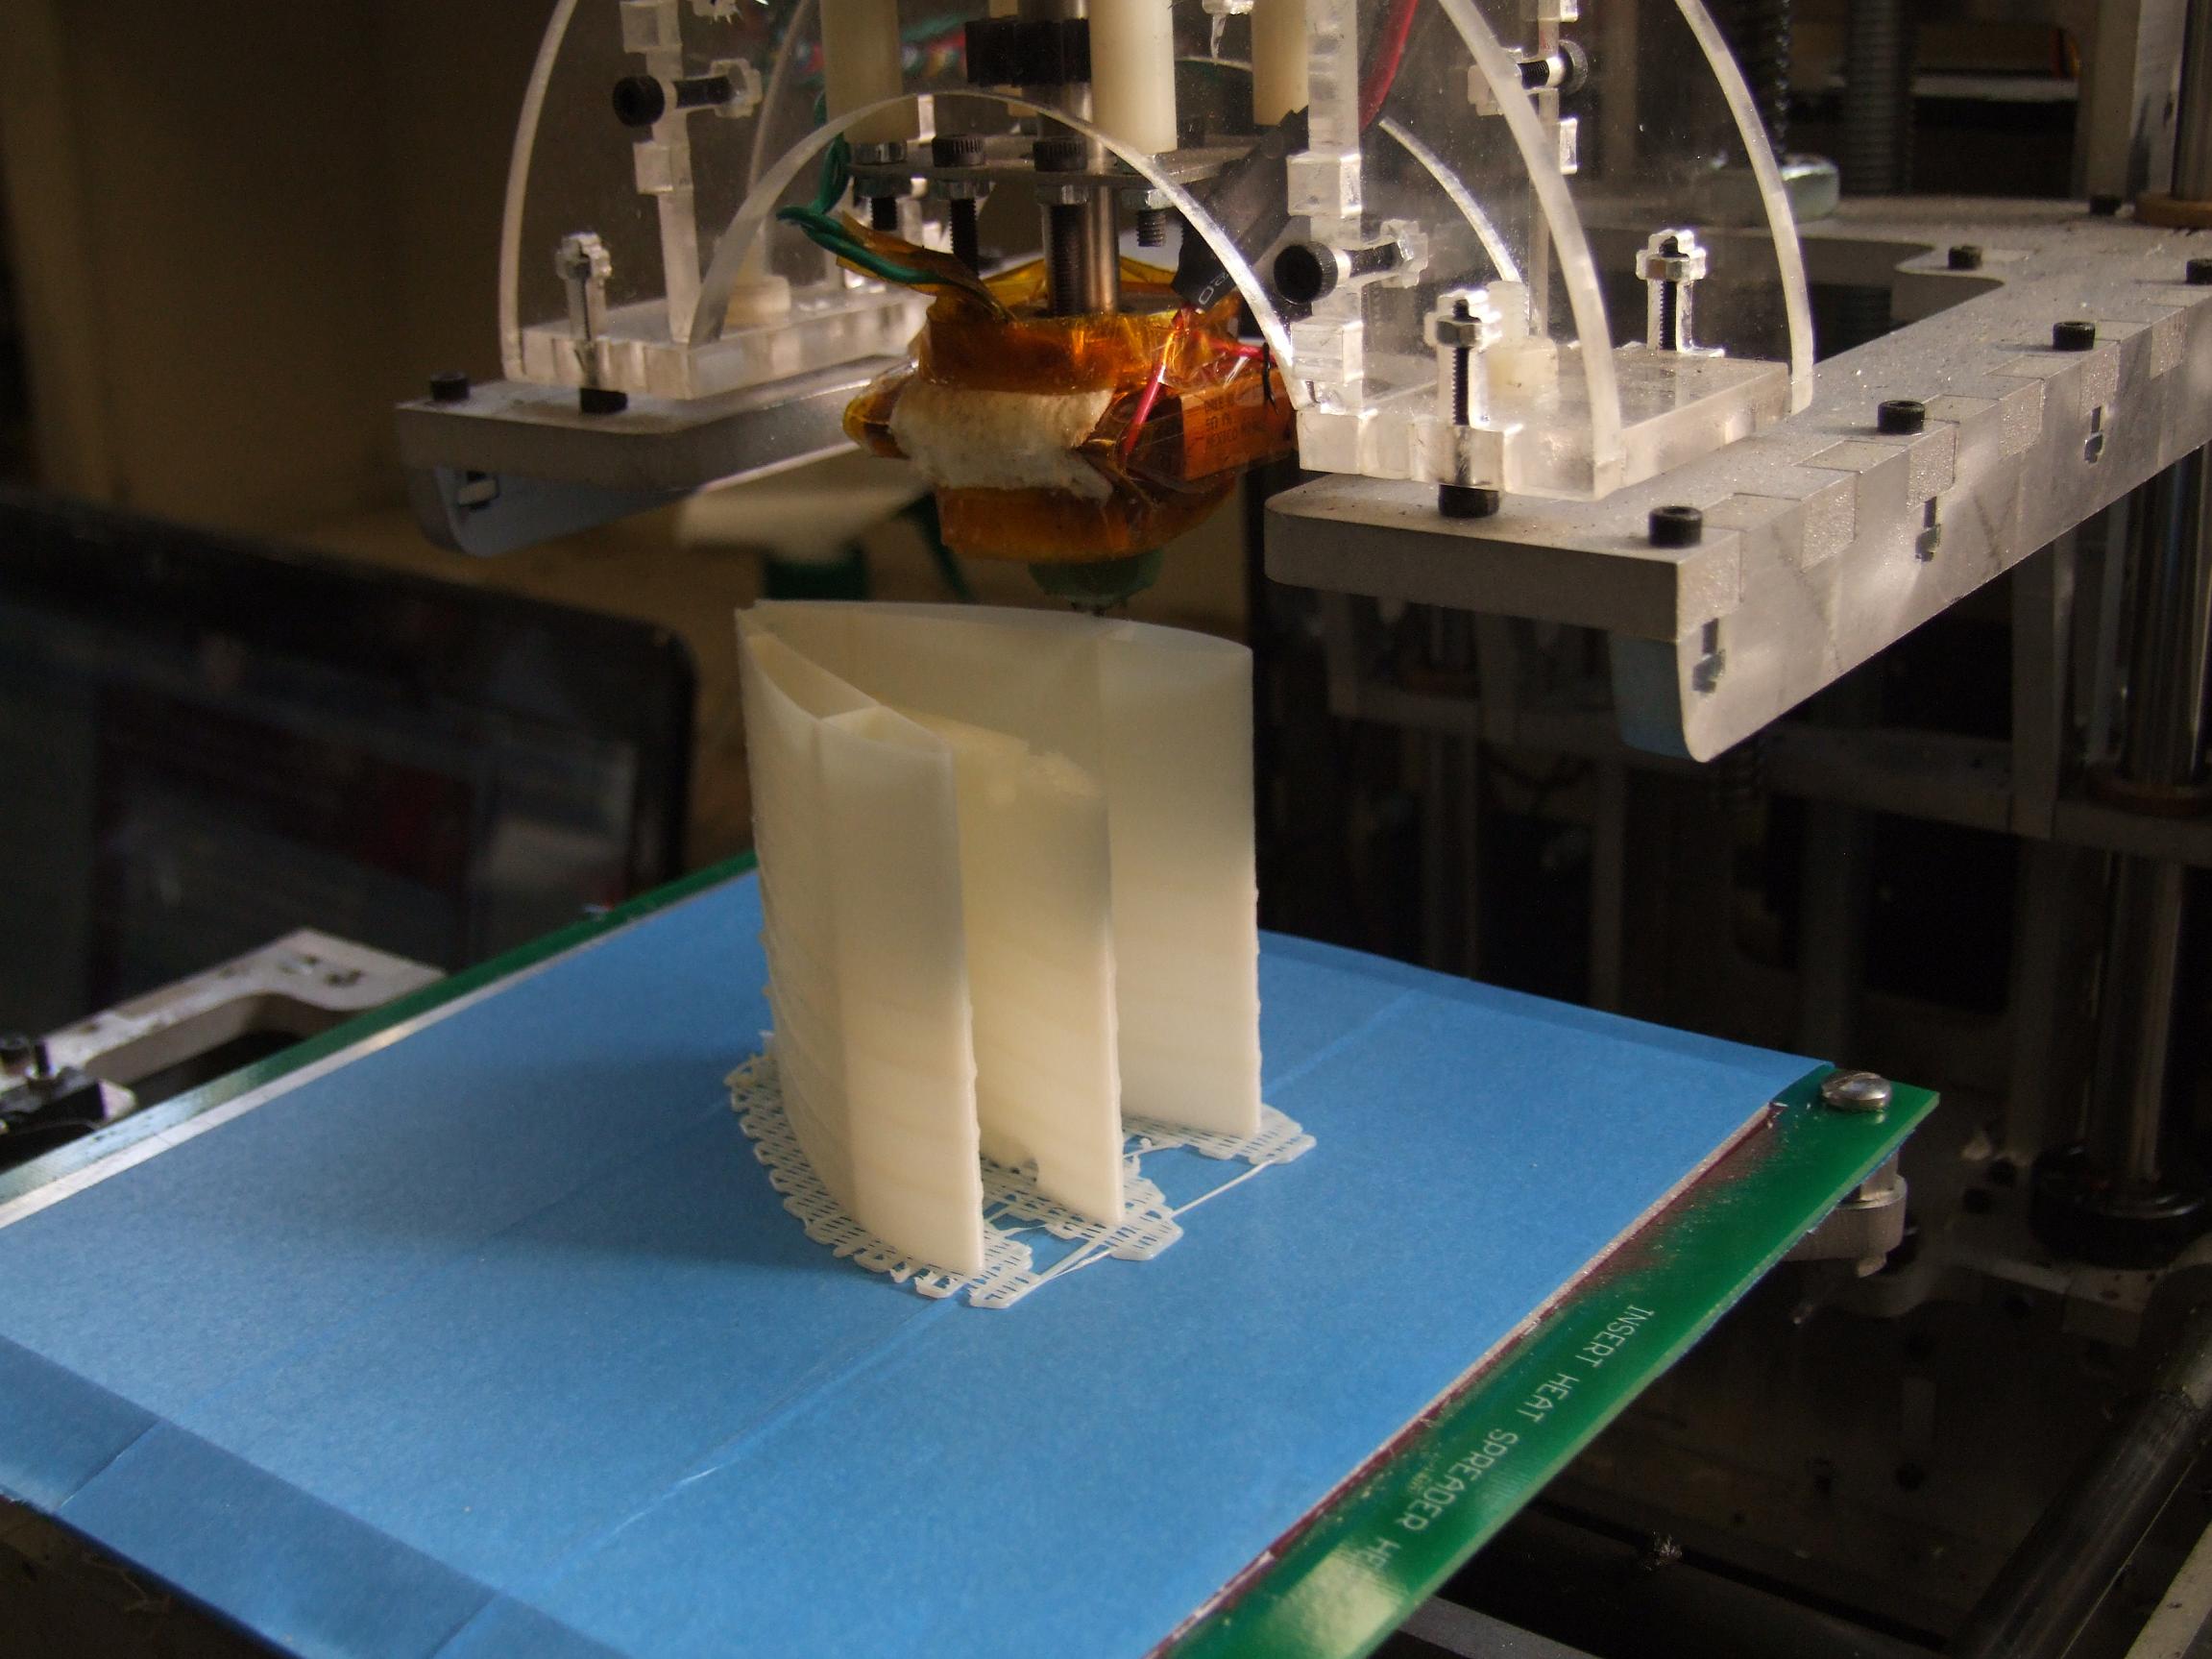
I can’t get away from this thing, even across the Atlantic ocean. No, I didn’t bring it with me, but I spent some time before leaving to treat MaB’s Z-axis Parkinsons and try the wing again. I strongly believed that the uneven layer thicknesses resulting from the Z axis being inconsistent was causing the prints to fail due to the extremely disparate thermal expansion stress between those layers.
The fix was applying a little plastic spring clamp to the leadscrew around the Z-axis tower. The clamp added just enough friction to stop the drifting, but didn’t bind the motor so it could still step properly.
And the result:

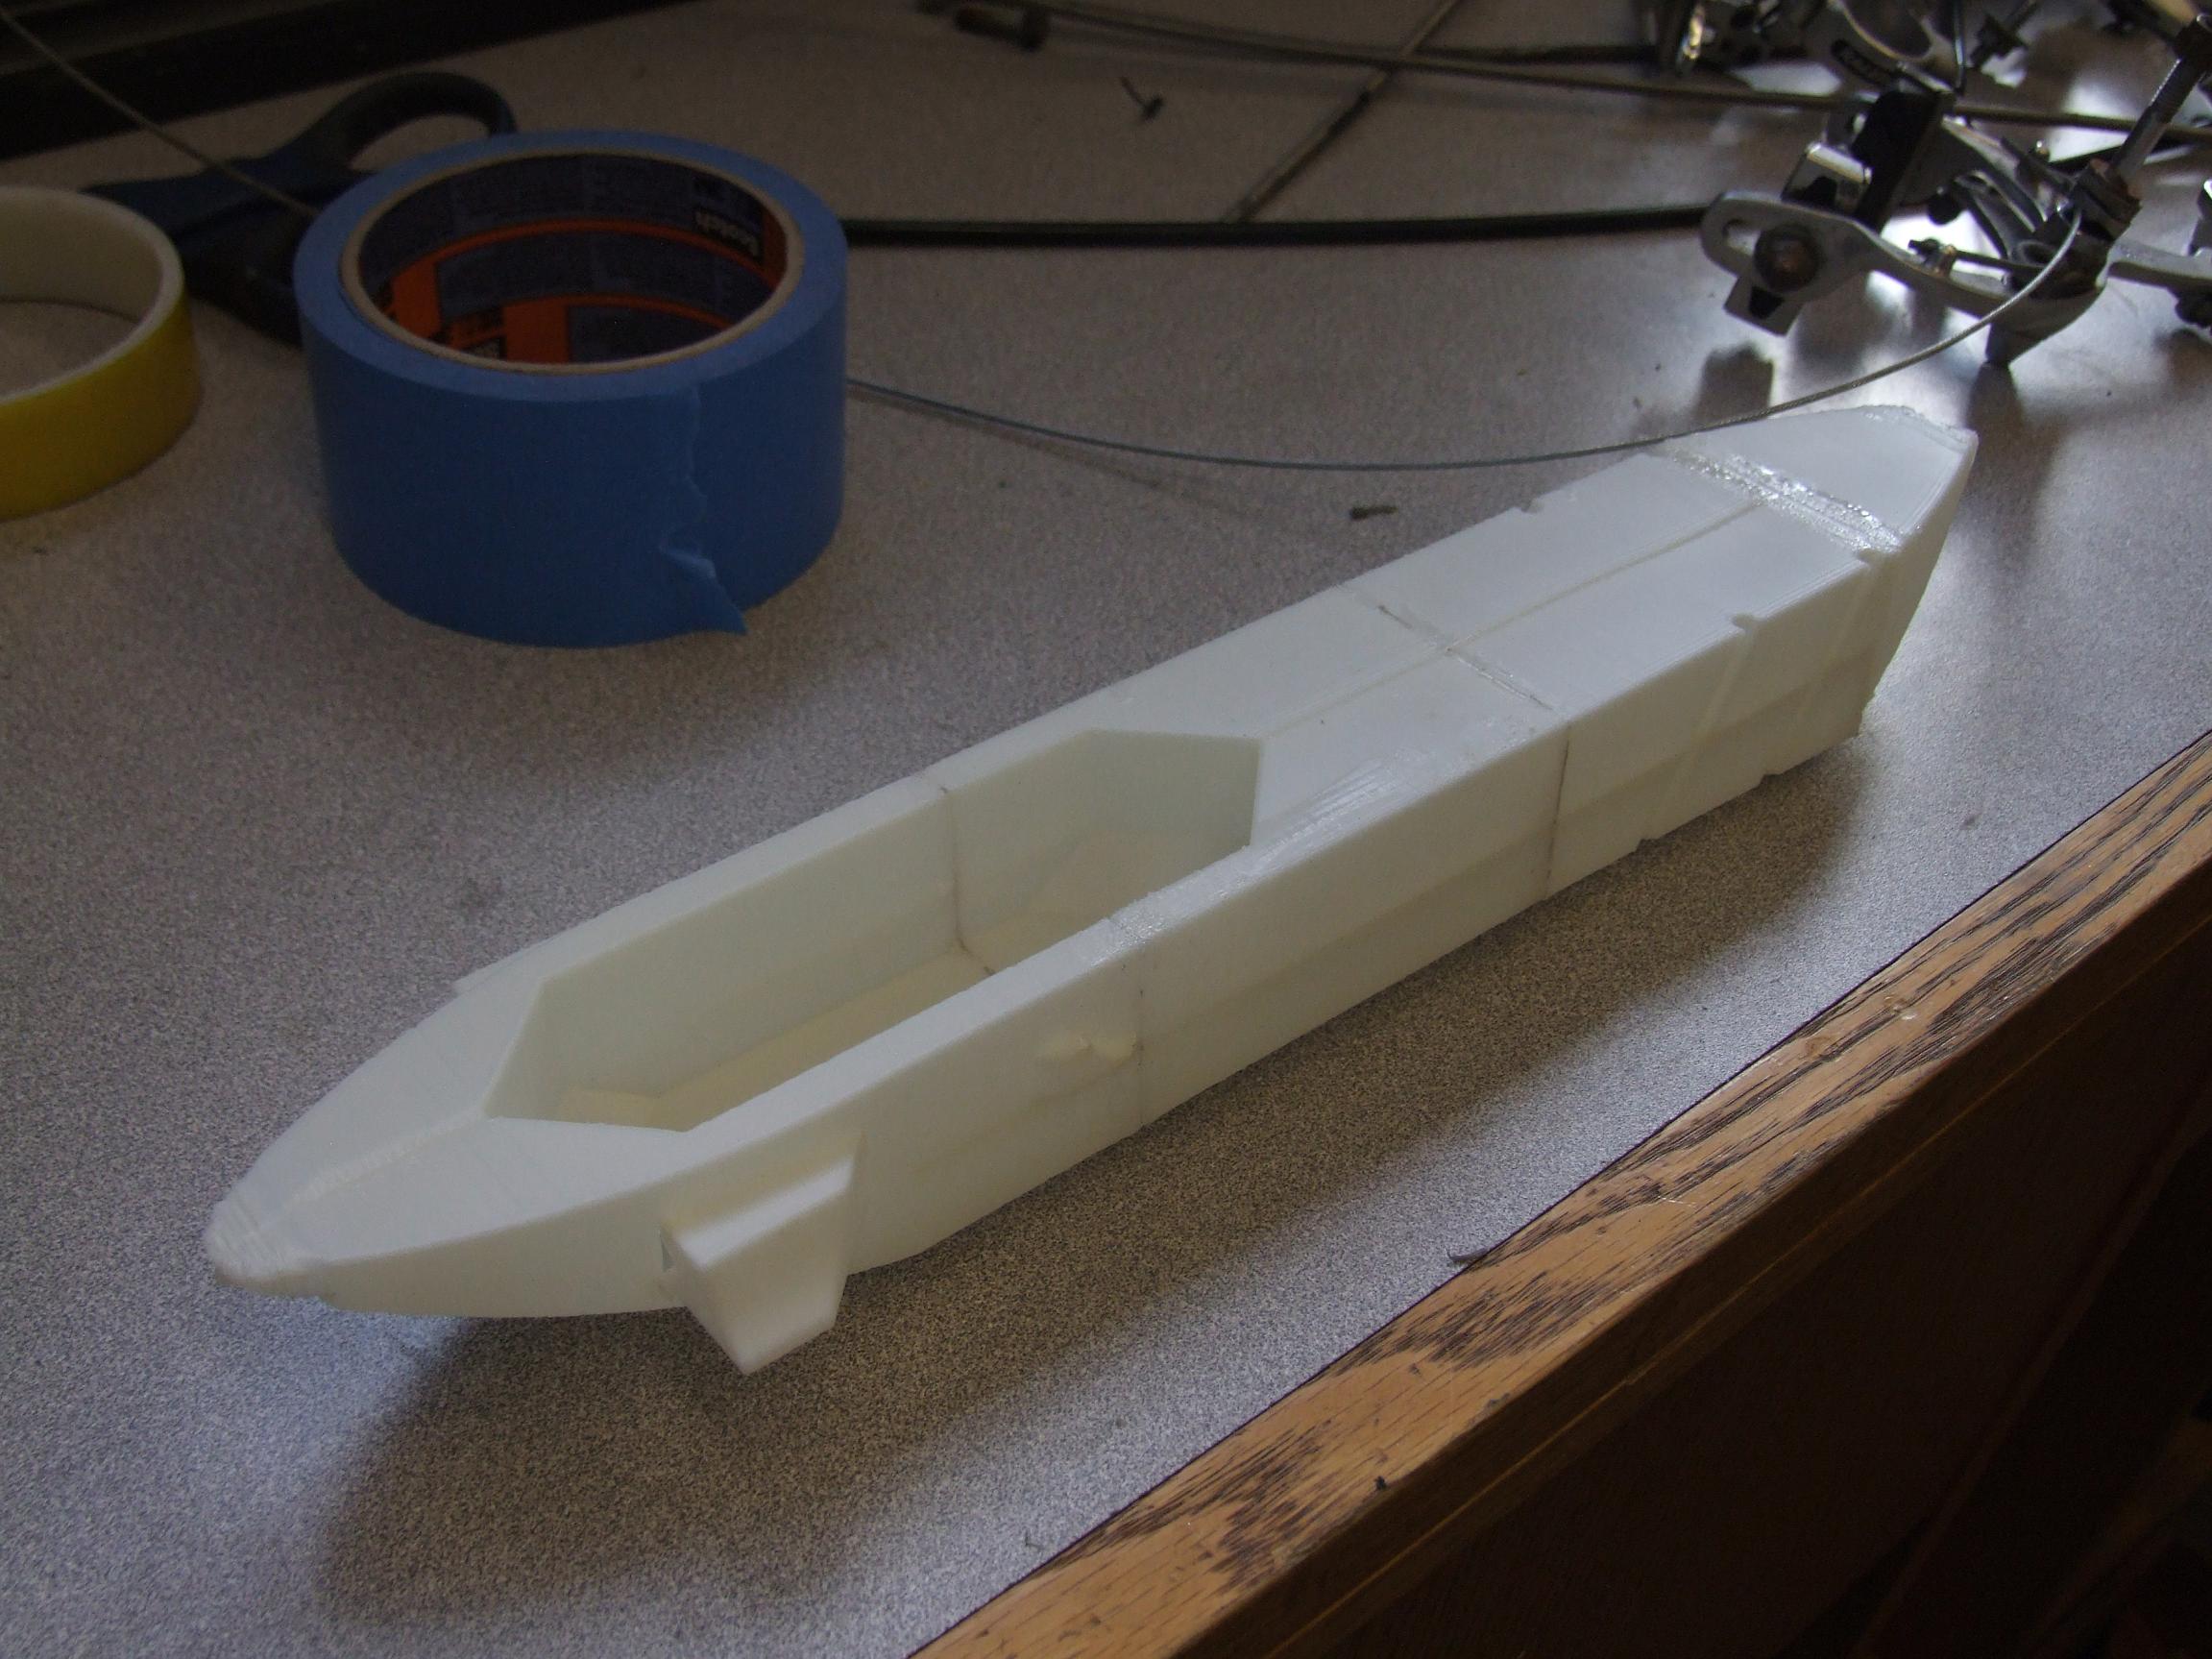
LEGITIMACY!!
I printed the right wing in front and rear halves. Finally, two prints that turn out the same height with no layer bunching.
The halves were cemented together with Goop.
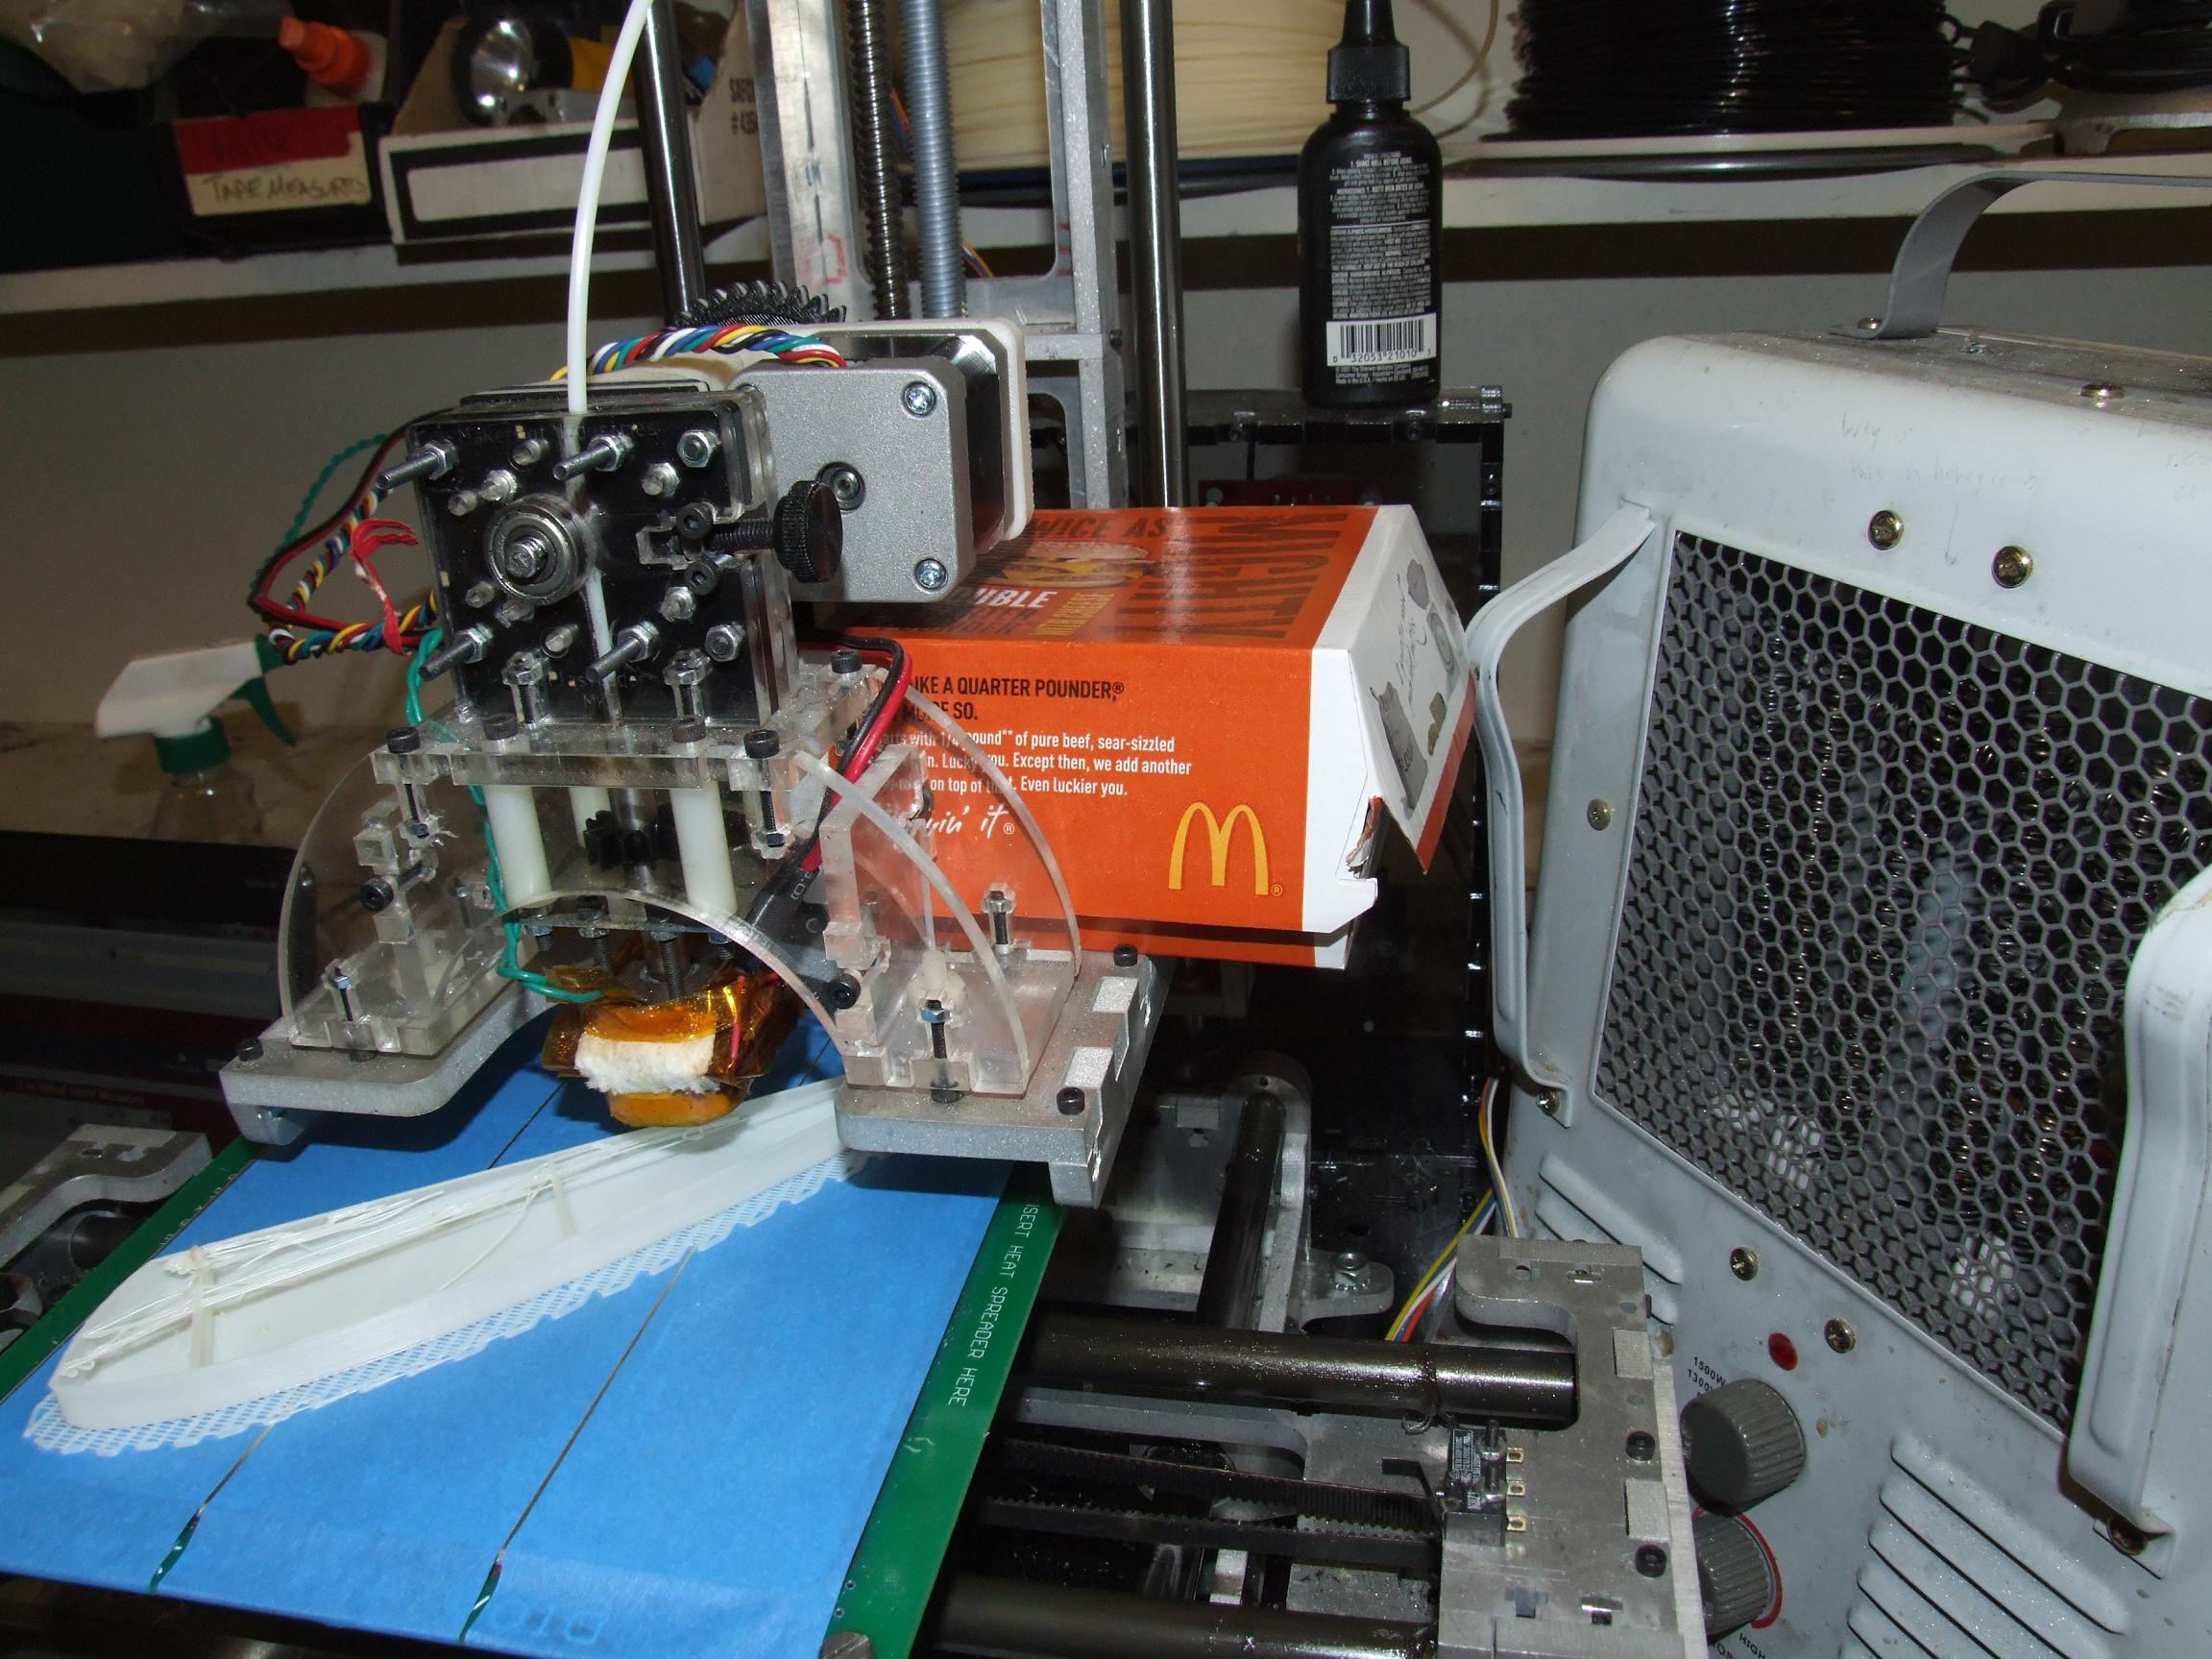
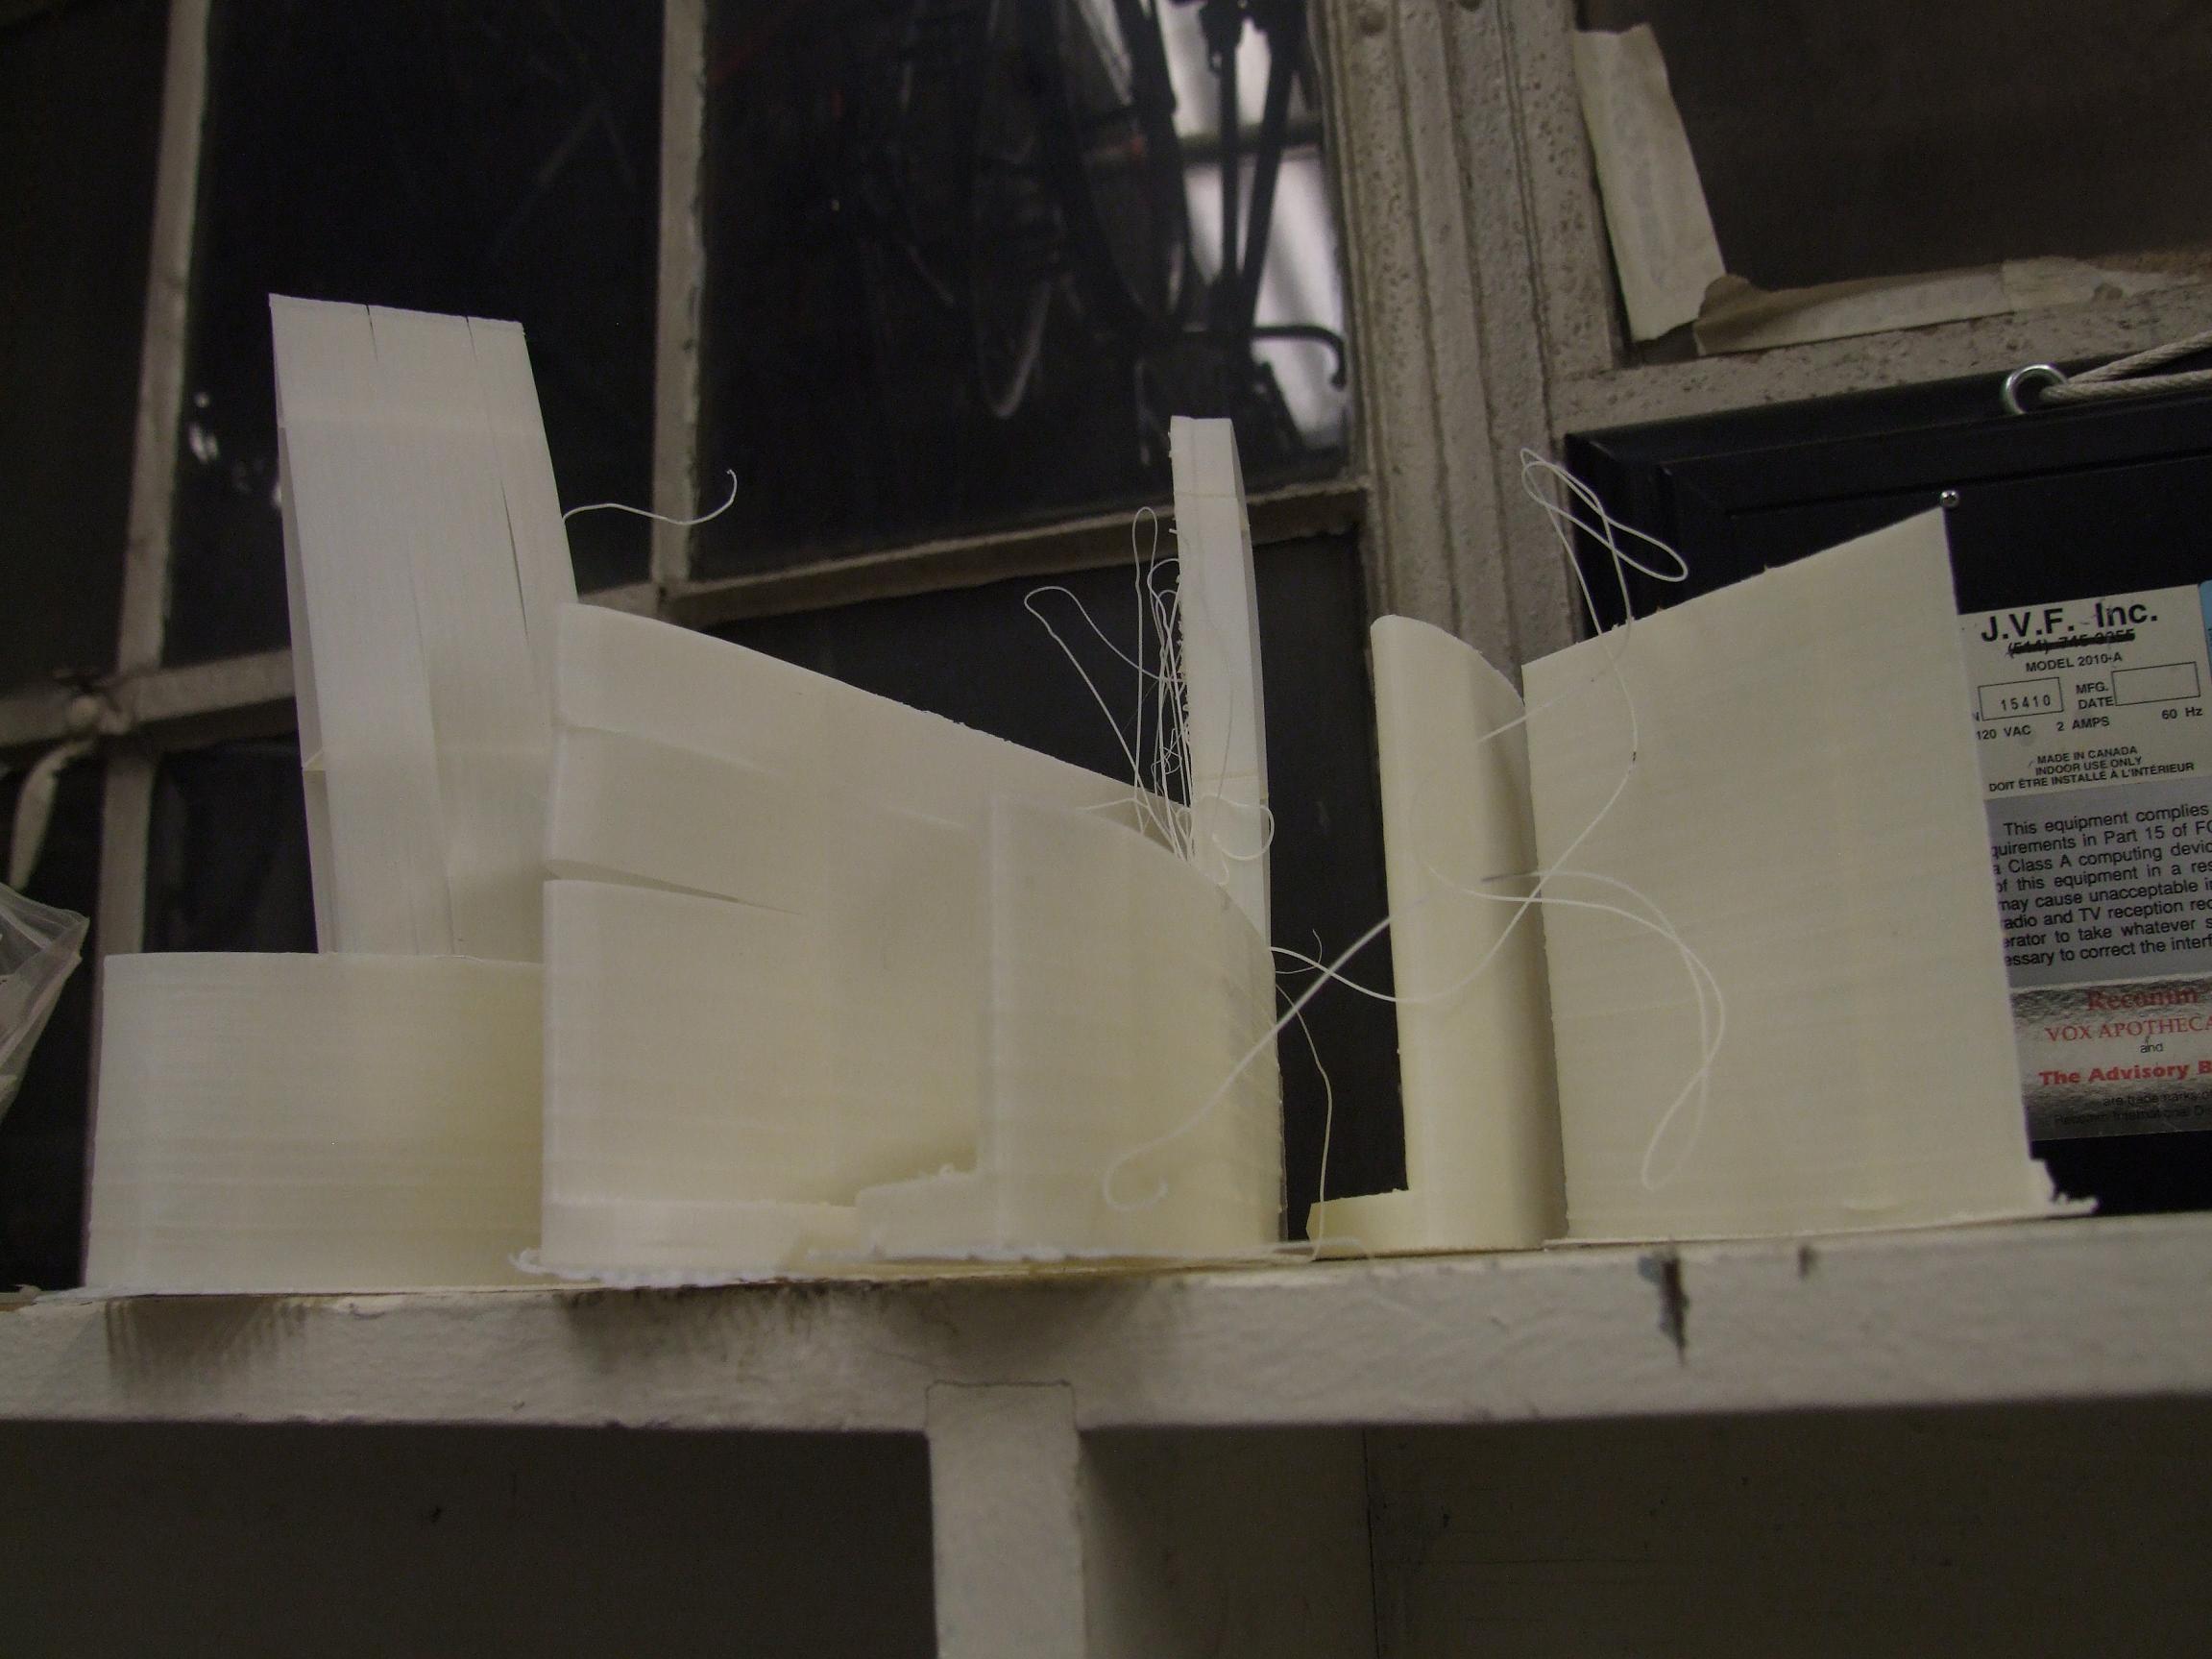
I took the remaining time to pop out the left wing, also in front and rear halves.

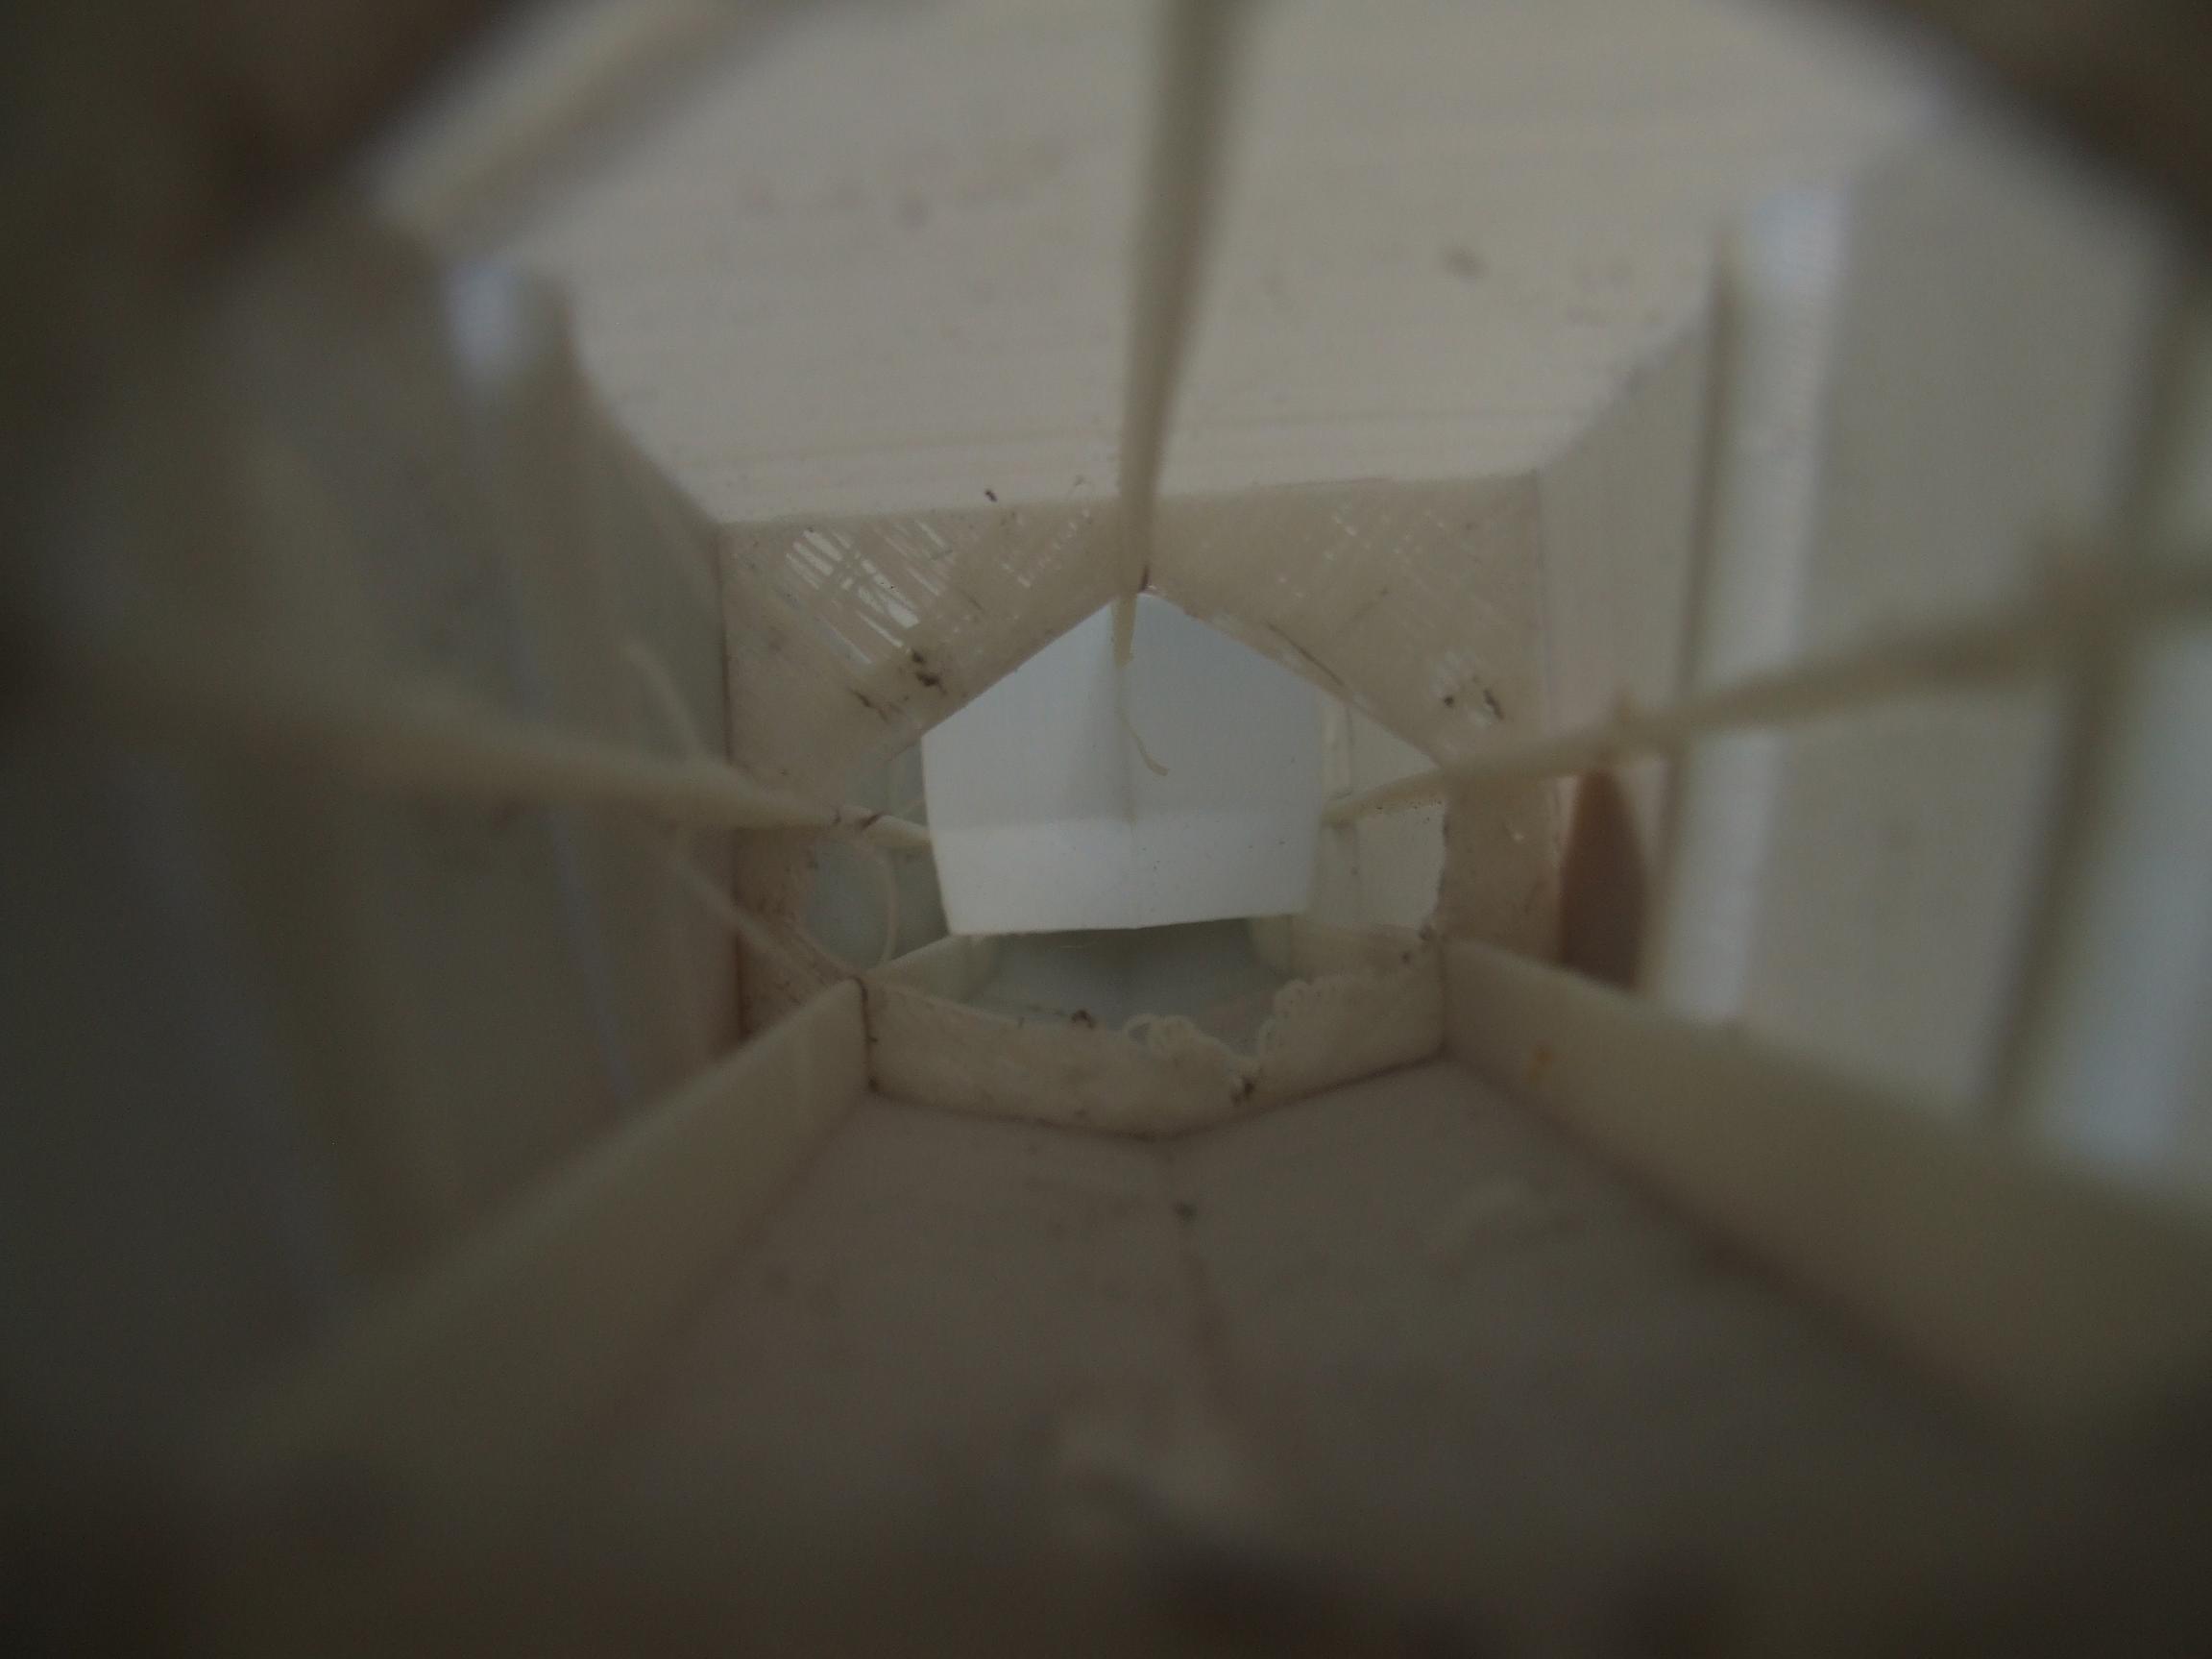
Here is 0003B in the adhering jig. I again elected to use a film of Goop to secure the wings to the hull.
I had to leave before remembering to take the thing out of the jig, but hopefully it will be waiting when I return and then it can do That Thing again. Maybe better this time…