It’s been a while since I’ve had an entire day of solid bot work. Most of the “weird machining” on Ãœberclocker is now either in process or over with. A few tricks and workarounds made things go alot faster.
…like this one. After exactly one part, I got sick of having to re-zero the machine after flipping the piece over. And so I had to devise some crazy rigged solution as usual.
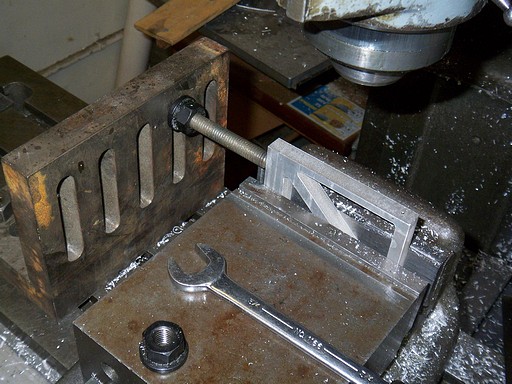
Fortunately, this time, it wasn’t too rigged. A few 90 degree angle blocks were hiding in a shelf corner, so I cleaned the industrial grunge off one and mounted it to the mill table. A bit of threaded rod and some malleting later, and I had a makeshift “workstop“, which is a little stick-like thing that is used to accurately reposition a workpiece after removing it from the vise.
It’s slightly more than a stick, and looks like it can actually stop a small train, but oh well.
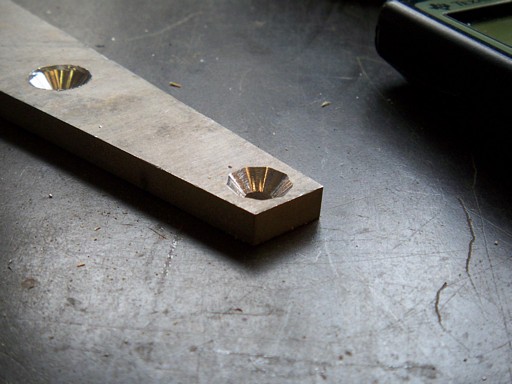
How do you drill a 9 sided hole? With a countersink. Although there were a dozen or more countersinks in the Toolgasm, none of them are odd-fluted. The result: chatter like Paris Hilton with a new cell phone.
It probably didn’t help that I just freehanded this part.
Fr0k spacing things all threaded. The same part that got me sick of edge finders also got me sick of manually tapping. Solution: spiral-point tap and a cordless drill. Spiral point taps seem to be an order of magnitude stronger than their four-fluted hardware store cousins, clear their own chips, and a nice handful came with the Toolgasm. I selected a TiN coated #10-24 and tore through all 24 threaded holes in a few minutes.
Unfortunately, 16 of those ended up needing to be clearance holes. Oh well, better that I thread 16 extra holes than drill 16 holes too large.
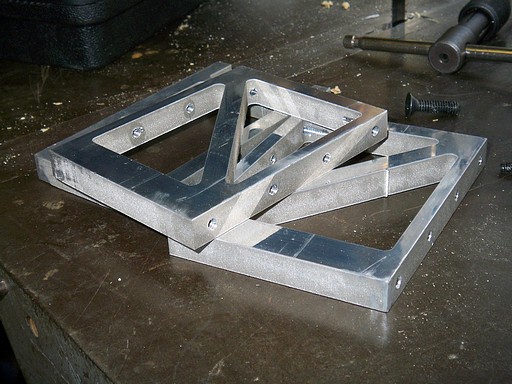
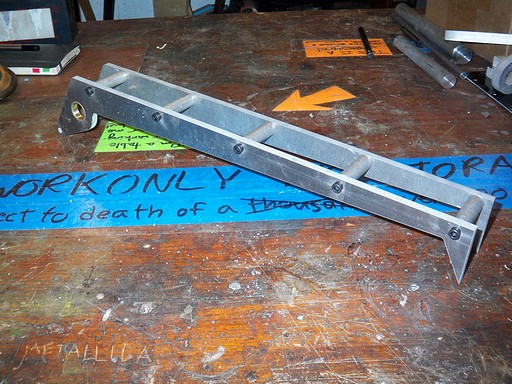
In another fit of absurdly industrious machine work, I finished up the “upper fr0k”. To my chagrin, I discovered that 800 grit fine sandpaper produced the same shiny finish as a fine power feed. So I just made a bunch of standoffs from raw half inch aluminum stock (of which there was a convenient 10 foot stick, found behind yet another unsorted shelf). The front support leg standoffs were made this way. I decided to not bother shining up the spacers for the upper fr0k.
These were also power-threaded with the same #10 tap, on the lowest speed setting of the lathe (something like 100 RPM). I set the belt tensioner a bit loose such that when the tap bottomed out, the spindle stopped turning.
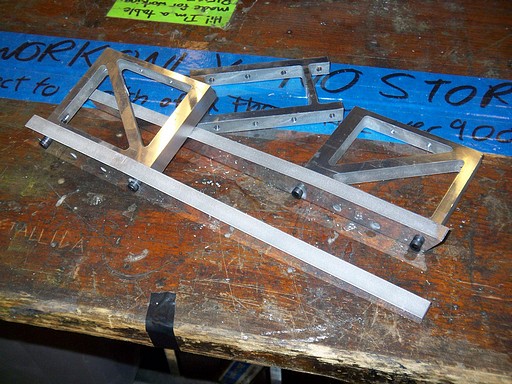
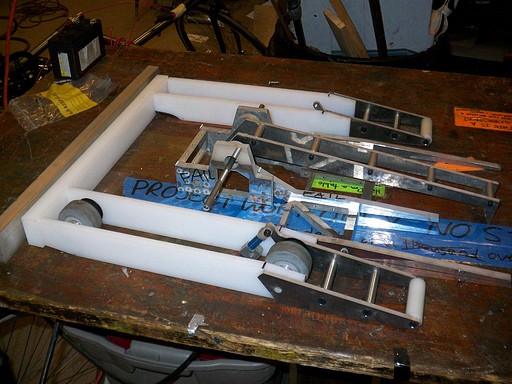
Outer fr0k tines mated to their respective spacer things. The 15 degree lead angle on the spacers have been milled in this picture, and is just barely visible (They won’t do a thing… why the hell did I even design those in?)
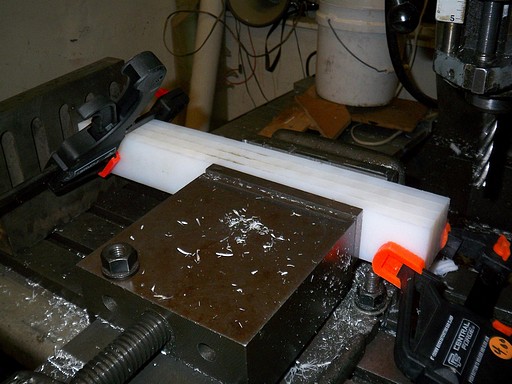
After putting down the fr0k, it was time to attack the first “weird machining” task – making the 10 degree front and rear slopes. This was made decently difficult because the parts were huge (15″ long UHMW) and I had no angle blocks, angle vise, angle plates, or any other implement with the word “angle” in it besides “angle grinder” which didn’t help one bit in this case.
I ended up pulling the same stunt as when I machined the 45 degree front slope for Pop Quiz – tilting the head and using Interesting Trigonometryâ„¢
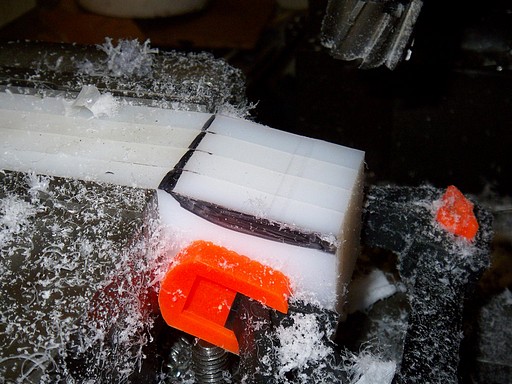
It worked pretty well. For every n” I moved the table up into the cutter, I had to move the x direction n / sin(10°) to keep the cutter face on the same plane. Repeat k times for k a small real integer constant and a 10 degree slope emerges. Then flip the part over and do it again.
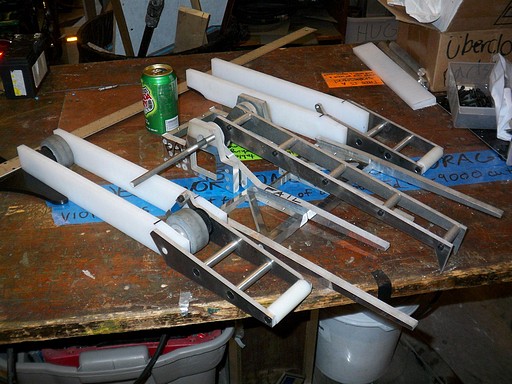
After all four rails were roughly shaped, it was PRETEND-O-BOT time! Hey, it looks like something.
This thing is absolutely enormous. That’s a 36 inch T-ruler I used to position the parts. The chassis itself (UHMW only) is 15.5″ long and 20″ wide. The fr0k extends way out in front and brings the total length of the bot to 27 inches. That’s pretty nutty. For comparison, TB4.5MCESP1LOLBBQ is exactly one foot square (one square foot?!) with the wedge bringing it to 16″ long and 16″ wide.
While I was still on bot-gasm mode, I trimmed off some of the 1″ UHMW barstock for the back end. Also notice the similarly-sized aluminum bar. I originally purchased this for the LOLriokart (whose drivetrain parts are still in transit. Thanks goes out to Bank of America for assuming any purchase I make over $100 is some kind of fraud unless I tell them beforehand that I’m buying something more than lunch)
I’m debating whether or not to just make the back end of the bot out of aluminum. The bot is 7 pounds underweight in the design, even with most of the big hardware accounted for. Since there’s no way I can fill up at least 6 pounds just with wires, Loctite, and duct tape (by accident), it could stand some more solid material. Aluminum would also double as some ballast to keep the bot on the ground during a powerlift.
Stay tuned for more! United Hobbies/Hobbycity should be pitching some 4AH lithium polymer packs at me soon.
