The Mt. Washington Alternative Energy Summit, from the Perspective of a Not-Very-Alternative Energy (yet) Vehicle

“Summit”! Do you get it!? It’s a summit, like a meetup or conference. On a mountain! And you call mountaintops summits. Wasn’t that smart of them?!

I’ll never let that one be lived down.

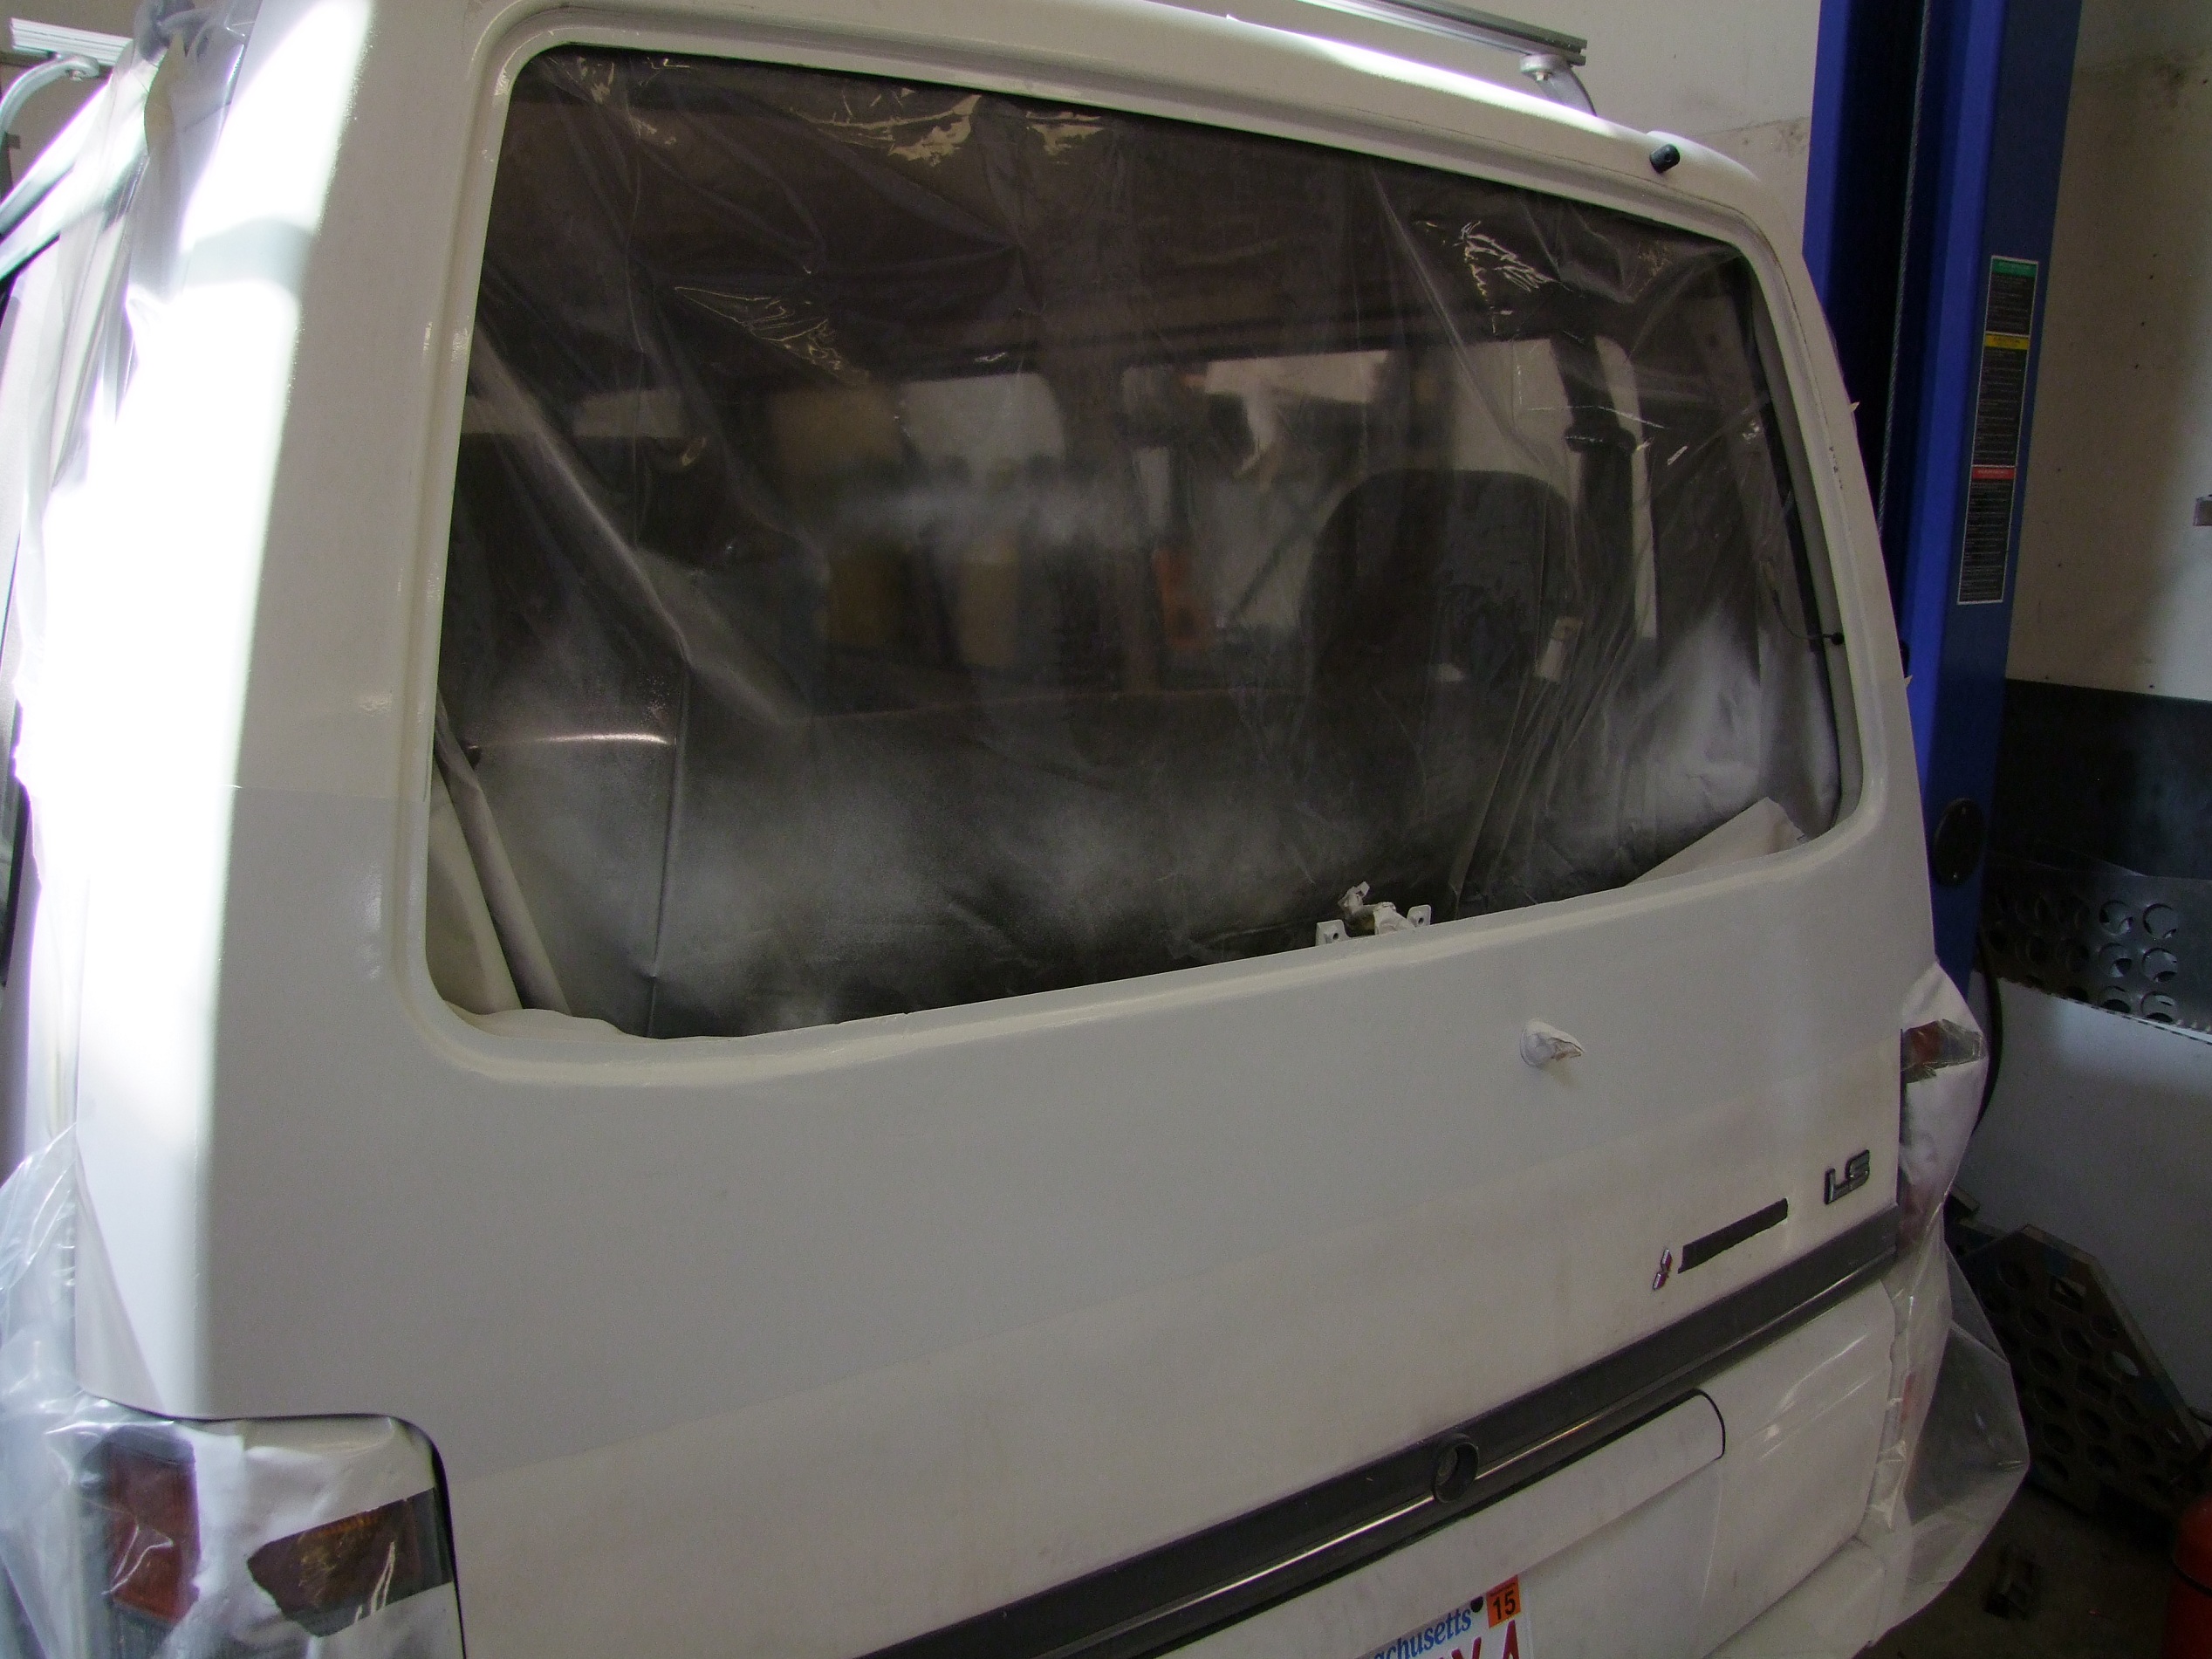
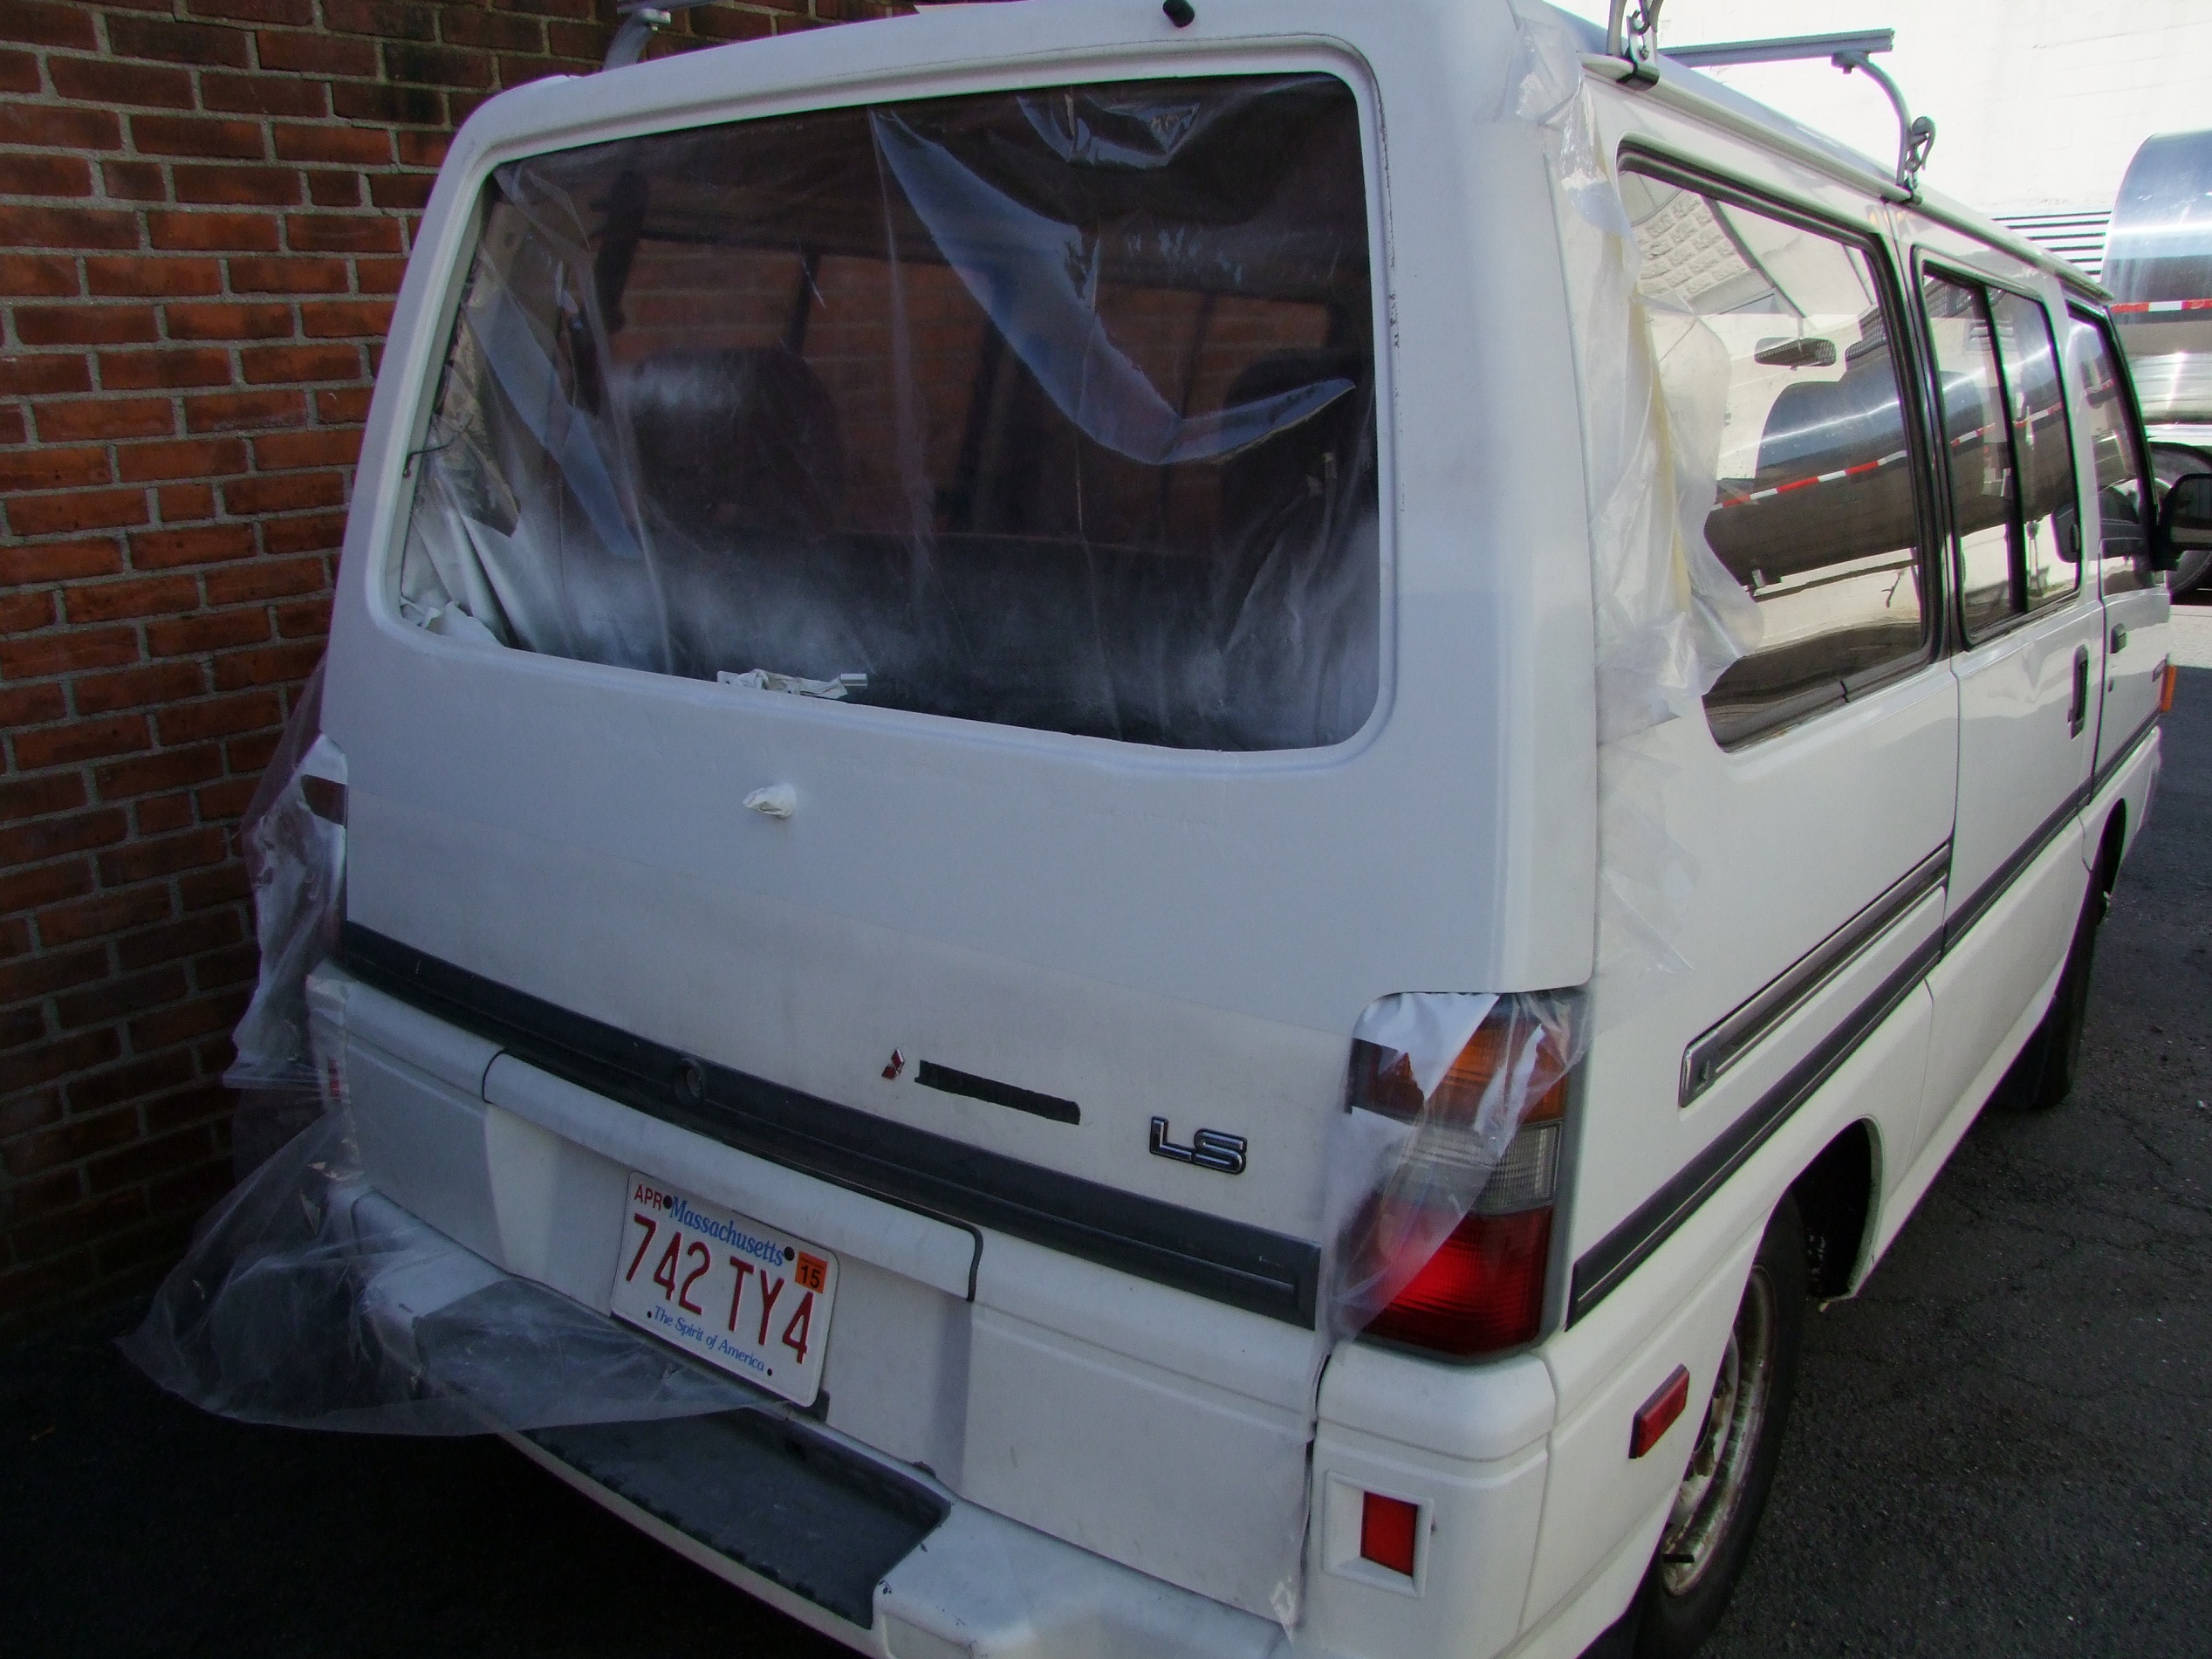
It was an eclectic (dare I say electric?) gathering spearheaded by one of the area electric vehicle bros, Ted, and it all came together at the base camp of the Mt. Washington Auto Road. I was inhaled by the draft of everyone planning on going, a few days before the fact… with a broken window and all, and figured it would be a great chance to spy on everyone elses’ hardware and get some inspiration. And so, Mikuvan got to climb 4,600 feet to the summit of Mt. Washington (and get back down), and I got to see some of the latest production and custom EVs up close.  I summitted with the EVT Porsche, which was brought for the purpose of climbing Mt. Washington for the first time. I was part of the escort on the way up, and the… uhhh, “brake van” on the way down to prevent Shit Literally Going Down. Now aren’t I glad my brakes are in seriously awesome condition?

Early on Saturday morning, I pitched RazEr and Johnscooter in the van and headed north. Little did I know that they’d be both completely useless at the event venue, but hey.

The adventure begins with a roughly 3 hour drive to middle-northern New Hampshire. I am under the impression now that New Hampshire is made entirely of mountains, forests, and campgrounds. No wonder everyone who lives there is a freedom-loving rugged mountain hermit…

The scene of the event was the ‘base camp’ of the Mt. Washington Auto Road. The Road was nestled in a valley between two mountains, south of a little one-street town. To reach it entailed travelling on several small state roads, which threaded through additional little towns and settlements. I have this hypothesis that small-town America is homogenous across cultural regions, and I definitely felt the familiar vibe here as I did in southern small towns when I was younger.

Not sure if I’d be able to deal with the inconvenience of not being able to stumble downstairs and across the street at 4AM for a burrito yet, however. Clearly, Big Chuck’s Robot Warehouse needs an integrated burrito joint.

It’s early Saturday morning, and various exhibit vehicles are just starting to filter in.

These things were pretty rad. They’re Tribeys, by Black Sparrow Industries – think LandBearShark‘s more generally mobile cousin – you stand on these sideways like a board. They have a big hub motor in the back and a steering linkage controlled by rider tilt.

One of the highlights of the event was an original Stanley Locomobile – not the original which climbed Mt. Washington in 1904, but one from the same era. Looking at the technology on it really is a testament to how refined the modern automobile is, but all the same basic systems were recognizable. If I jacked Chibikart on 26″ slick bike wheels, it’s almost part for part.

It had an open differential. A very open differential. And exactly one brake – a big band brake wrapping around the outside of said open differential, occasionally, as the operator put it, getting doused in oil and grease from the driveline. Sounds like my kind of brake!

Why yes, this is my other car.

The usual commercial suspects – Nissan Leaves, converted plug-in Toyota Priiii, Volts, and of course Model Ssen, were present. At least two distinct Model Ssen rolled in and out throughout the day, and like 3 Volts.

One of Ted’s bikes. The last time I saw this thing was at the Somerville mini Maker Faire, when it still had a bucket of Hobbyking lipo packs. I got to ride this a few laps around the campground area – gobs of torque to be had from the Etek/Mars motor.

Another quirky “alternative transport” machination, the ELF. Designed for hybrid pedal and electric power, it’s more or less a trike with an outer shell.

Under it was a Crystalyte hub motor being used in a… not very hub motor way. I noticed a few of us had some laughs over this, but it’s a 100% legitimate way to use any motor, even a “hub motor”. Power is, after all, composed of both torque and speed, so for the same torque, you have more mechanical power if you can get more speed. Hence, running a motor on a higher voltage (than some reference design) and gearing it down more is a sure fire way to get more performance, and also a possible way to get more efficiency out of the system.

I’m a hub motor aficionado, so I took particular interest in everything equipped with hub motors. Here’s a full size electric motorcycle with not one, but two hub motors cleverly hidden in where the rear hub would usually be. The motors are discrete, so to change a tire off the rim, you’d just dismount the motors. Compared to a system where the rim is somehow part of the motor, or requires dismantling an endcap of a motor to get to, I think it’s a better system. Plus, more torque. Double the torque.

All flavors of electric rideables were in attendance, including this redneck cousin of Cap Kart. Lead and series-wound DC motors, still the baseline of EVs everywhere.

The alleged fastest street-legal motorcycle, Electracutioner. It used, of all things, a giant GE series wound motor mated to a rack of what I could only see as private-label Hobbyking lipo packs. Brute force motor with brute force energy.

Another fancy bubblecar, the Corbin Sparrow. Check out the “golf ball” texturing on the backside of the fenders – it’s also present on the underside rear of the vehicle. I overheard the designer, or perhaps a fan that sounds really like the designer, claim it makes a few percent improvement in the range of the vehicle.

The MIT EVT rolls up with the Porsche and a few other toys.

A few moments later, and completely annihilating the carbon footprint of the event, Adam shows up with Lipobike in tow.

By mid-afternoon, the event was at peak liveliness. You can see me desperately trying to ride RazEr around in the middle there. Hey, it worked some times – when the grass was flat, but not muddy, and not rocky!

Your “LOL HEY GUYS” picture for the weekend.

I didn’t really get any good pictures of the convoy starting to go up the mountain, but here’s the EVT group at roughly mile 5 of 8, pulled off to inspect the status of motor systems.

The Porsche nearing the top. There were several occasions when the upward-traveling convoy had to yield to downward-traveling traffic, and the Porsche… uhh, didn’t have enough torque to start again. Presumably it’s a rotor-lock protection in the motor controller, since it didn’t even try. A gentle push was needed to get it started again.

Maybe the Azure Dynamics controller is just a giant Hobbyking ESC inside.

And the group has summitted.

We stayed up at the top for about 2 hours, then began the careful trek down. I led the convoy down since I had a really tall first gear that basically made 20-25mph the no-effort engine-braking-only descent speed (and which makes for surprising agility in low speed city maneuvering), so I had braking overhead to stop anyone else just in case. Every 2 miles, the convoy pulled off and students scrambled around with IR thermometers to check brake temperatures. The Porsche consumed about 50% of its pack on the way up, and regained something like 25% on the way down, and Model S owners were reporting 25-30 miles added back to their ranges.

It shows that regenerative braking is 1. pretty cool and 2. not entirely bidirectional on the average because you can’t capture back most speed-dependent steady state losses, and batteries do not charge and discharge symmetrically. Regen is often touted as some kind of miracle in EV marketing and very misunderstood. Maybe it’s time for an Instructable…

Here’s one of the “nice pictures” I took at the top.

And one I took on the way up, near the 4 mile marker!

The party ended around 3PM, and pretty much everyone was back in town by 7PM.

stuff lurned

Overall I consider this a worthwhile adventure, and it showed me a lot of the smaller end of EV hardware (plus, I got to van-camp for once!). Unfortunately there weren’t any custom electric car conversions, something I was sort of itching to see. Essentially, I was hoping to use this trip as a mental make-or-break for the still-on-the-agenda EV conversion, I swear. I figured the next 5 to 6 months was a period of time when the weather around here is too damn disgusting to drive anywhere, so if I could be convinced that the work could happen during that time, then I should begin immediately.

That how it would proceed if I had infinite money, anyway, since in my estimates I would probably still need to drop the higher end of several thousand dollars to get an electric powertrain for Mikuvan operational nicely. Not a motor and a knob glued to the center console, but functionally transparent to how it is now. It’s really not prudent for me to try and assume that I can consistently spend a ton of money over the next approximate year at this point. I am, after all, not yet Elon Musk and cannot yet troll space, and the last thing I want to do is to get halfway done, then be forced to give up or abandon the project for some reason.

Besides, you don’t just take apart something that has gone almost 7,000 miles in the past five months (early 4/5ths of that just by means of epic road trips) without so much as a hiccup or misfire, then put it back together in a less useful (comparative) position – that’s taking apart the castle for the stones when you have to spend thousands of dollars to pile the stones in the shape of a slightly different castle, all for your own amusement.

So yeah, I’m still totally in denial about it, but I think Mikuvan will remain stock for a while to come. That, or it’s time for another van!

Mikuvan and the Broken Windows Fallacy

Continuing on the trend of “Charles writes about stuff that actually happened like 2 weeks ago”, this is the tale of how not to follow service manual instructions, and then how not to do bodywork. But I’m glad to say all is actually well, and it’s not as bad as I make it out to be in that sentence… though I am still out about $350 total for a new rear hatch window.

Immediately post-Dragon*Con, I was planning on taking the early fall lull in activity (read: I don’t want to do anything useful for a like a month after Dragon*Con) to get some pressing bodywork done on Mikuvan. I bought the vehicle originally with a line of rust and bubbly paint on the rear hatch window’s bottom sill, a telltale sign of some bad or shady window repair work that damaged the paint or something a while back:

It had only been deteriorating since April, with the bubbles slowly flaking off and the rust stains spreading. I decided that it was now or never in order to tackle it, since soon the weather here would be getting too cold and wet – the only real venue I have to do this kind of stuff is outside. Some time the week after D*C, I decided to try and remove the rear window to assess the damage in detail.

The rear window is retained by a thick rubber gasket that’s S shaped. One ‘fjord’ of the S envelopes the outer edge of the glass, and the other one grips the inside of the hatch, slung across a perimeter ‘pinch weld’. I had heard of various tricks involving a greased string wrapped around the outside to work the gasket out of the frame, but that sounded a bit kinky to me, so I consulted the manual:

..okay then? Here goes nothing…

Well shit.

I’m guessing this was another one of those situations where “Pry with screwdriver” means something different to a mechanic or auto body specialist than, say, me. I got about 3 inches of the gasket out from the inside before seemingly prying incorrectly or something – as you can see above, the fracture started from the end of the right side of the seal. The sound was best described as “polyphonic gunshot” as the propagation of fracture caused the sound to be spread over a few hundredths of a second. It took me a few seconds to realize this was going to be expensive.

More importantly, I was worried about finding a replacement glass at all. It’s one thing to get glass for a GM econobox, but there weren’t many of these vans sold in the U.S. in the first place, and most of them surely have dissolved long ago. I was ready to start scouting the Canadian Delica forums for someone with a parts car.

But I seemingly got lucky. I first hopped on Rock Auto, my favorite parts house, and they somehow had 1 item in stock for “Rear Window Glass”. Figuring that they couldn’t be too wrong, I decided to give it a shot.

In the mean time, I consulted a few area auto body shops to get estimates on glass replacement, including my favorite in the area, Chicken & Shakes:

Sadly, they did not do glass work. What I learned is that most reputable glass shops won’t take customer-provided glass – they had to source it for you. Something about warranties, I wasn’t sure. Whatever the case, enough asking around got me a contact with Jose and Jesús, who will pop my new window in for $80. I’m convinced that this is how things actually get done in the world – you keep digging until you find some dudes who just don’t care about The System who’ll take care of you in like 10 minutes. Kind of like how I run my shop.

Now that I got an estimate for the installation, it was up to me to strip away the rust and seal the window frame before my glass came. The first step was to amputate the remains of the window:

I set up a plastic drop sheet that went over the rear seats and extended a few feet on each side, then I ripped out the clear packing tape that I had paved the window over in order to hold it together for the time being. Then, some selective hammerwork freed the crunchy window and it all fell out in roughly one piece. You can already see some of the cancer that the gasket was hiding.

Oh boy, this was going to get interesting. I was really, really hoping for just some bubbled paint and rust spots I could wire brush out, but this one looked like it had depth.

A lot of depth. In fact, I think I started chipping off about 5 different peoples’ Bondo jobs. I was suspecting that most of this rear hatch was made of Bondo, but it still sounded metallic when struck, so I figured it wasn’t too bad. But Bondo is moisture-passive, so the steel had begun rusting out again underneath it, presumably from a single crack in the repair.

Cleaning out the gasket of broken glass bits while I formulated an attack plan.

I had hoped to take the intervening week between the glass order and when it arrived (and when I’d have to call Jose after he got off work at his real auto glass shop) to make all these repairs, but the Media Lab class and other shop-herding commitments meant I neglected to do this. Next thing I knew, my Rock Auto order had arrived.

Well damn, it actually is the same glass! It carried an original manufacturer’s sticker, so I was probably looking at a piece of glass older than I was.

It was the Wednesday before Maker Faire New York, I had promised to carry six MITERS frosh (and non-frosh) to New York, and I was not going to do it while missing a rear window. This shit had to go down now. What follows occurred from roughly 10PM Wednesday evening until 4 or 5 PM Thursday afternoon…

Oh, and I now need to add the NYMF to the list of things to report on ex post facto

Because the evenings around here were now in the mid-50s and high 40s, it was too cold to paint or use any crosslinking compound (e.g. polyester resin based Bondo). I pulled into the auto shop, carefully nudging the EVT Porsche and Solar Car out of the way, closing the garage door with about 3 inches to spare. Some more plastic sheeting was set up to enclose the rear hatch area.

The plan was to grind and wire brush as far down as possible to expose metal first. Then,size up the situation and decide if hammering in some replacement sheet metal or laying up fiberglass was a more viable option.

I used a crimped coarse wire brush first to knock away most of the loose material, then switch to a flap disc to do the more heavy duty removal. I returned to the wire brush to hit the corners since it was more flexible.

This thing was like a fuckling Jawbreaker candy with its layers of filler and paint. Check out those strata that geologists would murder for.

I went into this with no intention of restoring the previous repairs’ contour, because the stuff was around 2mm thick in places. I was basically out to get the repair well-sealed and the area somewhat smoothed just so it didn’t look like total shit. Patient hand-sander I am not. I’m rolling with the assumption that there will be a day when I have enough money to get this thing fully resprayed and repaired by a professional shop, and my mission is to preserve it until then.

The open-pit mine has been expanded as far as I felt was adequate to start on the fix itself.

HI THERE.

I found three of these riveted patches on the rear window seat, suspiciously equally spaced. A bit of research led me to the discovery that these areas originally had small drainage channels to collect water that got behind the gasket, but they could become blocked easily and hence trapped water instead. This would explain why they rusted out and were repaired first.

That’s one hell of a shoddy repair job. It’s two rivets, one of which was totally hollow, so there was no way it could have been waterproof. The rest of the patches were the same.

By now, I had formulated the battle strategy – cut out the steel patches and go over the gap in fiberglass. I had, after all, invaded Solar Car territory, and at my disposal were rolls of fiberglass cloth, fiberglass and epoxy resin, and semi-infinite Bondo.

I used a metal cutting wheel in my trusty $14 Harbor Freight angle grinder (yes, all this work has been done with a $14 Harbor Freight angle grinder – yes, I’d recommend it to anyone) to slice out the steel patches.

I kept the one with the little rust monster, by the way. It was too cute to throw out.

Now I had 3 roughly equidistant holes in the hatch.

The fiberglass cloth went on in 3 layers, one after the other. I first coarse-sanded the area for better adhesion, then painted the resin around the area to be patched. The cloth was laid down and manually pushed into roughly the right shape. More resin was “poked” into the cloth with the application brush in order to saturate it, and then a larger amount was painted on for the next layer.

When all 3 layers were applied, I began pushing the cloth into shape by poking it with the brush again. As it turns out, this seems to be the easiest way to maneuver the cloth into shape by small amounts. Then, it was left to set while I worked on the next one.

By the way, I’d never done any composites layup of any type before this. I made this up completely on the fly after watching a few Youtube videos.

(The big air bubble on the right side was tamped down right after taking this picture…)

The time: About 3am on Thursday, and all 3 patches have been. applied. These were left to cure for several hours while I jumped in and took a nap. The light source is a 500W halogen work light that I pointed at the area from a few feet away in order to keep the metal a little warmer. The shop is not very well insulated, so it tends to follow the weather.

The time: About 6:30AM Thursday. Woken up by a contractor crew barging into the building, I began applying Bondo in small amounts in order to soften the edges of the fiberglass. I was not going to mash enough on to restore the original contour. Bondo says it needs only an hour to cure before sanding, but I found it was still a little flexible after that, so I gave it two hours. Notice the slightly different colors indicating different passes.

The time: About 9am Thursday. Enough was enough, it was time to start painting. No, the contour is not perfect at all and I’m sure you’ll be able to see it from a mile away…

I used 60 grit sandpaper on a power sander to blast the peaks and valleys down to a more smooth condition – notice the “bondo strata” becoming wider. I ran a finishing pass with 220 grit which I also used to rough up the surrounding area for better paint adhesion.

I used more plastic drop sheet to mask off the areas that I wasn’t going to repaint. There’s going to be a curiously new looking band of white across the back of this thing. I only had (read: The two surrounding Advance Auto Parts only had) enough of the specific shade of Chrysler white I half-assedly matched to the existing body color, so I couldn’t redo the entire rear hatch.

Picking the color was a bit of research work. None of the generic Ford or GM or Toyota colors offered were good visual matches, but then I remembered that Chrysler was basically Mitsubishi (and vice versa) in the 1980s and 1990s, and a bit of Intergoogling confirmed that some people were using Chrysler colors to repaint old Mitsubishi cars. Lo and behold – Dupli-color’s Chrysler “Bright White” was a near perfect substitute.

It’s about 9:30, and the first layer of primer has gone on above. I took the advice of the primer can and laid it out in four thinner coats, waiting about 15 minutes between each, and one hour after the last one.

Essentially noon now, and I’ve done the first layer of white (what the hell is this called anyway – base coat?)

The can of touch-up paint wasn’t enough to finish the 4th and last layer, so I ran off to the local Advance Auto again, which thankfully had 1 more can in stock, making it back in time to throw the last one on before giving it an hour to cure in order to prepare for the clearcoat. The time was about 2PM.

For the clearcoat, I removed the plastic dropcloth from the outside of the tailgate and gave the surrounding area a very find sanding with 360 grit. This was to ensure overlap of the clear coat so I didn’t have a bunch of exposed paint seams. To apply the clearcoat, I just aimed more carefully so it didn’t get everywhere, but contoured over the new and old interface.

Looking down the width of the new repaired area, you can definitely see the low spots in the fiberglass, and some of the ripples in the Bondowork. Whatever. Maybe those low spots will simulate the rain channels of yore.

I rolled out of the shop around 4:30PM Thursday. Overall assessment of the repair? Whatever, I did it in 18 hours and didn’t pay anyone money for it. Not that I would have accepted a repair of this visual caliber from anyone else but myself.

If I had taken just one extra day, then I could have done a much better sculpt of the rear hatch contour so Bondo lines weren’t visible all over the place. But this is a valuable lesson for next time – none of this was as hard and weird as I originally thought. I just really want some little rental car damage inspection stickers so I can make a note to myself which areas are made of solar car goo instead of steel.

Friday afternoon, I bumbled into Jose’s shop with the new glass, and watched firsthand as he and Jesús slung the window on in a minute flat, using the Inverse Greasy String Method (after some minutes of prep work, I mean, like wrapping the gasket back around the glass). They then filled the gap in the gasket with polyurethane sealant and a section of generic weatherstripping.

The hell. Professionals, man. They didn’t even grease their string! Seriously!

Look closely on the left side and some of my “handiwork” is easily visible. From a distance, you can’t really tell – only up close and if you are looking for it. Or if someone runs their hands along that section under the window, but if someone else is feeling up my van, I would probably take issue with it anyhow.

There it is – how I dove head-first into bodywork and learned definitively that it’s a thing which takes time and patience and those other virtues I don’t have, but isn’t that mysterious and fearsome either. The “Death Race 3000” school of automotive repair is looking more attractive now!