I’m going to Monaco.
Yes, that Monaco.
forever.
Actually, for EVER. See what I did there? The story of this one is that a few months ago, the MIT Scooter Party (all… three? of us) wrote a technical paper on how amazingly badass our collective scooterness is, and submitted it to the Electric Vehicles and Renewable Energies conference that is held in Monaco every two years. By some seemingly stochastic alignment of the universe, we were admitted to the conference.
So now we’re bringing the party to Europe. I swear, I’m going to run that F1 track-equivalent at least once on RazEr rEVolution. This trip would make RazEr my most well-traveled vehicle, since it also went to Singapore. As a microscooter, I guess it has an affinity for microstates.
I wonder if I can sell a few to Sealand.
Anyways, that’s tomorrow through Sunday. For now, Chuckranoplan!
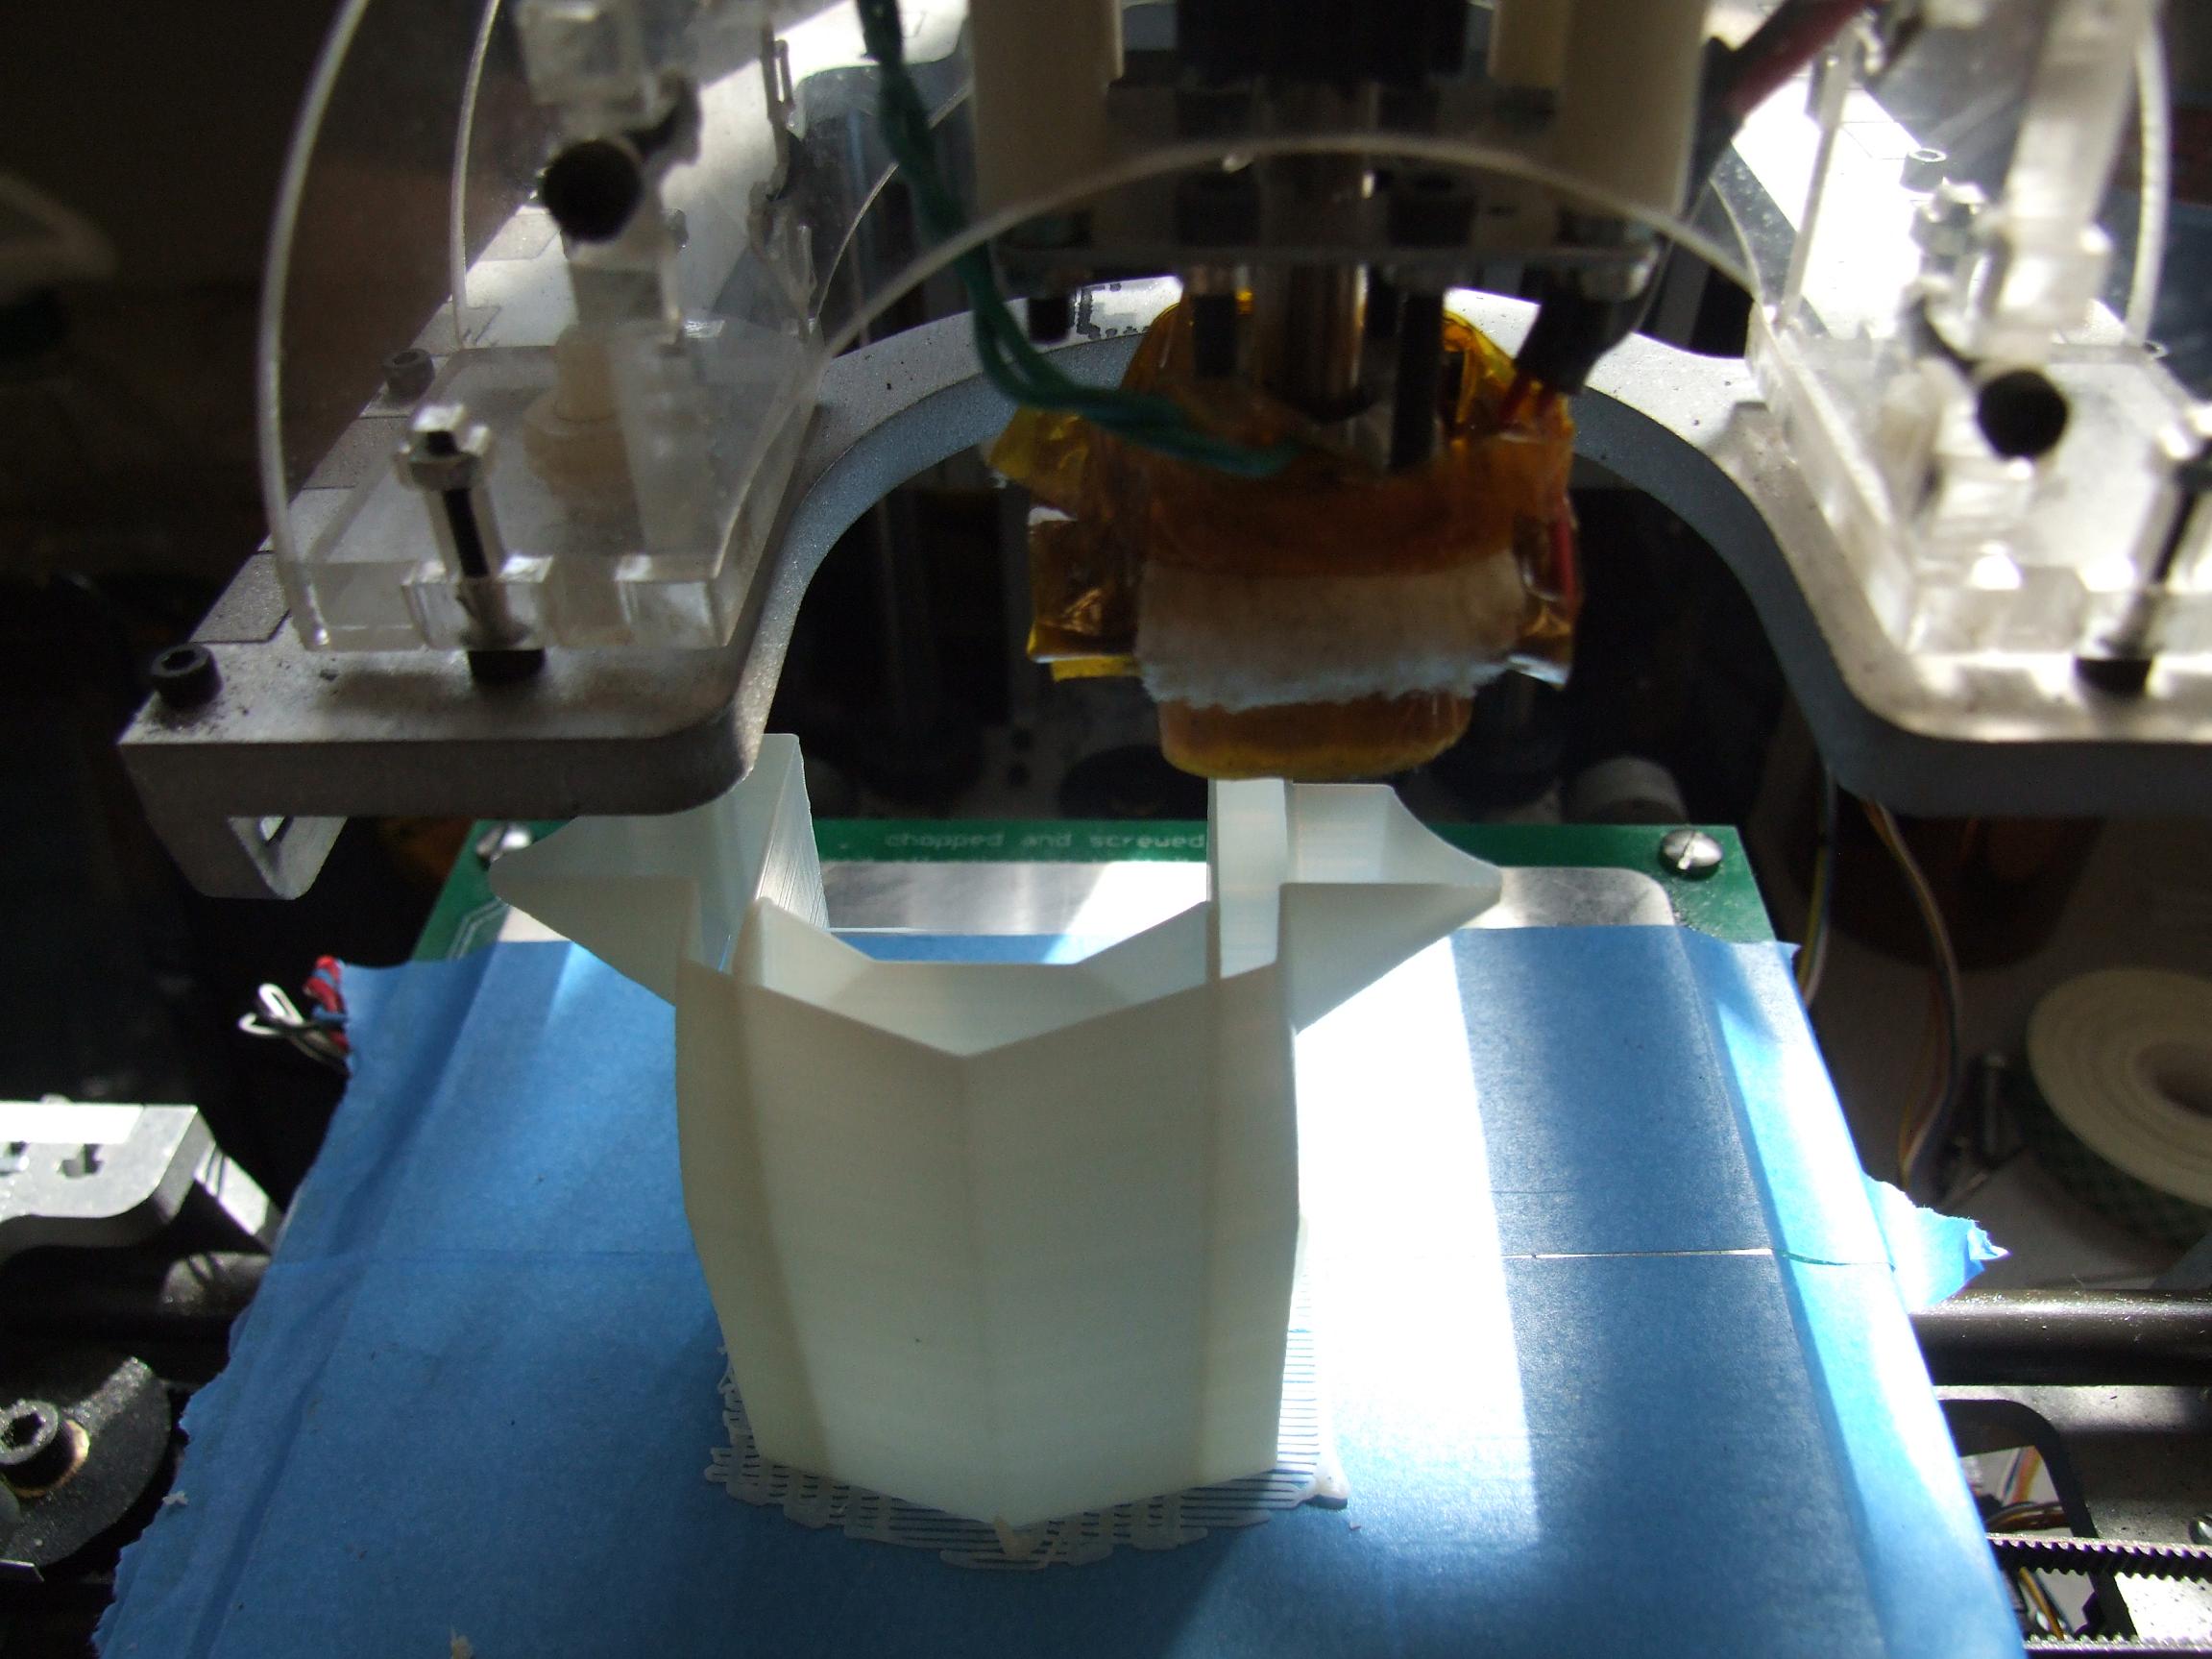
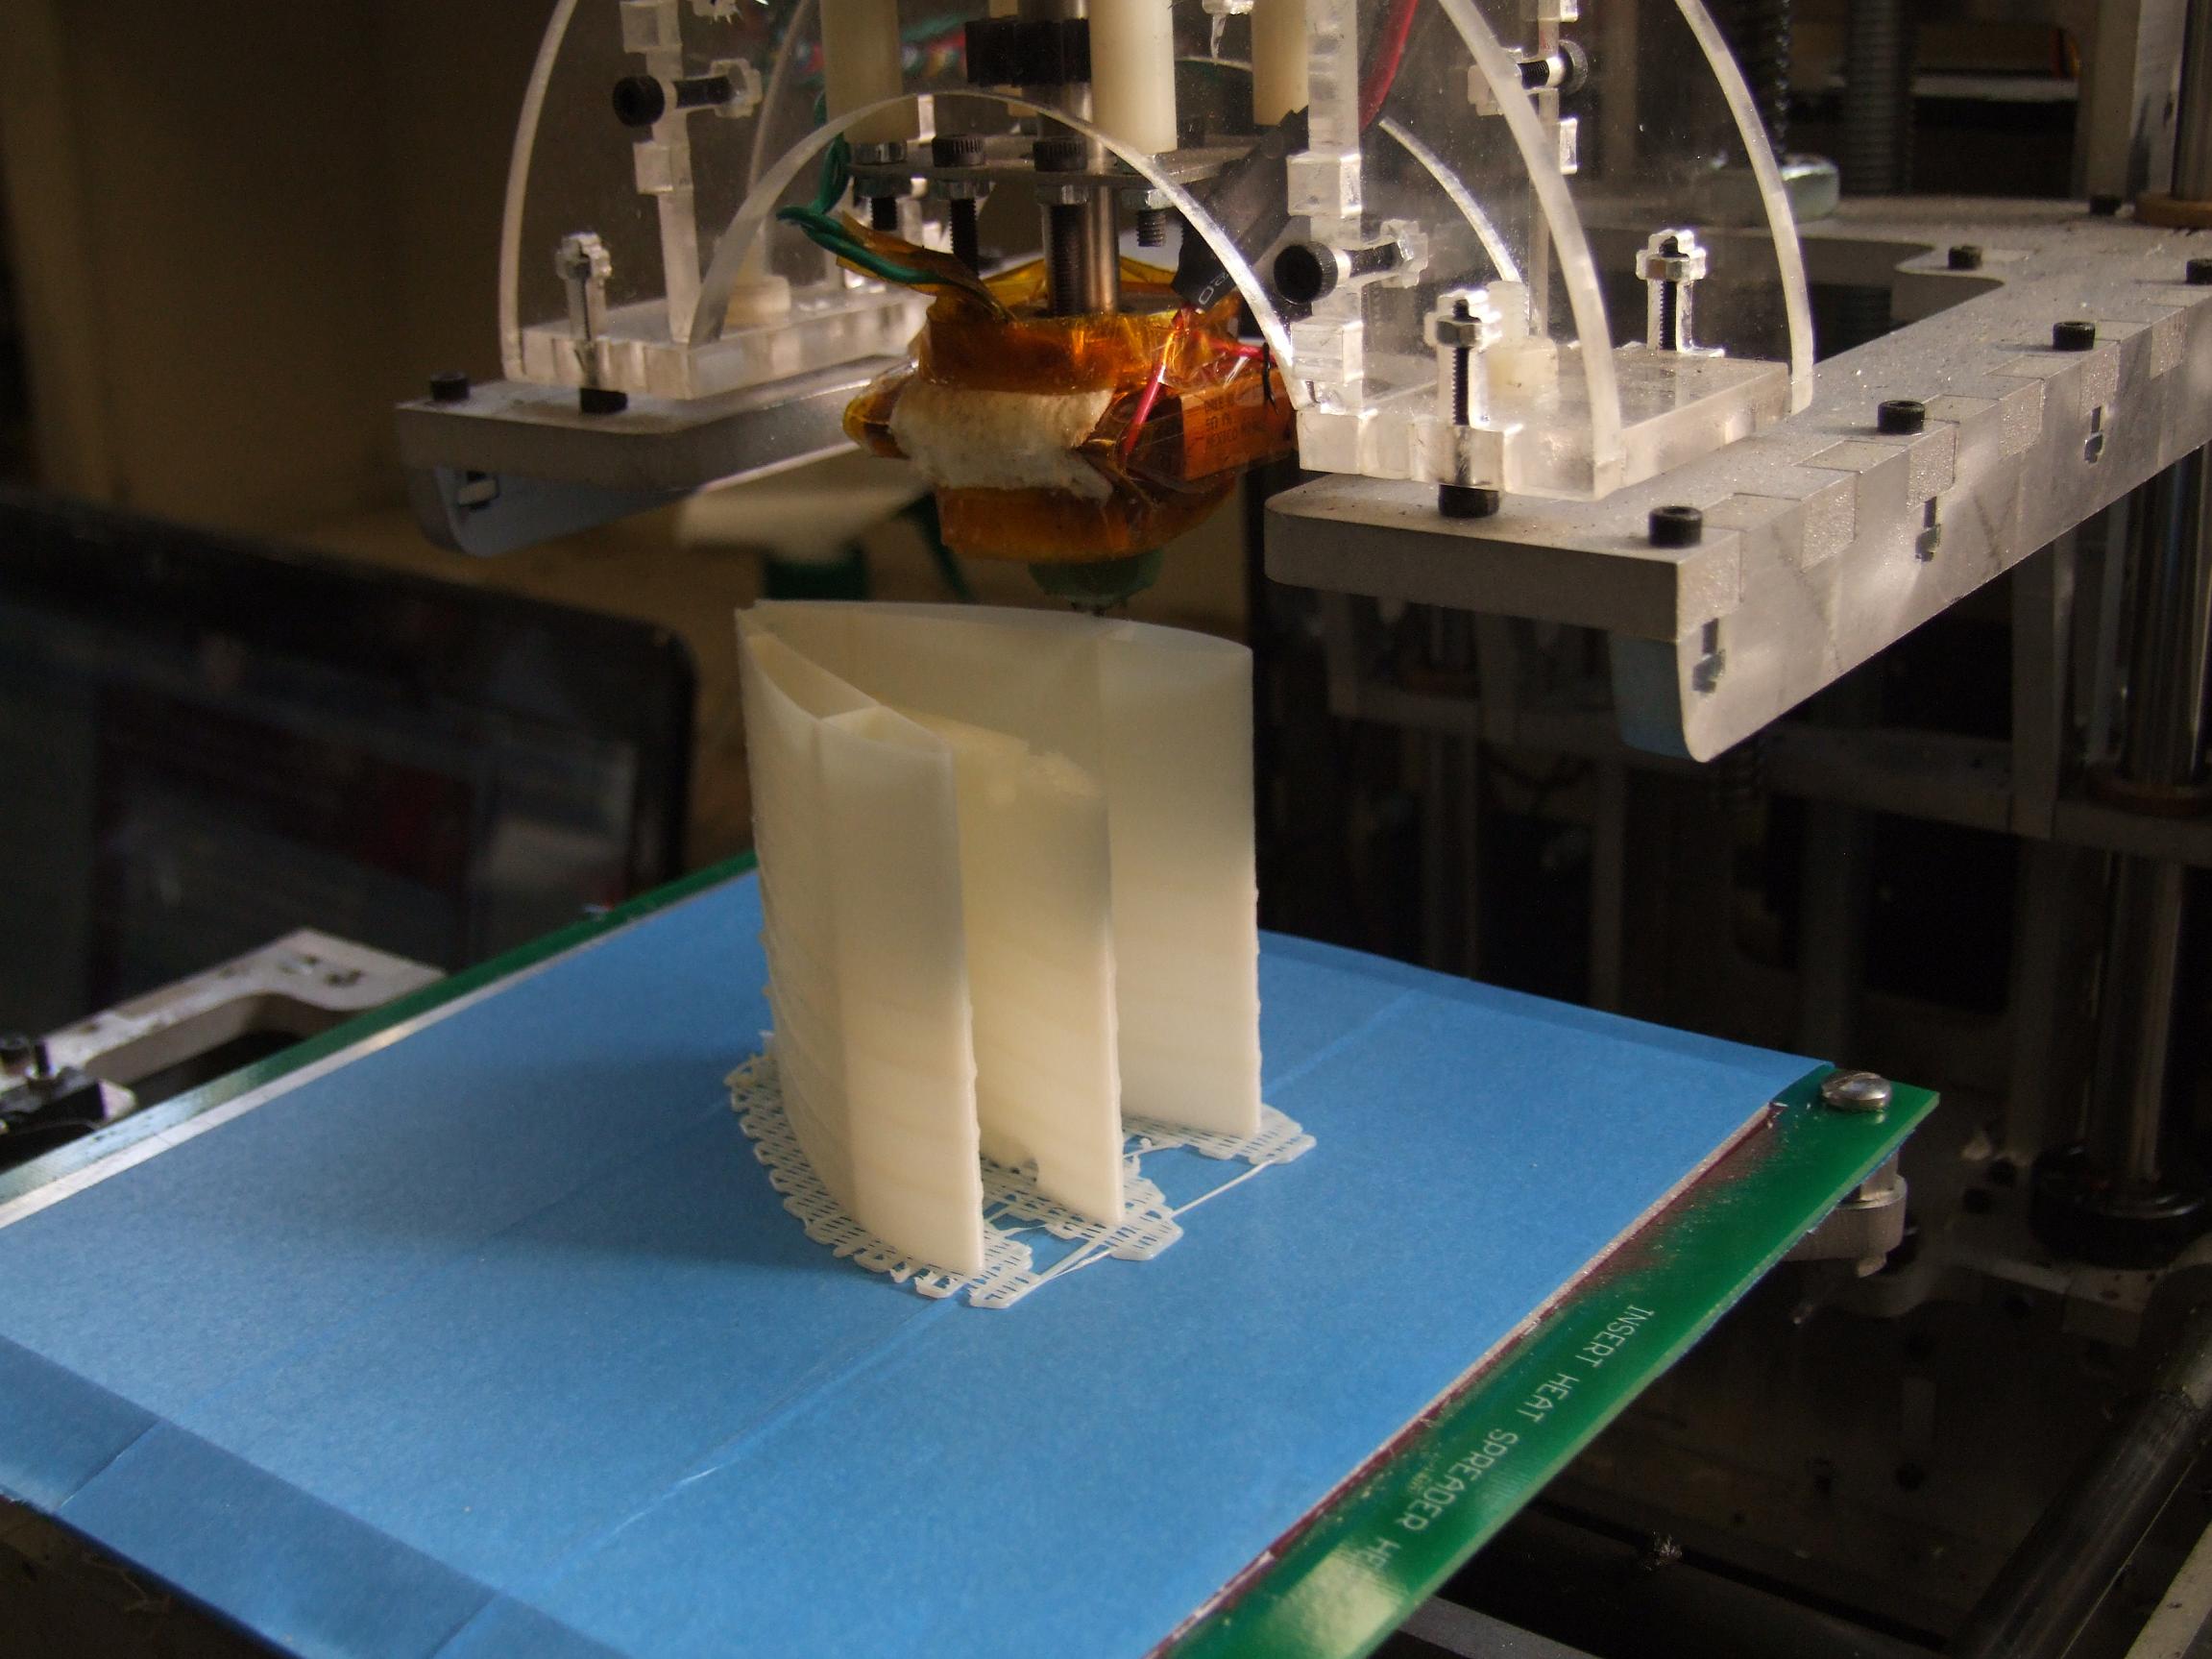
Here’s MaB executing the best one-wall print I’ve seen it do yet. It’s printing the front end of 0003B as detailed last time. The walls are 0.5-0.6mm thick, and the internal spine is 1mm thick to allow for two passes. I was surprised at how well the Dual Integrated Bus Motor Mounts came out here.
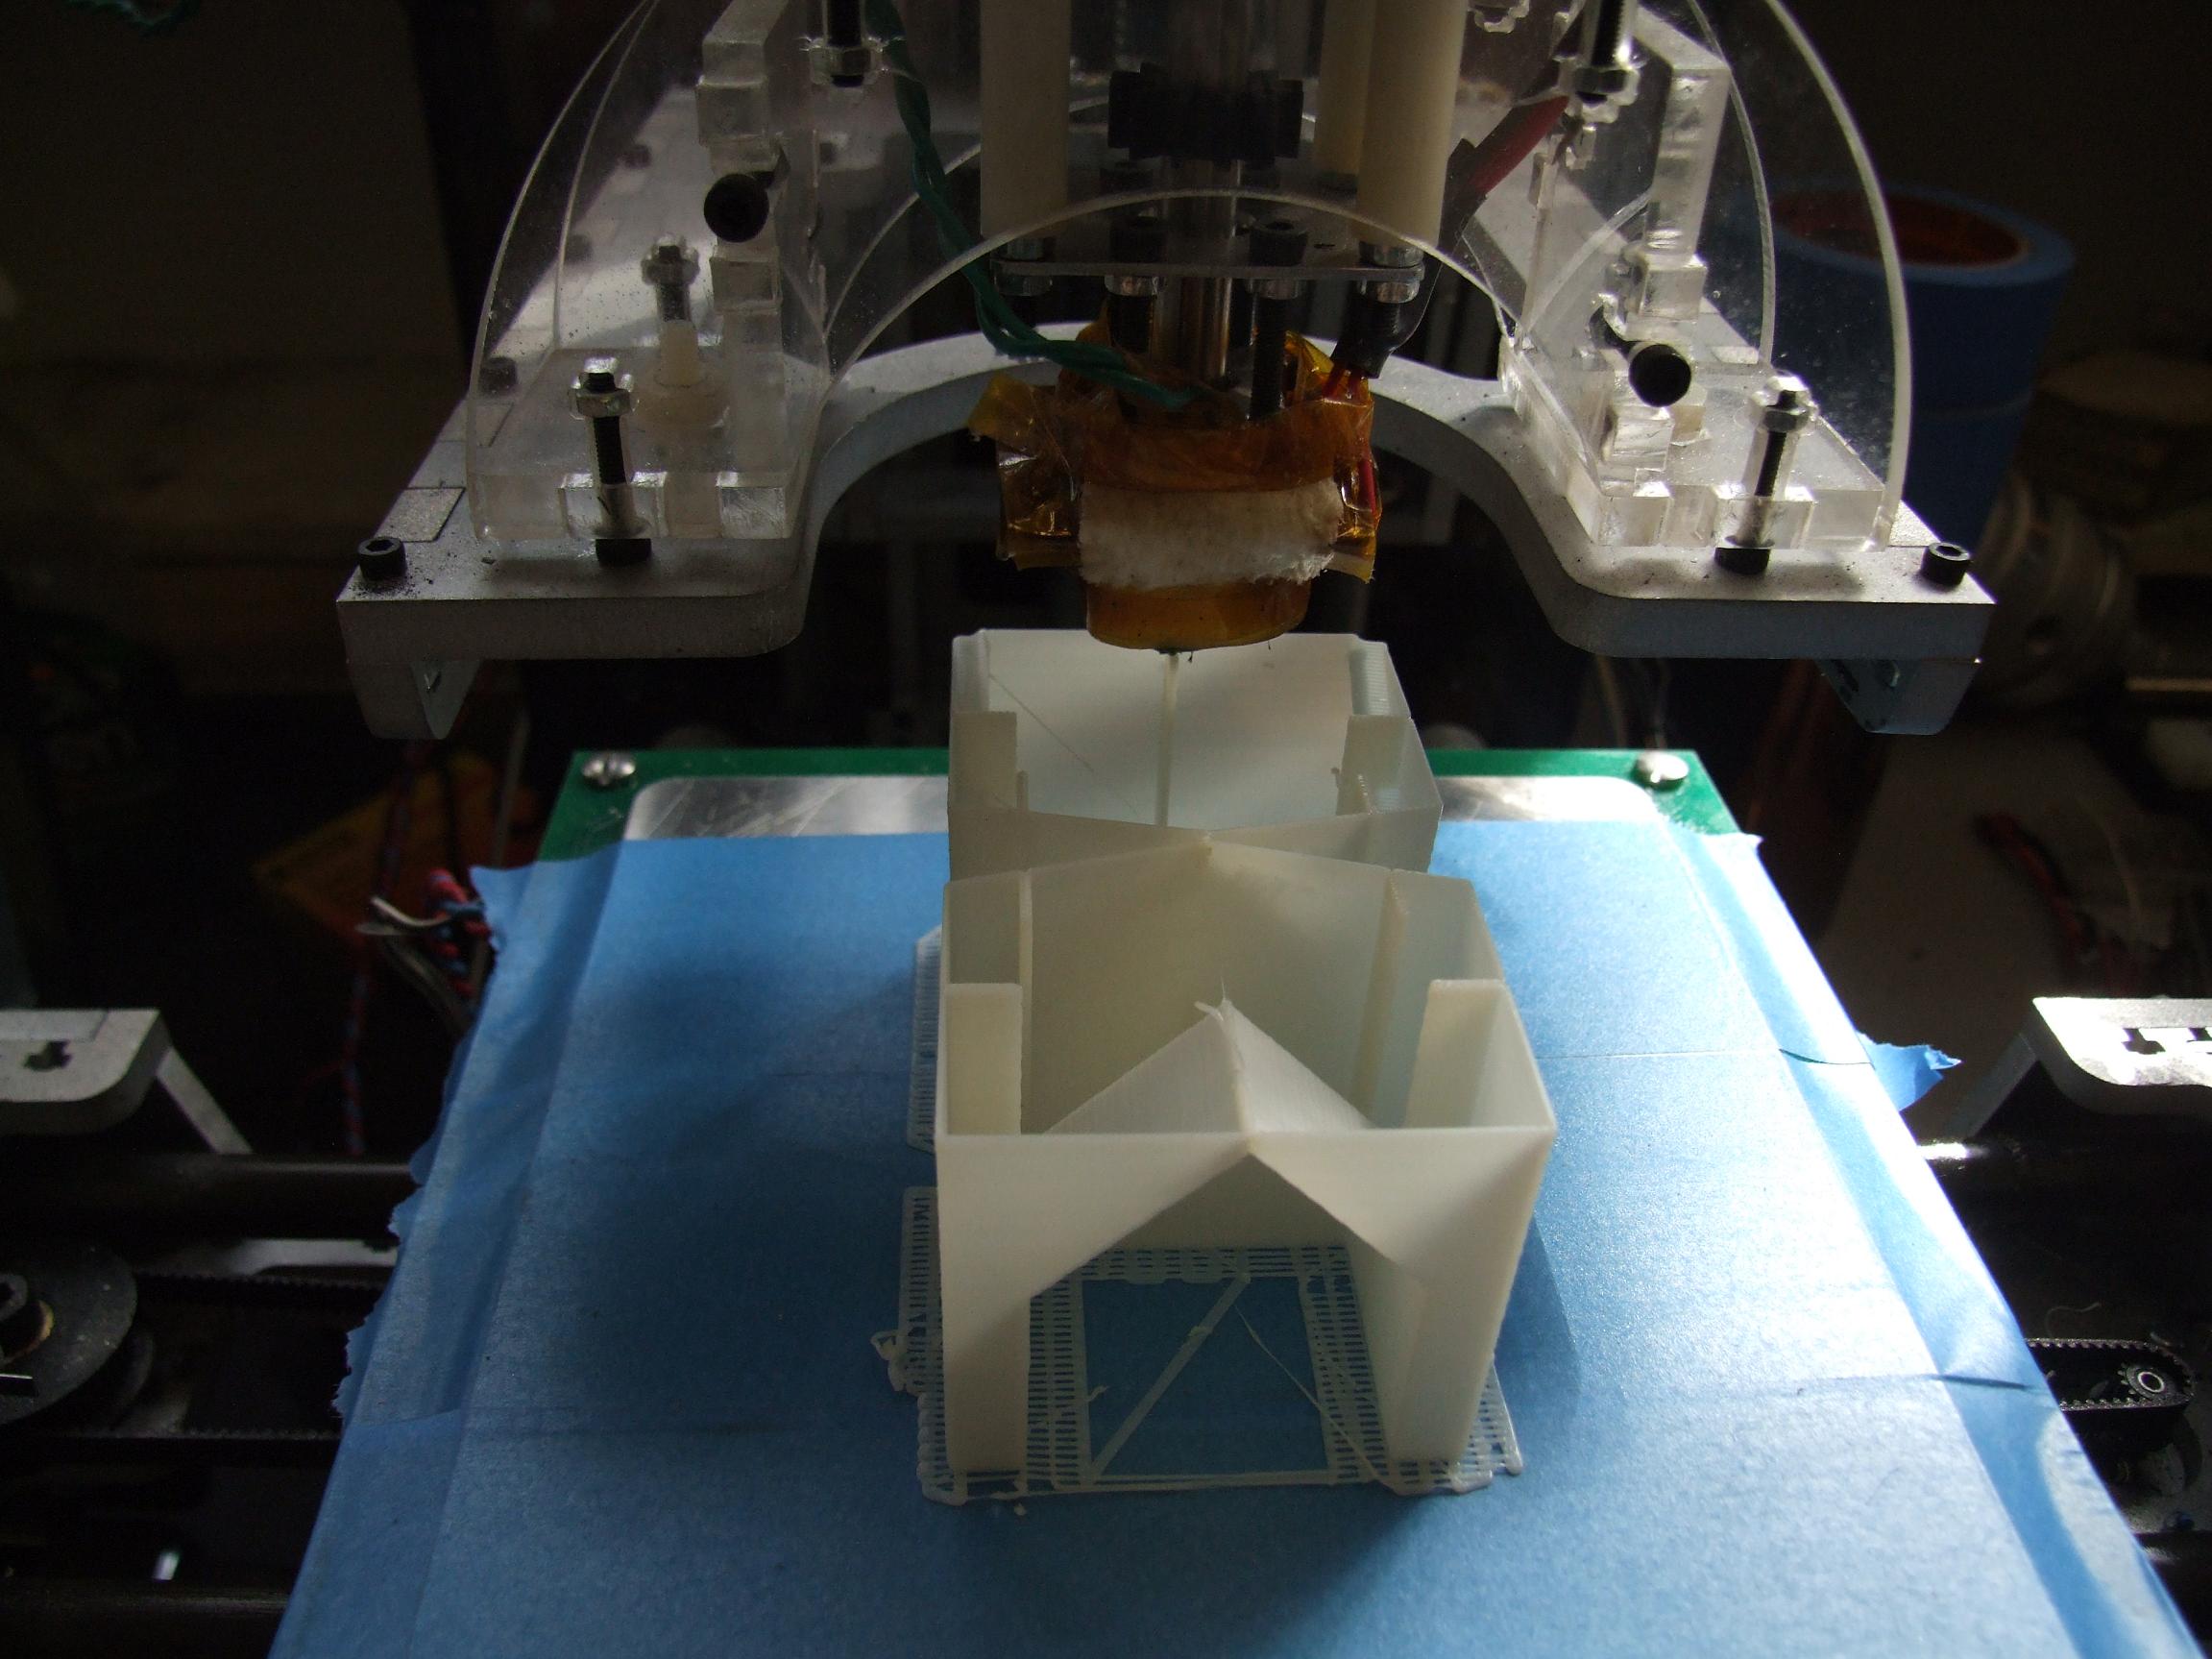
Next I dropped the two middle segments on. I placed these two parts next to eachother such that their bottoms (keels?) were almost touching. That “encouraged” Skeinforge to make the layer changes and jumps at that point, and I must say it worked very well.
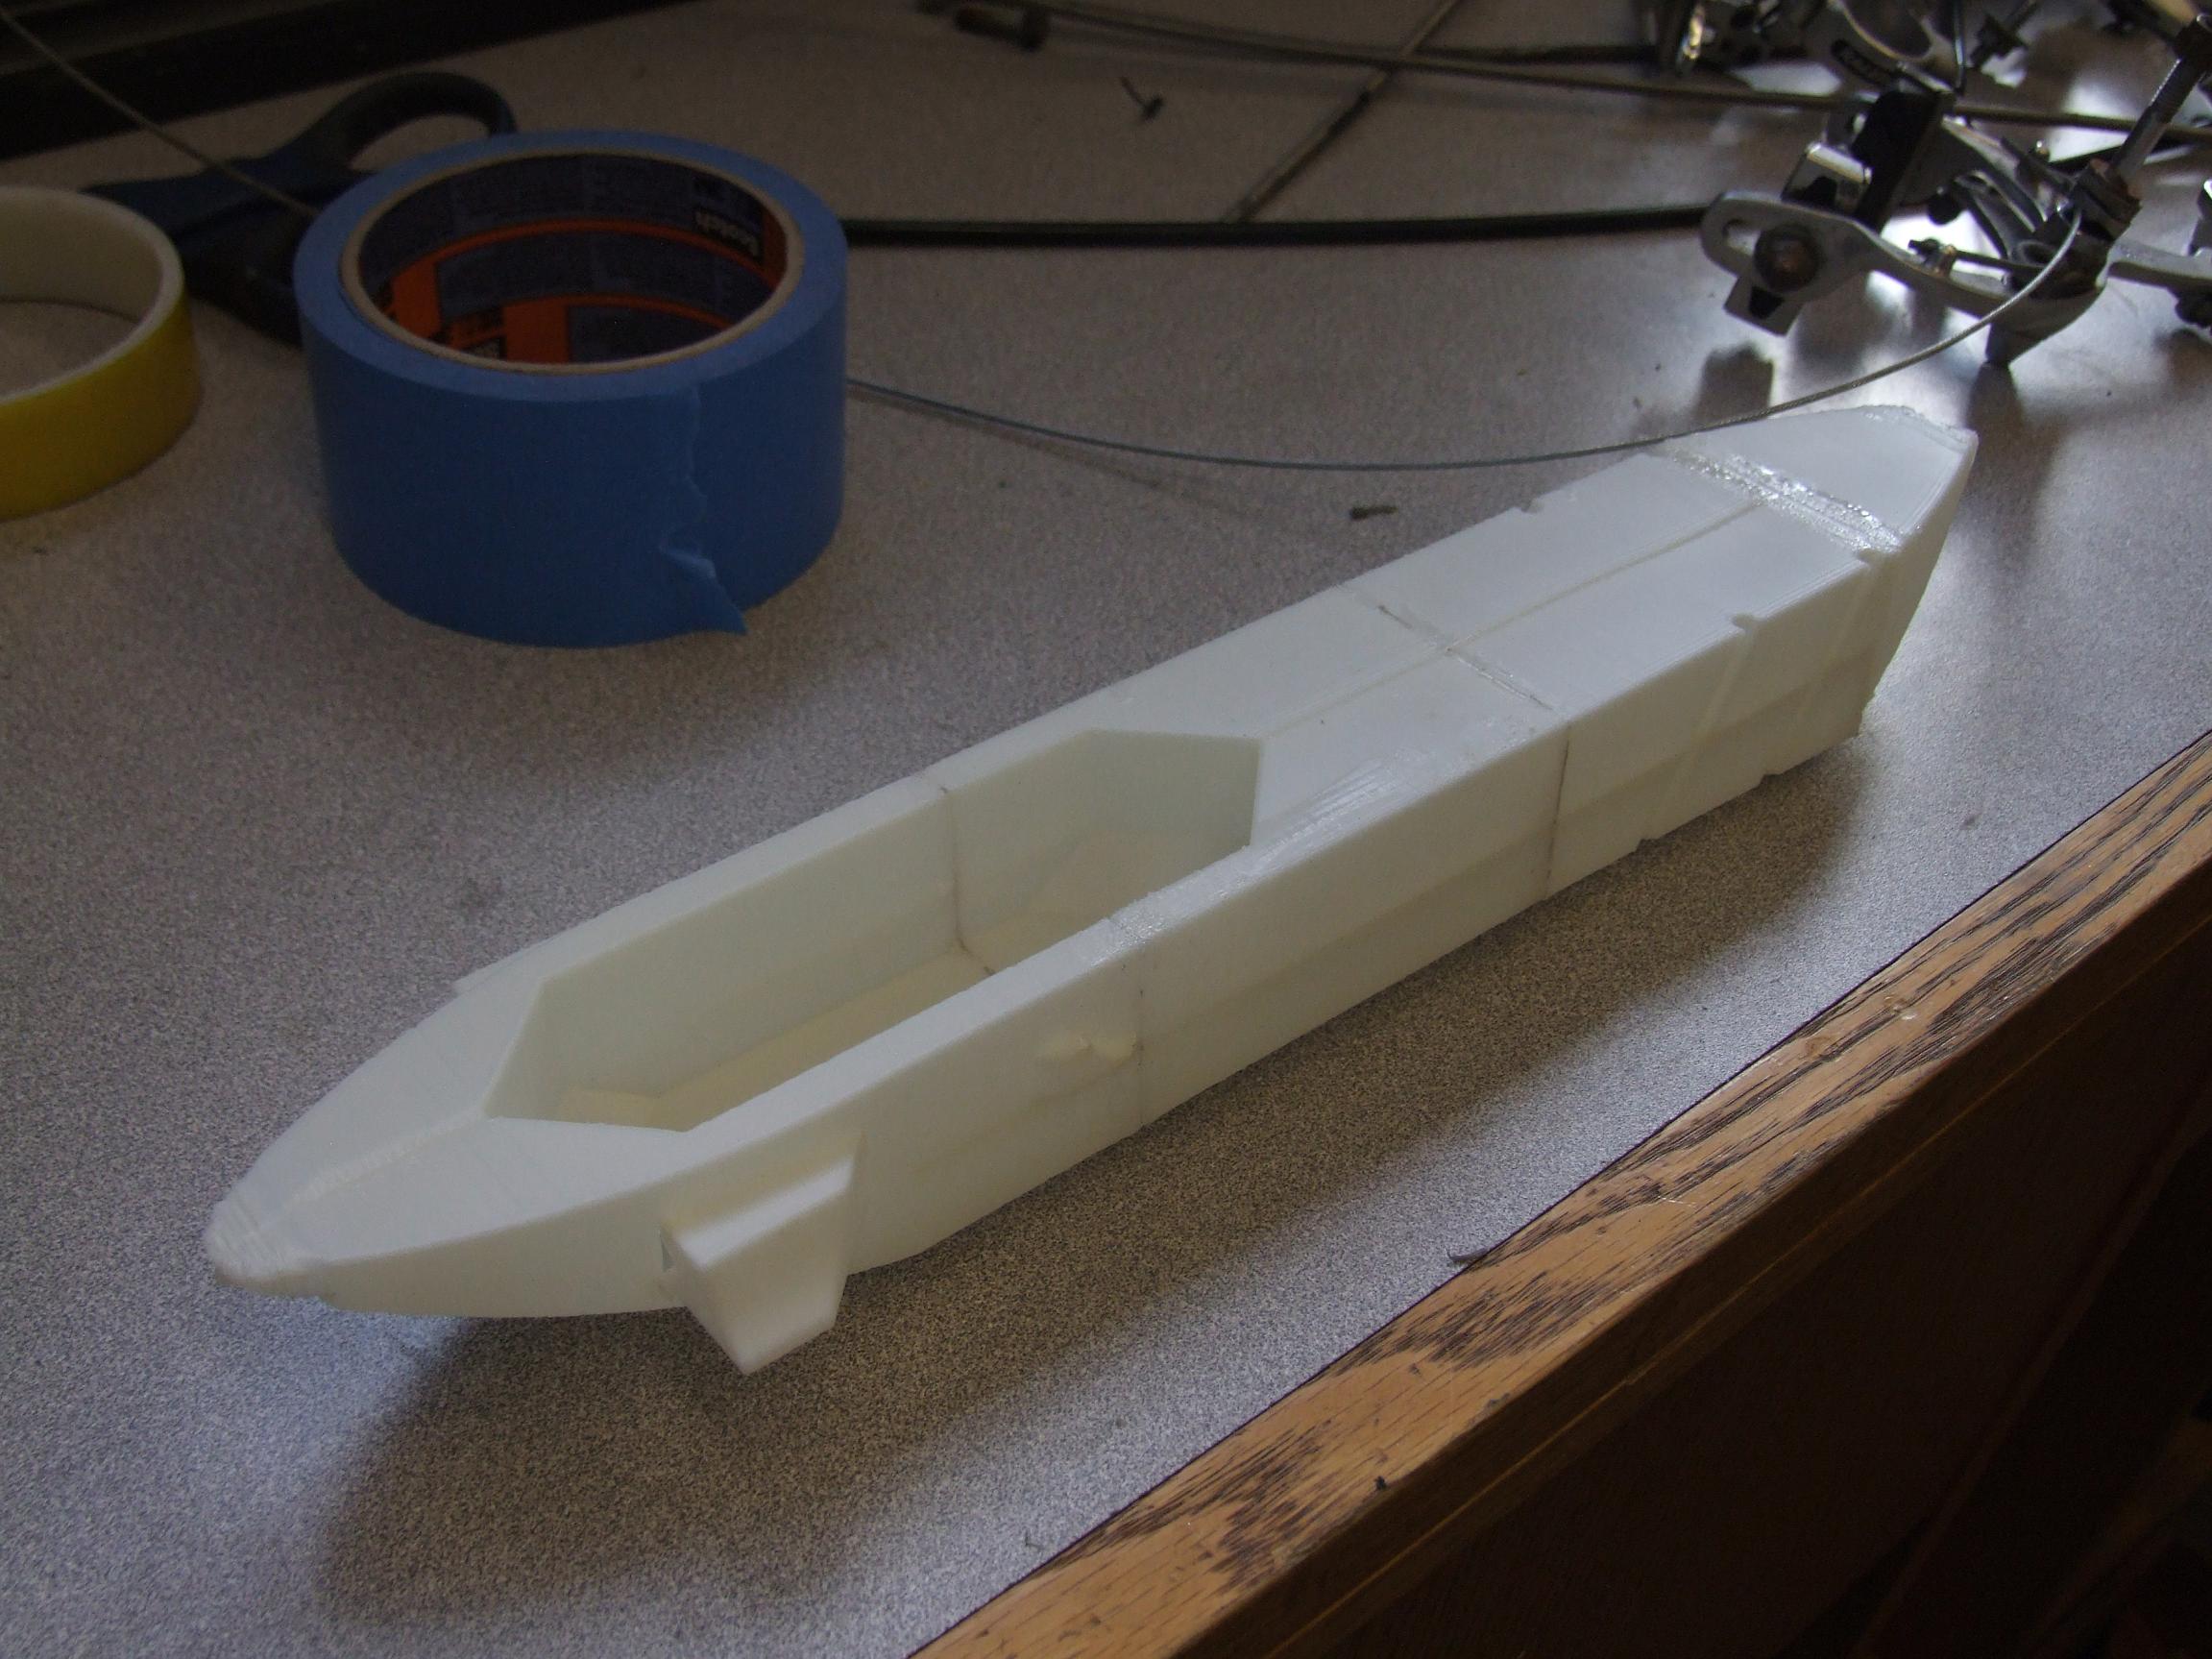
After all four segments were printed, I Dynamically Averaged (read: belt-sanded) smooth the interfaces and put them together with a CA glue initial bond, then Goop seal over that. The weight of this assembly is about 1.5 ounces.
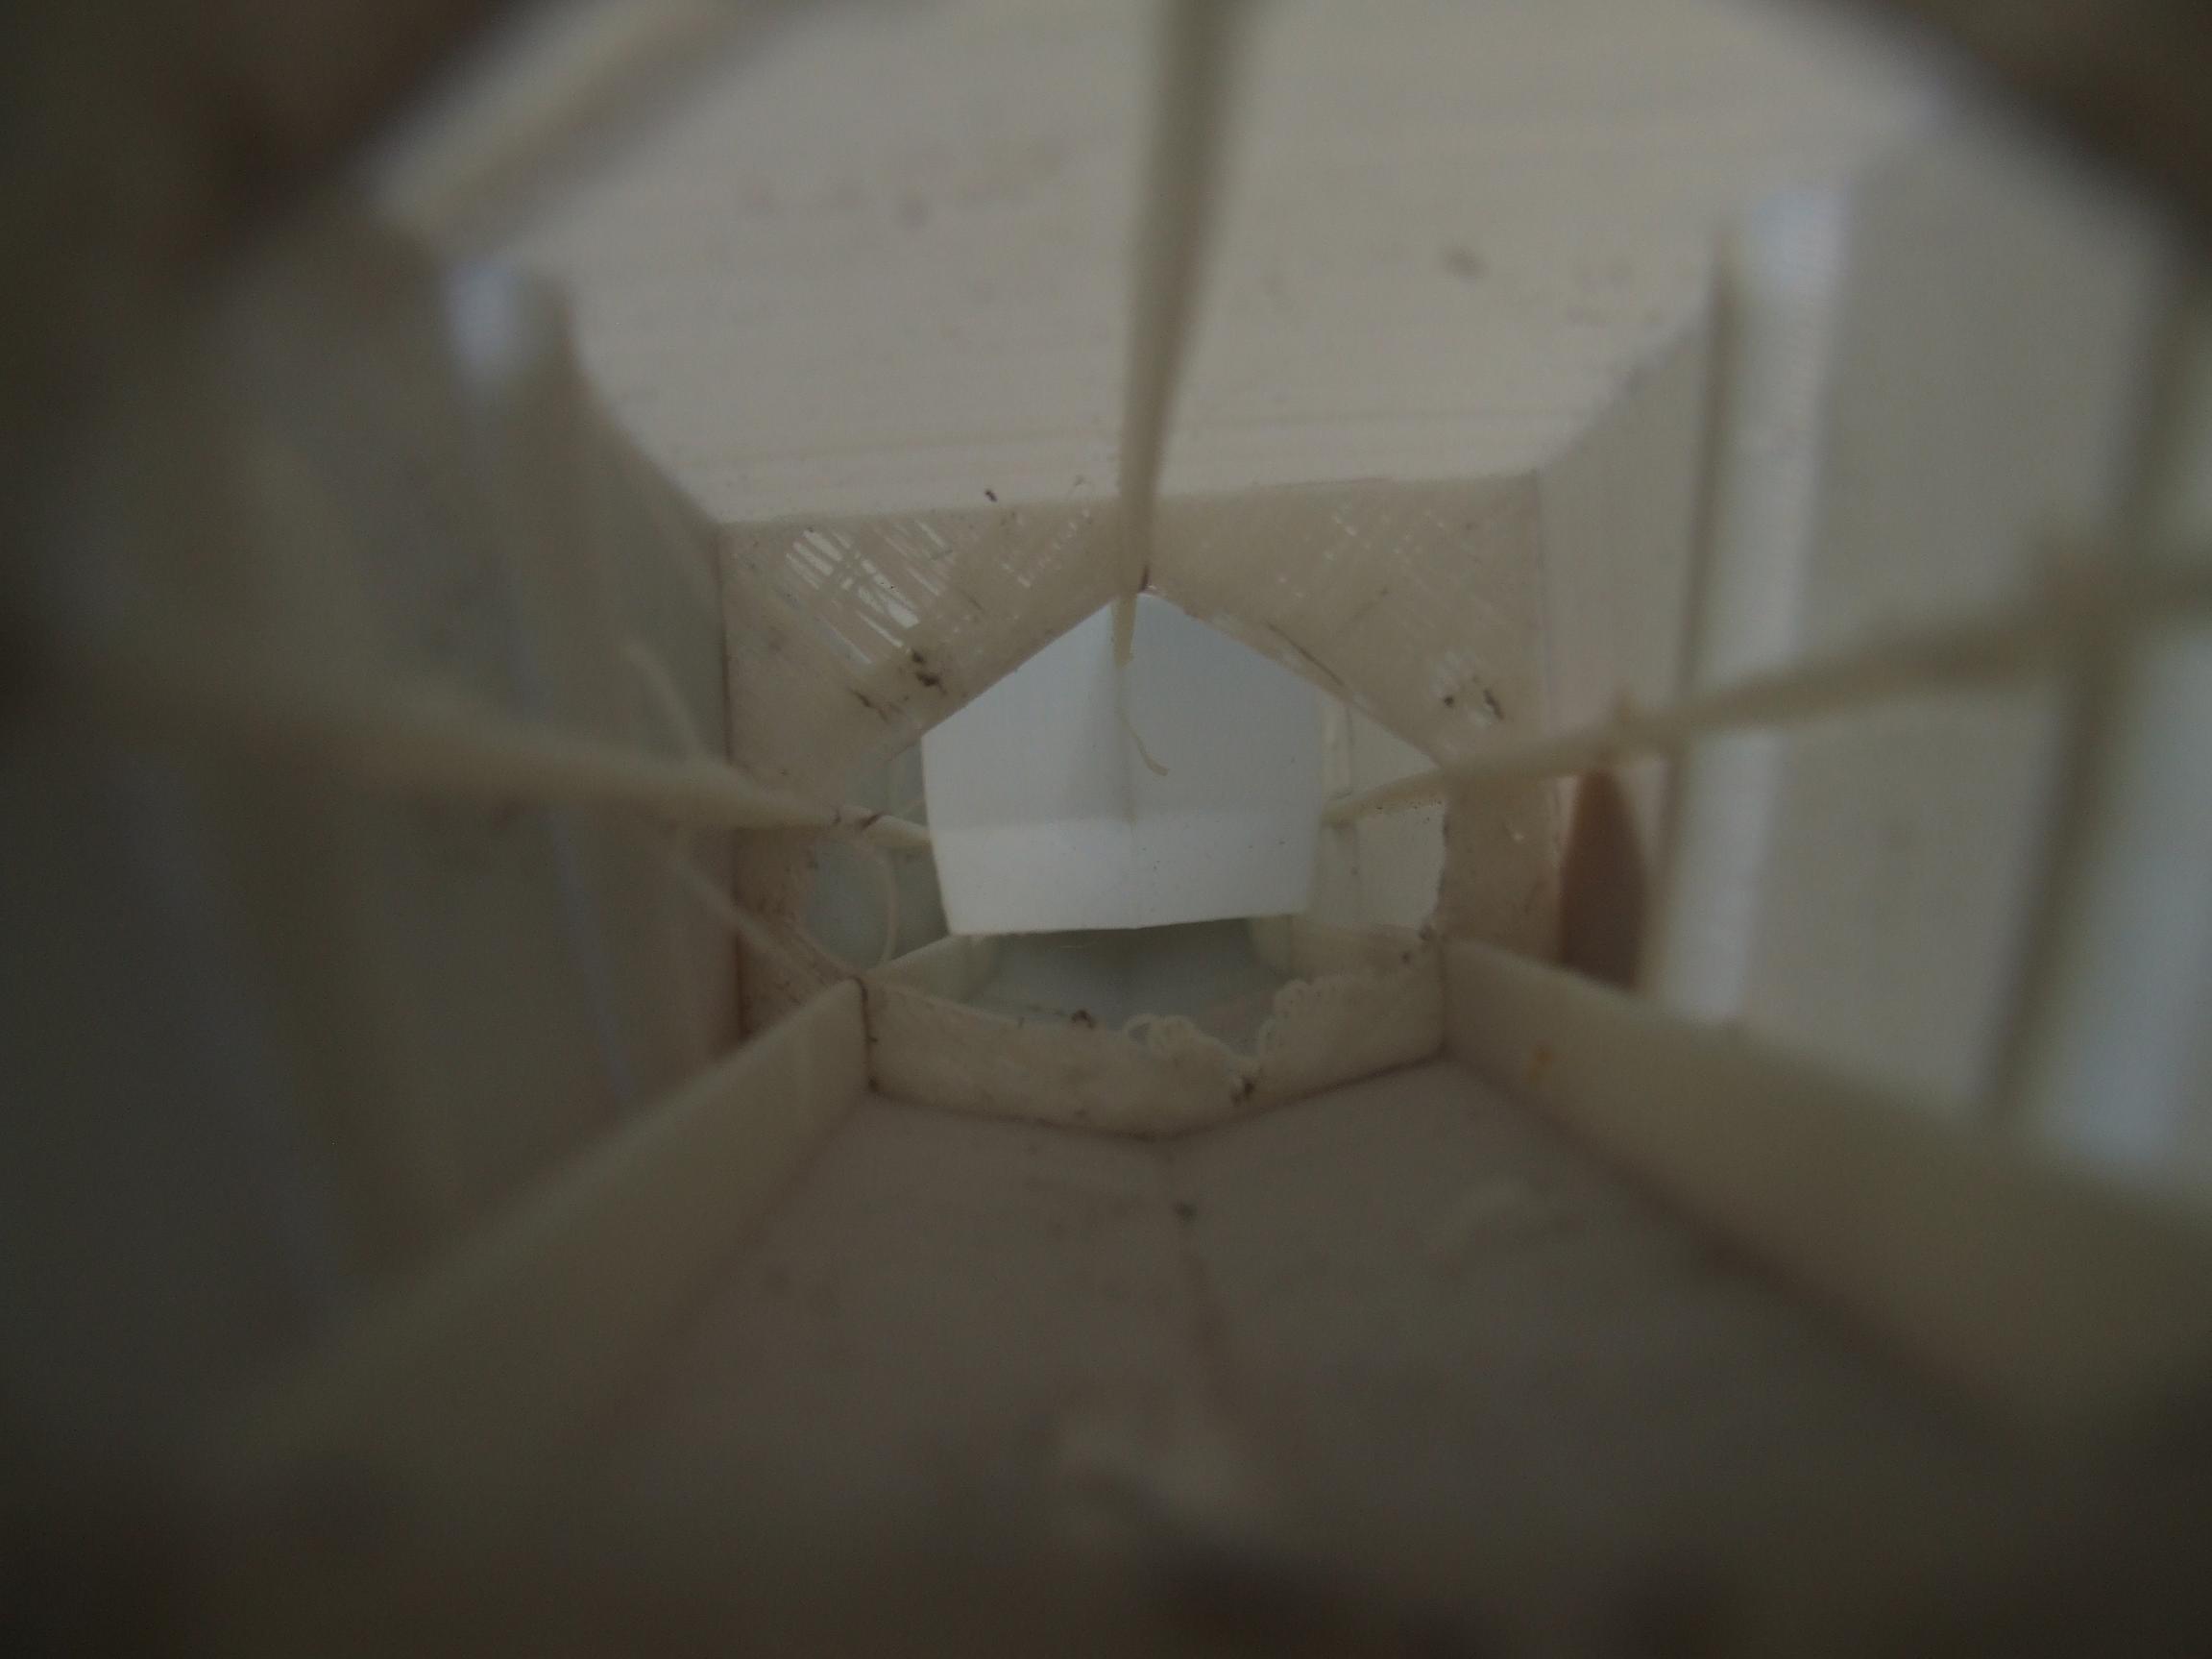
A look down the tunnel of the hull before I closed it off. Having the ribs there prevented this piece from distorting and buckling all over the place quite well.
I split the tailplane into 3 parts and arranged them with the trailing edges close together. This view also shows the extra material inside to prevent warping.
The next effort was to print off the new wing design. This, unfortunately, turned out to be quite an exercise in futility for reasons which will be detailed. I’m not sure if it was the ambient temperature, the weather that day, or if I was sitting too close to it, but the prints failed repeatedly after two or three inches. The plastic would buckle, and generally with very little warning just completely delaminate with a very loud crack. It’s just a consequence of thermal cycling for a part this large.
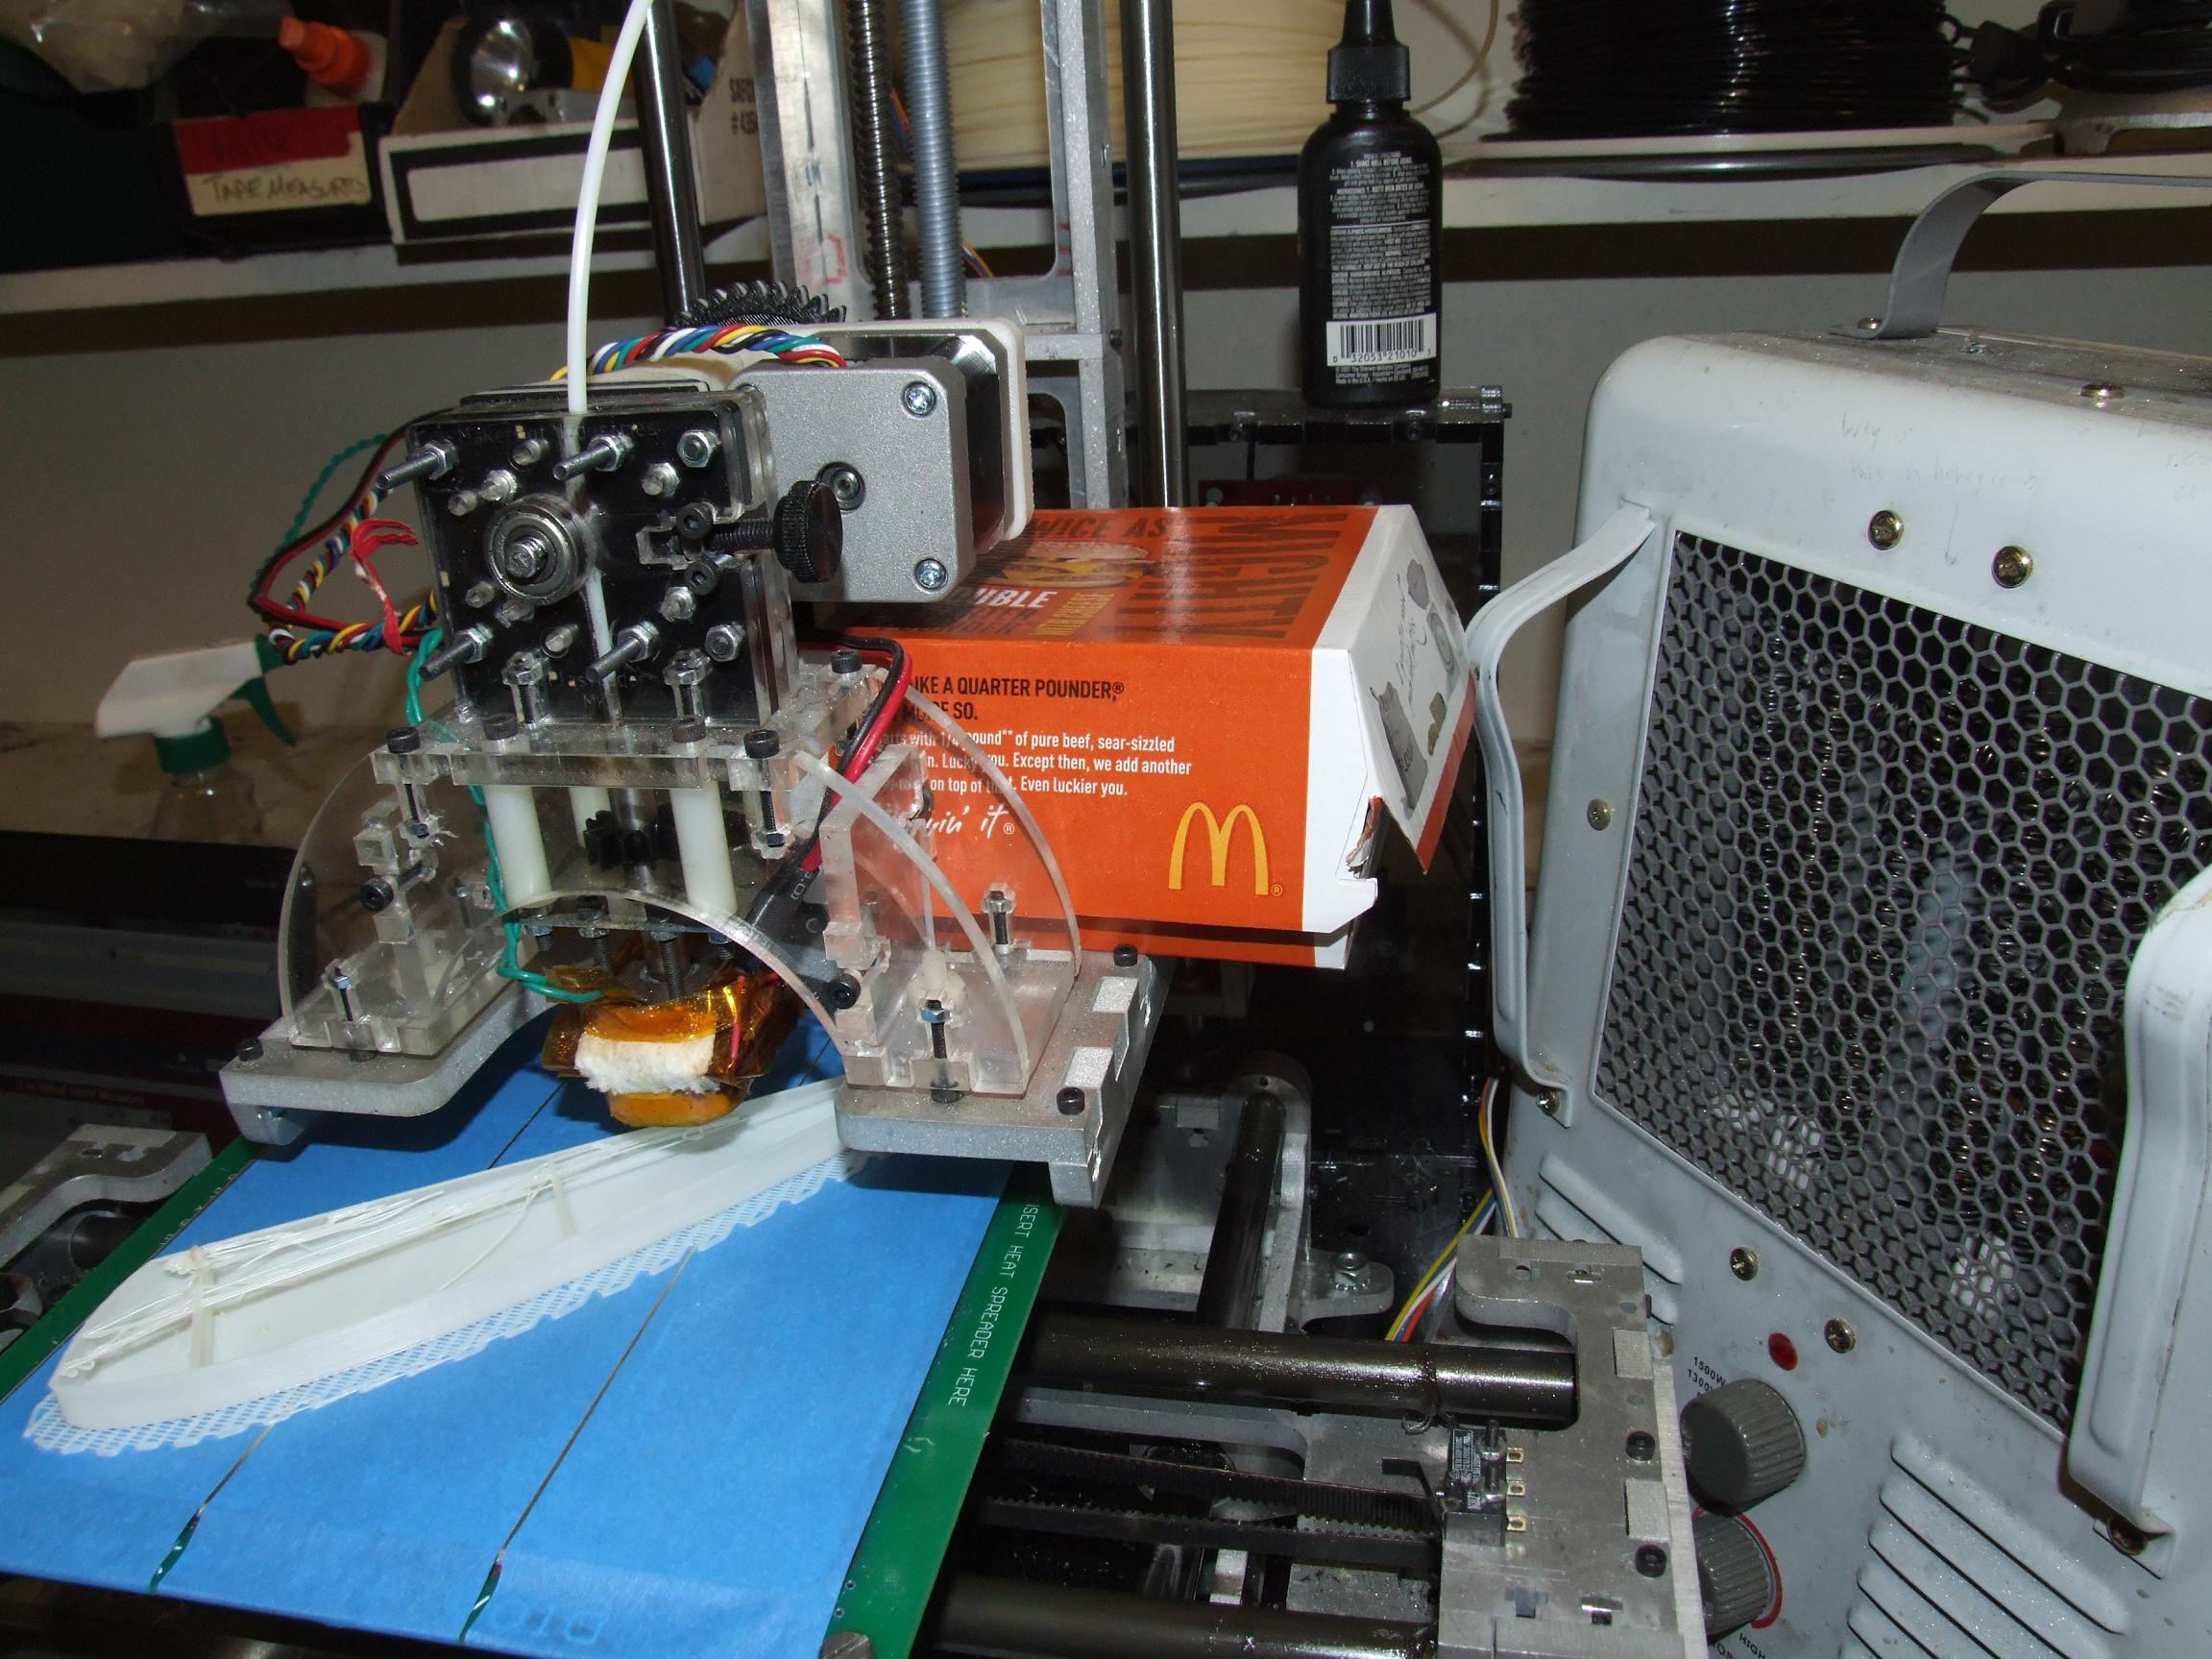
Heated cabinet… heated cabinet… heated cabinet. Need to get on that.
Oh, ignore that McDonalds box. That’s a very warm spot, okay?! Once I have said heated cabinet, it’ll get even worse.
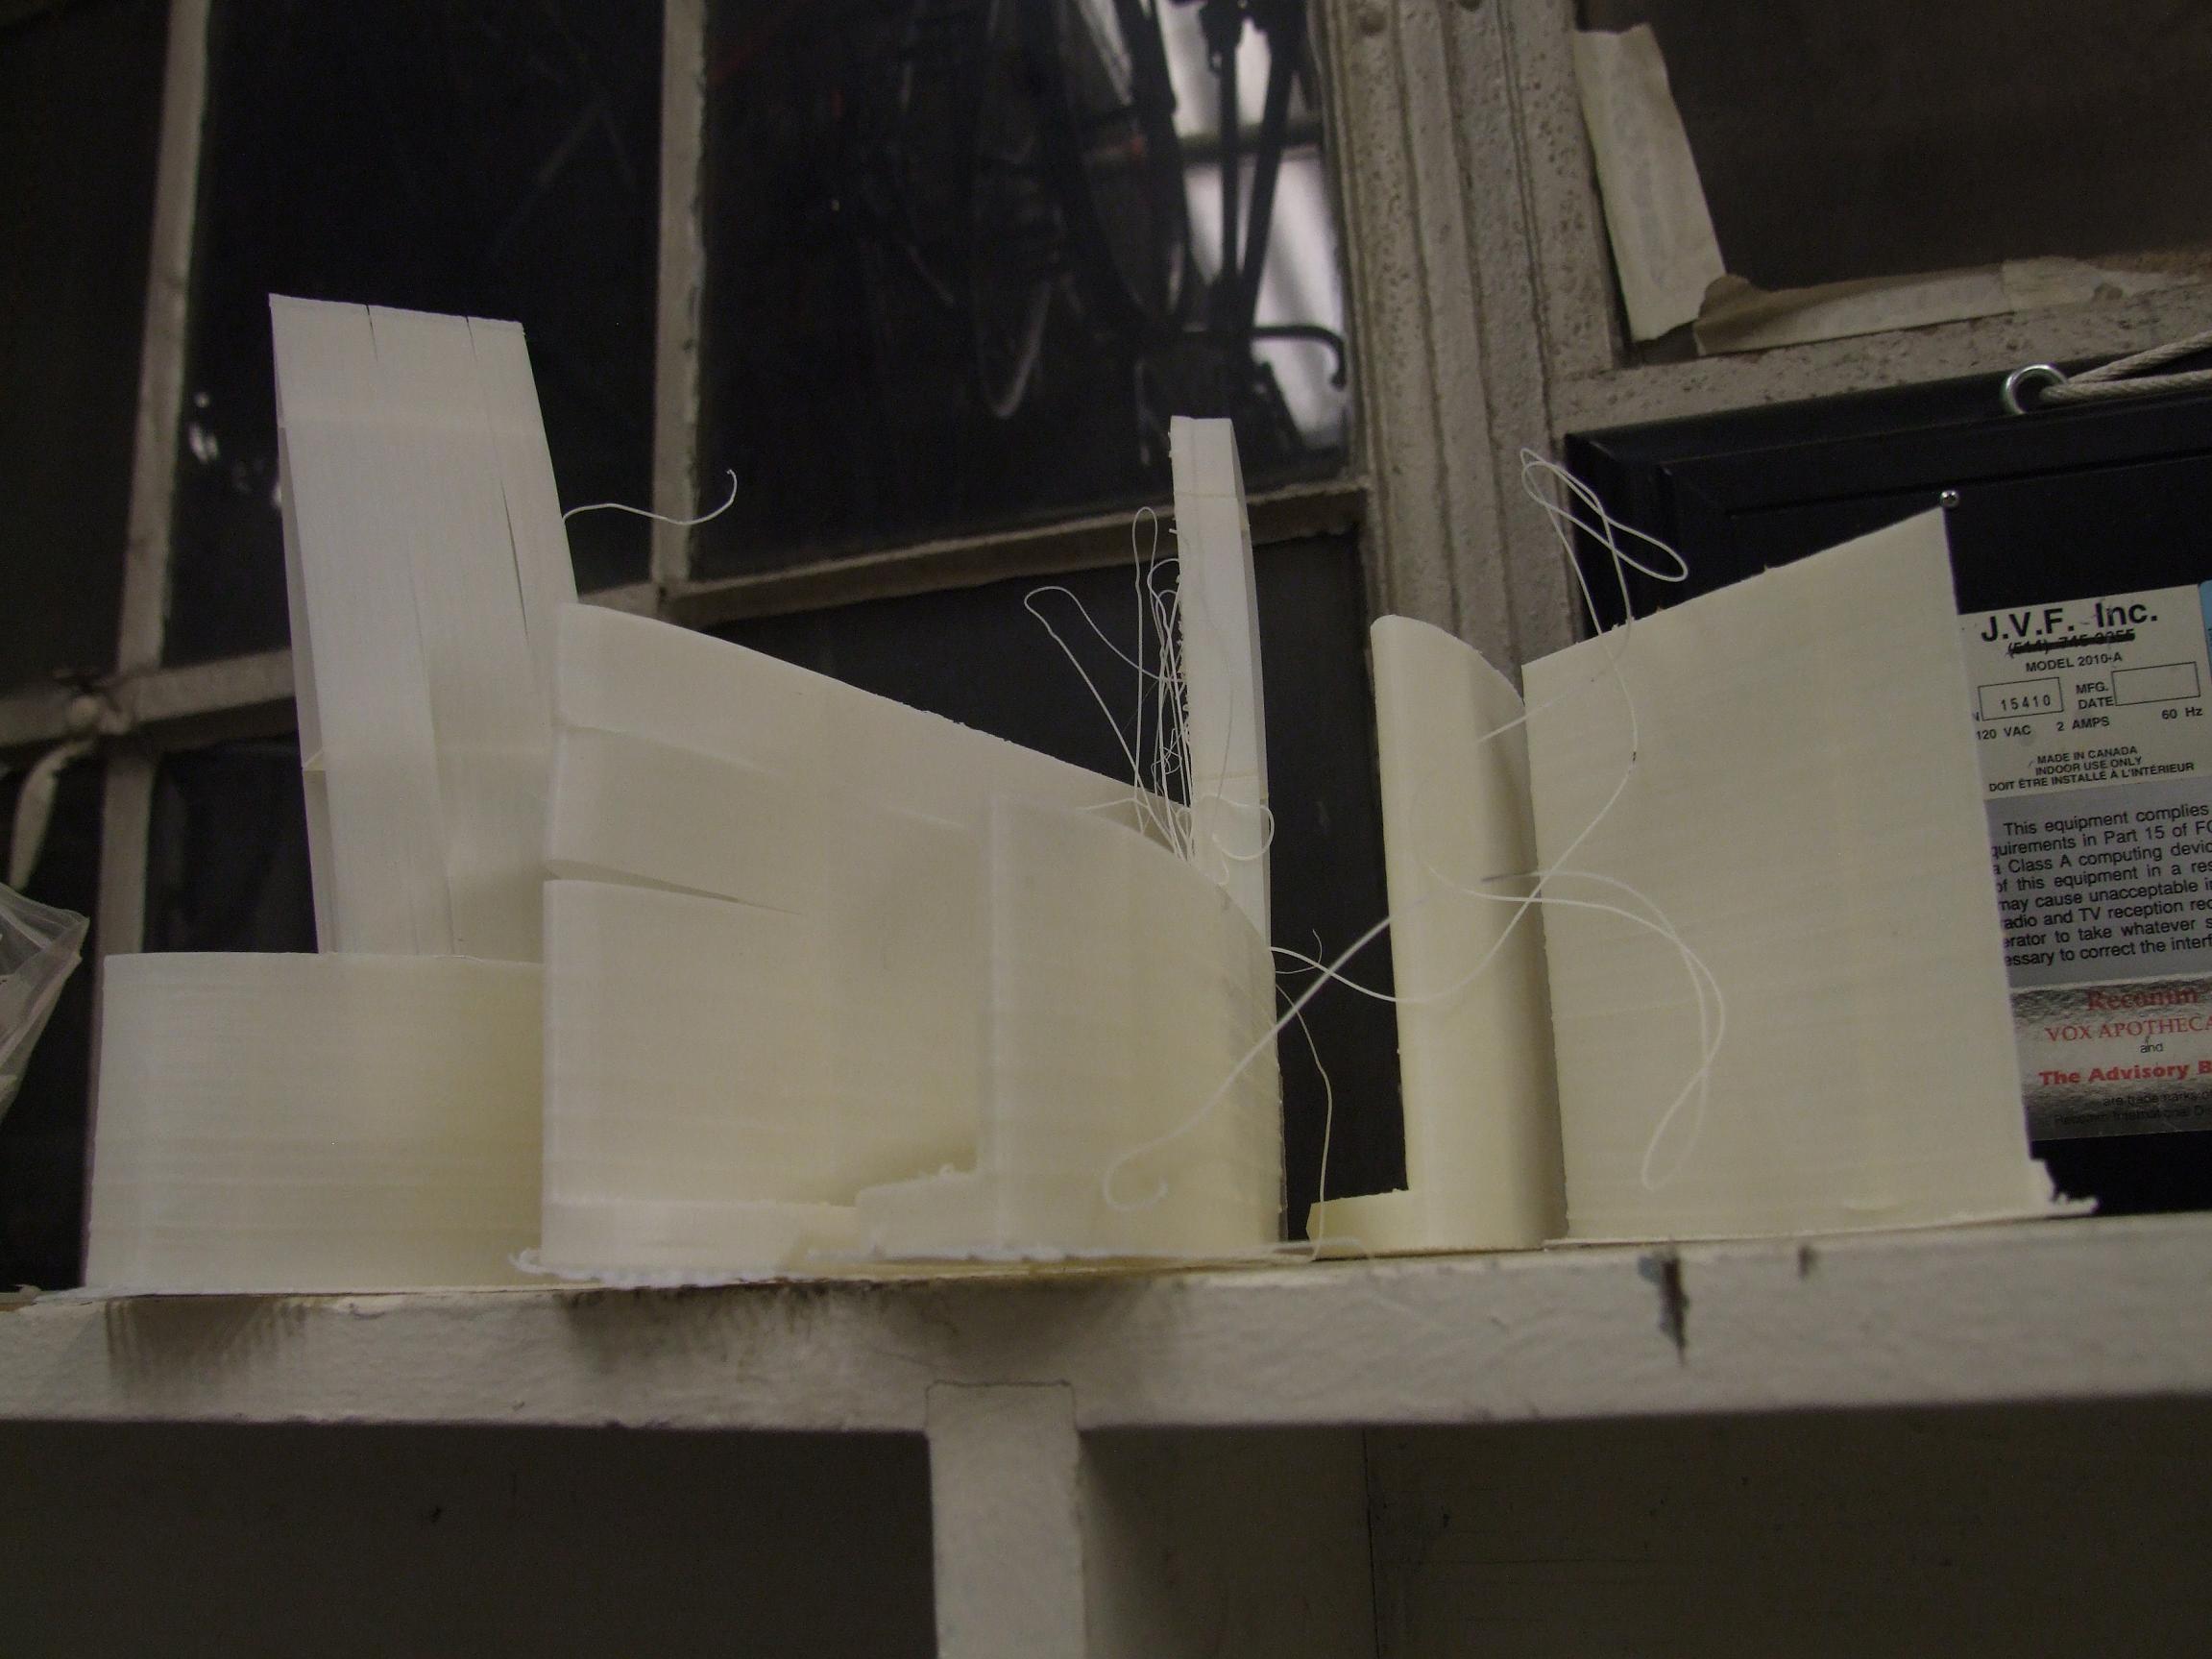
What happens when you try to print skyscrapers on a machine designed to print flats.
I have several ideas I want to try regarding how to prevent the severe thermal warping effects, including splitting the wing print in half laterially (so there’s a front and back half). I already tried splitting it longitudinally (to left and right halves), and it did work, but I also discovered…
z-axis drift
…that for some reason, the Z axis motor is not locked in one position during a layer. I’m not sure when this changed, or if it was always this way, but my Z-axis is now so incredibly smooth that it wants to fall back down the leadscrew.
The problem is that my layers are so fine (0.25mm) that even a sixteenth turn of vibration-induced sliding causes the smearing of an entire layer. I’d notice horizontal stripes forming on parts which were very large in cross section (noticeable on the tailplane prints). The machine loses enough layers such that the final part may be more than 1/4″ shorter than normal.
At first, I thought it was due to excessive friction on the Z axis causing the steps to fail. However, after lubing it up and noticing the problem getting worse, I concluded it had to be the opposite problem. So now I’m trying various things to increase the static friction on the leadscrew. The best solution would really be to make sure the Z motor is held with current during a layer.
The most severe vibrations happen on 45 degree passes when both axes are running at roughly 3/4 speed, so I may try positioning the wings horizontally or vertically after splitting them in order to minimize time spent moving both axes near the machine’s resonance peak.
How the hell did I manage to design a machine to so perfectly resonate at the exact speed I’m going to run it at?


