With Deathrunner cooking on the radiator and the robot mostly assembled, I started attending to the small but significant mechanical details. Making parts line up has been a challenge in this build because of my inability to fuse metal accurately. What made things even worse was my phenomenal ability to design fastener holes in places that they cannot physically be installed.
Repeatedly.
Well, this was certainly bad, because several of these locations were critical to the structural integrity of the robot, such as…

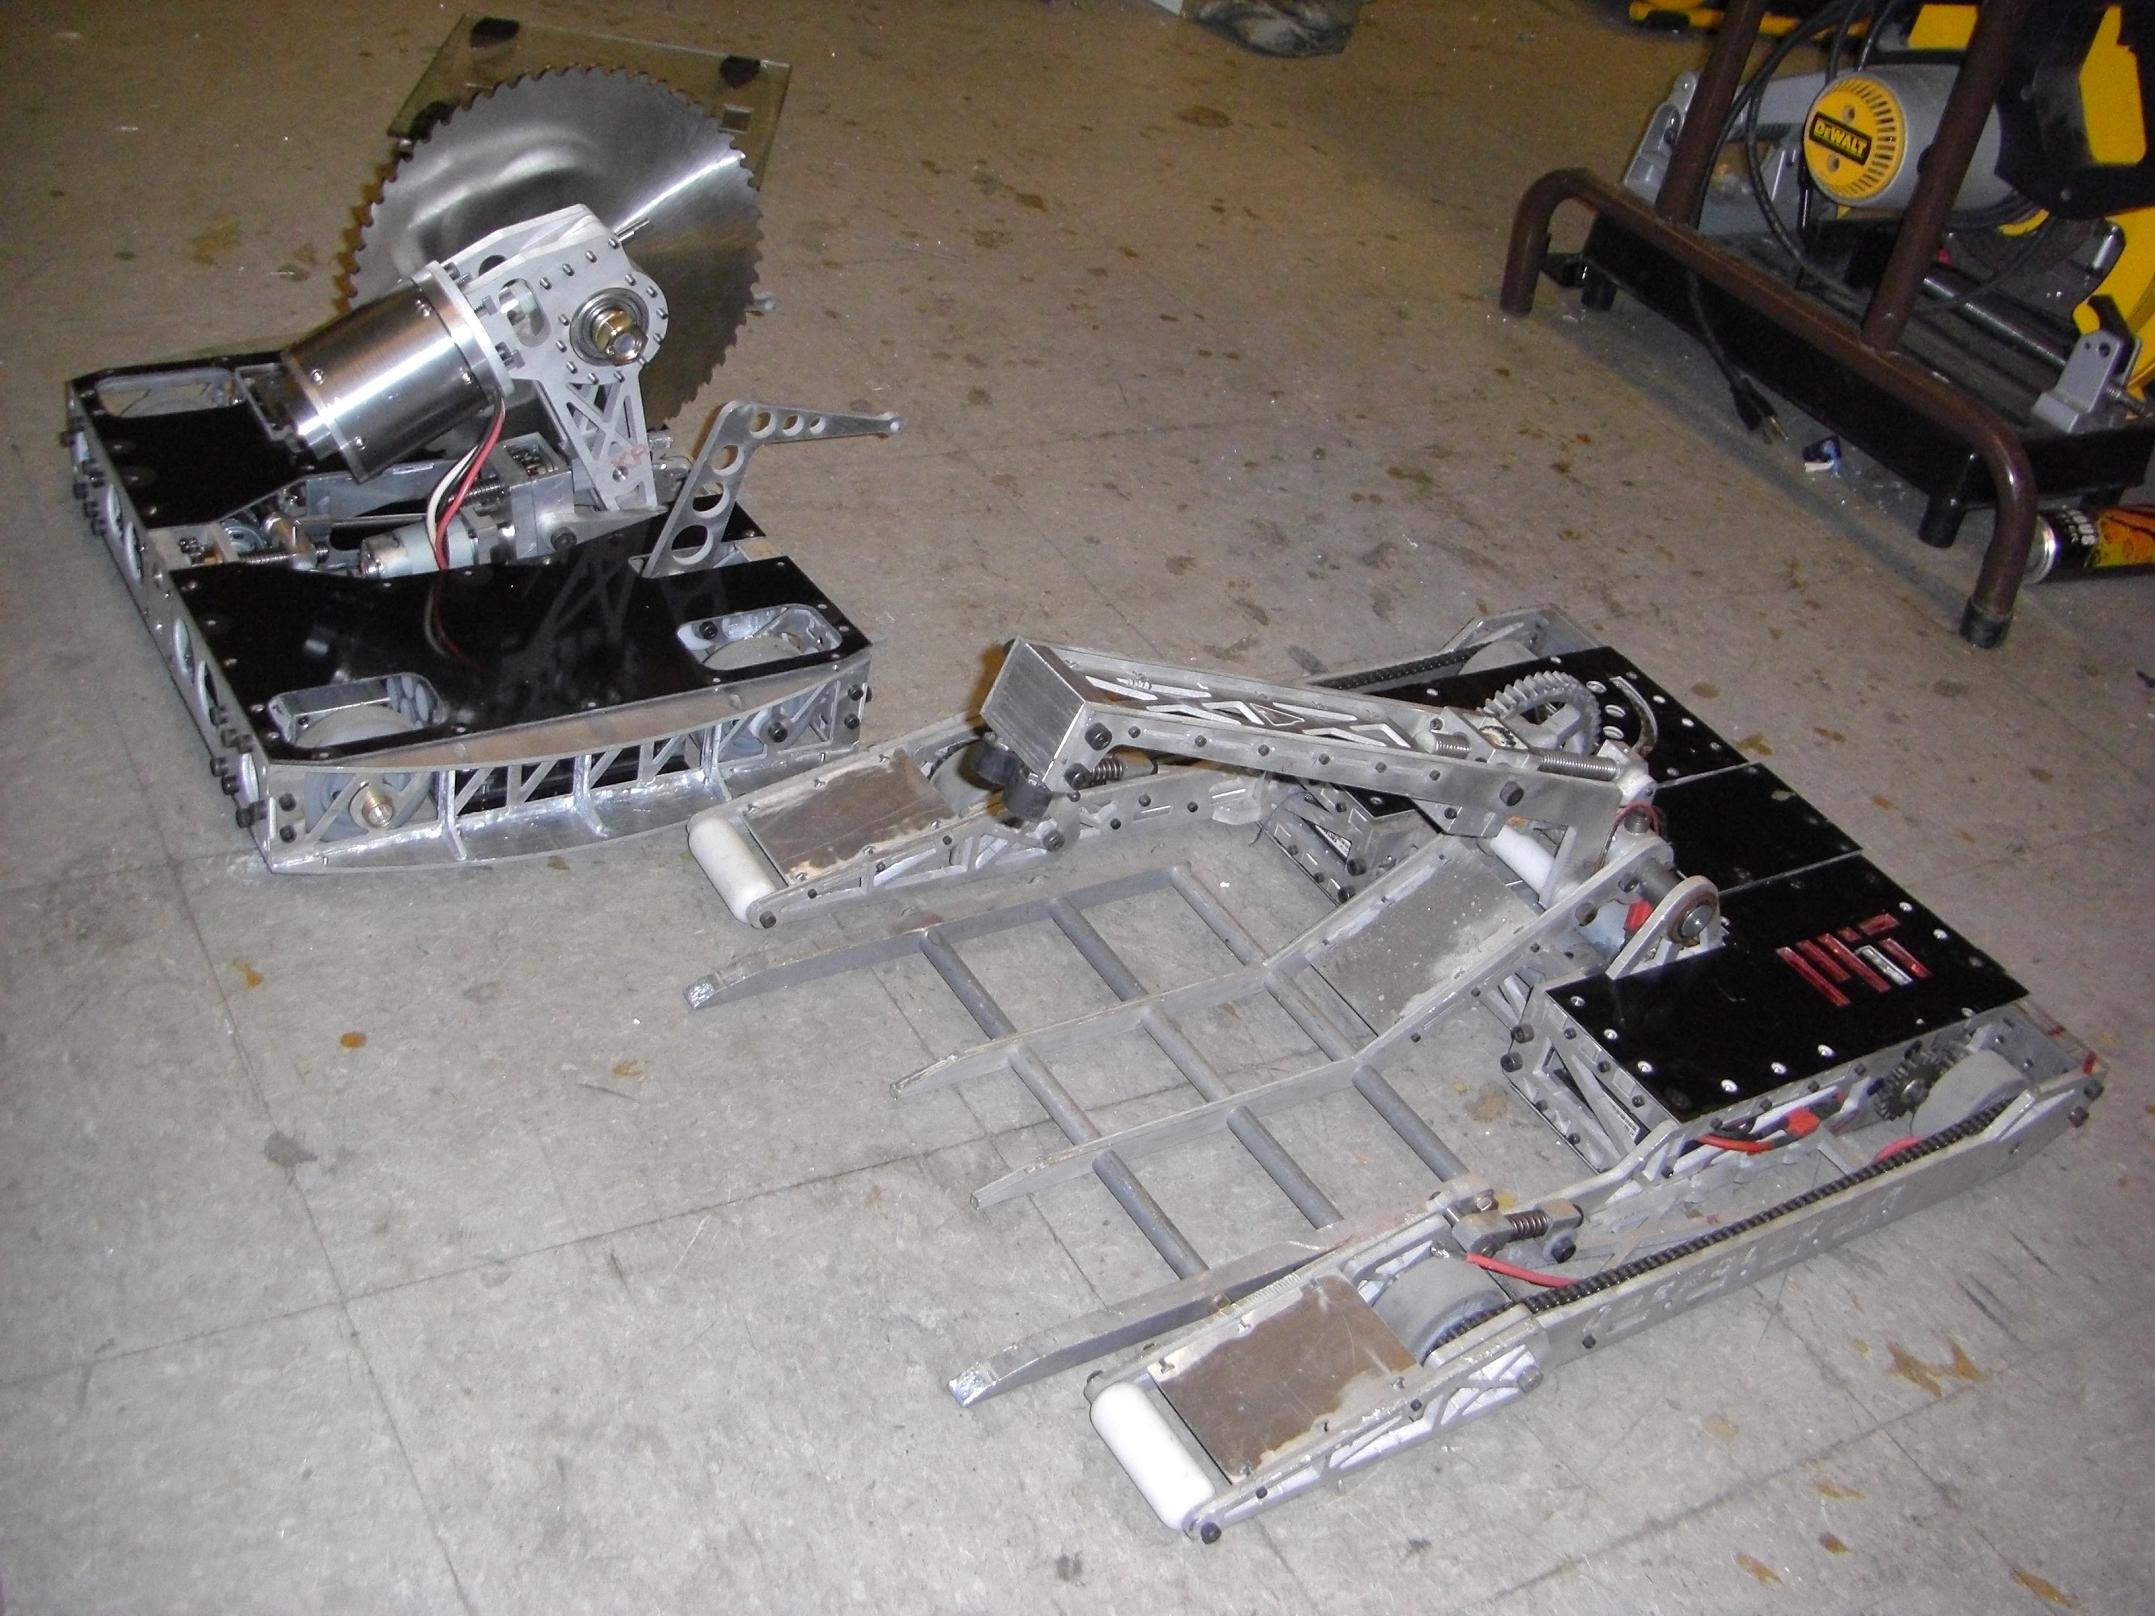
This long cross bolt holds together the base of the saw arm and attaches it to the front half of the robot frame. It also bolts through the gap in the middle. Without this, the saw has very little rigidity, and probably will just bend and break at the gap.
To install it, I had to thread it through the base and into the set of mounting ears next to the gap, then bend the aluminum flanges, install a nut, then bend everything back and lock the base into its T-nutted slots. Tightening the bolt straightened the ears out again.
The braze joints did not break when I did this, so it at least holds some promise.

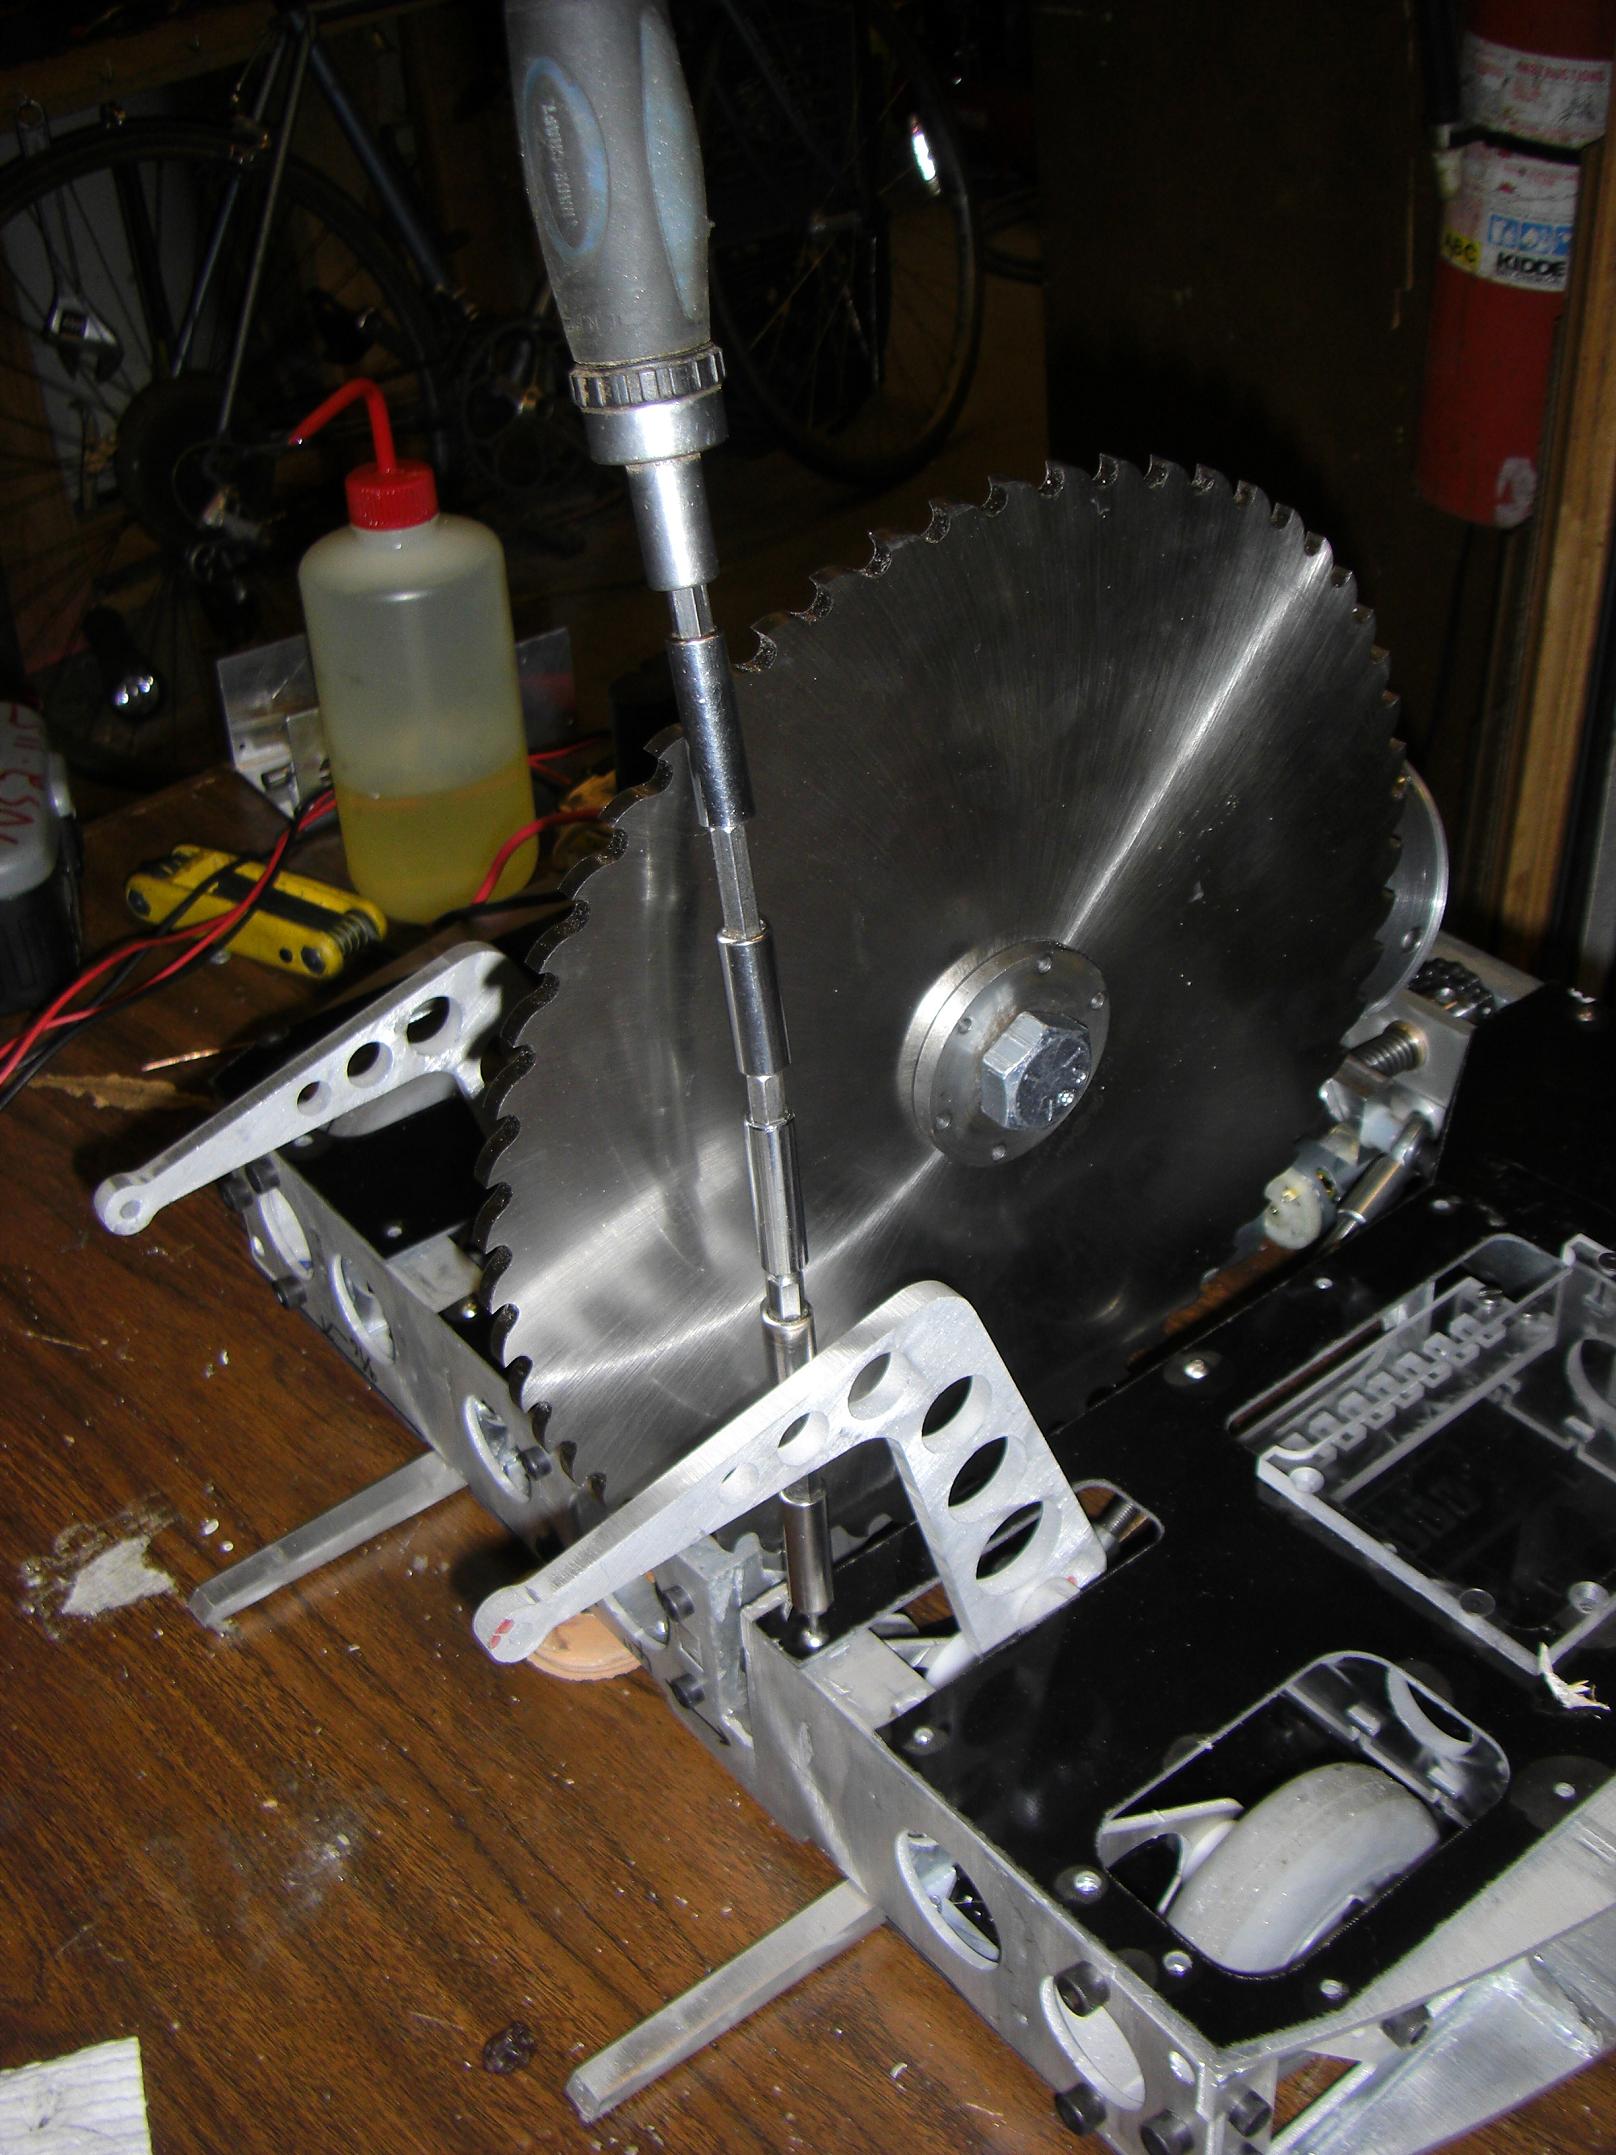
The saw and its hub are fastened to the worm gear by a Giant-Ass Bolt, namely a 5/8″-11 grade 8 bolt. There is no mechanical coupling, only the bolt pressure, so it should provide the first line of clutching action.
This bolt weighs ALOT. I might consider hollowing it out some.

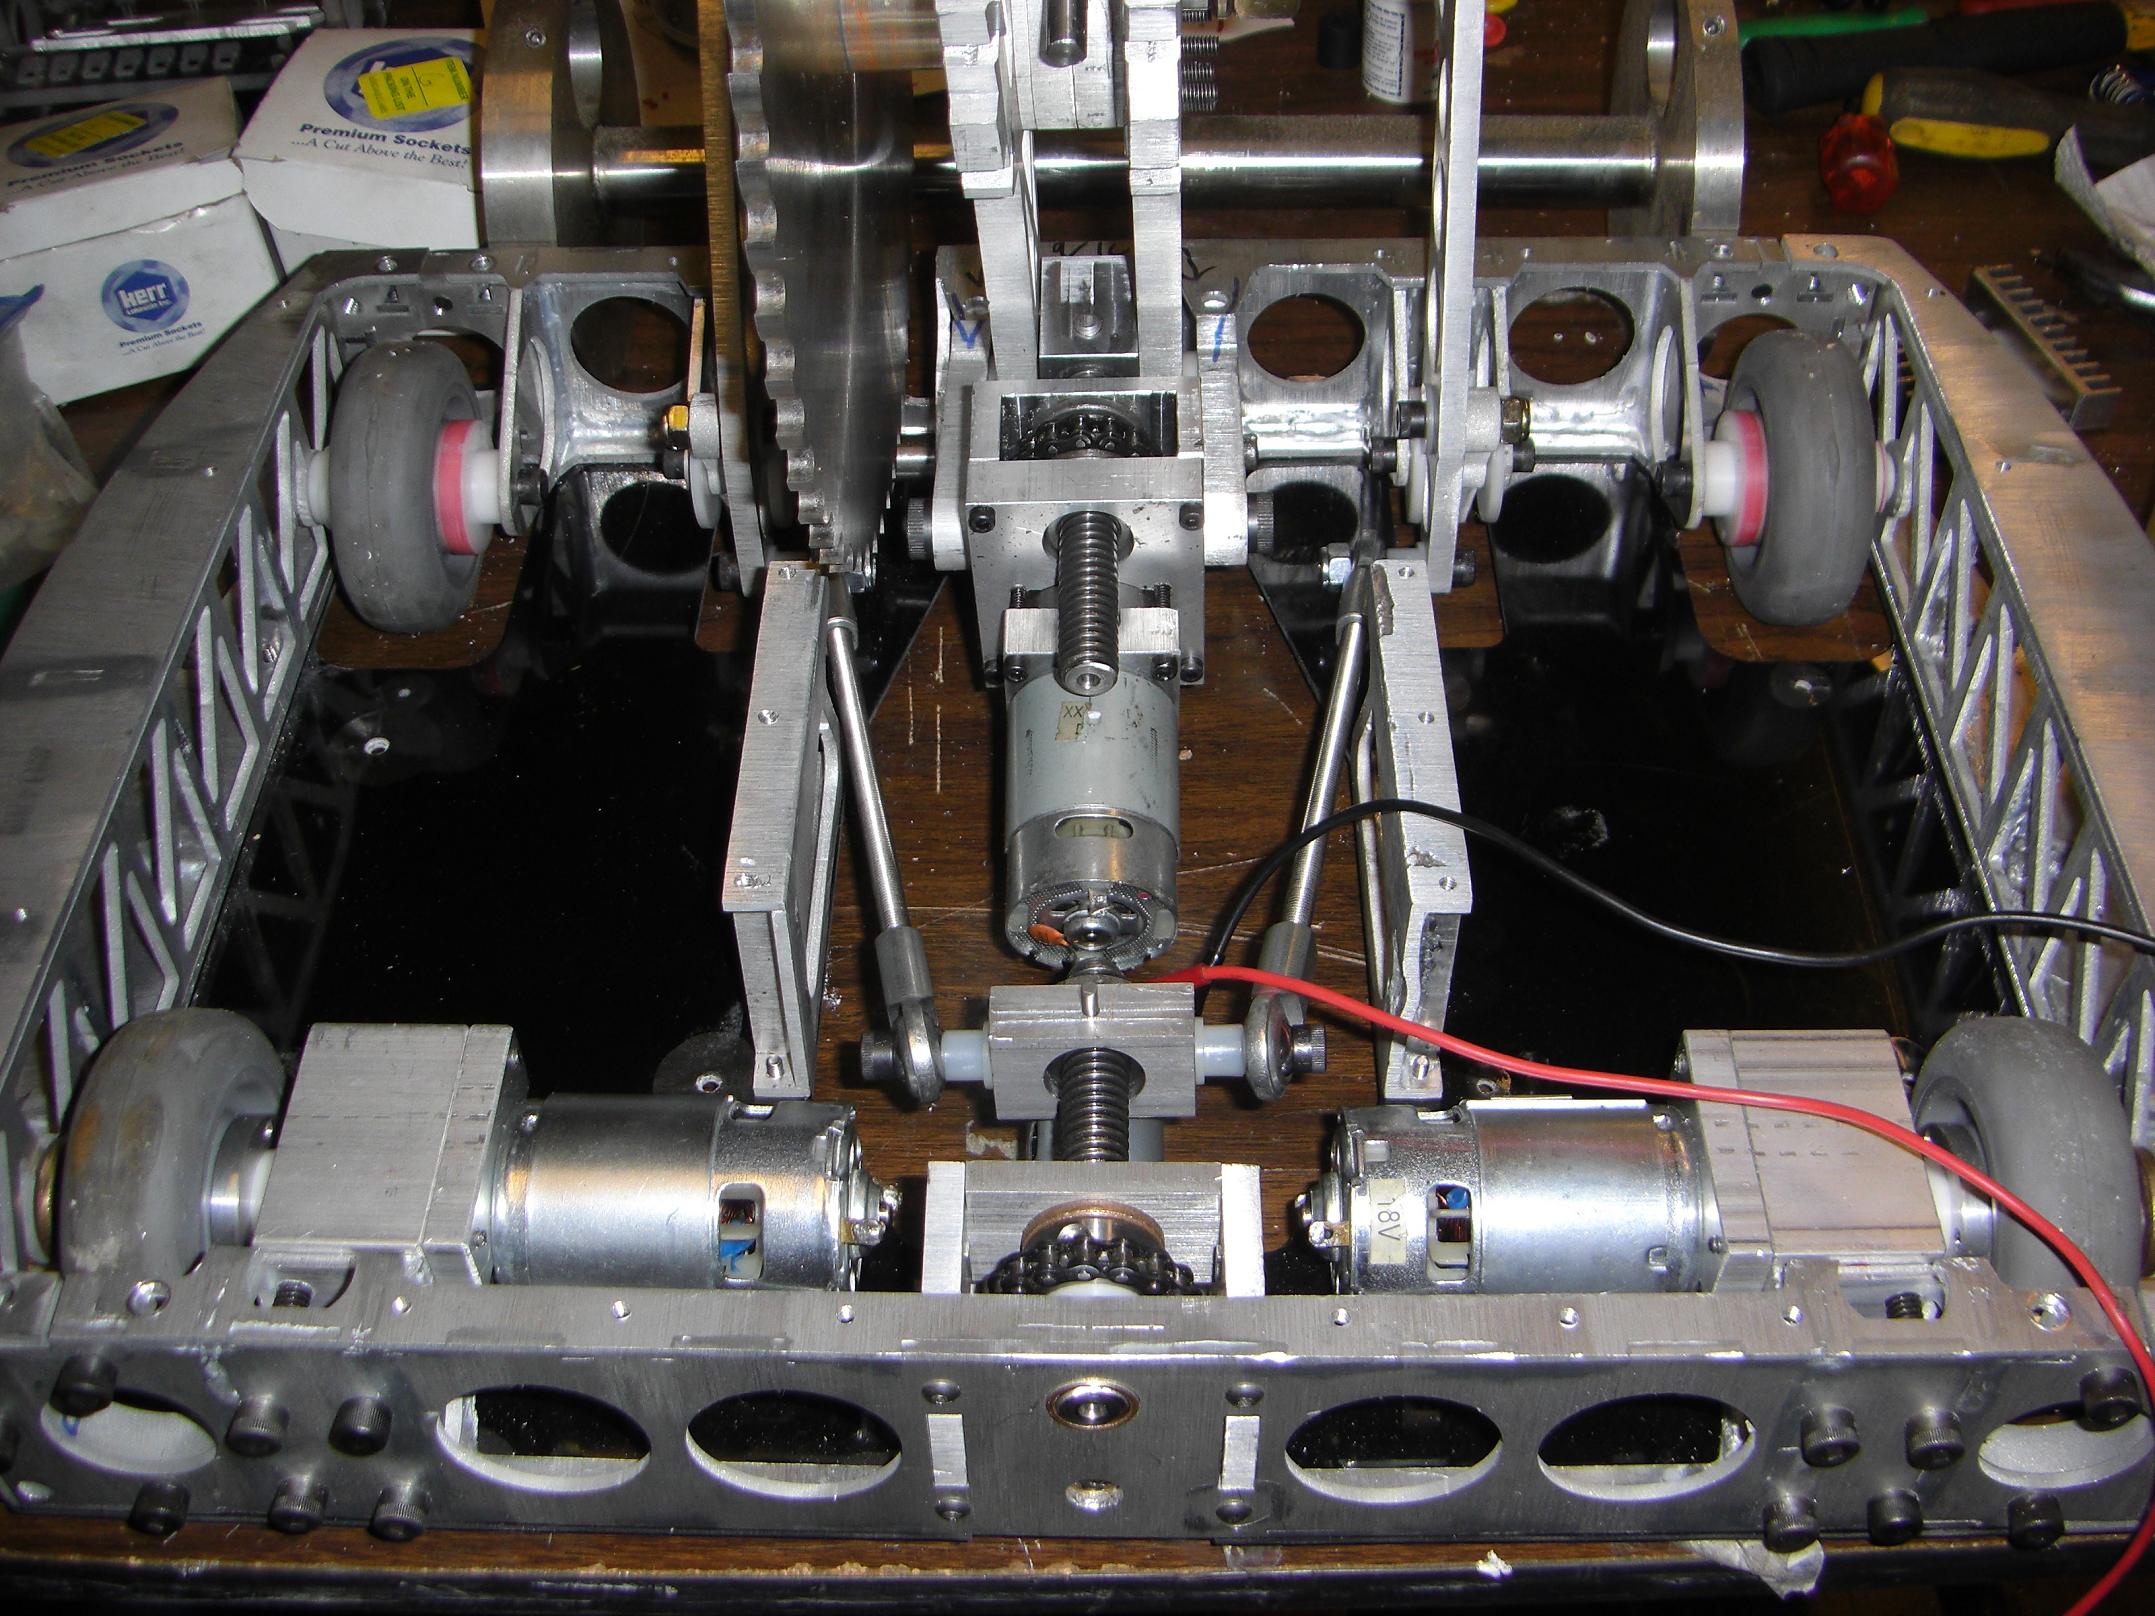
I dropped the rear actuator motor into place, routed the chain, and backed the linkage nut on.
The leadscrew in the clamp actuator is a live rotating shaft, and the sprocket is retained by set screw and flat.

The clamp links themselves are sections of 1/4-28 threaded rod with ball links on the end.

I made some fat Delrin washers to keep the claws in alignment.
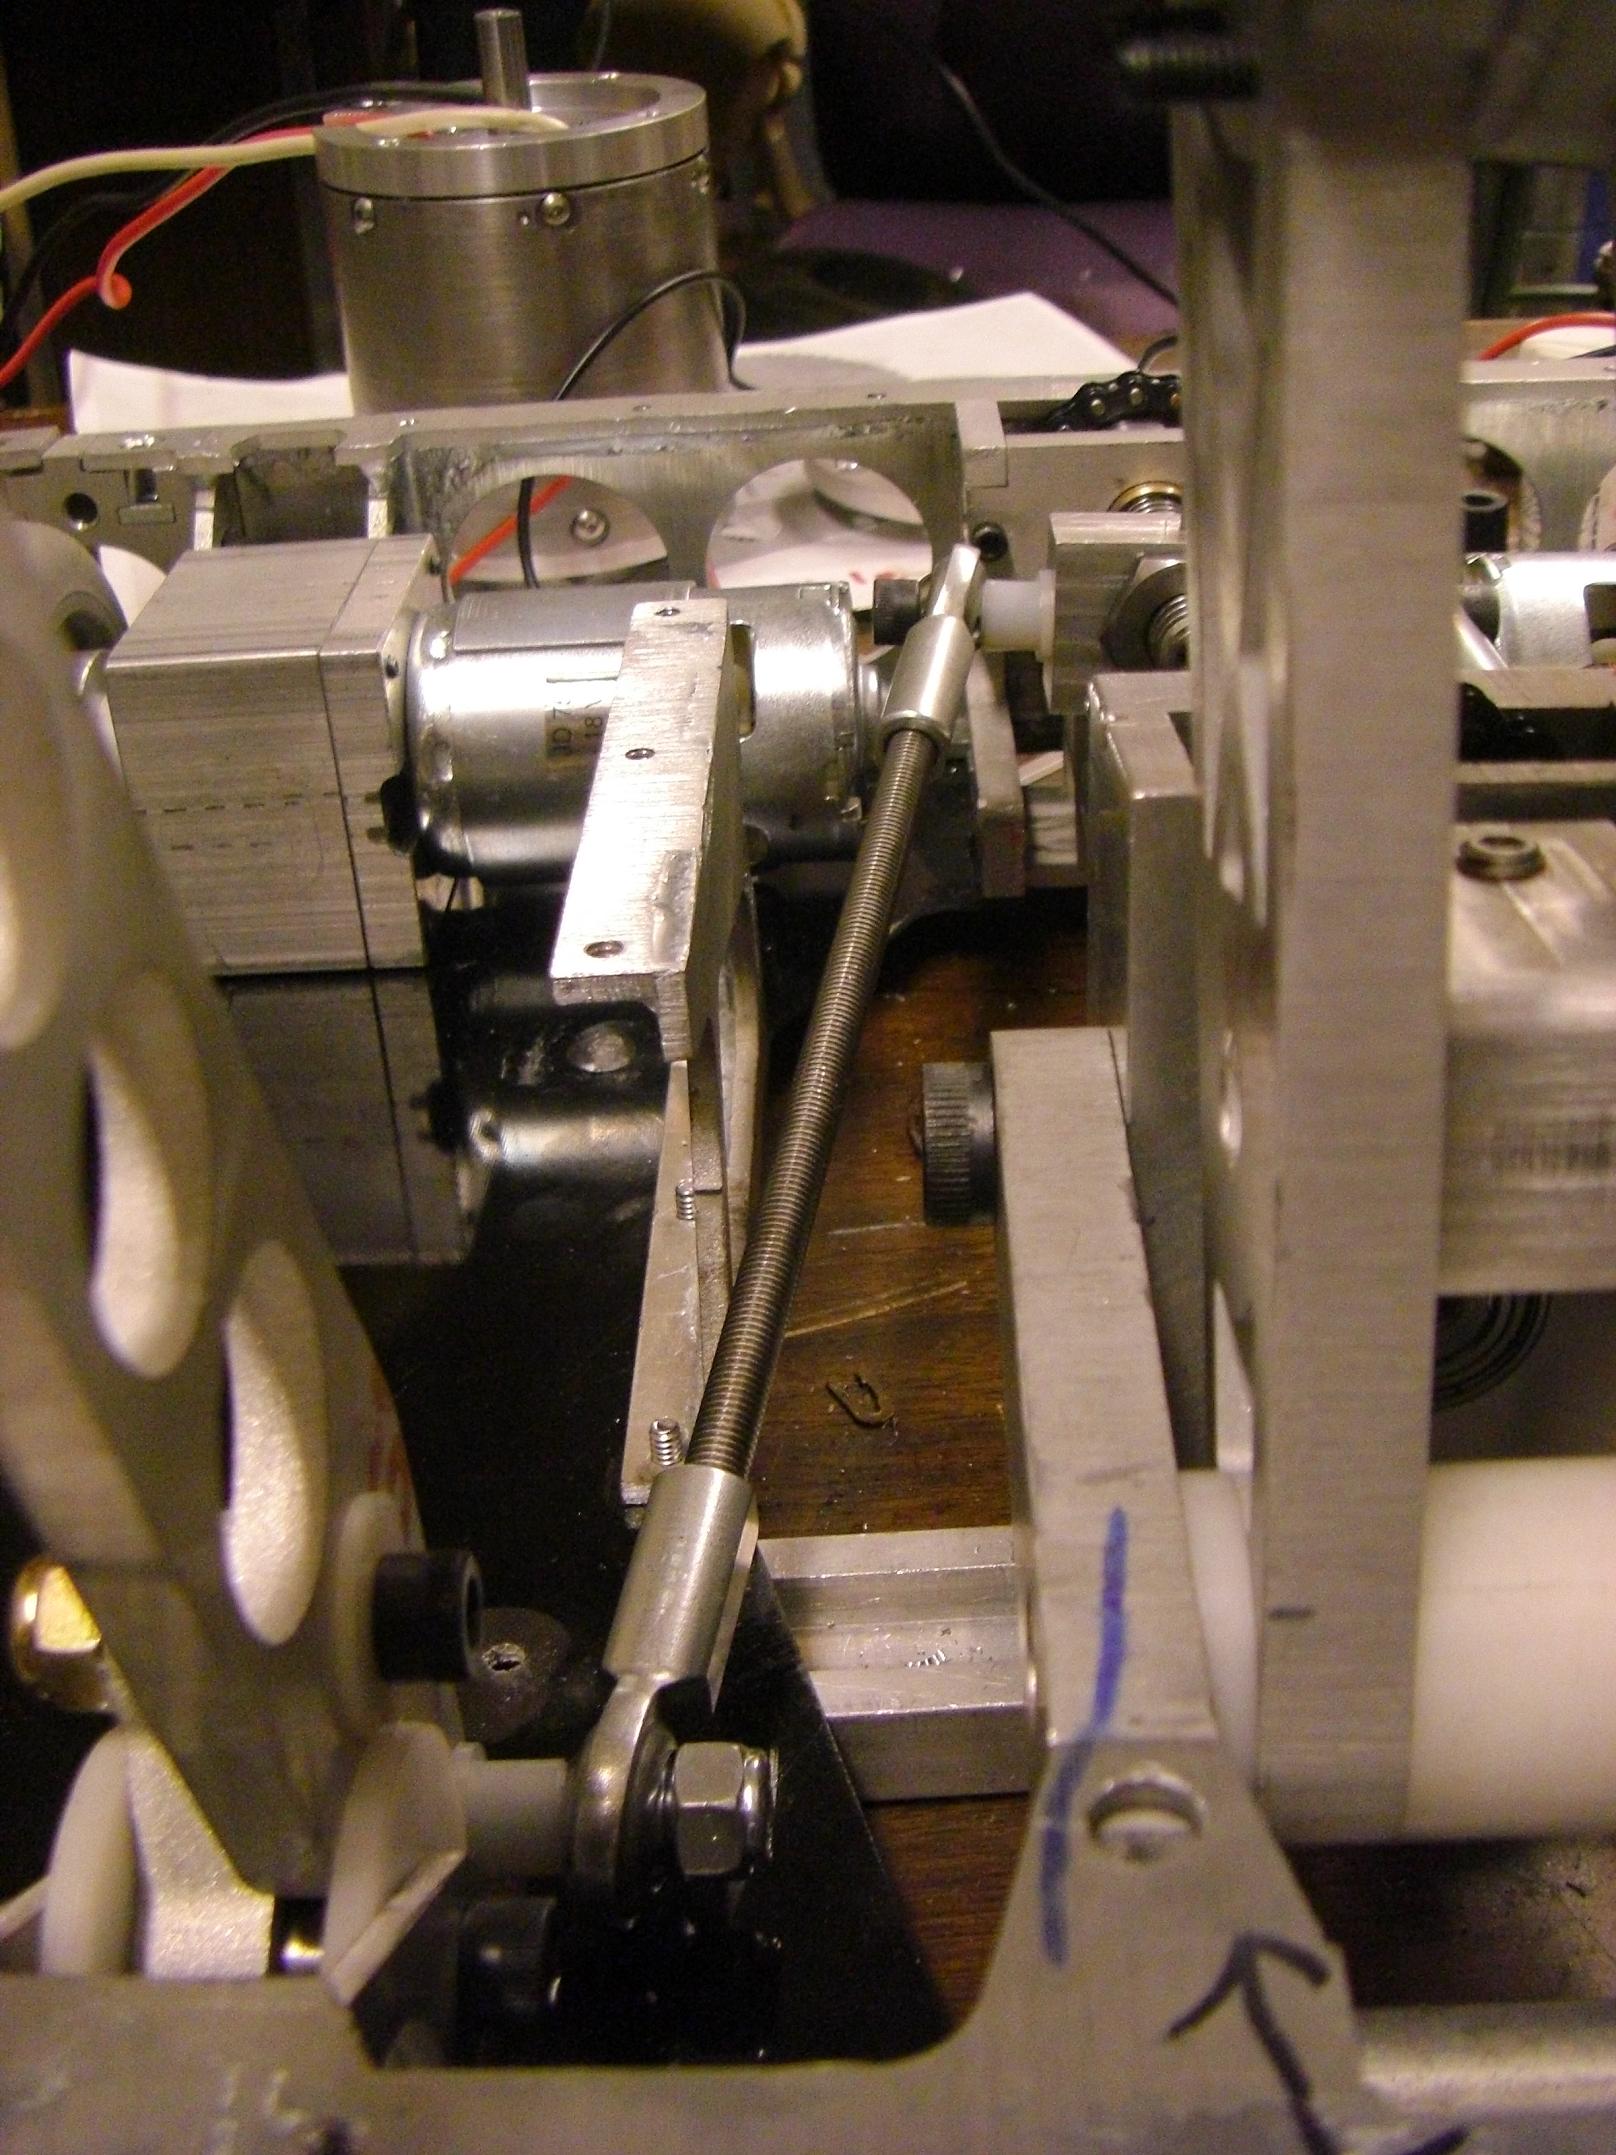
Here’s a view of the ball link attached to the claws. I ended up having to space the ball links away from their respective mounting surfaces a bit. As it turns out, the ball links did not have that much angular flexibility. The threaded rods also ran into the frame.
And both links are installed.
Now, there is technically nothing preventing the nut itself from rolling side to side because of the torque exerted by the actuator. I’m sort of depending on the clamp arms hitting something evenly. When only one arm is loaded, or if they are run with no load or into the ends of their travels, the nut does tilt far to one side. I have yet to get the system to bind, but if it becomes a problem, the nut will get a “slide plate” or some other planar joint to keep it in line.
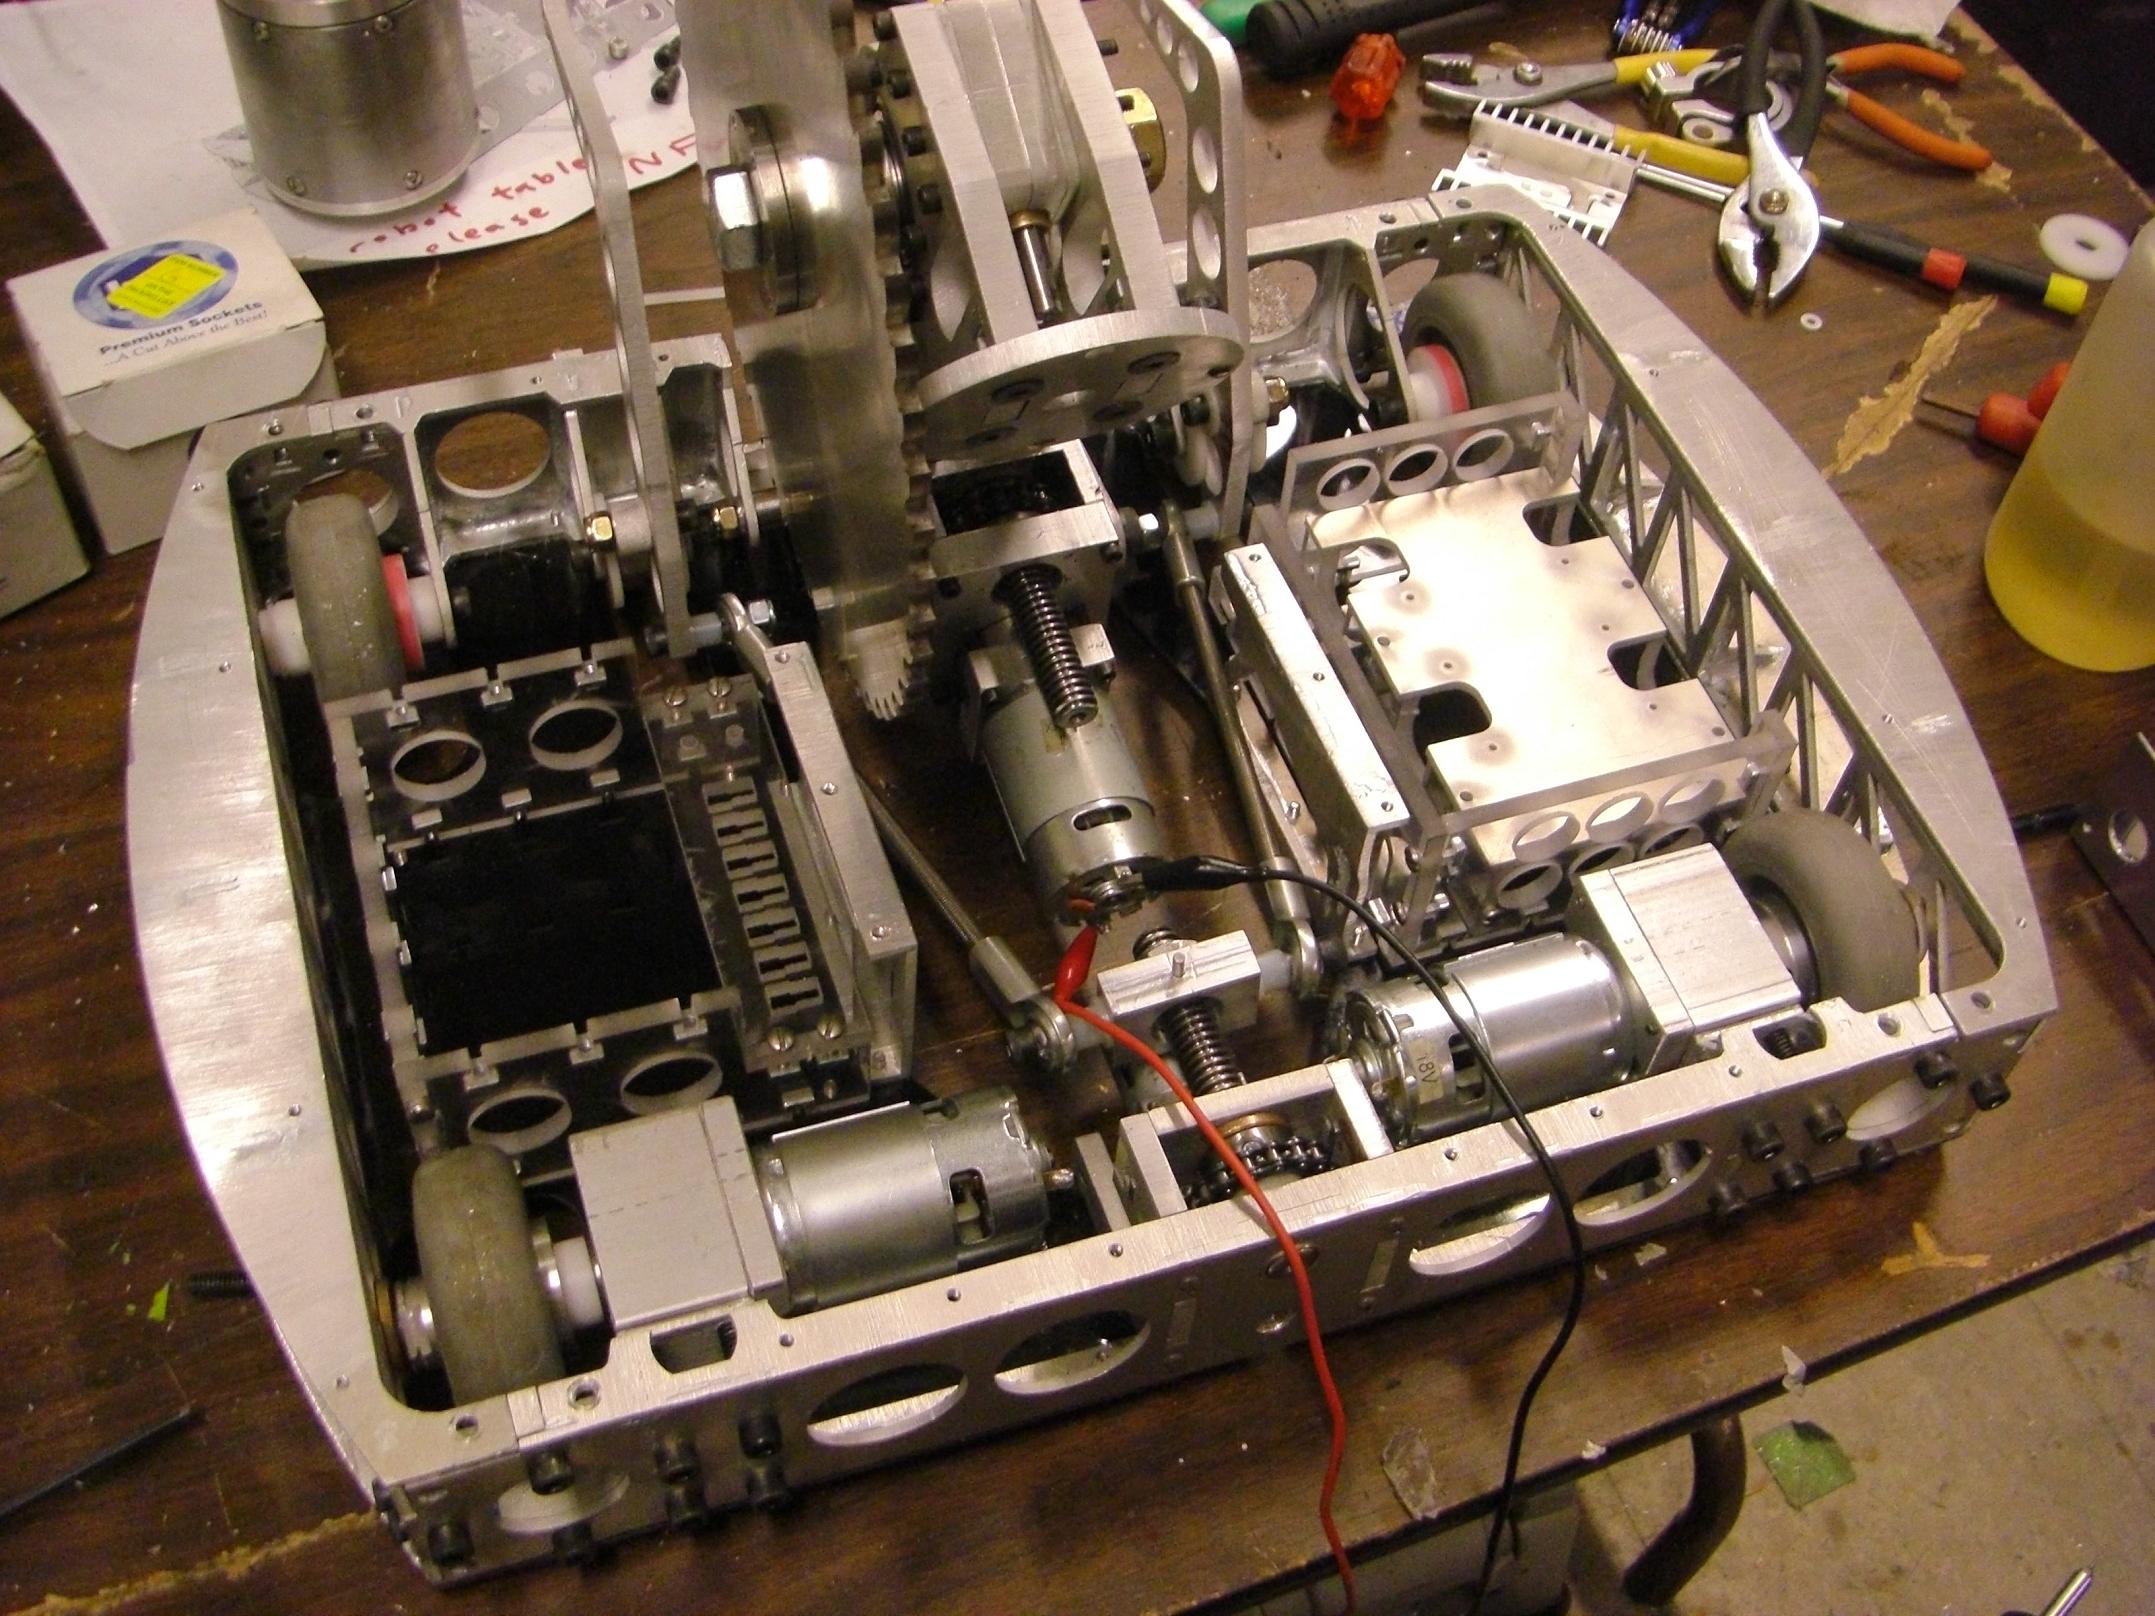
With most of the mechanical subsystems in place, I dropped the EBays into the robot to test fit and placement.
Result: Spot on, but the T-nuts sticking out of the side of the polycarb caused some alignment issues. No problem – I just drilled out the mounting holes in the baseplate slightly larger.

The last random part that I needed to make was the shaft coupler to link Deathrunner and the saw blade gearbox. It’s a relatively simple round aluminum part with two holes.
The two 5/16″ set screws seat in flats on both shafts, and are liberally Loctite’d. I think they will be fine – but I need to test the saw to check the integrity of the gearbox.

Deathrunner has been (hopefully) permanently attached to the gearbox. The saw now turns whenever I move the motor!
I decided to try actually mounting the top plates to see if those holes will line up. In another example of my unbeatable fastener placing skills, I shoved a screw right next to the saw, so close that a drill with a screwdriver bit can’t reach.
I couldn’t find the the long reach modular screwdriver either. Or a ratchet extension bar. So in a time of desperation…
Hey, it worked. The top plate holes are mostly aligned without incident or interdiciton.
With the robot superficially complete, it’s time for…

SUPER PRETEND-O-BOT!
At this point, the robot is only missing electronics and the four custom sprockets, which I need to either waterjet or hack around Real Soon™
I’m still waiting on Dealextreme to deliver my ghettodeans connectors so I can fill out the electrical bus.
Otherwise, the robot isn’t that unfinished, but it’s certainly further behind than I had planned, and very much untested.
Here’s a size comparison with Überclocker. Overall, Arbor is smaller in footprint and a bit taller.
Hey,
I saw that you had problems with the saw binding when it touched the material. I think I know an interesting solution. Last summer I was watching billy may’s show Pitchmen, and I saw some guy invented a dual bladed saw. (http://www.youtube.com/watch?v=tkrzBg_CdDE) One of the saw blades spins in the opposite direction. This (supposedly) reduces binding because the saw does not try to pull the material in a certain direction. It seems to work well, since he only holds the saw with one hand.
When I saw it, i thought it would be a good solution to a cutting bot since the blades would neither pull the other bot closer and jam (single blade spinning downwards) nor push the other robot up and away (spinning up)