Hey! It’s VAN TIME again! Time for MORE VAN
While we approach the May 2021 Norwalk Havoc, I’m going to continue playing blog catch-up. I’m like, what, 1/3rd of the way down my original list rehash list now? Getting there, slowly but surely.
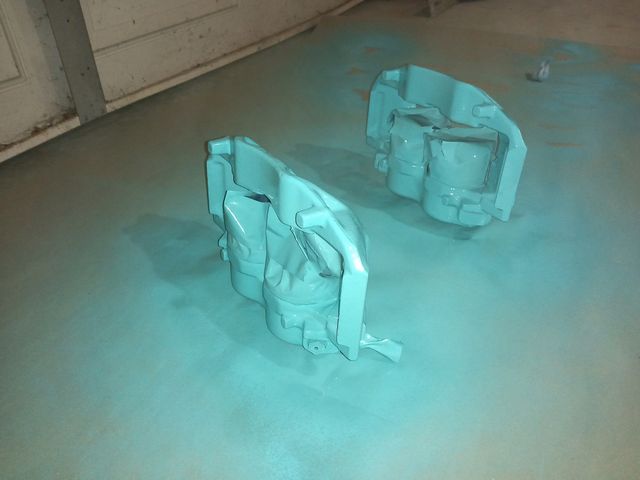
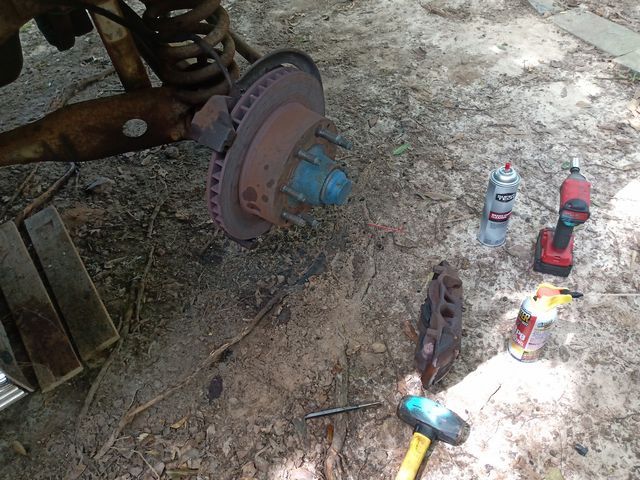
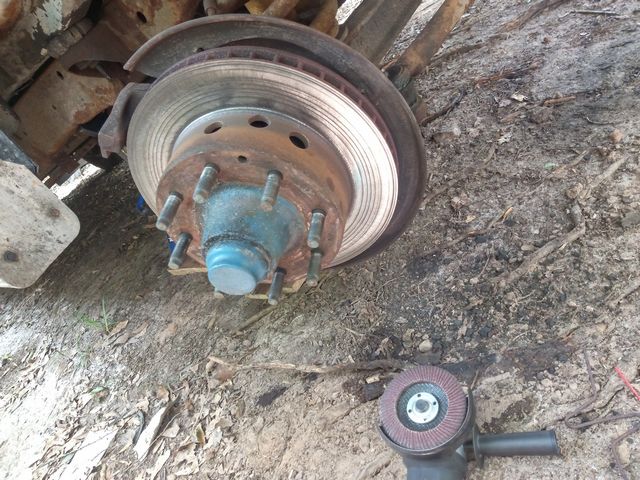
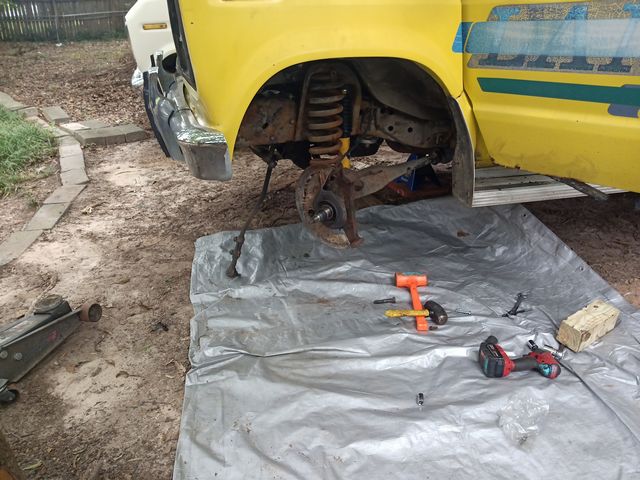
We’ll resume Happy Van Time by picking back up with Spool Bus some time in the middle of July when I’d repaired the physical manifestation of the destroyed front brakes, but then found out on the first stop (thank goodness it was a stop, or the landlord would have found a new pull-through carport addition) that the master cylinder had tendered its resignation.
From there on, I made a series of casual repairs and upfits to make it attain the “Step 1: Run Good” stage of my three-tiered “Run Good, Feel Good, and only then Look Good” van self-improvement guide. The next post about it will cover the first major upgrade I perform to the IDI fuel delivery system. So anyhow, let’s begin!
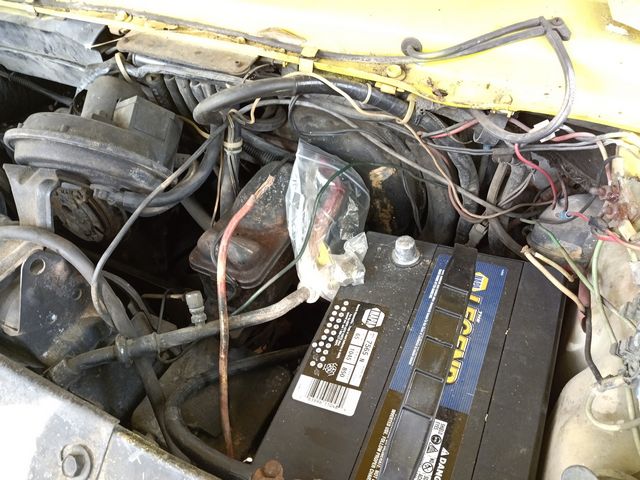
The opening procedure for any surgery on the Ford Econoline is “Remove Van”. I dunno, guys, I still think they should have just committed to the #cabover life and not ended up putting the engine in literally the most awkward place imaginable, halfway in front and halfway behind the firewall. The dual battery system of the IDI diesel and its larger spread of accessory mounts make the volume even more crowded up here.
So to get to the brake master cylinder at all, I had to remove the drivers’ side battery and its cable attachments, remove the cruise control actuator, shift the (non functioning anyway) windshield washer fluid bottle, shift the A/C compressor aside by loosening its belt drive, and generally shuffle vacuum lines and other cables out of the way. This was before cracking a single fitting. And of course, all of this occurs in barely visible areas without much in the way of being able to swing a ratchet more than a few clicks at a time.
To make the experience less gooey, I used some left over large syringes from my days of casting 30Haul and Overhaul wheels to pull as much brake fluid out of the buckets as I could.
The flare nut fittings were not terribly corroded or stuck in place, and I was able to free them up with some dynamically-made “Flare” “Nut” “Wrenches”… you know the kind, made with an angle grinder and cutting disc and your least favorite 3/8” box wrench.
Out with the old! The mating surface of the brake booster balloon was pretty rusty, so I cleared it up with a wire brush and some rust reformer first.
I managed to source this new master cylinder locally, because AMERICA, DAMMIT! The reassembly is opposite of disassembly, and if you “Removed Van” beforehand, this whole operation wasn’t actually bad.
By my standards, anyhow.
So the old school hydraulically-actuated trailer brake controllers on these things, seemingly made popular by Kelsey-Hayes, are hooked up to the rear brake circuit. By virtue of applying pedal force, you also push a little piston inside the trailer brake controller which varies the output voltage going to the trailer brake harness. Just a big rheostat, nothing fancy like a modern current controlled one. This means there’s a 3rd little brake line involved.
I couldn’t find any resources on how to bleed this line, and I figured leaving it mostly full of air will just cause the rear brakes to be ineffective. So I just made it up on the spot and shot a bunch of brake fluid into the tube with it raised high up, using a syringe. I periodically shook it to try and clear any bubbles, then just shoved it into its fitting as quickly as I could.
Imperfect, and I’m sure if I take apart the trailer brake controller it has a bleeder valve inside, but I’ll find that out later.
The “sense line” is just screwed into a tee fitting coming off the master cylinder.
Alright, everything’s back in place now. I took the opportunity to replace the battery positive terminal completely, as the old one was just too destroyed. I personally don’t like this “squish down with the skinny steel strap” kind of terminal, but it will do for now, as I couldn’t find 2/0 wire compatible crimps at the McAutoparts stores….nor do I have dies that large for the hydraulic crimper anyway.
“It’ll do for now” is how I approached the entirety of Spool Bus anyway. Burnouts first, sensibility later.
On its first highway-speed trip, the roof liner came apart and it started raining disintegrating foam everywhere. Because of course!
The first stop after BRAKES! is TIRES! because the ones that came with it were three different sizes and all completely dry rotted. Sorry, did I say I went on the highway to get here?
I went to my favorite local taqueria & tire shop, which I also had handle a Vantruck front tire rotation, so they knew what they were getting into when I showed up again.
Even materials we call flexible are crystalline in nature, as can be seen here in the brilliantly clear cleavage pattern of these plasticizer-depleted tires that I totally was not driving on before, I promise.
I mean, I did get used tires anyway, but at least they’re recent vintages that aren’t becoming mineralized. The other working mantra with Spool Bus is “You’re getting the cheap and terrible things until you prove you warrant the nice things”.
I also noticed during my continued joyriding that the headlight switch was intermittent. The switch in question is a combination 3 position switch AND a rheostat to control headlights, running lights, and interior lights plus dashboard/instrumentation light intensity. Pretty much every circuit was gunked up and intermittent, especially the headlight low beam….which was exciting to find out at night, of course. I had to smack and wiggle it to get them to come back on.
The uninstall/reinstall for this headlight wombo combo switch is by the book and rather straight forward – it’s just retained to a dashboard bezel with the Shiny Nut on the bottom right, and the connector block pulls right off.
I found which wire in the Wiring Teratoma actually provided 12V feeder power to the upper console, and gave it a home instead on the under-hood fuse block that Centurion added. Like it was supposed to be. I think it must have failed at some point and the rednecks preceding me just tapped whatever 12V power was available.
Verdict? The roof mounted clearance lights (truck dots, as I say) only have 1 still alive, but at least the circuit is working. The CB radio has no power and that problem seems upstream of its own inline fuse holder. The dome lights all work and the equivalently-tiny cargo light works. I’m sure there will be renovations here as I get to it.
I say “preceding rednecks” not because I’m better in some way, just the most recent. My next repair increment was to bring the Gear Vendors Overdrive back online, and I did it using just a regular switch like in Vantruck itself. I can’t stand the added mess and phone jacks that the 30 something year old automatic controller design brings in. It’s a switch, push it when you don’t think something will break.
The 12V feeder was pulled through the firewall in the same uninsulated, burr-lined spot that all of the other “aftermarket” wiring ran through, because *sigh* I’m not the best redneck, just the most recent.
The Gear Vendor solenoid was grounded nearby on the frame as I had done on Vantruck before, so all the switch does is touch the 12V accessory power to the blue wire.
Entering the cab underneath the Wiring Teratoma. I stopped caring at this point and predictably, like the most recent redneck should do, crammed the wire terminal onto an accessory fuse holder that had an “Add a circuit” tap installed. In time, this entire thing will be ripped out and I’ll start all the wiring from scratch.
In an act of abject “Don’t give a fuck any more”, I just zip tied the switch to the entire bundle of dysfunctional instruments for now.
All of this wonderful hackery really just was getting Spool Bus to the “Feel Good” stage. So at this point in early August 2020, I’d gotten it to both drive and stop AND turn (BONUS!), with working lights, and the ability to actually go on a highway or something with the overdrive hooked back up. I’d otherwise gone through and inspected/changed all the fluids and filters and cleaned up the interior of the cab and blew out the HVAC ducts.
But I’m tired of running around with a ratchet strap holding its ass on. The rear bumper’s broken weld would be the first “Feel Good” operation, and for that, I turned to the help of Overhaul.
Thanks for being a $10,000 strap anchor, Overhaul! I needed to pull the bumper face backwards some , such that I had clearance to clean and grind the former weld joint.
This thing was just held on by a few booger tacks on each side. Note that this is not the trailer hitch that’s hanging loose, just the shiny chrome face of the rear bumper attached to the crossmember shown here.
After the cleanup, it was time to loosen the straps and adjust the height vertically with a jack, such that I can dd my own boogers. You can see in this photo how the entire rear end is just one contiguous weldment.
And add my boogers I did. At this point I hadn’t had 240 volts brought out to the garage, so Limewelder was still severely throttled. I could not get a good bead going at all, especially also while being upside down. As a result, I had to resort to the good old “weld moar” approach on both sides.
Not the better redneck, just the more recent one. I still want to repave this one with 240 volts some time.
For entertainment purposes, while I had Overhaul already out, I decided to try a van squat with the clamp arm. The youtube video generated some confusion from people wondering why the bot wasn’t tipping forward.
Note that the forks are fully lowered here, so the clamp arm is going through them into the ground. It’s a jackscrew actuator, after all. This isn’t too far removed from a high-lift screw jack doing the same thing. So I’ve managed to make a $10,000 bumper jack.
(Based on its driving behavior, Spool Bus is terrifyingly light in the back as well, and it’ll break traction on every launch as well as instantly lock up on every stop….. so I don’t think this lift was all that impressive, maybe 2000 to 2500 pounds at most)
And here is the completed reattachment process, next to the (as of this point) still-assless Vantruck.
The Summer of Ven will soon draw out into the Autumn of Ven, and with it, I decided to upfit the fuel system of Spool Bus to use an electric lift pump with a frame-mounted remote fuel filter. It’s a very common and documented mod for the IDI family, and having hindsight, I strongly advocate it for everyone who comes into one of these, even if it’s the F-series trucks with actually accessible things under the hood. The electric lift pump takes substantial stress off the starting process and keeps the fuel system air-purged. That will be a tale coming soon, along with more!


