BurnoutChibi Repair and Revival!

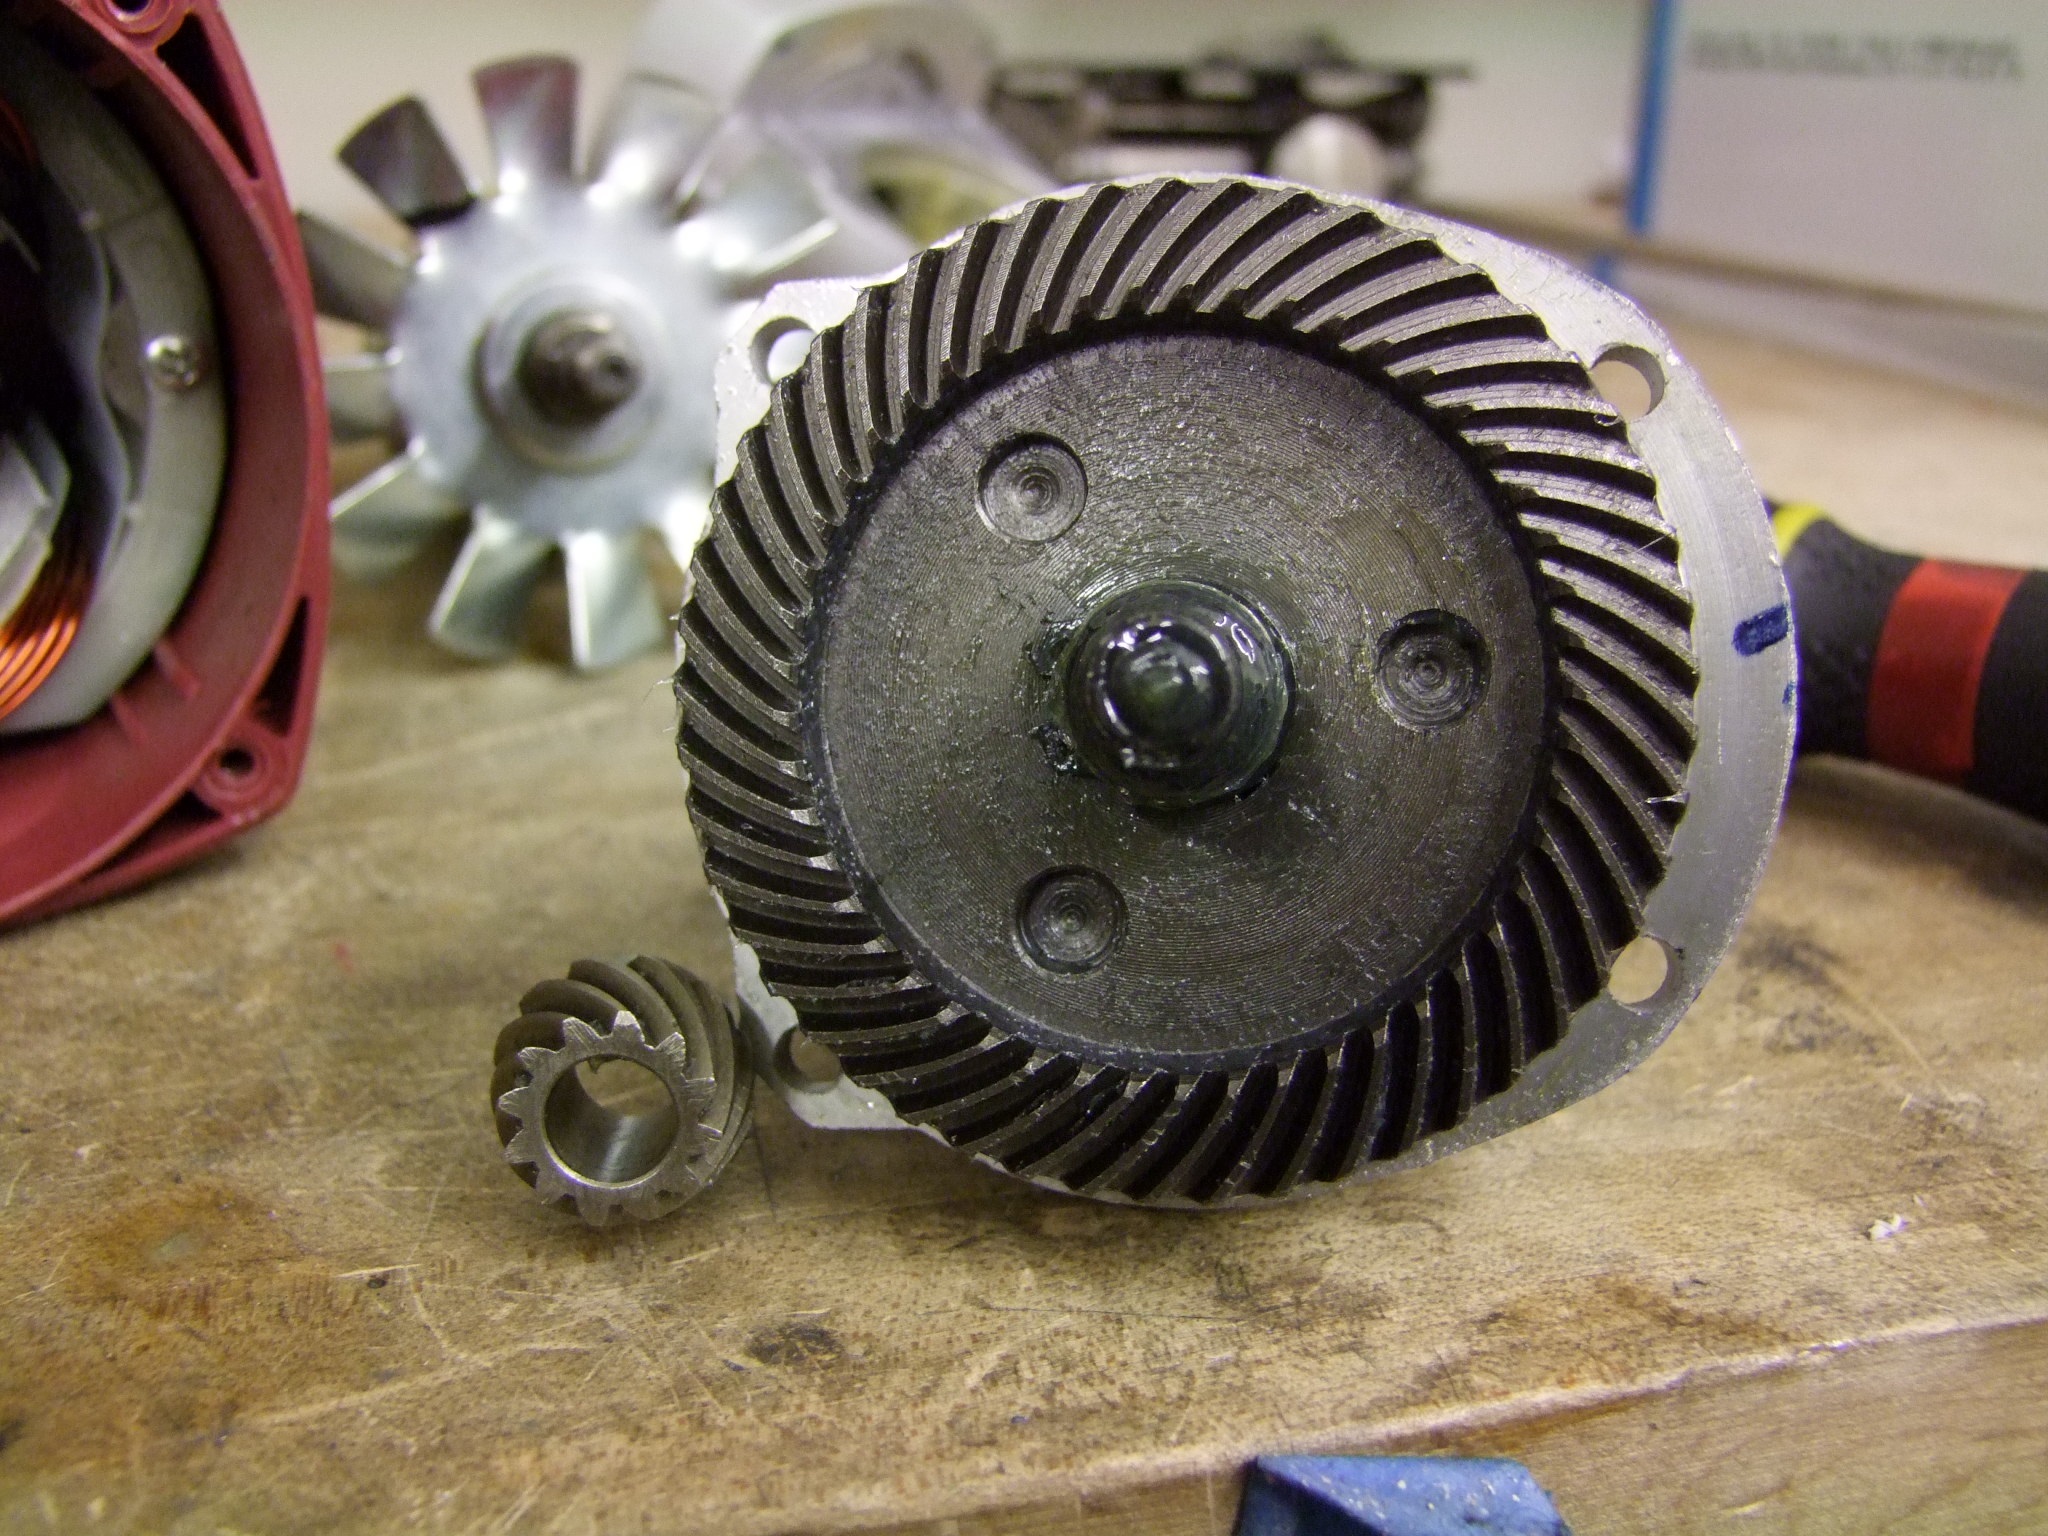
Chibikart just can’t seem to catch a break.

Even in non-hub-motor form, it’s been sitting in a pile of its own wreckage. During the late August summer go-kart finale, I raced against some of my own students and TAs, and about midway into the race, the left front wheel just completely locked up, skidded, and blew out. It’s even in the video:


I never really got a chance to drive it well, since it was built during the rush of organizing the two kart classes, then rendered mostly dysfunctional right afterwards. Since then, it’s been living alternately under the bench and on top of it, reducing my moral authority to command people to clean their workbenches to near zero.

I originally used the scooter rear drum brakes as a parts examination, and came to the conclusion that no. But, it’s not really their fault – most of the failure is from the fact that the wheelbarrow tires are completely and utter trash – they’re out of true in every possible fashion! It’s almost as if they were not designed to be used on go-karts or something. Imagine that.

Anyways, I’ve had a mind to swap Burnoutchibi over to front disk brakes almost since I tried stopping with the drums for the first time. I figured that if the solution involved a custom non-shoddy hub for the tires anyway, then there’s no point in trying to machine or adapt a custom drum when a brake disc is just a flat chunk of metal.

That effort finally got rolling last month some time when I began to fiddle with my left over brake calipers. The brake calipers I speak of are the generic $10-20 scooter calipers commonly found on small gas and larger electric Chinese scooters, the kind retained by the likes of Monster and other scooter parts places. They’re simple, but get the job done.

What I found in the course of my research about them is that nobody has ever modeled one in 3D. That I know of, anyway. Nor does an original model seem to exist at all. I’m strongly of the opinion that these things were copied once, then everyone else just duplicated dimensions without really thinking about what’s going on.

And so, desiring a model which I could line up in CADspace instead of assuming things about those mounting points, I set about correcting this issue by virtualizing the brake caliper. Now, these things don’t have a SINGLE straight edge to datum some dimensions off of, so I had to resort to tracing over an image:

I took a very long-zoom picture of the caliper, end-on, and used it as a the backdrop to a sketch full of freehanded splines. The tight zoom is to flatten out perspective so I could capture all the features on top of each other. I didn’t do it perfectly, as some of the mounting screws might show.

This sketch became the basis of several features that used the profile information, in conjunction with real life caliper measurements, to generate some solid model parts of the caliper. Critical dimensions such as hole spacings were found physically and then those dimensions overrode the raw picture traces.

And there it is, a model of that which has eluded modeling. These dimensions ought to work for most generic small caliper brakes – later on, I show which ones I ended up getting more of, and even though they looked different, the holes and spacings were the same.

I’m putting this file up in the References section as brakecaliperrh.zip, in which are Inventor files, Solidworks files, and a generic X_T (Parasolid) for importing to other CAD platforms. Hole dimensions are exact to 0.1mm, and the axial spacing and thickness of the parts represent worst-case scenarios on purpose, such as designing to clear parts around them will definitely clear the calipers in real life.

To verify, I grabbed a chunk of virtual Tinykart from Shane and dropped my caliper model into the ad-hoc physically located model they made for it. Result: Pretty much an exact match!

The next step was to adapt the new brake caliper to the front end of the kart. The placement of the holes and generation of the adapter plate was driven entirely off the position of the caliper. I made midplanes and mating axes to space the caliper out where I wanted. I was going to make a custom brake disc anyway, and the brake disc diameter was chosen based on not being so large as to hit the ground if the tire goes flat, using as much of the brake pad surface as possible, and being large enough to clear its own hub mounting bolts. Ultimately I decided on a 100mm (or 4 inch) disc.

A new ‘upright’ block, which the wheel spindle bolt tightens into, is required because the axial spacing of everything was so different. This set was made hastily and sort of out of square anyway.

This is the new combination hub. Brake disc mounts on the little end, and wheel mounts on the big end. The tube in the middle is a 3/16″ wall DOM steel tube with slightly machined ends. It’s basically a smaller, cuter version of the average commercial go-kart hub, like some of these. The discs are to be waterjet-cut, then welded to the steel tube.

I would have cranked these out of some aluminum billet, but I wanted to pilot this method for Chibi-Mikuvan, which will use a slightly larger version of this.

The planned assembly overview.

The idea is to strip the shitty rolled steel hub completely out of those wheels, using only the stamped rim halves and bolting them to my own hub which will, in the best of circumstances, be more true-running and less… I dunno, shitty than the stock wheelbarrow-grade hubs.

An overview of the new assembly to be manufactured. No matter what, I couldn’t get the disc brake design to have the same front track (width) as the older version, so this one will have slightly wider track at the front – but only a half inch. Not enough for anyone to notice but my alignment-obsessed self. That’s the one downside of using disc brakes with these smaller scooter- and handtruck- type pneumatic wheels. Unlike a car tire which is deeply dished on the inside to fit the hub, steering knuckle, and braking hardware without it all sticking out, here you usually just have to deal with a scrub radius of 2 or 3 inches.

(Unless you want some seriously wild camber. Stancekart?)

Brake rotors, hub components, and the caliper adapter all cut out from 11 gauge cold-roll steel (0.120″). To the right are some replacement steel steering links. The aluminum ones, while they worked in principle, started smearing their hex bores out eventually so the steering backlash began growing with each test. I decided to just make a weldable version; the geometry is otherwise identical.

The beads were dropped with a MIG welder for expediency. I machined each steel tube end to be a slight press fit in order to keep the pieces from warping while being welded.

An interesting feature I noticed about the steel tube I got from Speedy Metals was that the outer and inner surface were both very shiny and tight-tolerance. This is in contrast to most DOM style tubing where there is a visible weld seam on the outside and inside, and the sufaces are dark with oxidation. This makes me wonder if it was actually extruded – I’ve heard of extruded steel but wasn’t sure if it was a common process.

So far, this only applied to the 1.5″ OD, 3/16″ wall stuff I got for BurnoutChibi – the other sizes that came in the same order for Chibi-Mikuvan are normal looking.

To cut off the stamped rim from the hub, I took a boring tool to it, cutting on the back side with the machine running in reverse, until it just popped off.

Using some 1″ OD by 1/2″ ID aluminum extruded tube, I made the internal bearing spacers. The faces of the spacer were turned down to leave a little shoulder so the whole thing wasn’t rubbing on the bearing seals and races. There’s no reason the spacer has to be so thick radially, but the close match between spacer diameter and hub ID means there’s less playing “Guess where the spacer is!” when shoving the axle through.

Also shown are the non-trashy R8 flanged bearings to replace the very trashy stamped steel lawn mower bearings which I swear use MIG welding spatter beads as their balls

Finished hubs with holes tapped. The wheel side threads are M6 x 1 to reuse the bolts they came with, and on the other side, the brakes are #10-32. Yes, mixing metric and U.S. threads. Yes, I am a lazy american.

Wheel mounted…

And both wheels completed.

The hub is designed such that the small projecting boss of the steel tube is the right diameter to align the center hole in the wheels. This contributes immensely to true running. Combined with the flat hub and real bearings, the amount of wobble in the wheels is now minimal, and practically none at the brake disc.

Moving onto the new steering links, this is how they fit onto the existing kingpin bolts.

And they are welded the same onto them. Now there’s no more need to constrain them from the bottom with a bolt and washer, and ideally this system will have no backlash…

What I have to do now is to remachine the upright blocks and then mount the wheels. At the least, then I can try a test drive to see what difference it makes.

Next on my list with Burnoutchibi is a rebuild of the shifter mechanism – while the principle was sound and it worked great in the short tern, the aluminum ball detent slots rounded off pretty quickly and right before the race, it was pretty hard to keep in gear. I’m going to move towards a spring steel bar (incidentally the same spring steel bar that I made 12 O’Clocker’s front legs from) that can bend in and out of slots, like a lawn mower shifter gate. Since there’s only two require positions, it’s not exactly difficult to come up with a pattern for it!


Beyond Unboxing, Chibi-Mikuvan Miscellaneous Engineering Edition: Inside a 9-Inch Angle Grinder Gearbox; Hobbyking T20 Inrunner Motor

This post will wrap up some more of the components I’m aiming to incorporate into this build. Recall that part of the mission of Chibi-Mikuvan is to use a jumble unconventional parts together as a technology demonstrator of sorts, so I’m exposing the inner workings of a handful of potential part sources not typically seen in public together Previously, I dove into the Motor Controller of 1000 Cool Story Bro Amps, then the Dramatically Over-Engineered Batteries of Doom. This time, the teardowns aren’t as epic or novel, but as usual I figured the more pictures of things, the better. The story now moves to the drivetrain parts; in particular, one way to get a compact 3:1 or 4:1 reduction, and then a few pokes inside the motor I settled on using.

First up:

cheap angle grinder gearboxes

Angle grinders are three things: A way to really quickly embed little abrasive rocks into your face, a fast and powerful motor, a high-speed right angle gear drive, and a doubly-supported output spindle that usually even comes with a little nut to attach deadly centrifugal grenades to. In the past, I’ve personally seen them used on some Battlebots in a weapon application for overhead bar spinners in the “sublight” weight classes (12 and 30 pounds). At one point during my early days, I had the parts of 4 or 5 cheap Chinese angle grinders floating around my combination bedroom & machine shop.


I never said I was smart, that’s just what everyone else says… (Picture from 2004)

Angle grinders tend to also come in two major classes: For parts, or to be used as tools. I’m concentrating on the former here – the so-called “Harbor Freight-class” angle grinders that typically sell new for $20-30, if not even less on discount.


Some time featuring such things as “noise reducing gears”.  (Picture from 2004)

Okay, so I literally haven’t seen a single plastic geared one since then, but the precedent is set!

These days, I assume the Chinese gear-hobbing industry is better established. You can even buy individual grinder gears on eBay nowadays, if you want to build your own housing, and by far they are the cheapest way to get a right angle drive; however, like repurposing car parts, they aren’t sold by tooth counts and equivalent diametrical pitches, but exact model replacements. So to use them, you’d need to do a bit of ‘shotgun designing’. You can even use them to make differentials like God intended. Bear in mind that the steel quality for most of these gears is likely a little on the shady side – I recall being able to machine them easily using my primitive garage tools, so the steel is most likely a low or unhardened medium carbon type.

I specifically picked these out of the back aisles of my mental design warehouse because I was in need of a way to make a very high gear ratio, on the order of 20:1, in a small space and without being too expensive. Spur gears were essentially out of the question right away due to price, even Andymark gears, since at least 3 stages would have been needed. Chain drive was a little more feasible, but still, the cost of support materials like the bearings and shafting to form the intermediate stages was high. I tried to think of clever ways to get a high reduction without causing the material cost to exceed the PPPRS $500 threshold.

And then it hit me! Something I forgot about for many years now seemed like the obvious strategy. I began the eBay hunt and tried to cross-correlate different angle grinder models with their gear tooth counts, but what I found about the smaller 4 to 5 inch disc grinder size was that their ratios were really low (2.5 or 3:1, or thereabouts) because the torque levels needed to drive a small grinding disc were not that much. Ben’s differential build above shows a pretty typical 4 to 5 inch class gearset. This wasn’t going to be sufficient for a first stage, since I was constrained by wheel and sprocket size to no more than roughly 5:1 in the second.

I decided to try a different method of finding out what gears were in which size grinder: Going to my local Harbor Freight and literally taking apart their display models in the aisle, with a screwdriver sourced from their hand tools aisle. The manager was nonplussed, but backed down after I explained that I was actually doing an engineering study and would buy the display model that fit my needs. Sadly, I didn’t have any pictures from this excursion.

I got the 69085 9″ grinder display model (an older version; all of the boxed ones were this new gearbox design) for $30 after some explanation, without any of the frills. My hunch settled on the 7″ through 9″ sizes having bigger gear ratios because the torque needed to swing such a large disc combined with the motors not being that much larger across pointed towards it. So let’s see how this looks inside.

Four longitudinal case screws and four dorsal gearbox screws later, the whole thing sort of falls apart. The motor itself is a hefty universal motor – a brushed DC series-wound motor with laminated stator to enable it to run on AC with less losses.

In my opinion, this motor can be rewound to run effectively at 24-36 volts just by replacing the many turns of thin wire on the stator with a few turns of very fat wire. The stator coils measured 2 ohms, so the stall current of the motor is quite low if used stock at that voltage. The armature resistance was around 0.25 ohms – high, but not the end of the world, and you can find low voltage motors that have a higher resistance easily. Maybe I should just do this instead!

The gearing is already starting to look promising.

The pinion is only retained by a nut on the end of the motor shaft, and as I found out, there’s no other power transmission medium in it except the torque of that nut. To remove the nut, I stuck the rotor in a vise and uncranked it with the appropriate sized wrench. Then, a little rubber mallet coaxing of the gearbox housing popped the shaft out of the gear and input bearing.

Here’s the gearset! A solid 49:12 reduction, or 4.083:1. Why 49 instead of 48? It’s so the teeth wear more evenly. The greatest common divisor of 12 and 49 is 1, and the least common multiple is 588, their products. Not only does this mean that it will take 588 turns instead of 4 for the same two teeth on pinion and gear to meet again, but it also disturbs any potential 4:1 mechanical resonances and harmonics that can pop up, contributing to smoothness.

The gear pitch is somewhere around module 1.5 (or about 16 pitch). The little gear has a plain 10mm more, and the big gear has a 15mm bore.

The output gear is retained axially by a single snap ring (which makes me feel really good about hanging a giant grinding disc off it, I’ll say). Rotation is ensured by a 4mm thick woodruff key. This is the same as the little grinders, just more metal.

Short of machining a custom housing, the most useful form of angle grinder gears is inside the angle grinder gearbox itself. The idea that I settled on is to machine a 10mm shaft that has a standard metric keyway cut into the end, broaching the small gear with that size key to make for a positive power transmission coupling. I’ll retain the threads on the end to lock the pinion in place axially. The nice thing about the pinion is that the right spacing relative to the output gear is attained just by running it against the input bearing – a good move for repeatability.

I’ll probably purchase hardened woodruff keys for both sides because I’m inclined to believe the ones that are included are very soft steel; at least, the “file test” made a huge divot in the output side one, which is the most likely to shear.

I made a ‘important dimensions only’ model of the gearbox for use in the design – it will be released once I validate it.

Full disclosure: All the bodywork on Mikuvan has involved a 4.5″ Harbor Freight angle grinder. It works just fine.

the unnecessarily large inrunner that will beast into it

There’s some pictures that just shouldn’t exist. For instance, this:

No, not the Moxie, but the inrunner that’s almost as big as it. Disclaimer: I have no clue what Moxie Cola is; this was given to me by someone, and I’ve actually been too scared to open it.

That motor is the Aquastar T20, a “1/5 scale” class inrunner for boats. So, I don’t understand the 1/5 scale R/C vehicle class in much the same way I don’t understand model airplane scales that are indicated in percent, like 33% or something. To me, when a radio controlled model gets that big, why don’t you just fucking get in and drive it yourself? A 1/5 scale model car is already a go-kart!

I typically advise people to stay away from inrunners because of their tendency towards extremely high speed (high Kv, or RPMs/volt) and consequently lower torque than an equivalently sized inrunner due to the smaller rotor size. It’s not as optimal a setup for small vehicles, in my opinion – that, and they are far harder to append Hall sensors to unless they already come with it.  However, when they get ridiculously sized, it’s a different story.  This motor is just slow enough that you can build a rideable vehicle using the Burnoutchibi principle: running a fast motor with a very high gear ratio to divide down your own apparent mass, and using a high capacity R/C controller instead of a dedicated EV controller.

This is where my number of 20:1, previously mentioned, came from. With the motor’s wye-terminated speed of 730 RPM/V and running the 28.8v system described previously, it works out to about 21,000 RPM, which isn’t far from what the angle grinder motor would have made anyway. Geared 4.08:1 and then 5:1 externally, the output speed at the wheel is theoretically 26mph. That’s just in “gear 1”.

One of the major reasons I selected this motor, besides straight up motor pen0r (that’s a technical term), is because it can be externally terminated in Y (wye, star) or Delta. The difference is how the windings interact with each other inside the motor – in a motor power system that is otherwise the exact same except for the type of termination, the Y-terminated motor spins 1.7 times slower (actually √3) with 1.7 times more torque. The science of it is more complex and has to do with the windings being placed in series in the Y termination, among other factors (see Mevey Ch. 2 for the rundown). My hub motor instructable of yore assumes you wind in Y.

This means that Chibi-Mikuvan could have two electrical ‘gears’, to contrast with Burnoutchibi’s two mechanical gears. Switching between the terminations without actually pulling wires means I’ll need an additional multipole switch or contactor rig to splice phases and connections. I have a few designs for this, and I’ll also post those once they’re validated. The hypothetical top speed in ‘Delta gear’, as compared to “Y gear”, is around 40mph, though realistically it will be less due to the nonlinear effects of wind resistance. I haven’t really thought about anything going that fast since the LOLrioKart days.

Let’s crack this motor apart:

Well, that was easy. Six faceplate screws and the rotor pops right out after some tugging. This is a 4-pole, 3-phase, 12-slot (or tooth) motor – most inrunner motors are build to be integer-slot like this.

This motor has a shorter rotor than what the can would indicate, with the extra space taken up by a spacer bushing. This is because the Hobbyking version is actually the smaller one. Elsewhere, this motor is called the “X520”, and yes, they make a longer one called the X524 (example 1, example 2, example 3… in case they vanish one by one), if you need an EVEN BIGGER MOTOR PEN0R (that’s a technical term).

The stator windings are very cleanly done up, though they don’t seem to be lacquer-coated for heat resistance. In most industrial motors, they dunk the whole stator in a resin that seeps into the windings and helps secure them at high temperatures and prevents the magnet wires’ enamel coating from coming apart. The whole wound stator seems to be mashed into the can, and that red heavy paper layer is presumably there to prevent it from being mashed too much.

I tried my best to pull the rear cover of the motor off, but the bullet connectors are very tightly press-fit into those plastic pass-throughs. Furthermore, the stator itself is also pressed into the can, so it wouldn’t have done much good. This was as good of a picture as I could get of the distal end of the motor can. You can just barely see where the terminations are brought out and soldered into the bullets.

The rotor length is 50mm…

…and the rotor diameter across the magnets is 27.8mm. The 4 magnets are wrapped in some kind of resin impregnated fiber. Now, it claims to be Kevlar, but I vote dental floss.

The boat variant of the motor has a water jacket, which I think will aid greatly in continuous power dissipation. It’s a very simple ring type one, with no internal turbulation devices or flow channels, so its effectiveness might be limited in comparison to a more rigorously designed one, but the tube structure is easy to make. My only beef is that the inlets are too small to use with regular PC water cooling equipment. The nozzles are 1/8″ ID barb fittings, so 1/8″ silicone or PVC tubing is the best you can do, but most PC stuff is 8mm or even 10mm. I haven’t designed or even thought about parts for the water cooling loop, but it’s something I do want to incorporate because inrunners seem to love to run hot.

The motor has a flatted 8mm shaft, but I almost wish it didn’t, since a flatted shaft makes it more difficult to use a collet or friction grip system to transmit power. I suppose for the application these are intended for, the flat is welcome, but my shaft coupler to run this into the angle grinder gearbox is a simple collet-like system identical to what I keep putting on my 3d printers and battlebots. I call it the “ninja coupling”. I also have just a bad impression of flats coming with my motors because of the nightmare that was aligning the collets on old Deathcopter’s ducted fans – a combination of poor quality collets and the flats on the motors meant that balancing the damn things was basically a crapshoot. In this case, a sturdy and well constrained motor mount would prevent that.

That does it for these parts! The only thing left to do is the Chibi-Mikuvan global engineering update itself, and that will come in due time; plus, I have some update for BurnoutChibi. So now it’s time for….

daily van bro.

I often have to avoid main thoroughfares and their associated never-ending traffic by ‘leaking’ through neighborhood blocks and side streets, where I have a vague sense of where I need to get and just navigate ad-hoc, re-orienting every once in a while by trying to find the Prudential Center. This has shown me a good chunk of the vehicular underbelly of the area, like when you lift up a rock in the woods and about 80 different species of bugs and small mammals all scatter. One day, I found this quite lovely Dodge A100. Along with the Chevrolet G vans, and Ford Econoline gen1, it was part of the American trio of derpy vans from the 1960s.

Maybe these should all be on my hit list too – it’s like Pokemon #800-951 (they’re up to that many now, right?)

Another potent candidate for Vans Next To Things! Here’s a great size comparison – even the “compact vans” were still bigger (which is weird, since Mikuvan is larger than a Greenbrier?)

Incidentally, right up until 2009, you could purchase a new 3rd generation Mitsubishi Delica in Mexico as the “Dodge Van 1000”.

Y’know, I really, really think one of the reasons cab-over vans never caught on in the U.S. was because we kept giving them names like “Van”, or “Van”, or “Van”, or the like. Would you buy that shit? No, but I would totally buy the SUZUKI EVERY JOYPOP TURBO. Or, since we’re American and macho here, the FORD BEASTMASTER GREAT ADVENTURER SRT, perhaps?

Either way, I know what I’m doing if I ever need parts on a greater scale…