I solemnly promise to give every major mechanical repair on this thing a cheesy faux-military operation name.
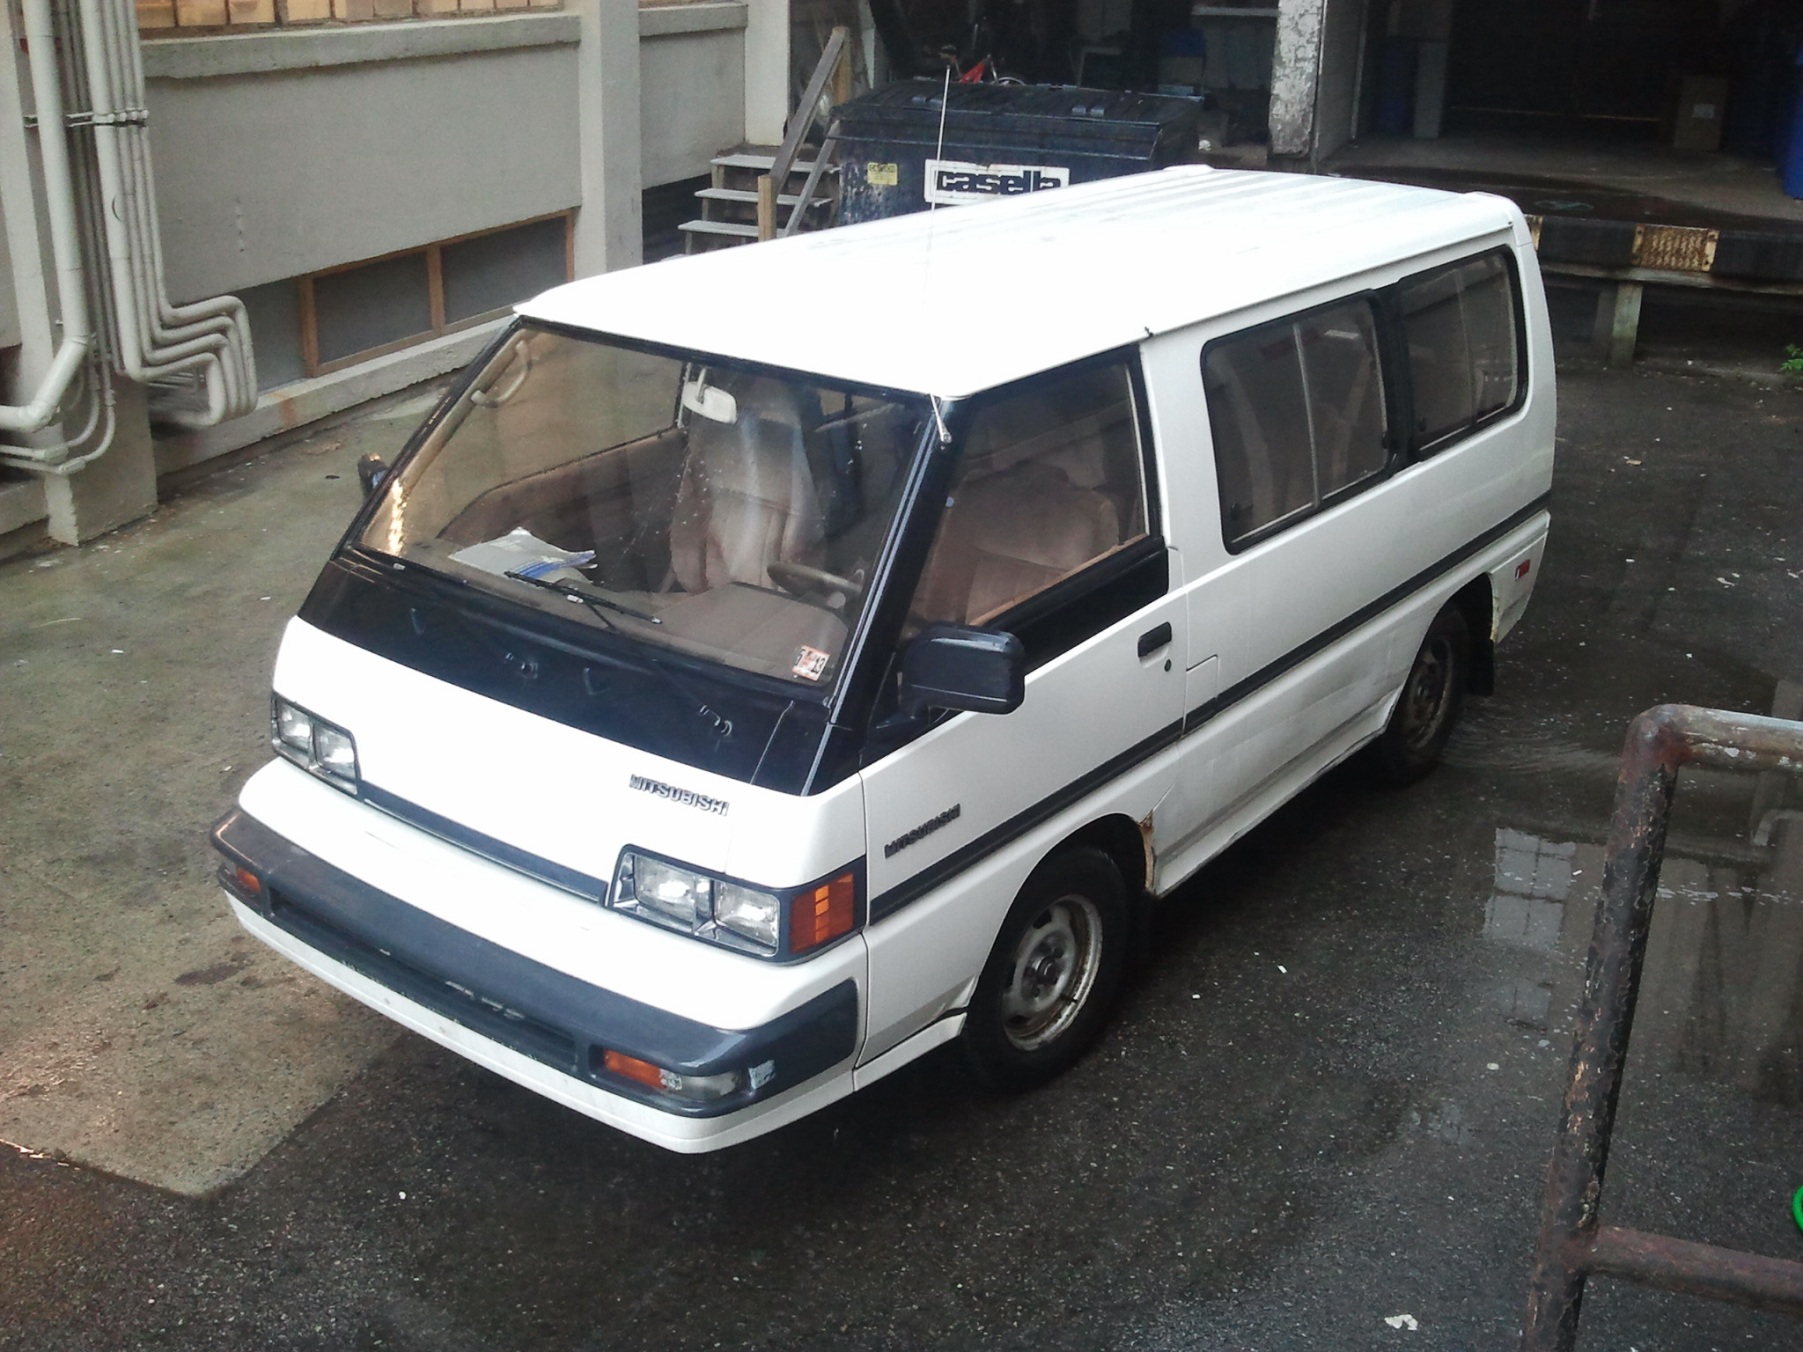
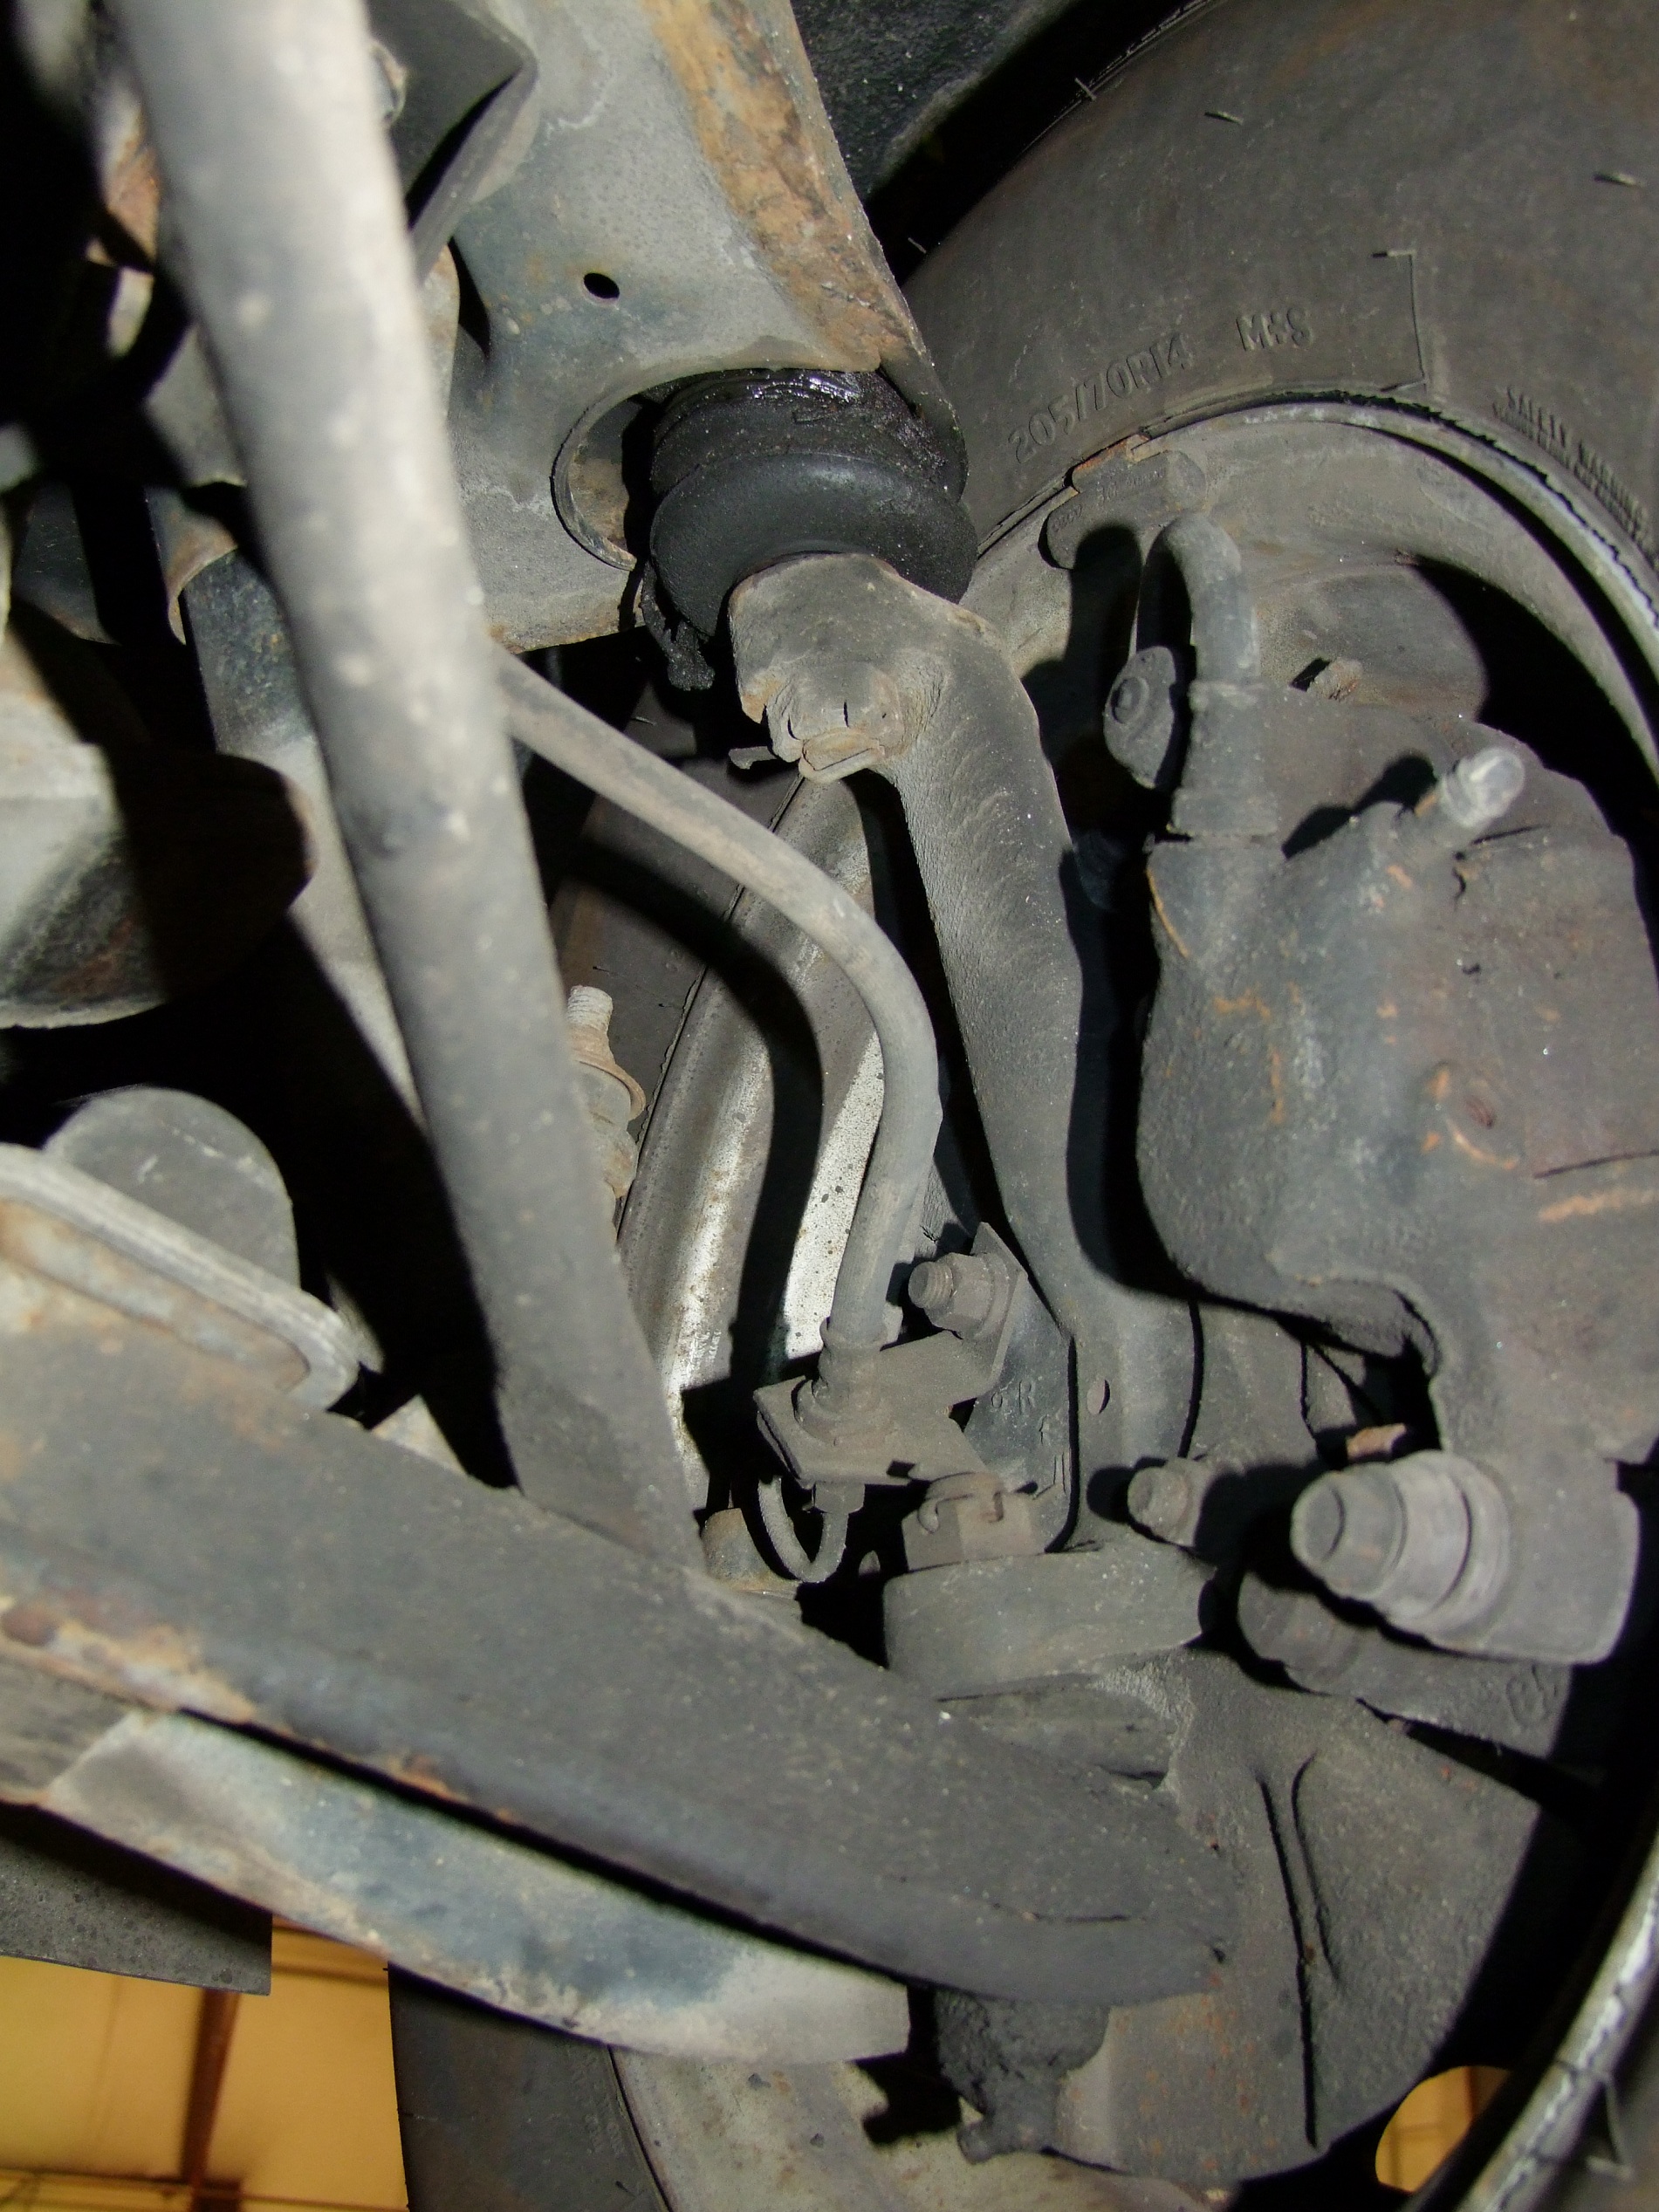
With that aside, I present to the internet my front right wheel bearing:

“Bearing”.
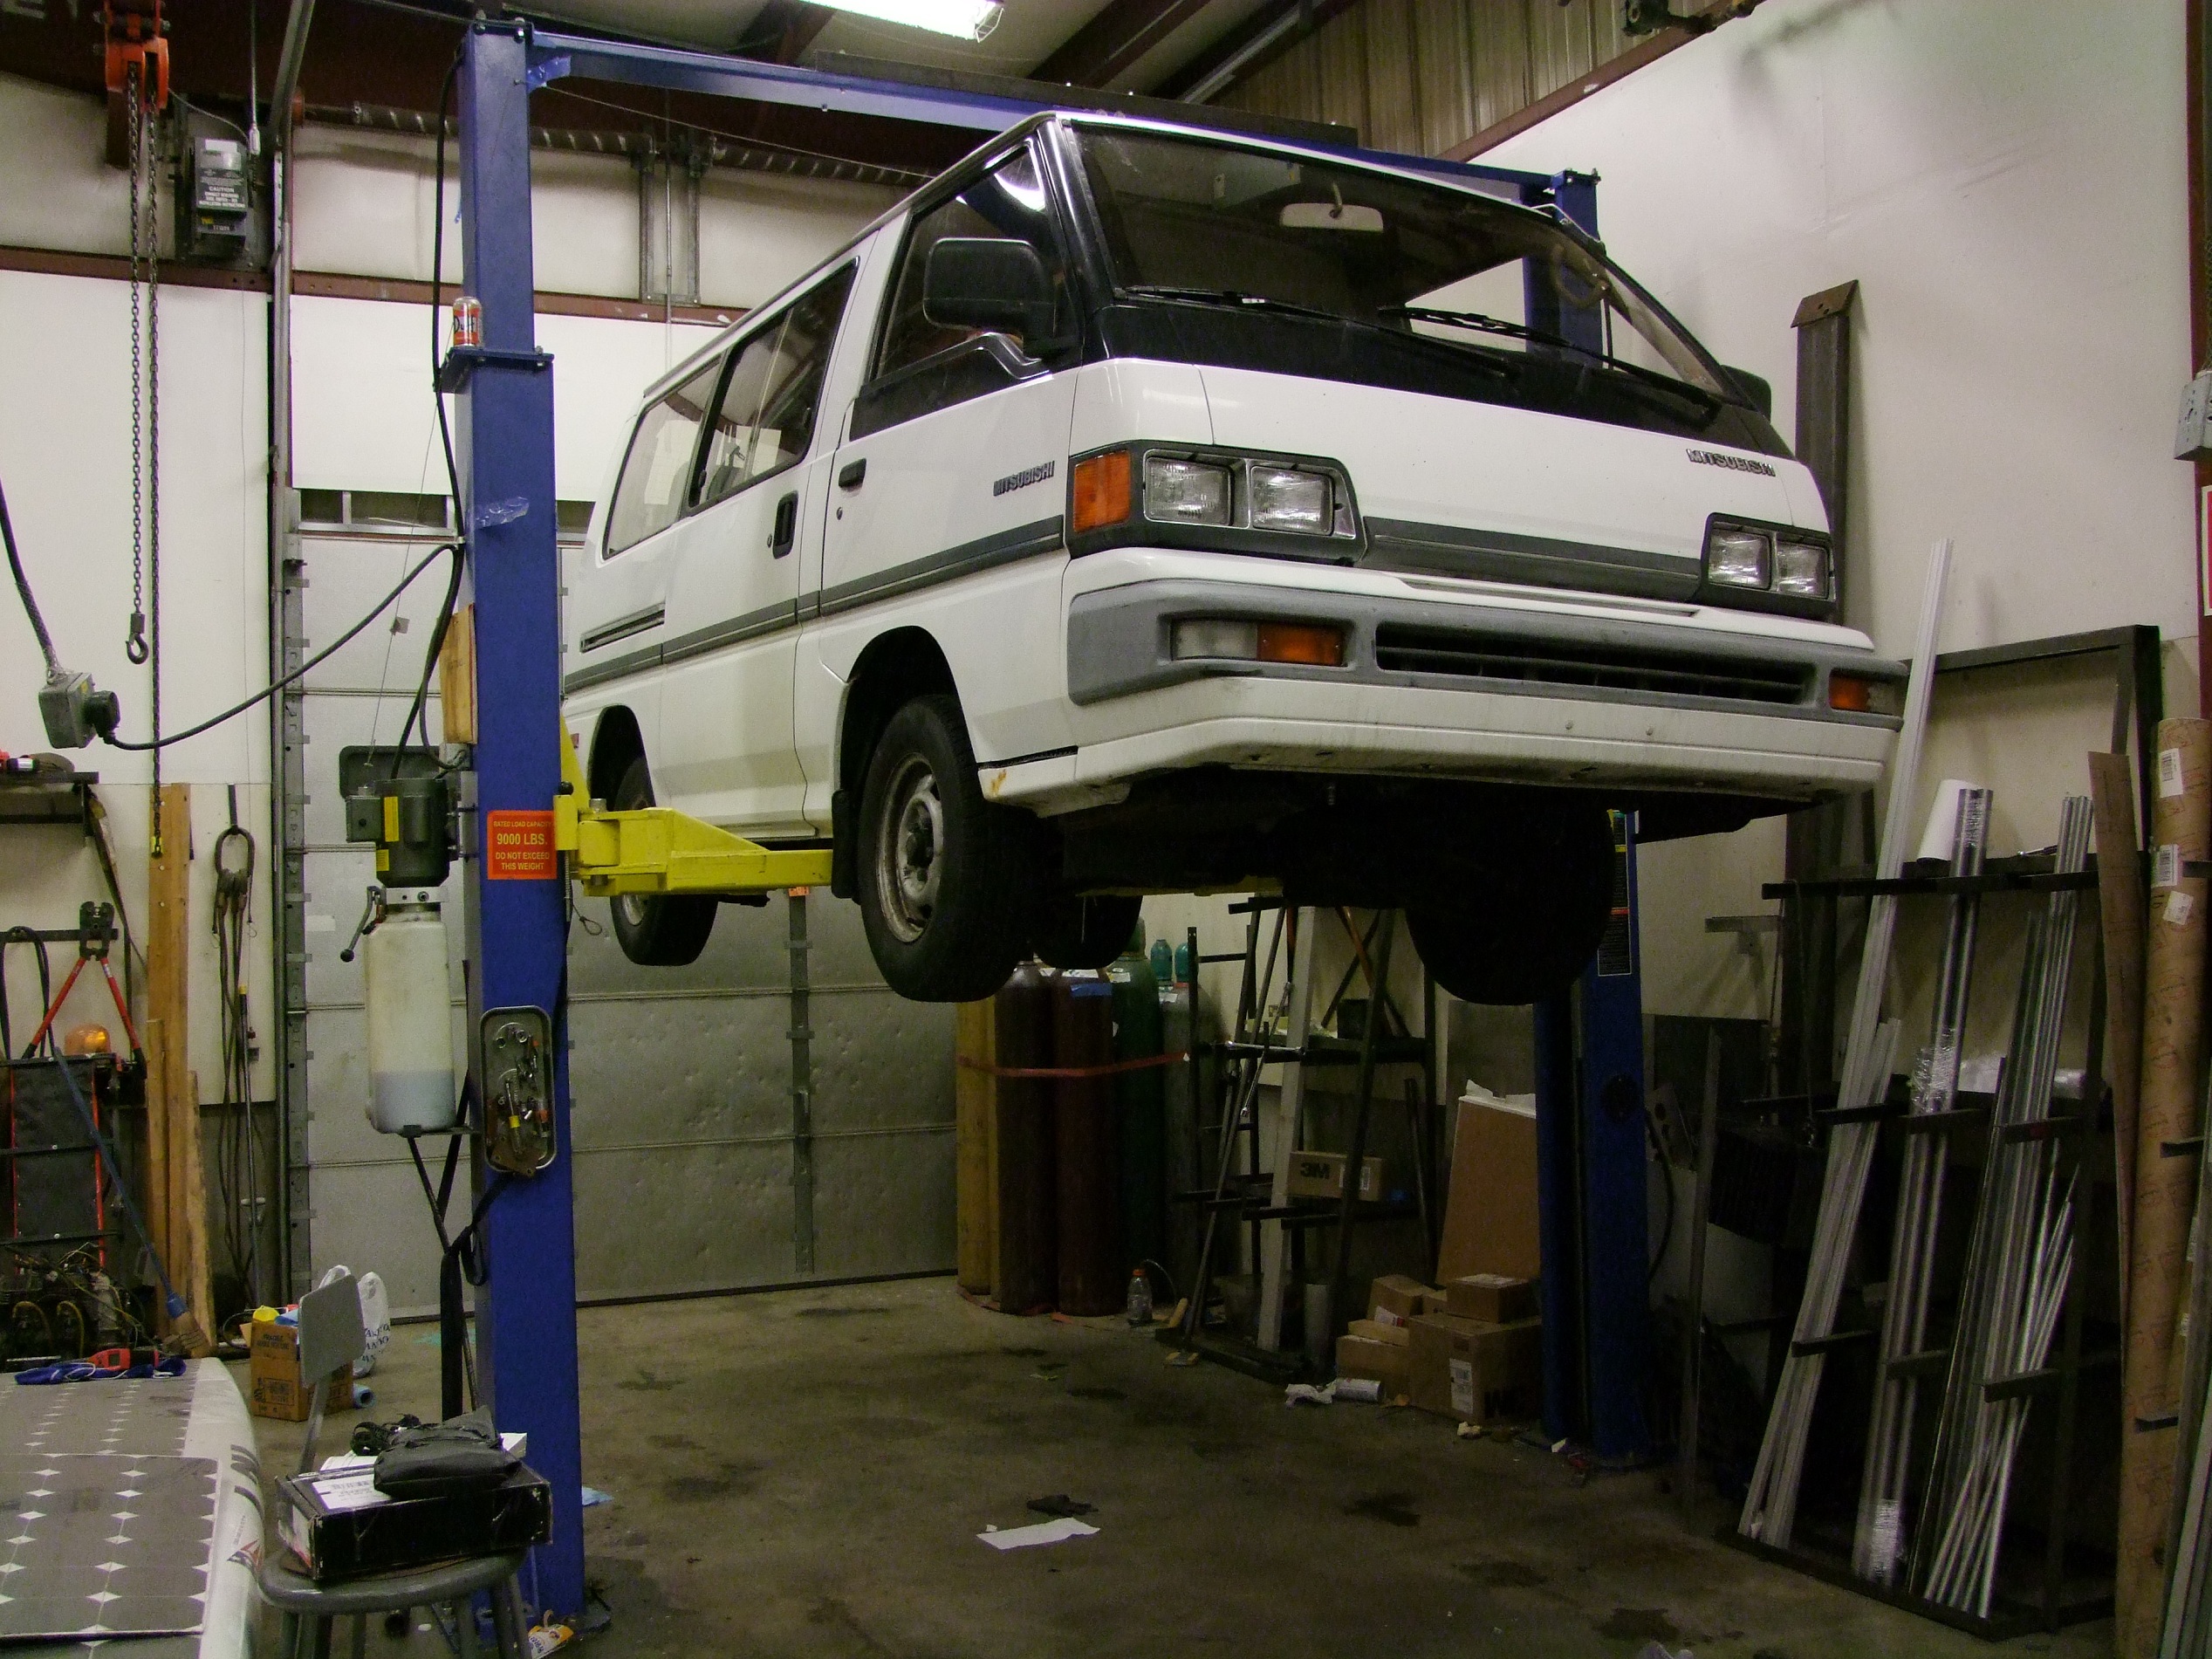
Ever since Mikuvan has been putzing around under power, I’ve noticed a subtle grinding or rumbling noise at low speeds. It’s a consistent noise, didn’t vary too much with power or turning, and all symptoms pointed to a bad bearing on one wheel. While on the lift last week, I confirmed that the wheel was a bit loose, which was a positive diagnosis. Since tapered roller bearings which have obviously lost preload are most likely torn up and damaged, I went ahead and ordered a new set of front wheel bearings, two (a pair) for each wheel.
That was last week. My general assessment was that local driving on the bad bearing wouldn’t be the end of the world, so in this prescribed shipping gap…

Quite a few Van Adventures ensued with whoever was in the building, on the slightest of whims.

And I finally registered the damned thing.

I also became a delivery driver for Beantown Taqueria.
…Right, just kidding on that. I don’t know why, but that sign fits the vehicle so well. Anyways, the Beantown folks and us residents of the N5x complex are pretty close, so we pitched a delivery sign on the roof one afternoon for giggles.
I also spent some time shopping it around to area auto body repair places to get estimates for repainting and rust patching. Conclusion: …yeah, um, I better learn to love Bondo. Typical estimates ran in the 3 to 6 thousand range for the full repair, of varying degrees of shady – from fiberglass and filler to custom shaped steel with body solder filling.
Now, I could be trusted to weld a few steel plates in place, but not to make anything look pretty. Left to my own devices, I’d just rattle-can white over the repairs, which would just look like ass. I’m currently debating heavily the make-versus-buy scenario thusly. At the very least, a good white repaint is not out of the question.
Fast forward to Thursday morning, when I was rained on by packages.

There’s a few things from Rock Auto here. First, my new bearings. Second, on the same order, I got a replacement front heater/AC blower motor, and after testing the 3-speed fan circuit with another motor determined the 3-speed resistor block was also damaged (missing speed 1), so there’s also a replacement for that too.
And in a separate order, a replacement annoying thing:

While on a shopping spree, I decided to take care of the power mirror switch too. This cost $5 and actually came from a early 90s Mitsubishi 3000GT. Back in the days when cars shared parts (and all the parts were square…)
(For the Internet record: ’91-’94 Mitsubishi 3000GT power mirror switch fits a ’89 Mitsubishi Vanwagon and presumably ’87 and ’88 too.)

I got cracking as soon as all the white collar folk in the building left for the day so there was parking lot and loading zone space cleared up. The goal was to do both bearings by sundown.
Right. I barely got through disassembling one side by that point, but onwards…

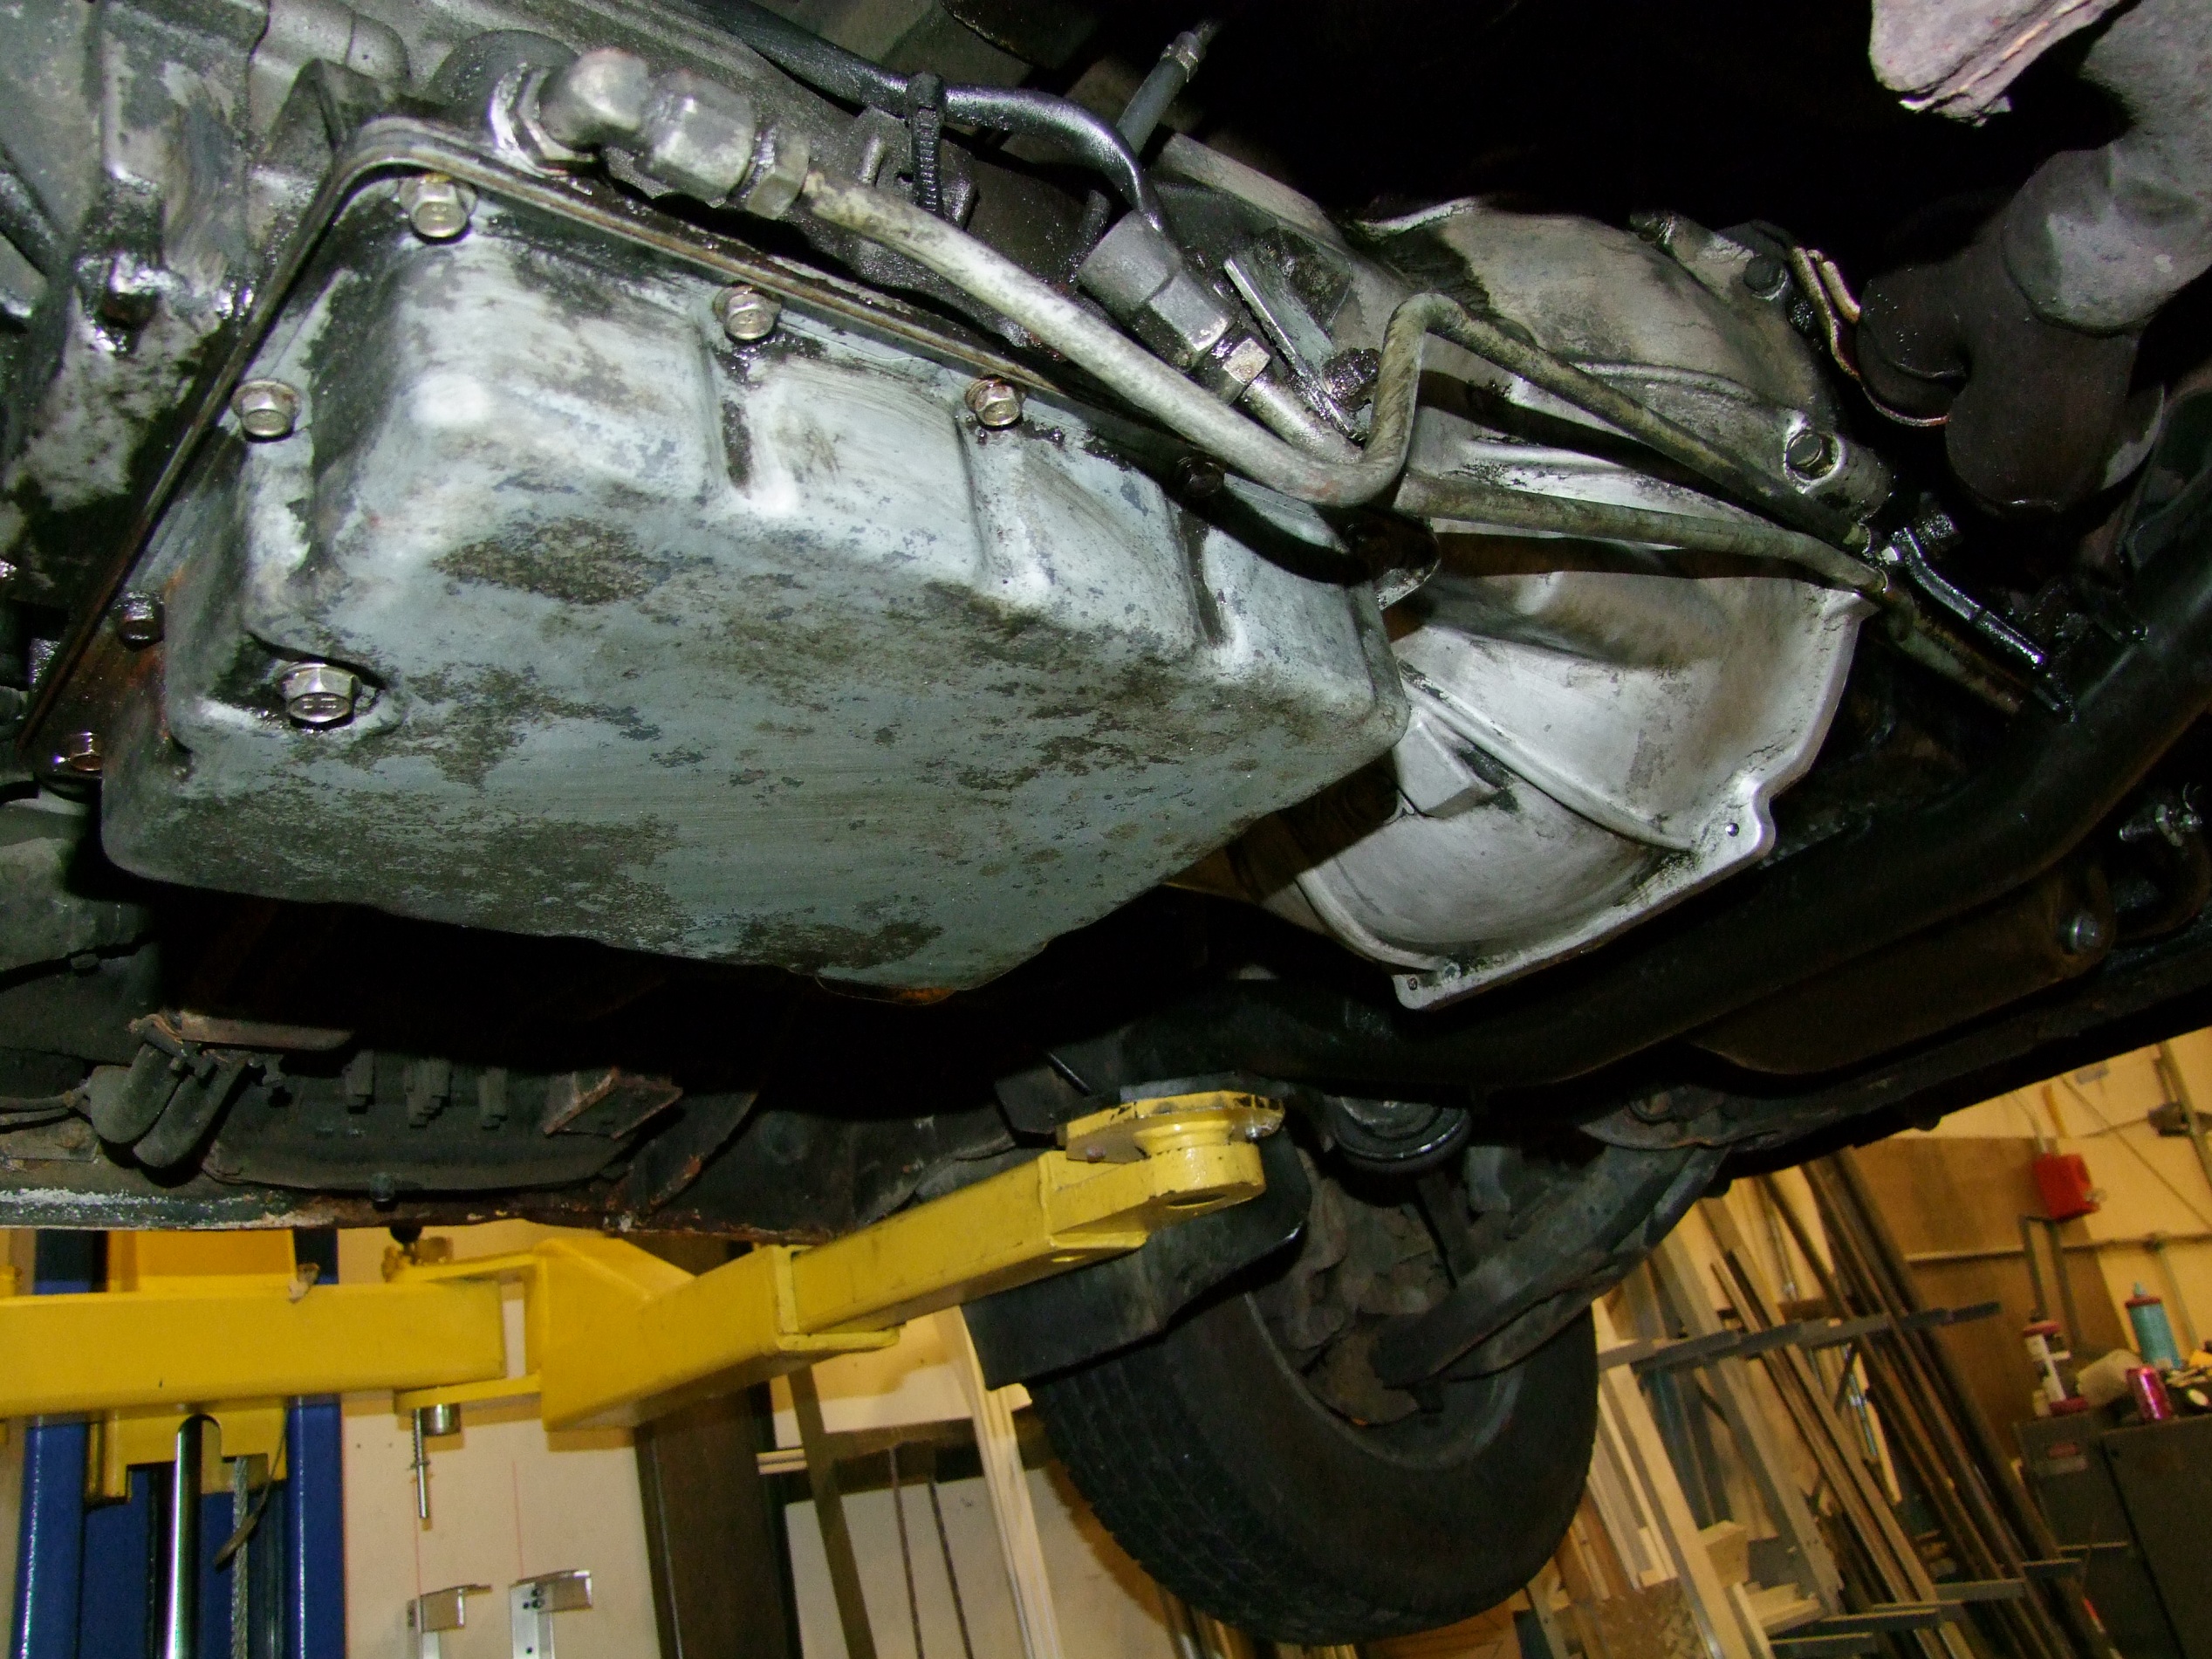
Step 1 is to clean that which has seemingly never been cleaned. I was armed with not less than three cans of brake cleaner – the good kind, with the tetrawhateverthatcanceris, and ended up needing all of them. There was brake dust cakes everywhere. Even the brake dust had brake dust on it. I’m sorry, Earth.

After removing the external dust cap, I realized I forgot one thing: The shop manual.
Now, I basically knew the procedure as “remove the fingery nut thing and take off the hub, check if bearings are present; if they are, add grease to everything in sight and retighten the fingery nut”. This and a few on-site Youtube videos later, I decided to just keep freelancing it.
The shown image is an expression of my gratitute for whoever designed the T-handle right angle drive ratchet that I will not stop spamming until all my friends have one. This thing really is a godsend. I had maybe 15 degrees of motion to loosen the mounting bolts for the brake caliper, and undoing the entire screw like that would have been tortuous. Instead, you break the bolt’s connection and then crank on the little T-handle.

Caliper is loosened and secured out of the way…

And now I’ve removed the castellated nut, the pin holding it in place, and the grease retainer washer. The outer bearing cone proceeds to fall out naturally with a quick tap.
As soon as I pick it up, it rains everywhere:

Here’s both cones removed. The big one is the inner bearing, and it’s not in bad shape, but I’ll replace anyway. The outer cone, though, is a textbook case in metal fatigue!

The previous service round used some red grease which made this entire scene look like some kind of horrific back-alley surgery, which…
…well, it was.
I decided to clean out all the old grease in the hub since it was most likely full of metal powders and chips from the ruined bearing, which would be counterproductive to use a new bearing in. About half a roll of shop towels and another can of cleaner was dedicated to this task alone.

After the degreasing, I found this brilliant example of fatigue-induced spalling. One of the features of the bearing rumble I heard was a regular clicking or detent kind of noise. Well now I know what it is.
There’s an entire field of engineering study dedicated to how bearings fail and how to make them less fail, and it is really quite enjoyable to read around the literature (for me, anyway). Here’s a great page by Timken (and a newer one) illustrating common tapered roller bearing failures. Distressingly enough, the failure most resembles the localized “pinched housing” failure, though it really could have been caused by improper installation when the vehicle was last serviced this way – a well placed punch from driving the ring in and out could have cracked it sight unseen.
How could you mess up installation? Apparently, many ways.

The Official Strategy Guide recommended taking a brass rod and punching (with a hammer) the races in and out for installation. The trouble is, I tried that. For half an hour, to basically no avail. The brass would just dent and deform instead of driving the outer race. I did have to resort to a steel punch in the end to take the rings out. If someone tried the reverse, I easily see how you could trash a bearing by microscopically shattering it.
To get my new races in, I had to make a pressing jig on the lathe from chunks of aluminum – of the proper diameter to press on the ring entirely, and long enough to reach down into the hub, then pitch it on a 3 ton arbor press with me basically hanging off the bar.
How is Tony Stark supposed to be able to do this? In a cave? With a box of scraps?!

With the new rings pressed, it was time to start on the long road to reassembly. I was basically, according to the Internet, grease-slam everything in sight, mashing it into the bearing rollers and pumping the hub full of the stuff. Sounds good.
Full disclosure: I didn’t have a tube of real honest-to-locknuts “nice grease”. That was a minor oversight of sorts. I grabbed from MITERS a bucket of white (presumably lithium) grease that at least had a picture of a car on it. For what specifically, it didn’t say, but the other tubes of lithium grease all said “Not recommended for use in wheel bearings”. Okay.
I don’t exactly mind having to do this in 10,000 miles. We’re assuming I won’t blow it up by then.
The Official Guide also warned against reusing the back side grease seal (which rides on a fluid barrier of grease at all times and keeps the stuff inside contained), but The Internet spoke contrarily this time. Not having a new grease seal, I cleaned and kept it since it appeared to be in good condition – wasn’t torn or feathered or otherwise seeming to not contain grease any time soon.

Torquing the adjust-a-nut to spec. 22 ft-lbs in, untighten, 8 ft-lbs in, then back out to the nearest castle slot for the locking pin. This part I remembered from reading the Official Guide earlier. This is when I’m glad I decided to buy the “I’m sure I’ll need this soon” +1 Torque Wrench of Not Overcranking.

Retaining hardware remounted…
Wait, so you’re saying the only thing preventing the wheel from popping off is a little 5/8″ nut?
If I designed cars, this axle spindle would be a single 3″ diameter shoulder screw.

Finally, a last wad of grease in the dust cap and the reassembly is done. Spins freely and doesn’t wobble – better than when I started I suppose.

About this time when I was sticking my head in the wheelwell to place the brake caliper bolts, I noticed that the secondary A/C condenser fan had basically fallen off the fan motor. Well that’s why it’s making so much noise…
The arrow points to the torn-ass remains of the fan hub. This condenser assembly might be the first to go in terms of parts permanently being dismounted.

Caliper remounted and checked for clean rotation.

Say, how much do I need to torque those lug nuts? 100 ft-lb. My torque wrench doesn’t even go up that high. That amount of torque is basically me standing on the end of the thing.
The front right wheel is now all buttoned up again. I had started around 6:30 – it was now 10:30 and I decided to leave the front left for the weekend. Yeah, you’re supposed to do them both at once, but it’s going to be 95 degrees tomorrow and I’m not doing this outside again. However, now that I know the exact order of operations and have pressing jigs ready, I’m confident I can do the other side in under an hour.
After cleaning everything up, I went on a few rounds of the surrounding area and some loops in a parking lot to check for more noises. The cabin is much quieter now that I’m not grinding metal on metal directly into it. No other bearings are making sounds, and as far as I can tell the suspension isn’t creaking either.
Next on my list is that damned fan motor. Did I mention it’s going to be 95 tomorrow?