Radical pseudo-environmentalists are not. THANK YOU. OH MY GOD. Finally someone condenses everything that is wrong with the modern Green movement and the general feel-good-do-nothing consciousness in those circles that is actually DETRIMENTAL to progress and helping “the environment”. I hate that word, but it’s useful some times for what it describes. Oh, and the 200+ comments are also insightful in themselves.
Anyways, onto the TB report. I finally got some time on the God machine today and cut out most of the parts that still need to be finished. The aluminum plate I ordered hasn’t arrived yet, so I borrowed a plate of 1/2″ aluminum for the purpose of getting the arm together. It might also function as a backup and spare parts.
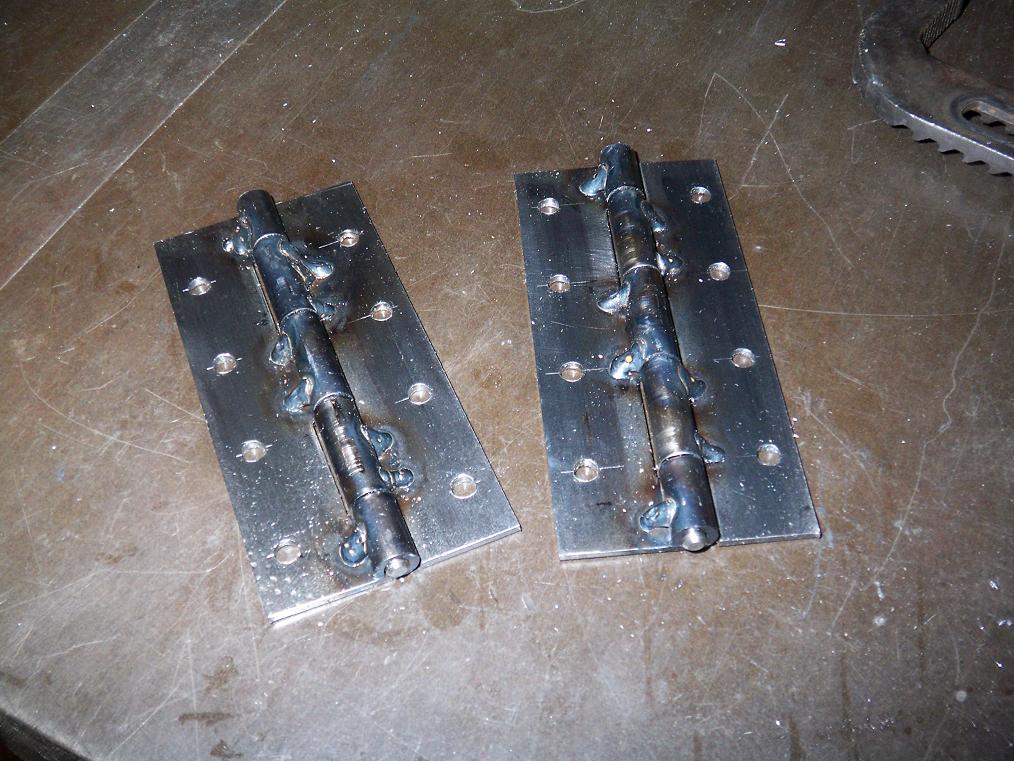
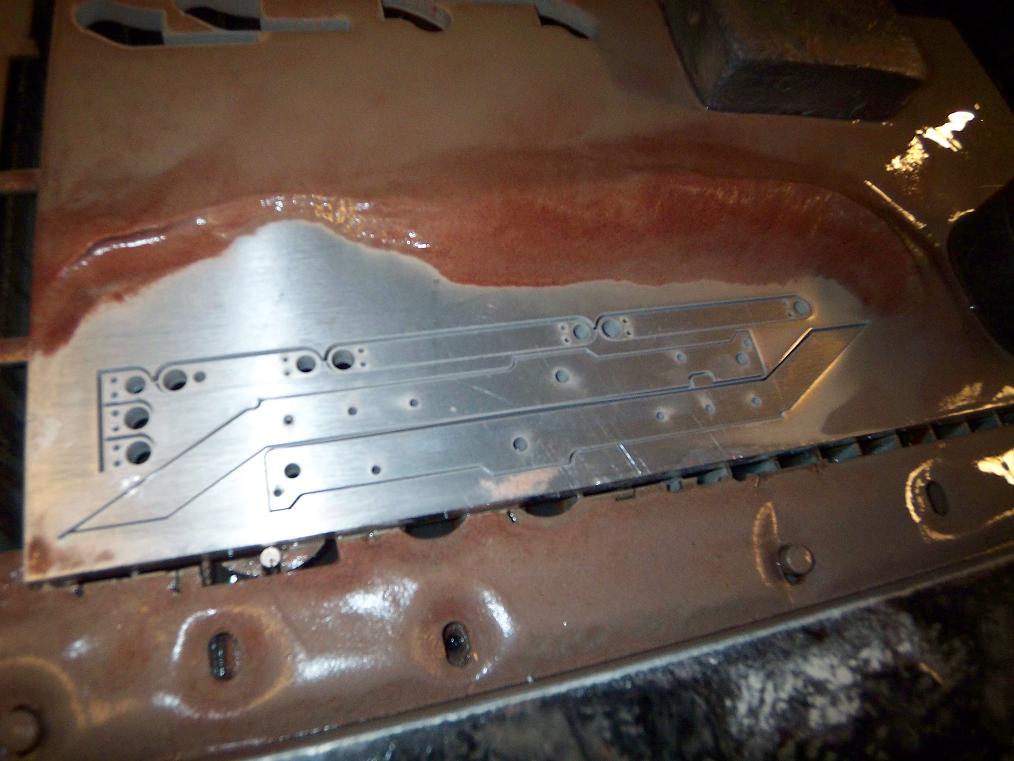 Washing away the tons of abrasive sludge covering the aluminum plate after cutting. These are the arm sections.
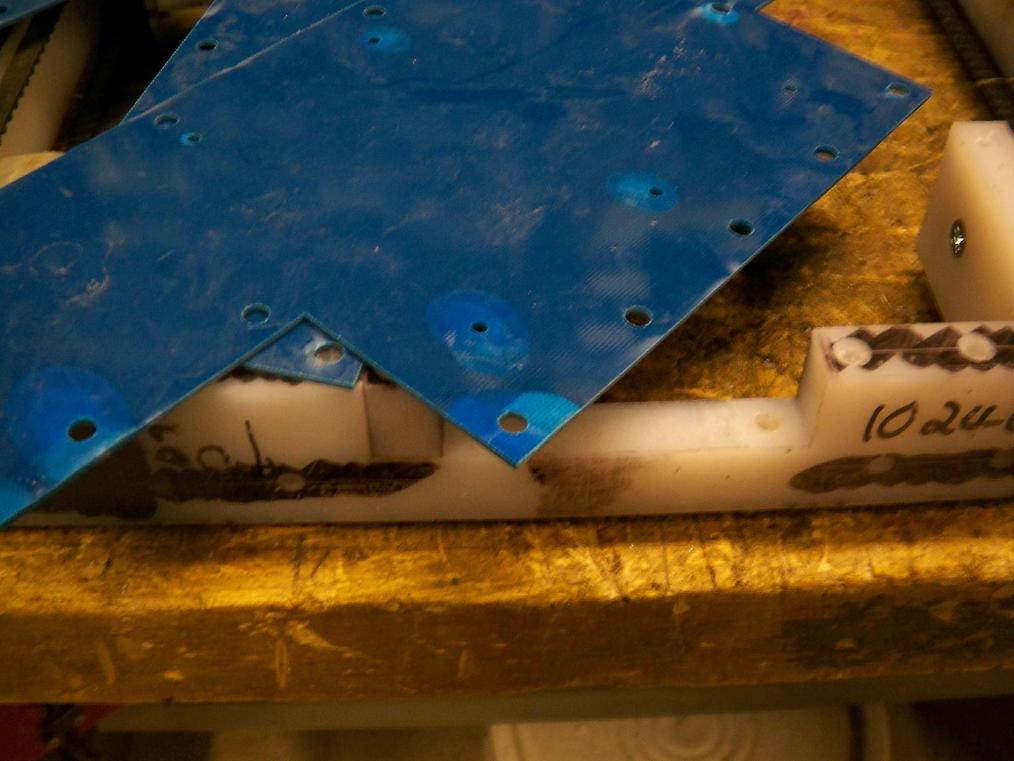 I also cut the garolite top and bottom plates on the WJ. Although the holes and slots are consistently placed, the garo did suffer from a case of “Waterjet-induced Delamination Syndrome”. Garo is made from pressing multiple layers of fiberglass together with an epoxy resin, and that can let loose when a few KSI of water suddenly forces itself within the layers. I think this can be resolved by injecting some epoxy or CA glue (or even epoxy softener/acrylic solvent) and then clamping for a while, but it seems like abrasive particles have been trapped under the layers as well. That would be a bitch to get out. I might just leave them stuck in there forever.
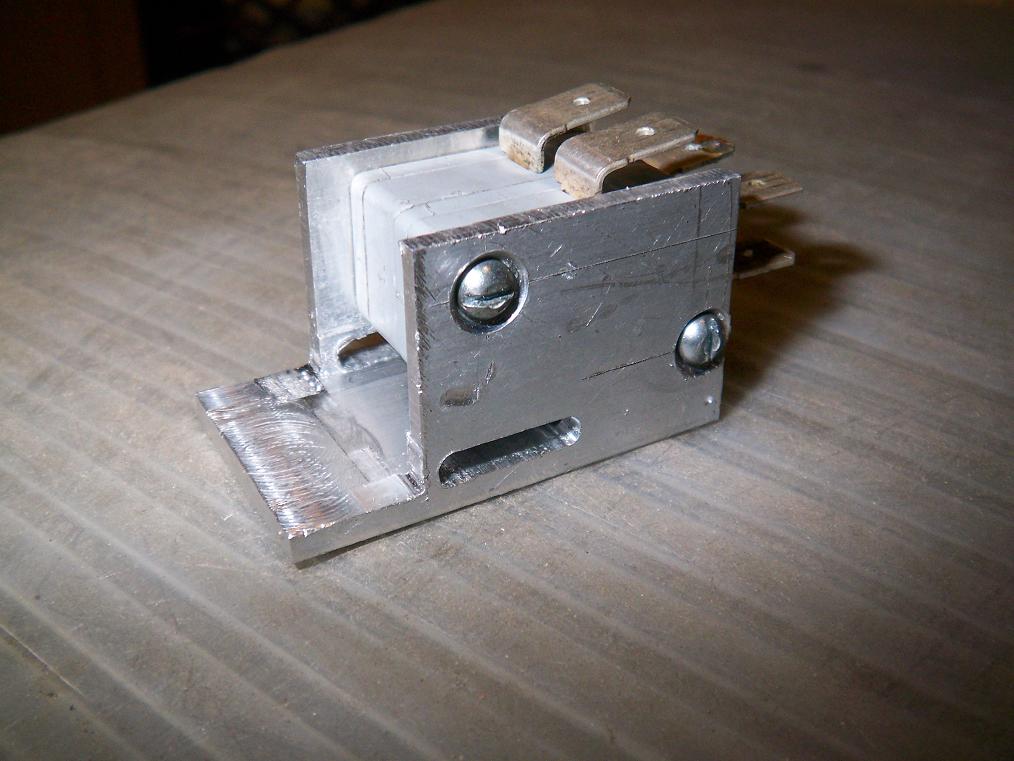
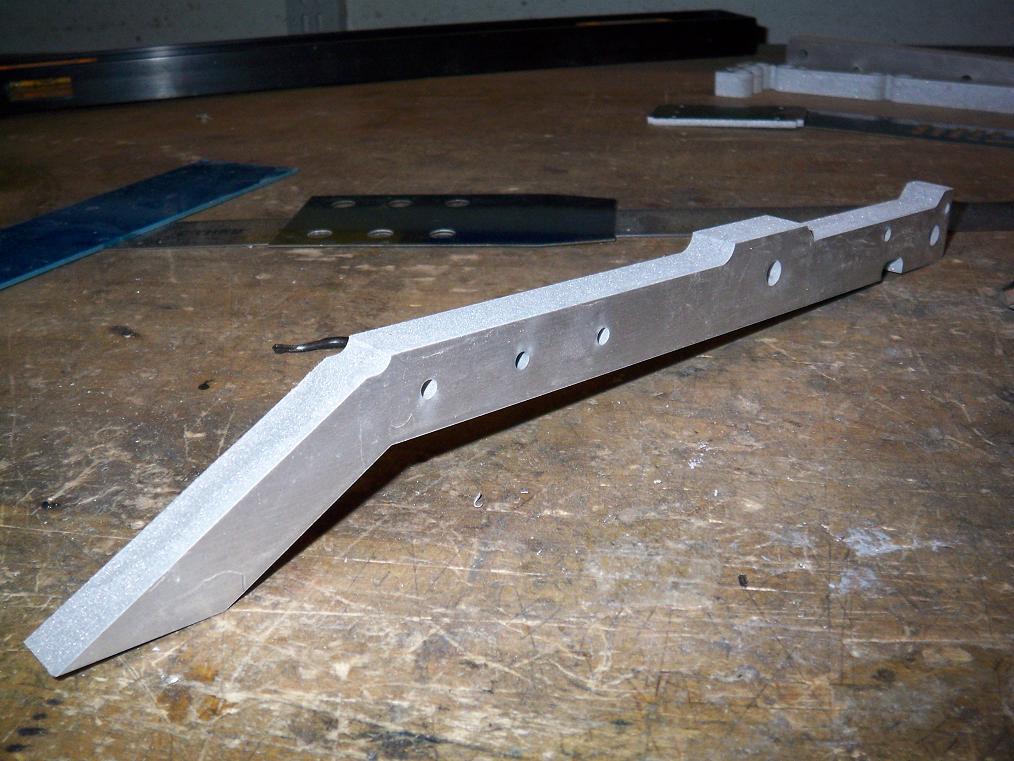 One arm section retrieved. Even with no draft compensation (tilting head), it did extremely well on “uber-fine sandpaper’d baby’s bottom” quality. These pieces do need some post-processing in the form of channels milled, holes drilled and tapped, and bushings mounted. I’ll attend to that over the course of the week.\
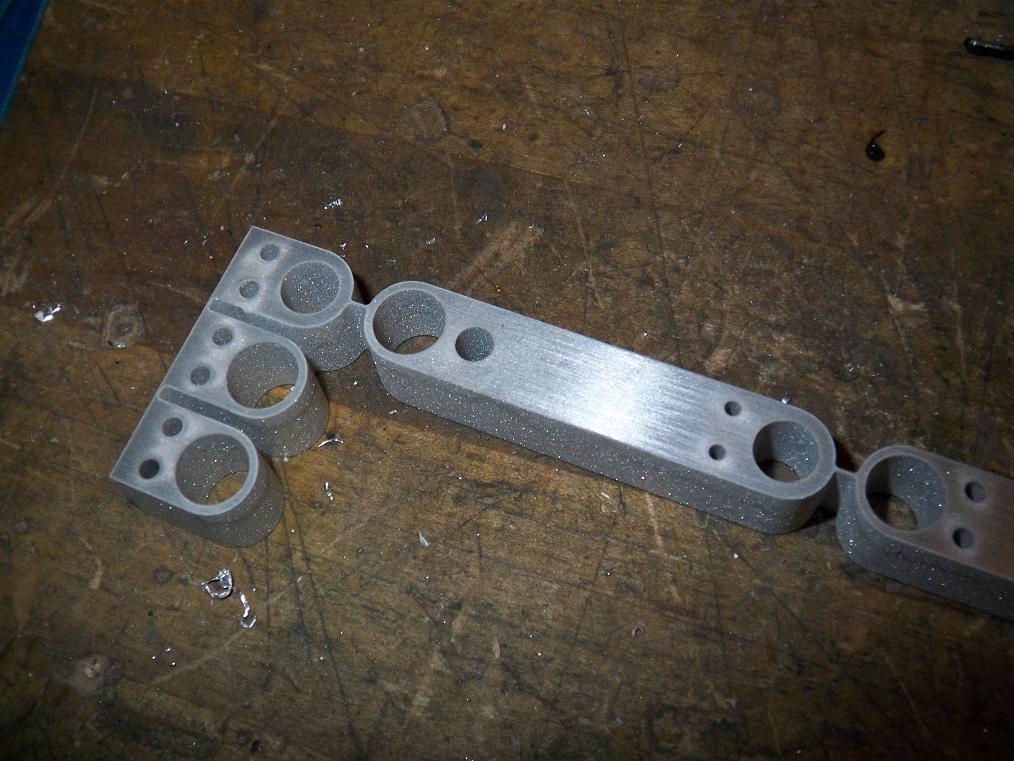 The arm links themselves are composed of multiple pieces screwed and pinned together. Notice the little tabs connecting each part. They are there to prevent the parts from falling into the waterjet tank, never to be seen again. With the tabs, I can lift all the links out as one piece, break them apart, and sand the tabs off. A small time penalty for alot of insurance.
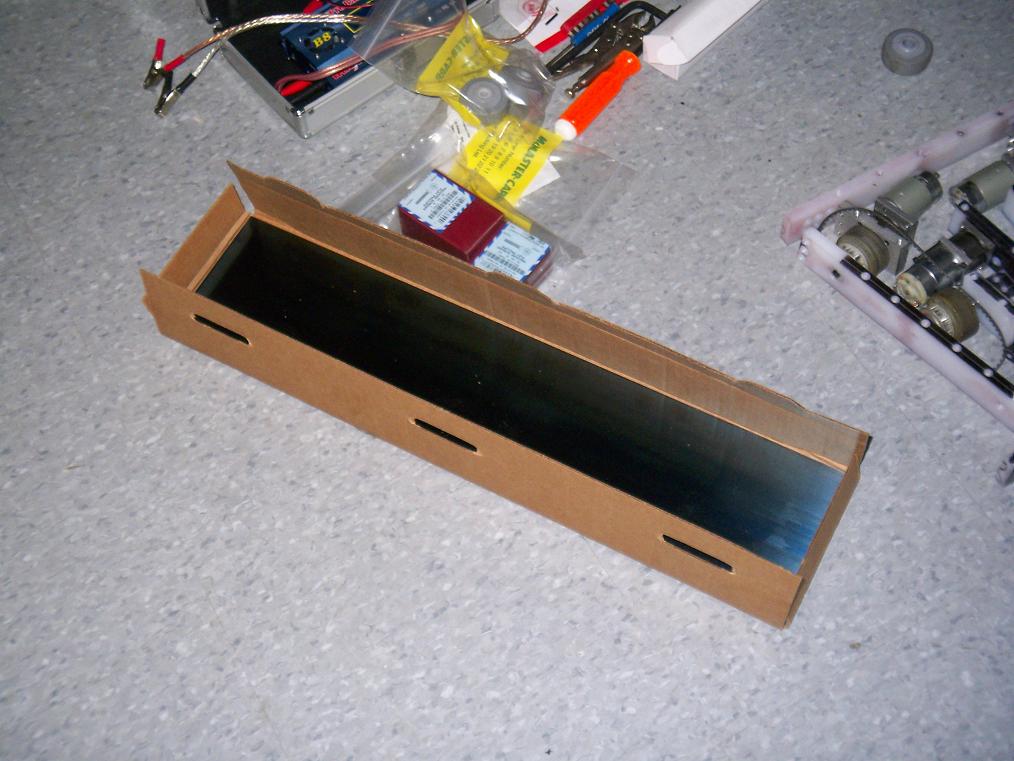
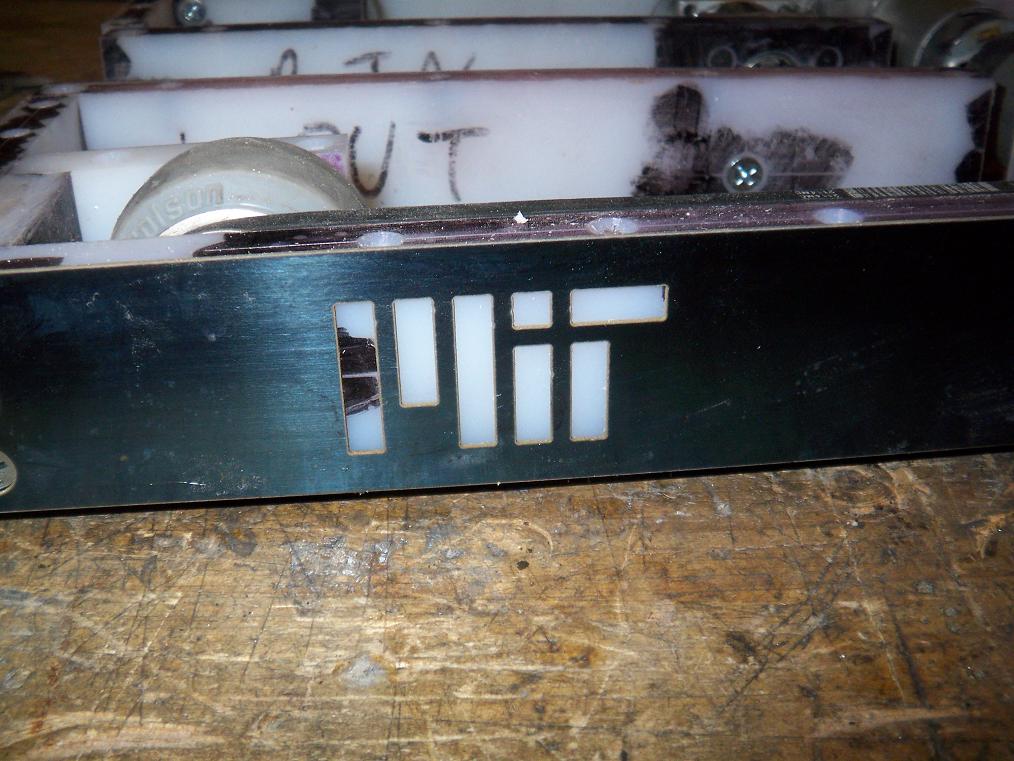 Some schnazzy side armor plates. Now I cannot lose.
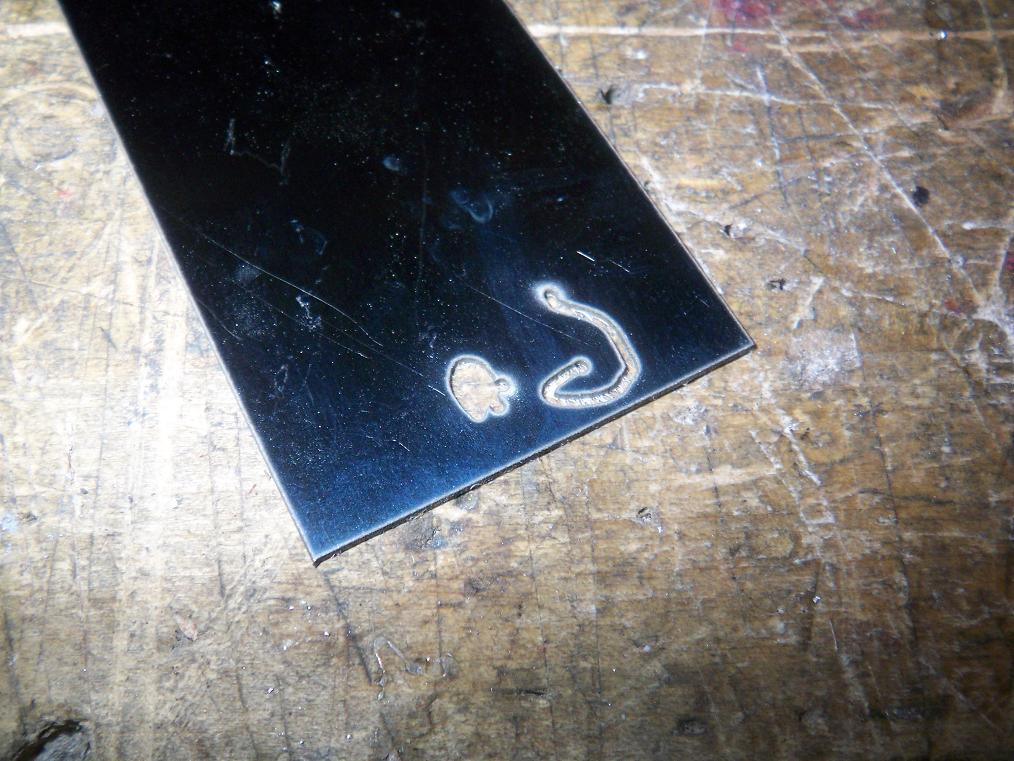 Another weird waterjet artifact, this time on the rear armor plate. For some reason, the course-programming software insisted on piercing all holes except one in a part, then cutting the profile, then going back and doing that last hole. What does this mean? Loose floppy part gets punched by a 40KSI column of water and jumps all over the place. On a hard material such as spring steel, this resulted in an odd pattern in the part. The end result was that I had to go and tweak the program in that one portion only for the rest of the parts.
I don’t have another sheet of spring steel handy, so might just drill (punch? dremel? chisel? What the hell can I do with hardened spring steel!?) mounting holes in an adjacent location.
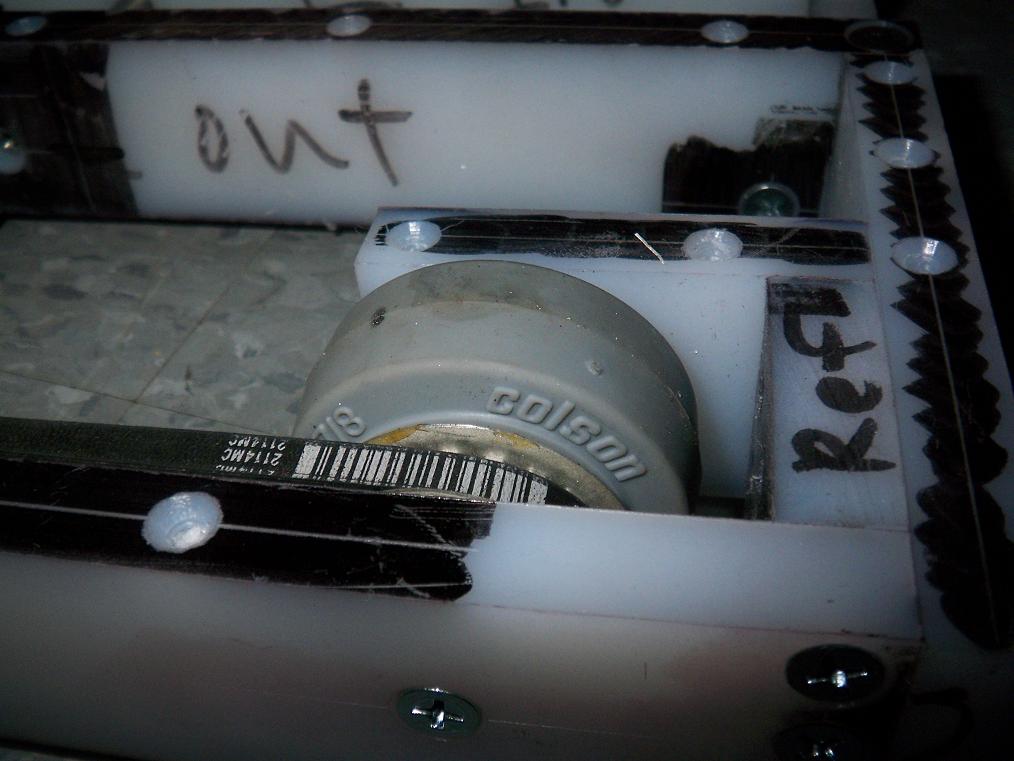
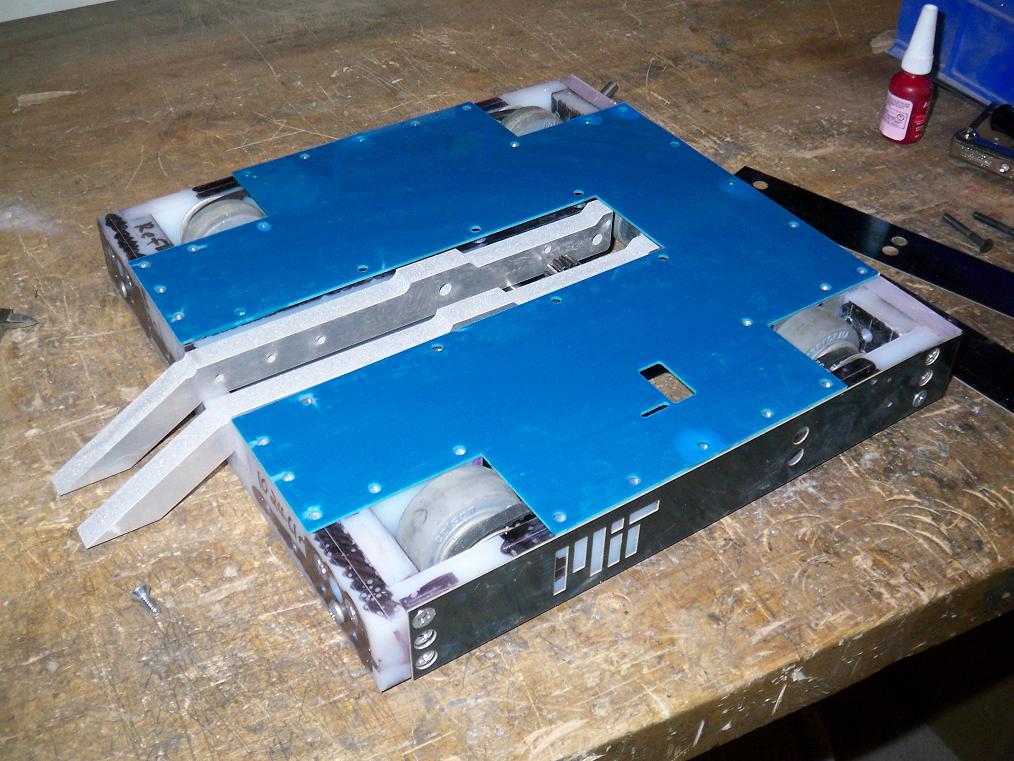 Hey, it’s the bot. Sort of. At least the internals are enclosed on all sides now. At this point, I just need to make the wedges and perform the appropriate finishing jobs on all components. I can probably throw together the electronics in one evening.
IT’S GETTING CLOSE! Yeah, Moto is. Now less than TWO WEEKS! Things have to get moving soon… including me, since classes start Tuesday.
