I guess I’ll count the wheelmotor co-updates for TB4.5 also. With Motorama now only 3.5 weeks (!!!?) away, it’s time to get crankin’ on SP1.
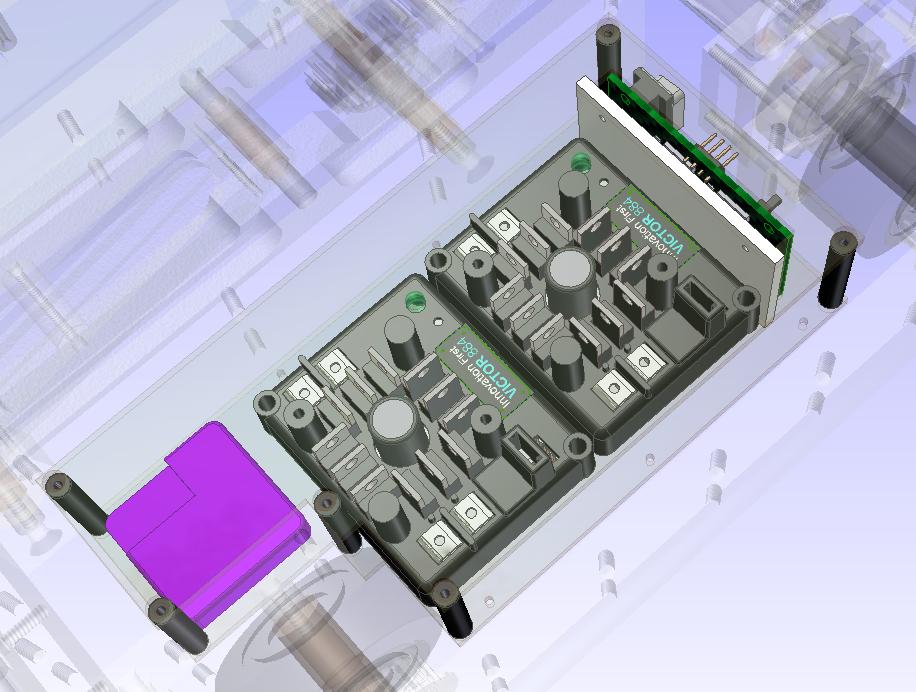 Some revision work on the “EBays” was needed since I wasn’t going to use the Dimension Engineering ESC for drive any more. Unfortunately, that meant going back to the 883s or spending hectobucks on another controller solution (brewing in-house was another option, but I didn’t quite work up enough balls to do it. Plus the 883s have real transistors anyway). With some wrangling and wiggling of components, I was able to fit all the control electronics on one side – finally, a true electronics bay. The arm controller has to stand vertically, but that isn’t an issue. The other E-Bay contains the battery, power distribution, and master power switch.
The shovage of components on the left side is incredibly tight. Tight enough such that I tried using the wire and cable routing feature of Inventor to see if I can fit all the connections. It should be fine, but I’ll have to build it IRL anyway. Plenty of space for disaster!
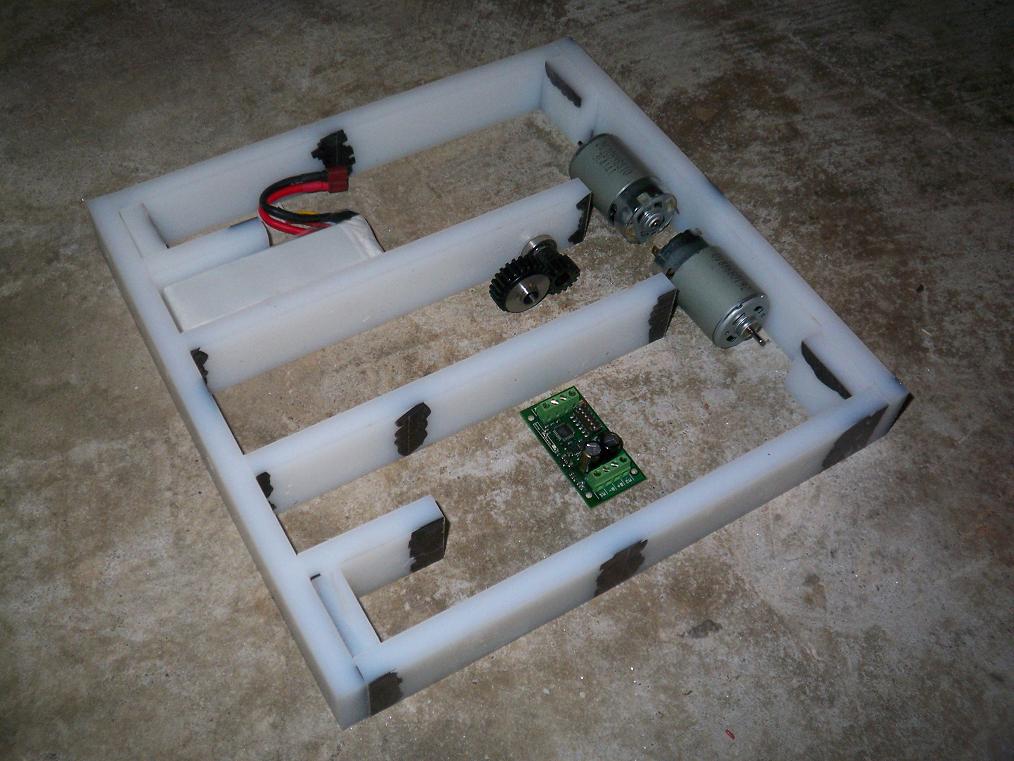 Here are the frame rails cut out and positioned, with various components in place. I hadn’t “precision miter-sawed” in a long time, so it took a few practice cuts before I was able to get things within .005 on the first try again. Also, the saw fence seems to be losing some accuracy near the blade, as a few cuts were a bit warped. The gears were rather noisy.
Shortened lifespan. That’s what I get for royally abusing a tool (it’s launched its fair share of stock across the garage). I didn’t get a chance to repair stuff before I left for MITland again, though. It’ll be fine for 2x4s.
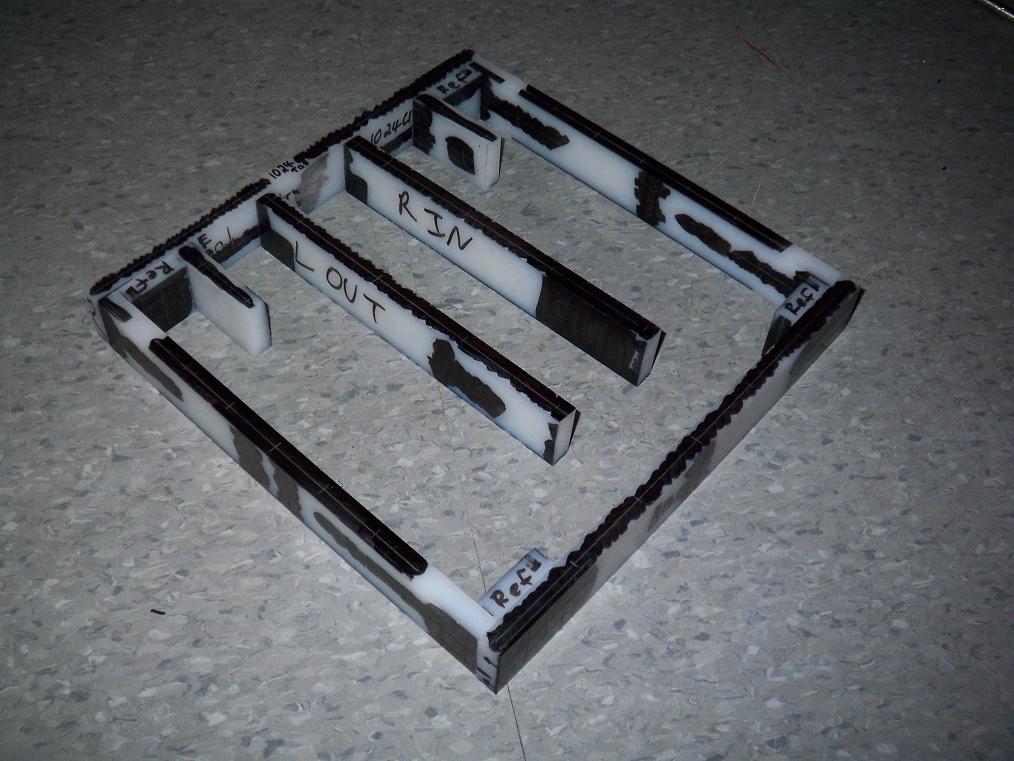 Frame rails marked out with calipers and sharpie. UHMW drills, threads, and generally machines very quickly, so I anticipate that this assembly will be done with half a day’s work. Problem: Getting all that Sharpie…errr, layout fluid… off the UHMW. It’s set for a few days, so rubbing alcohol doesn’t affect it any more. I’d use acetone, but the last time I did that, it left the sharpied areas with a pink hue.
So, either pink splotches or random-ass sharpie splotches… Hmm. I’ll figure something out. I could just color the whole bot black with sharpie and have one hell of a solvent trip in the process.
Tomorrow: Working on the arm gearbox, getting some of those components done. Order some aluminum plate, get on the waterjet and GIANT LAZER at the Media Lab and cut out the redesigned EBay plates and the top and bottom chassis covers.
Bot forth!


