Hello everyone,
I’ve decided that I need a career switch. After 2-3 years of being a shop ninja, I’ve decided to move on and become a…

…Chainsaw murderer. I’ll see you shortly.
This is probably the shortest turnaround time for a Beyond Unboxing post ever. Around 2 in the afternoon on Sunday, I received a tip from Shane and the motley crew at Freefly about this device and how it might be worth looking into. An hour later, I was blitzing down Storrow Drive heading due west towards the Home Depot in Watertown, MA on a war path to obtaining one. Just to check it out. And an hour after that, it was parted out completely on my shop bench.
Why the hell do I find tearing apart consumer products so amusing? Probably because I know both how the sausage is made as well as how the sausage will be cooked and eaten. As with other Beyond Unboxing posts, the focus is how to divert these products into small electric vehicle or robotics applications, in the context of teaching newbie builders and hackers to be resourceful and to see parts everywhere.
From the past few years in meddling with lithium ion batteries and brushless motors, I’m always giddy to see them used in more and more tools and common implements, but they’ve been primarily in the domain of the ultra-high-end until recently: Spending $300-400 on a drill for parts, to me, is not really worthwhile when you can engineer around the same problem using other commercial parts, or even custom-made ones, for much less. This is part of the appeal of things like mini-jasontrollers and angle grinder gearboxes: To duplicate the functionality would imply spending an order of magnitude or more, and the chopped up commercial product would be workable for all but the most stringent and demanding of applications (Former students, I’m counting on you to put T-nuts and Jasontrollers in space).
I’m glad to see these lithium ion and brushless systems coming down in price and going up in power. The advent of the Inexpensive Chinese Brushless Motor has been beneficial to many industries. First they started small with compact drills and drivers, then moved up to saws, and now bigger power tools whose domains were previously dominated by gas engines. Once you get to things with power levels in the hundreds and thousands of watts, you can ride them. Perhaps the advent of this tool is the closing of a circle of life for vehicle builders: Years ago, kids would build shoddy vehicles powered by gasoline engined chainsaws and leafblowers. Now, they can finally do so with electric. And have it not suck.
Here’s what’s inside a Ryobi model RY40511 “40v” cordless chainsaw. I’m surmising I know (directly or through only 1 or 2 degrees of separation) the intern who first conceived this and put it together, because as you’ll see, the hardware is quite familiar….

First off, this is what the box looks like. GAS-LIKE POWER! I can’t believe you guys trademarked that. I mean, it’s basically in the vein of “polypropylene-like” modeling resins for expensive-ass 3D printers (sorry, Objet!) or “fat-like” additives for greasy fast food.
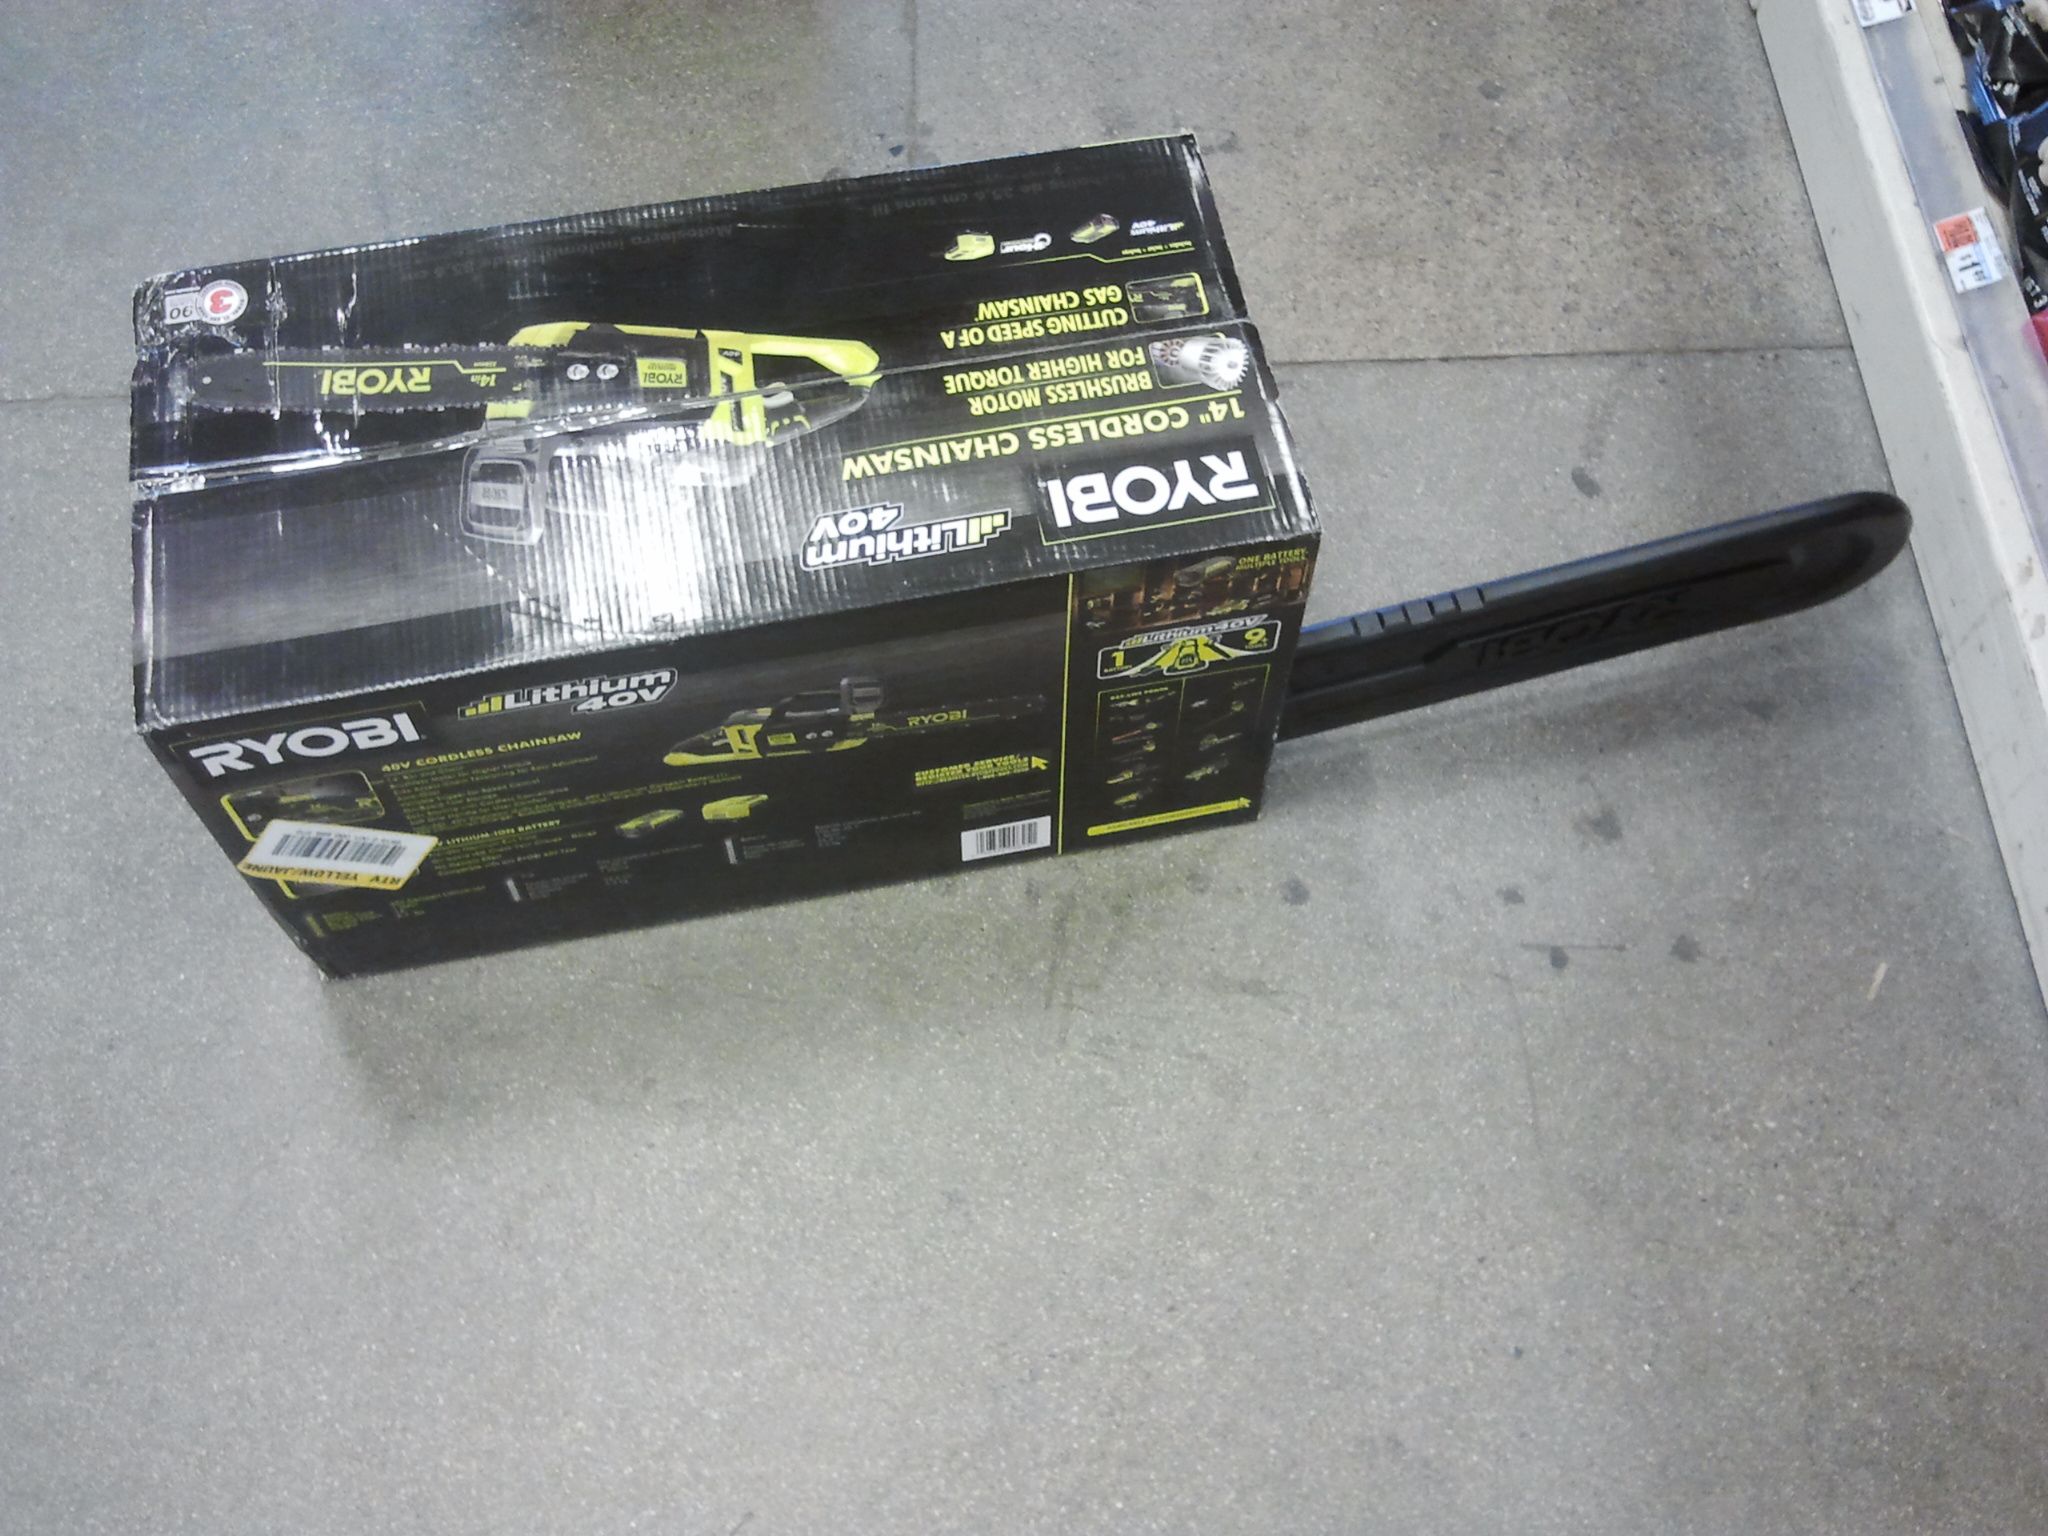
…and would it kill you to use a longer box?! What is this, Minecraft? How many of these get bent up and broken in shipping?

Putting a picture right on the box of an outrunner. Damn, I wish I paid more attention to the aisles of Home Depot now! Maybe I could have gotten on this months before!

Step 1: unboxing. This is pretty much one of the only normal pictures this post will contain, so savor it. Included is the saw unit, a battery, and a charger.

The battery in all its glory. I’d wager by the oblong shape of things, it’s an 18650 pack made with 1.5-1.8Ah “power” cells laid flat in a “W” pattern. You’ll see later that this wasn’t a bad guess – being a little familiar with the state of the industry helps (and some math: 55Wh / 40V is about 1.4, figure in some overhead).
The battery has two terminals besides the + and – called T1 and T2. Most lithium packs have a connection to the battery management system or similar, and this format varies by manufacturer.

While I was plotting the deconstruction of the saw, I put the battery on its charging dock. It’s a fast charger – 1 hour or less.
I’m extremely happy that lithium ion power tools are becoming the norm, because that means an end to the era of those irritating as fuck “Revive your battery!!!” kits and guides sold by industrial charlatans all over eBay and the like, because those clutter up every possible search you can make with power tools terms. That only “works” for nickel cells (it’s called Zapping, and it doesn’t actually fix much in the long term), and if you tried that with a lithium battery, congratulations on your newly made IED.

Taken out of the box. Where a 40-50cc gas engine would go is a big hollow battery cavity.

Hmm, weird. The tabs inside the tool would only connect to what is called T2. This will come into play later.
And here is the whole device. It weighs about 10 pounds without the battery, which is way lighter than a gas powered saw. Chain bar oil container at the front, variable squeeze handle at the back. I liked how it felt – it’s definitely designed from the ground up to be an electric saw, and not a crude rush to market retrofit of a gas saw.
That’s all the generic unboxing post you’ll get from me.

Break out the wrenches and hex keys! The majority of the body screws on this thing are T25 torx. First to come off is the chain cover, with four screws.

The two M8 nuts come off also, and the drive sprocket and tensioner assembly are revealed.

The chain and bar assembly come off easily once the nuts are removed.

To remove the drive sprocket and flange, you’ll need a snap ring plier, or some tiny screwdrivers and a bucket of patience. Retaining rings used to be my most hated component when it came to taking something apart in my middle school and high school years, because I didn’t have retaining ring pliers!
But now I love them. Welp.

The smaller case screws take T20 torx. There’s three on this side of the saw.
However, I found that the side plates were keyed into the gray top. There’s more T25 screws on the top plate, and then it lifts off pretty easily:

…to reveal the Jasontroller… uhhh, okay, Jasontroller. Two 470uF bus capacitors and discrete FETs, two per leg of the three-phase bridge, is all I can see at this point. The FETs are Alpha-Omega (what kind of semiconductor company name is that!?) AOT470 type – kind of low end of the market, but they’ll get the job done I suppose.

The board is actually quite well designed and marked. Hell, everything is labeled already! Even the motor hall sensors and the trigger switch wiring harness. The ‘throttle’ is 5 pins labeled S, S-, S+, -, and +. The “communication” wire leads to terminal T2 on the battery.
If I had to guess, this assembly contains a “throttle switch” that tells the controller you’ve hit the trigger (before the signal changes), and the S, -, and + are what would be a 3-pin Potentiometer sensing element or Hall sensor sensing element. I haven’t verified this on the actual throttle, by the way, but it makes sense.

Back to the saw! This assembly in front of the motor appears to be a bar oil pump driven from the motor, or perhaps feeding the motor. It has to come out for the motor to be removed. Two T25s screw it into the motor.
But that wasn’t all. To remove the motor, I had to be able to take the other half of the plastic shell off. This took a longer T25 bit than I had in the form of that green set. It was 5:45 PM on Sunday.

I’m proud of the Commonwealth of Massachusetts and the City of Boston for not supporting the usage of speed cameras, and of Mikuvan for not…. uhh, exploding. The closing staff at HF were waiting for me at the front door when I pulled in. Thanks guys! This is a T-handle Torx set, 42926.
(The observant would note that the local Home Depots close at 9pm, but…)

With my newfound long-reach Torx set, the case screws come off.

The goods are within sight. Check out that motor – it’s like a pointier, more gritty version of a Hobbyking outrunner!

Hell, it even says the size on there. However, this motor house, whoever they are, seems to label their motors properly: By stator diameter and stator length! Hobbyking would actually call this, in all likelihood, a 63-54 type motor. The can length compares.

The motor is attached to the controller through these terminal block things. I guess they wanted something to distinguish them from an R/C outrunner. Should have used 4mm Bullet connectors!

The motor sits over a Hall sensor board. This board uses 120-degree oriented Hall effect sensors, but what is interesting is that they’re surface mount devices, and oriented vertically. Having a custom motor without a nosecone, unlike the R/C outrunners, would let you do that. Having the sensors in such close proximity to the magnets’ ends, not sensing through a steel can, surely contributes signficantly to their ability to not drift significantly out of time at high speeds (That video is the reason why we made those Hall sensor boards slotted and adjustable).

Removing those two T25 screws on the oil pump reveals the pump mechanism. Now, this thing is clever. So I’ve never taken apart a chainsaw before this point, so I’m not sure if this is in common use, but it’s cool anyway. The little gear inside the pump body is engaged by a helical spring slipped over the motor shaft (more visible in later pictures). This spring is a slumlord worm gear, meshing with the pump’s own gear.
I didn’t get a picture of the right side of the pump where it connects to the black rubber tube, but it’s a lobe looking thing that acts like a one-rotor gear pump. It’s enough to squirt a little chain bar oil onto the blade steadily, nothing special.

Continuing the motor removal with 3 more T25 screws:

And the system is out! I love this motor. Not only does it have a big fan cast into the end, but it has a normal shaft. It’s 12mm diameter, 10mm across flats. You can straight up slam a belt cog or chain sprocket over this and use the flats with some giant set screws and be done with it. Or, you know, just use the friggin’ chain and make a killer ice-racing machine.

I studied the plastic parts for a while. They’re mostly useless for our purposes, but looking at them is a great manufacturing study. The injection molding crew spent some time on this! And imagine those molds being made.

Here’s a close up of the controller. The construction is “jasontroller-like”. The gate drive circuitry is entirely discrete. Hell, the microcontroller is a STM8S, a staple for Chinese motor controllers. I bet this pinswaps for a generic Chinese e-bike controller pretty well.

I decided to take apart the battery next to see what’s inside. They put a bit more effort into this one: It needs a T15 security bit (with the center pin). Luckily, I had such a thing.

Four screws and the lid pops off. Holy crap, that’s a ton of electronic jibba-jabba for a battery. On the left, a big fat current sensing shunt. On the right, the battery management circuitry and charge balancing circuitry. On the very left, edge, buried under the board, were two semiconductors of some sort – I think they might be TVS clamping diodes. I decided against unsoldering each and every cell connection to try and find out, but again, it would make sense.

To lift the battery pack out, there’s two tiny hidden screws on the bottom, right where it says RYOBI. I’m going to guess that placing one of them right under the “O” was intentional.
To find hidden screws, I usually drag a screwdriver in a grid pattern around the tops of stickers and badges until it “sinks”. It is a very common tactic to hide screws under labels, stickers, and those little rubber bumpy feet if your appliance has them. Sadly, not everyone loves giant-ass cap screw heads sticking up every which way on their products like me. I’m a mechano-aesthetic snob.

A close-up look at the power side of the BMS. The 1 milliohm current sense shunt resistor has some little analog filtering passives growing on it which may or may not lead to the “T1” and “T2” terminals. Again, to find this out for certain is your job required unsoldering 12 cell tabs, and I wasn’t going to delve in that deep yet.
Again, if I had to guess, these do not (or do not only) lead to the T1 and T2 terminals, but is also used by the BMS to determine if it has to cut off the battery pack current.

BAM! Who was spot on about the battery? Here’s a LG Chem 21865 1.5Ah “power” cell. I say “power” because there’s often 2 ways you can optimize your lithium ion battery: for power or for energy. It all depends on how thin your terminal plates and separator is (the thinner, the more volume is occupied by active anode and cathode material, but the more resistance and hence less ability to dump amps). Most power tools are going to use “power” cells, most cell phones and low drain devices “energy” cells. For instance, in the 18650 (one size smaller) size, 3Ah “energy” cells are becoming common, and these are the next larger size and only 1.5Ah. But as will be seen, they will push current.
(Today when I learned about the world of customizing electronic cigarettes. What the great carbide-tipped fuck? Seriously, it’s like the old adage of racing – “if it moves, race it”: If it’s a electromechanical device, mod it.)

With the saw fully vivisectioned (never before has this term worked so well, since everything is still working!), let’s start doing some science.
The “throttle” is a plunger switch – on the side, it says it’s a Defond model EGA (see page 44 of this catalog). As suspected, it’s an ‘enable’ switch, plus a 3 pin potentiometric element. Which pins are which, I haven’t dug into.

First, the motor running at top speed (it sounds awesome) draws anywhere between 4.2 to 4.4 amps at the battery voltage measured at this instant in time (39.2v).

Scoping two of the phases tells me that at full throttle (100% pwm – no switching waveform seen, just the commutation frequency cycling of the FETs), the motor spins at 1,389Hz, or about 12,000 rpm. To get from electrical Hz to mechanical RPM, you take this waveform frequency ( “electrical cycles per second” ), multiply by 60 (“electrical cycles per minute”), then divide by the number of pairs of magnetic poles of the motor. For this motor and many R/C outrunners like it, it’s 14 magnets, so 7 pole pairs. You arrive at 11,905 RPM, with some amount of error nobody cares about outside of an instrumentation course at MIT.
At this speed, with the Hall sensor timing given, the motor’s Kv (“volts per RPM”) is approximately 300: 11,900 RPM / 39v. This is fast for a motor of this size, so to be useful in a vehicle, it will require significant gearing.
I next measured the low end – what the controller will run the motor at if you tell it to do so at the lowest possible speed. What I noticed right away is that there is a speed-dependent cut-out, presumably to prevent saw damage in the event of the chain getting stuck. Let’s find out what this is:

Often, these motor controllers will hold the motor spinning down to a lower speed than the minimum speed they will start up at, termed the cut-out speed. For this controller, it was 66 eHz, or roughly 500 mechanical RPM.
By the way, I tested all these speeds by grabbing the motor while it was spinning, wearing leather welding gloves. At one point, the glove started smoking when I did a haul all the way out to about 65 amps. Do not do this. Ever.
If you do, do not grab the pointy fan bit.

However, the minimum cut-in speed of the motor was about 3000 rpm. This implies the following:
- The motor must be able to start up with relatively small load and get to this 3000 rpm speed quickly
- Once there, it will happily be loaded to any degree provided the speed does not fall below 500 rpm.
- I wasn’t able to accurate characterize the startup torque available during the startup routine, because that required too many hands.
This may ruin the usefulness of this setup for go-karts and related (e.g. no foot-starting available), but should be still useful for scooters (push starts with feet is part of the game). I try to tell people to model controllers/motors with low speed lockout similar to sensorless motors: the motor shouldn’t be able to tell that you are there, and this is accomplished with sufficiently high gearing.
With a 300 RPM/V motor, you need plenty of it anyway!

I was curious about what the T2 pin connection on the saw’s connector led to. Scoping it, I saw something which was basically an analog voltage that varied with the current being drawn. Zooming in close enough to the scope showed the PWM frequency, so I’m pretty sure this is just a straight tap from the T2 terminal of the battery pack, possibly corroborating both tool and BMS having access to the current sensing shunt in the battery.
I couldn’t tell what the sensitivity was, given that I was out of hands. It seemed nonlinear: 4 to 6 amps occupied a 1-volt division, but so did ~20 to ~35 amps (did I say something about the glove smoking… I was dumping 900 watts into myself here). So there may be something else at play.

Next, let’s find out the resistance line-to-line of the motor. This is the determinator of how much the motor can pull, current-wise. Using the 4-wire method, I got that it was about 29 milliohms. Solid – this is on par with an R/C outrunner of similar size.
(The 4-wire method is basically: Two terminals whose ONLY JOB is powering the device under measurement, two terminals whose ONLY JOB is to measure something. This isolates the effects of parasitic resistance in the power wires from the sensing wires.)
By the way, in 2.00gokart, every student characterizes a motor for Kv and R in the fashion just presented.

One last thing I wanted to find out is if the controller was stupid flexible enough to run without the battery and its sensing circuitry. Hey, the absence of the battery current sense line would mean it’s drawing 0 amps all the time so it shouldn’t ever turn off, right!?
The answer was yes, it will run off just any old power supply. No hackery needed. Supply 38 volts, turn motor.

It will in fact run down to 20 volts.
summary
So what do we have here?
The Ryobi 40V cordless chain saw is:
- A 300 rpm/V, 14 pole, 63xx class, 29 milliohm brushless motor with a 12mm flatted shaft and beefy aluminum mount
- A controller with Hall sensors, a free plunger throttle (add your own lever/knob), and maybe an irritating speed-dependent cutout that will cause loads slower than 500 rpm to not work.
- A battery and charger with internal battery management circuit that can dump at least 60+ amps for some time.
Gee, that sounds like a go-kart or scooter to me. Thanks, Ryobi!
I invite anyone else who is curious to pick one of these up and maybe try running it in something. I’d say you would be hard pressed to find matched components of this power level for less than $200, battery included. The downside is that a spare battery is $100+ by itself, but as can be seen, the controller will happily use any ol’ battery. I’m curious to see how the speed-dependent cutout affects real world operation, since I couldn’t get a good handle on how much available torque it has between 0 and 3000 RPM, the controller’s “minimum speed”.
As technology marches on, so the spoils of yesterday’s cutting edge shall become available to the homebuilder/hacker. Hopefully this series will contain some more interesting tools and equipment in the future!


