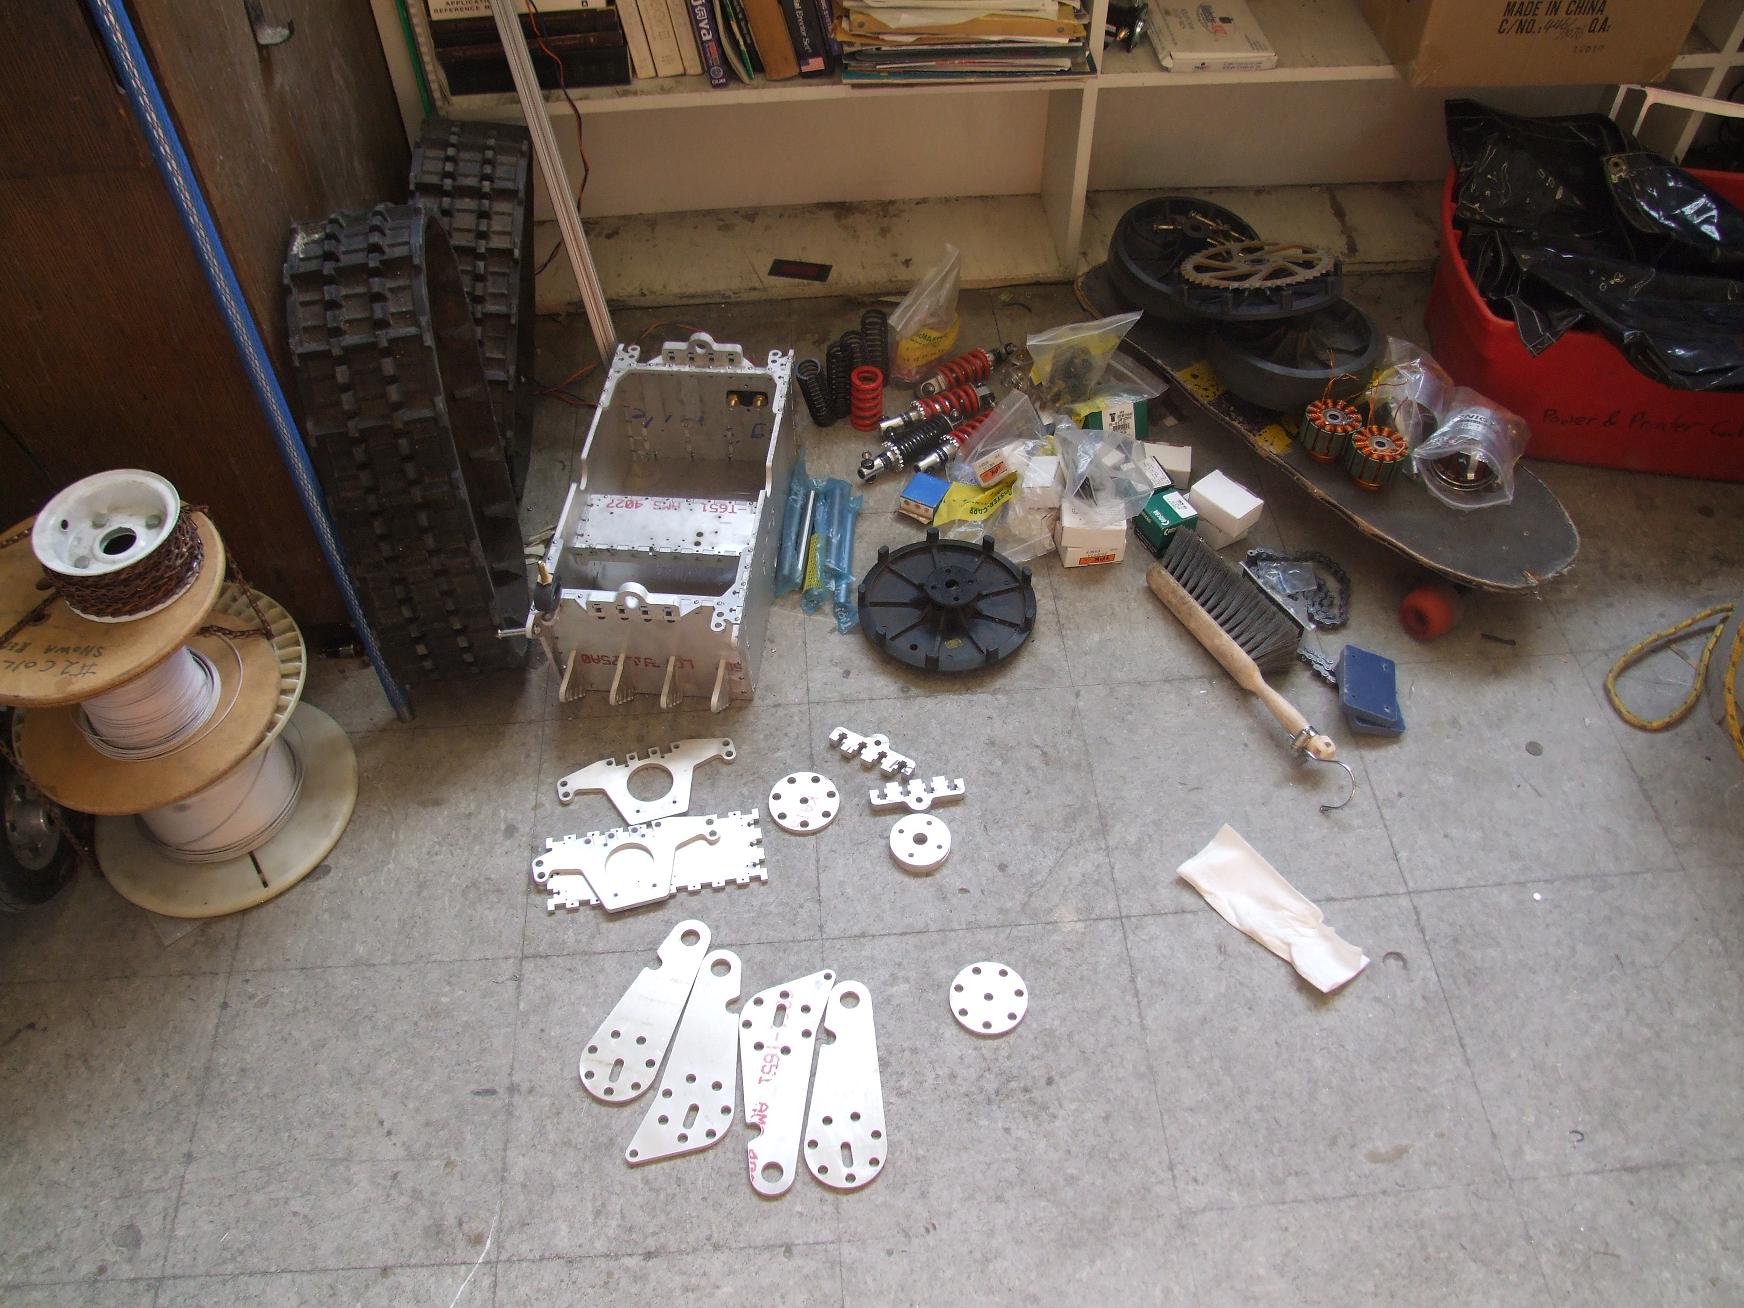
At the start of today, LBS was a small pile on the ground whose satellite components were slowly being diffused into the MITERscape.
At the end of today, I’m proud to say that LBS has reached criticality (in this case defined as when a project can support its own weight and leftover parts). It’s not rideable yet, and it’s still missing a control system, but mechanically speaking it’s pretty much there. I would like to thank… uhhh, the waterjet, t-nuts, my parents, and… wait, what?
Anyways.

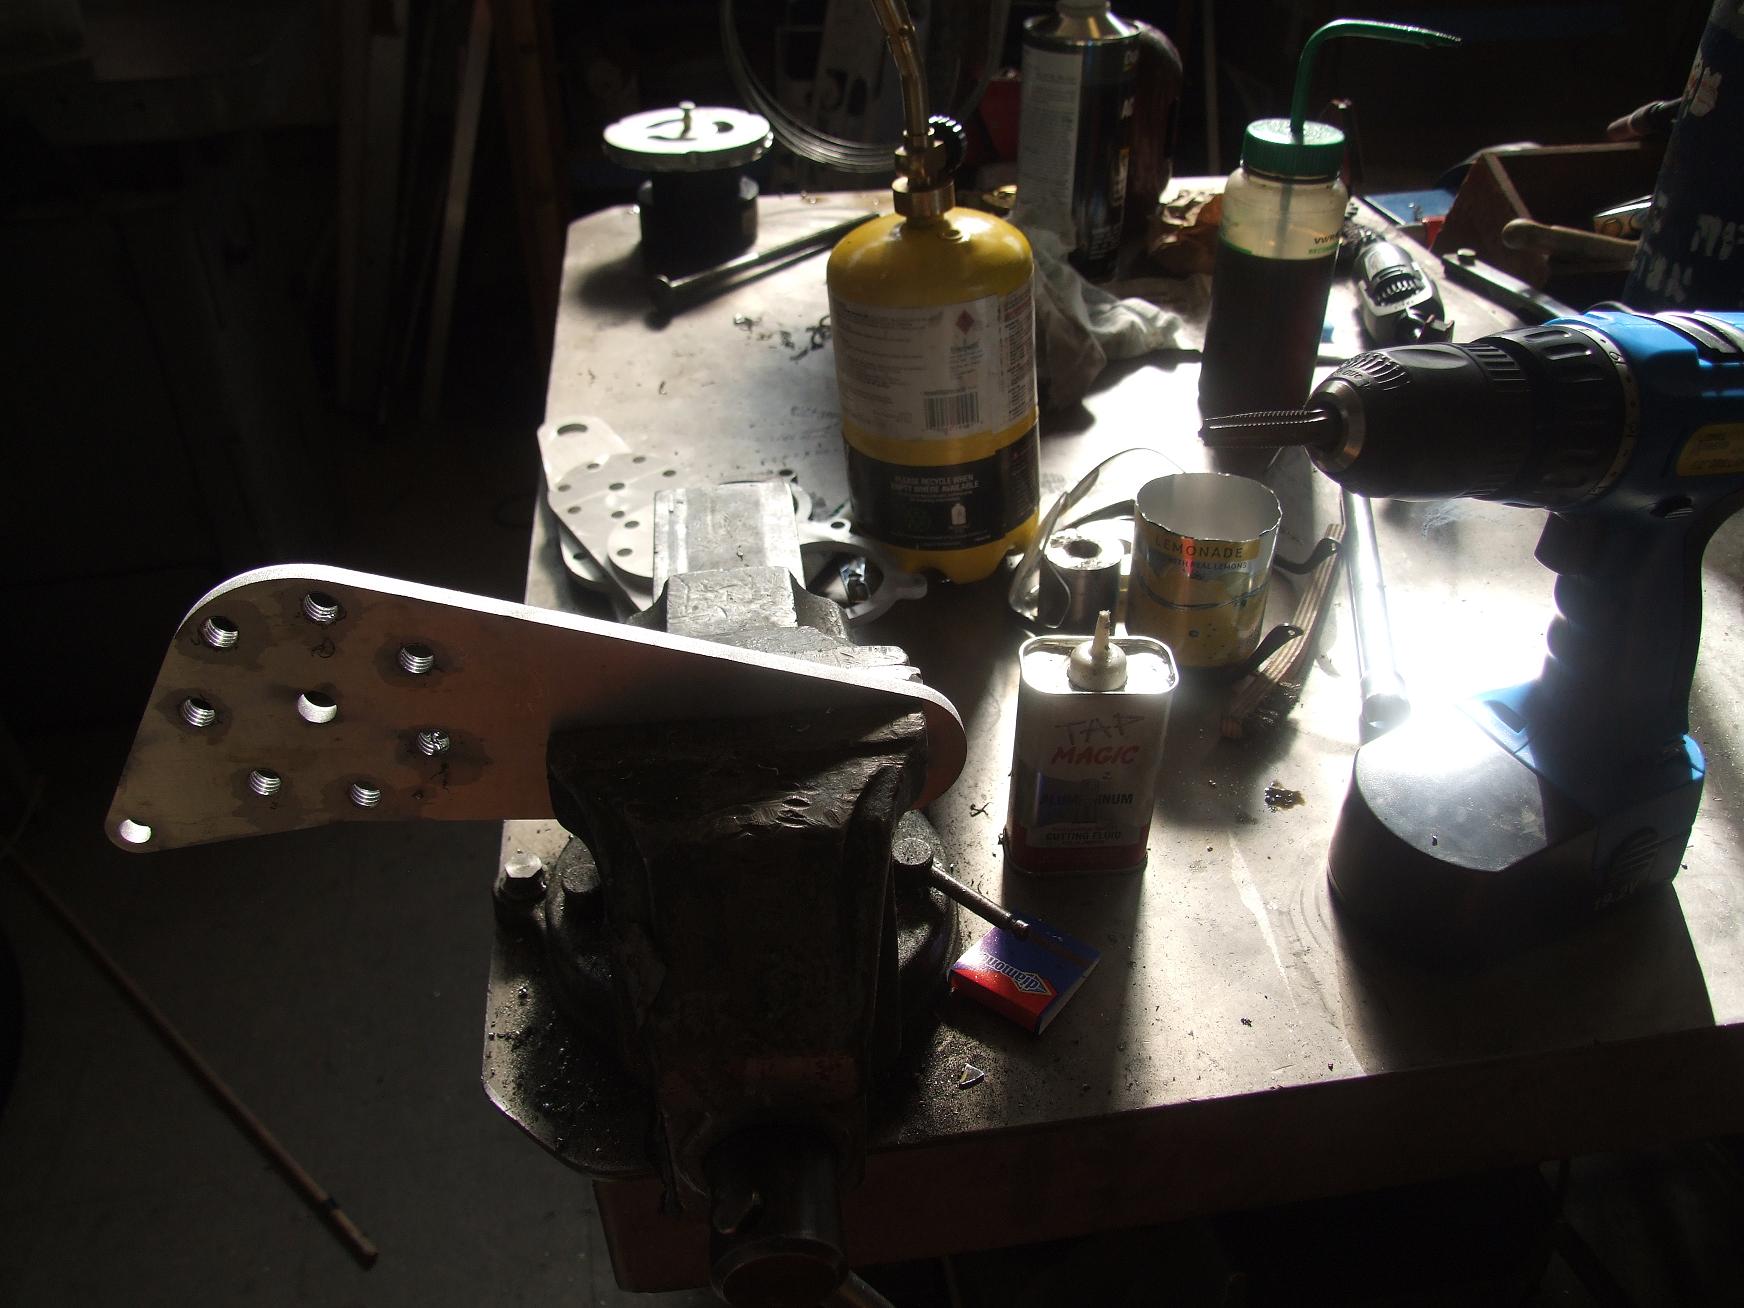
First order of business was to get the missing parts cut. Or, in the case of the front and rear skid plate, recut. I really have no clue where they ended up. But, I found a piece of plate aluminum that had their exact profiles missing, so I must have made them once before.
I’ll probably discover them in a few weeks and use it as an excuse to commission a second LBS.
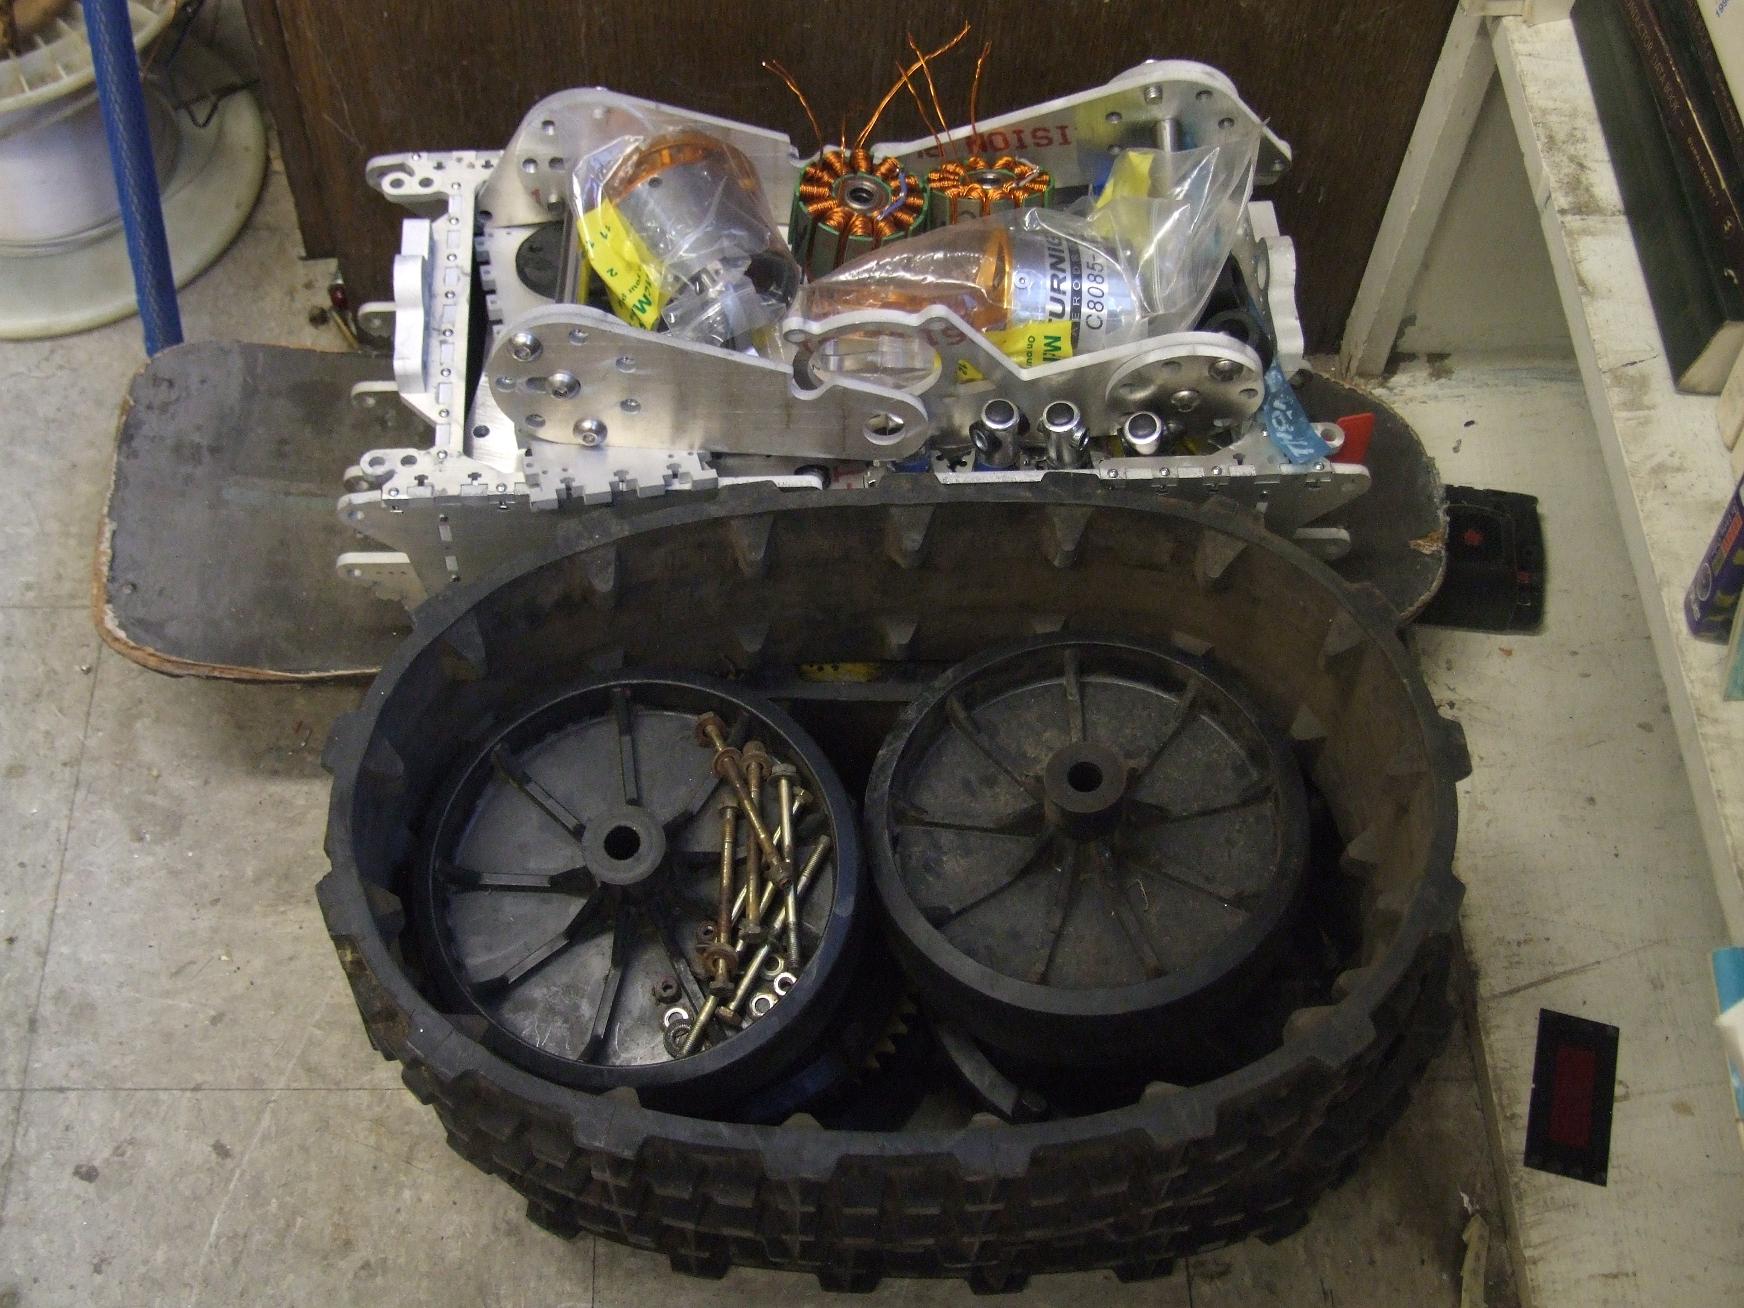
The biscuit plates are the axle mounts that turned up short last time because I forgot what symmetry was.

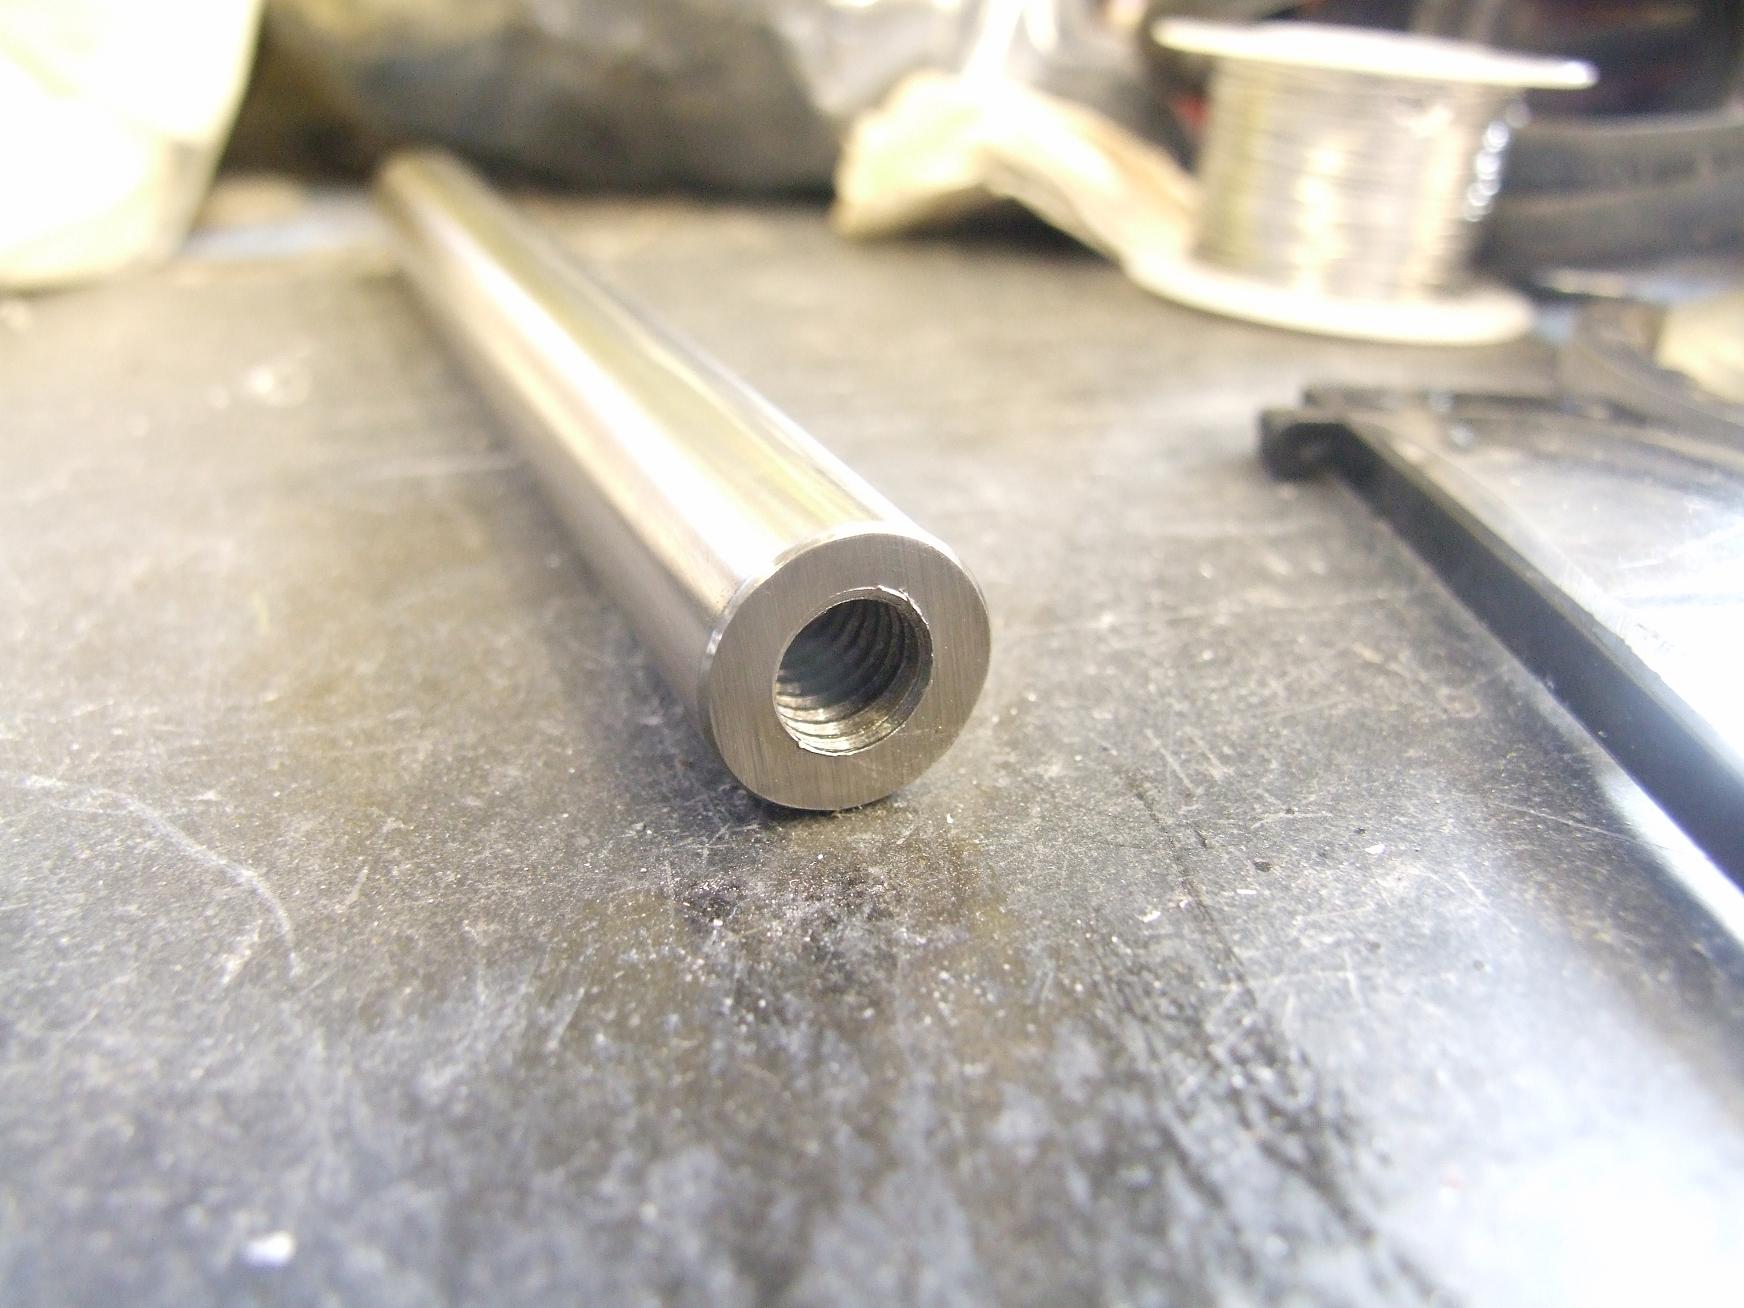
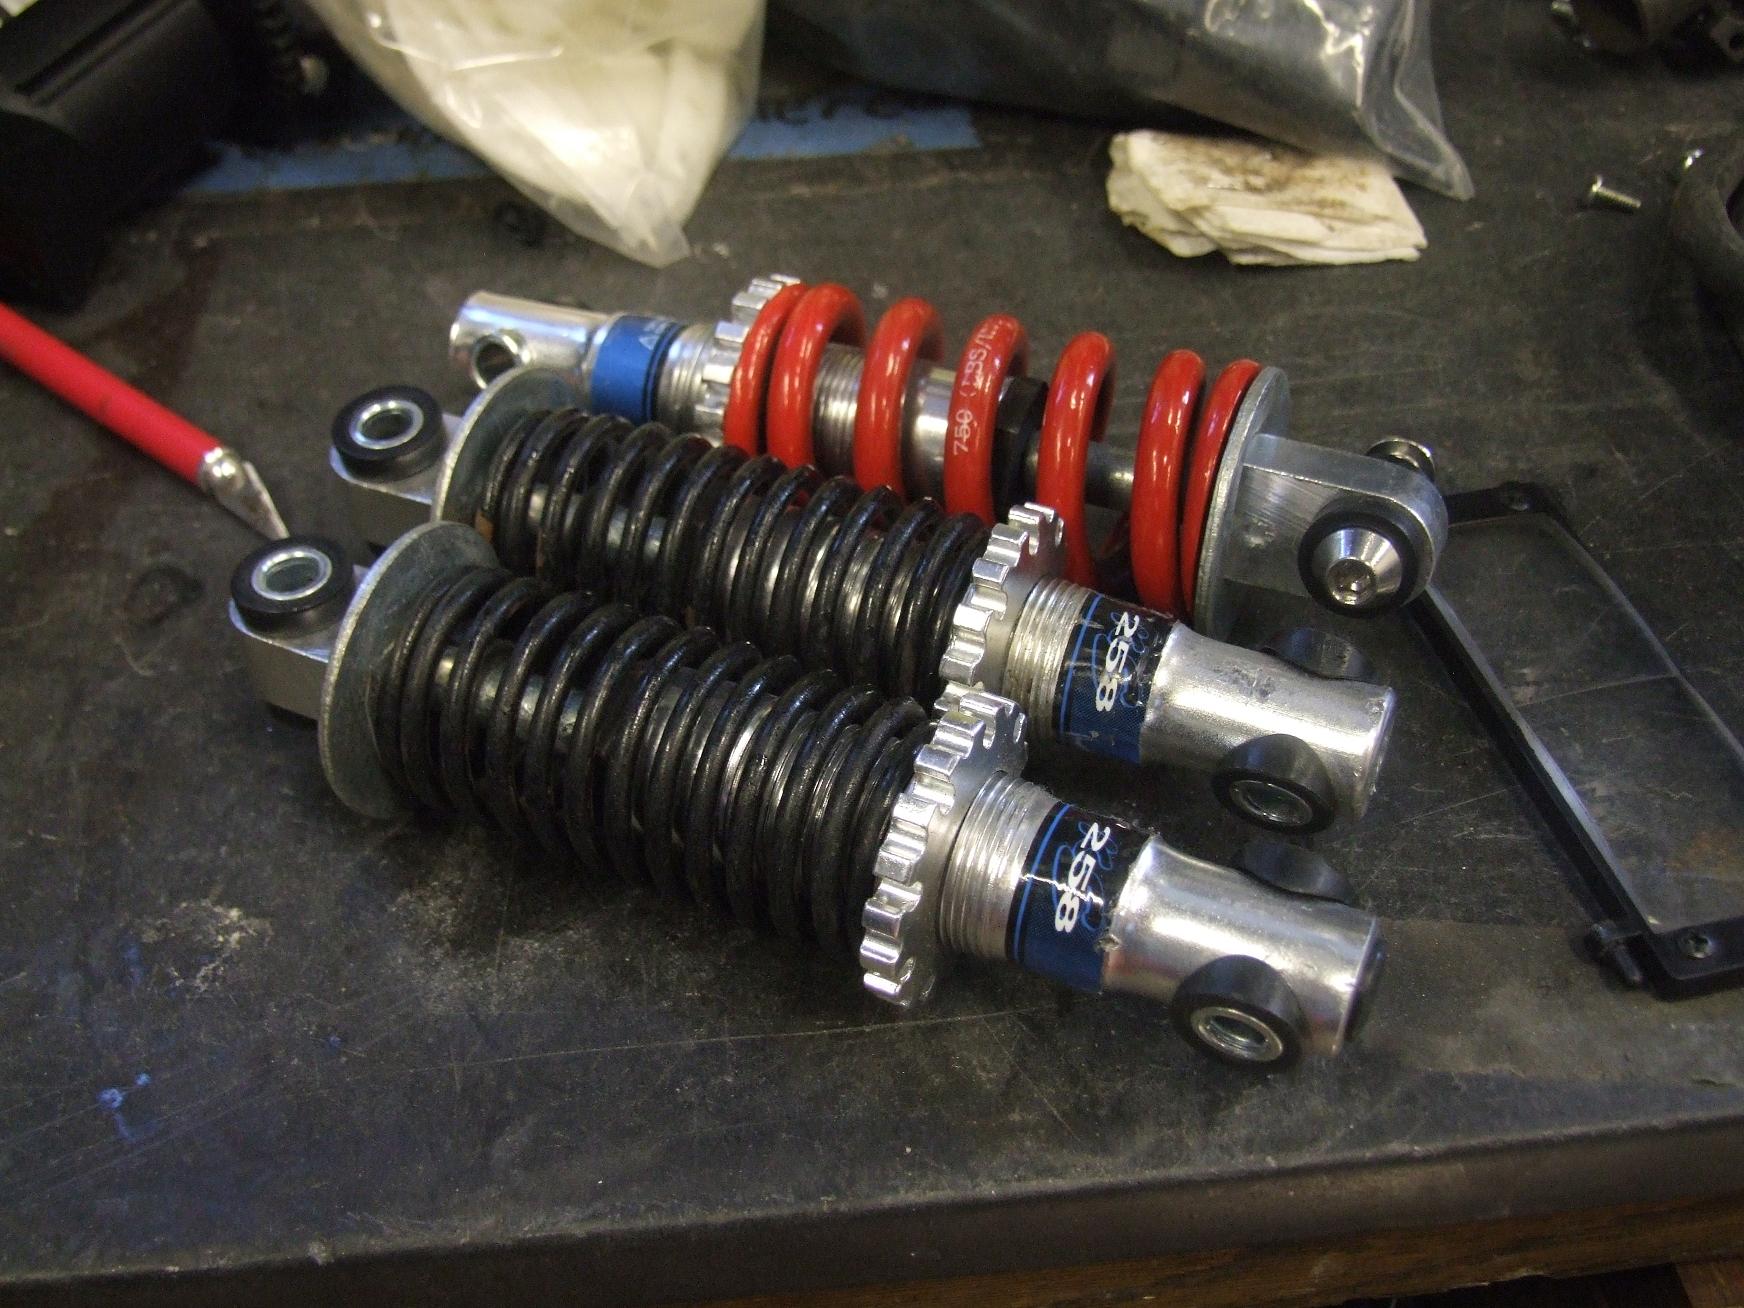
Assembly now begins for real. I bolted in the shafts (which are stationary spindle pins) into their respective side plates, then mounted the resprung shocks. The large center 20mm axle was trimmed to length on an abrasive cutoff saw (the temperature decoloration is visible at the bottom there). The shocks themselves are secured using shoulder screws.

Slipping the tracks on was a matter of pulling things the right way. I had to loosen the front tensioner axle in order to slide the whole assembly on. Axial alignment of the plates was done by tightening down all the axle screws, which forced the plates to be 6 inches exactly apart and planarly aligned with eachother, then applying the shaft collars to the center pivot axle to keep them in place.
It turned out that “Bottomed out” was a good tension setting for the axles, so I left them there and secured the pins with 262 flavor Loctite.

Here’s a view from the other side, showing the sprocket spacers and the shaft collar arrangement. Most of the spacerwork was Dynamically Generated on the lathe using 1″ delrin stock.
After rinsing and repeating for the other side, accounting for chirality (oooops… let’s try that again):

Hey, this could totally be a kickass 60lb robot.
At this point, I took it for a leg-powered joyride down the hallway, almost running down some MIT Museum tourists in the process. For having tank treads, the thing glides pretty far. The treads were, of course, “set” into a favorite position from being parked in someone’s back yard for half a decade.
The rubber was dry and cracked in many places, so I began an emergency WD-40 marination treatment. The solvents in WD-40 penetrate the cracks and the rubber surface, softening it and infusing it with the oil component. A more legit method is making a tank tread and kerosene soup, but I’m not that hardcore (and had a can of WD).

While the treads were exfoliating, I started stripping down the skateboard. The very rusted truck attachment hardware took alot of effort and careful force application to remove. I also decided to try and repair the splintering front end of the board by filling the gaping holes with wood glue and epoxy. That’s what those clamps are holding together.

The new deck hangers (planters?) are now attached. There’s a 0.400″ thick UHMW plastic block separating the bottom of the board from the hangers, since I needed to slip a bolted joint in that region.

Here’s what the whole system looks like from underneath. The rubber blocks let the board tilt a few degrees to emulate the action of a normal skateboard. It’s not perfect, but I didn’t particularly feel like engineering a linkage to use the existing trucks.
Note that the pivot pin attachment point is slotted. This is to enable the board to travel up and both about 1/8″ or so when the pivot bolt is installed. I decided that this interface would be a good one to put a “rider is still on vehicle” switch on, since if this thing is going to be wireless, I absolutely do not want runaway conditions. A set of microswitches (which were not thought out well enough to have mounting holes designed) will detect the depression of the pivot in the slot, and interlock actions will be handled in the controller software. It’s as simple as cutting the throttle command or logic power to the motor drivers while opening up the main battery contactor.
As simple.
Watch that come back to haunt me.

Alright, with the board mounted and still drying, I turned my attention back to the motors. Previous rewound but never finished, these things needed wire pigtails and Hall sensors added. Both were easy enough affairs. The hall sensors are current attached using hot glue, which admittedly is not the best of materials for holding things in a motor.
But it was right there.

After more cutting, soldering, gluing, and some hammering too, the genetically modified melon motors get reassembled. I’m not sure how two motors in the same order came with totally different screws, but one was also way harder to put back together than the other. Quarity!

I Dynamically Generated these motor mounting standoffs using 1/2″ aluminum rod stock. The outermost holes in the cruciform motor mounting flange were threaded for 1/4-20 threads. This assembly is less meaty than the enormous billet mount that’s on melon-scooter, but the shorter overhang distance makes up for it.
One of the legs of the cruciform had to be cut off because it interfered with the rotation of the track’s drive sprocket. The nubby things protrude further, it seems, than what I designed for. That and the fact that the holes in the cruciform mount seemed to be hand-punched and were all over the place. It was fine in the CAD model.

And here it is. No sprocket on the motors yet, because I ran out of Beast It points for the day.
Overall, the rocker suspension worked great. The re-sprung shocks are just at the “right” spring rate; perhaps just a little soft, but definitely in the range where jumping up and down causes deformation and springing action, but just standing doesn’t. I wouldn’t mind taking a curbhop with this thing.
The skateboard hangers worked about as well as I expected, which was in fact not at all. Those rubber shock mounts are just too soft, and they deform almost immediately to flat when someone gets on. Maybe if I get ambitious I’ll engineer a torsion spring or leaf spring system, but for now, leaning action (roll axis) is poor but pitching and heaving (forward and backward tilt; up and down motion) are acceptable.
Left to do:
- Sprockets?
- Design the double wireless hand controller!
- Make the double wireless hand controller!
- Salvage the deprecated Kelly KBS motor drivers from the defunct Citycar model
- Melontank?