Some time last year, I said this about RazEr:
It’s been hanging on a utility hook since the last controller fire. Everything works and the batteries are still charged, so all I need is a BLDC motor controller. Since everything still technically “works”, I don’t intend to touch the scooter that much, if at all. Any work on it will be replacing the shell of the wheelmotor with something more substantial (and better engineered, and more reversably built).
Well, it’s STILL hanging on a hook – almost a whole year now.
I can’t really remember when the “last voyage” of RazEr was, except that the hub motor was already on its way out. By that time, it wouldn’t even start from standstill and made ugly grinding noises when the controller finally did start it. The bearings were trashed, and I had filled the cavity between the wheel and motor can with hot glue so things would stay together.
After the motor just totally locked up one day, I put RazEr back on the hook and pretty much forgot about it. But since then, I had been slowly revising the motor design as a background process – when nothing else is on deck, I’d open up the model files and mess around with things.
I was specifically targeting a few shortcomings of the existing motor in the redesigns.
- The tire should be removable without taking the whole motor apart. The existing version only had two solid end plates securing everything, and if I ever wanted to change the wheel, I would actually have to disassemble the motor down to the wound stator.
- I should not have to modify the tire itself past just cutting the center out. The fact that the side plates were attached with through-bolts meant that I had to cut bits out of the rigid plastic rim of the scooter wheel. This made the wheel very floppy and nonstructural.
- No more protrusions outside the can! Combined with the nonstructural wheel, it meant that the through bolts were used in heavy cyclic bending – this lead to them backing out, fracturing, stripping… everything.
- The 6802 type bearings were wimpy and very underrated for the loads that the motor had to bear.
The last problem had to be held off until a complete blank-slate redesign because I could not otherwise recycle the core, including the stator, which had been designed around 5mm wide bearings and was well-epoxied in place.
The theme of the redesigns drifted towards some form of removable rings around the perimeter of the motor which retained the wheel between them. I bounced around between two means of “removable” – either giant threaded rings:

… or radial screws, in the same manner that I would later execute on Deathrunner:

Threaded collars offer a way to actually tighten to the wheel – retaining it by compressive friction, but I consider threading a nontrivial operation. Additionally, there would still be a need to assemble the motor’s bearing endcaps that was nonpermanent, a difficult affair unless I either wanted to thread over crossdrilled holes or make the endcaps themselves an additional threaded mount. Either way, lots of threads, and lots of chance to bum it up.
On the other hand, some radially bolted collars are simpler to make, but don’t allow setting the ‘grip’ on the wheel – if i’m a millimeter short, then the wheel wouldn’t be actually retained under torque, and so on. They also allow easier installation or removal of the endcaps, as I saw on Deathrunner.
So what’s the decision here, then?

Well, an exact 50/50 compromise. On one side, radial case screws drilled into the magnet can (which is now much thicker and structural, and features a solid integrated collar) retain a bearing endcap. This is the “service entrance” since these parts are not permanently joined.

The other side features a removable threaded collar that mates with fine threads cut into the steel can. I included some spanner wrench holes to aid in tightening and removing. The bearing cap on this side is “permanent” – it will be aluminum, but slam-fitted into the can.
This was the design I settled on. It achieves a good balance of manufacturing convenience with serviceability. Now I needed the stator out of the now retired motor. I disassembled RazEr to have a look at the motor insides after the failure.
Nothing prepared me for the utter horror that was the motor internals.

It’s already looking bad. Bent bolts, stripped threads and heads, and clumps of torn up urethane and hot glue debris.
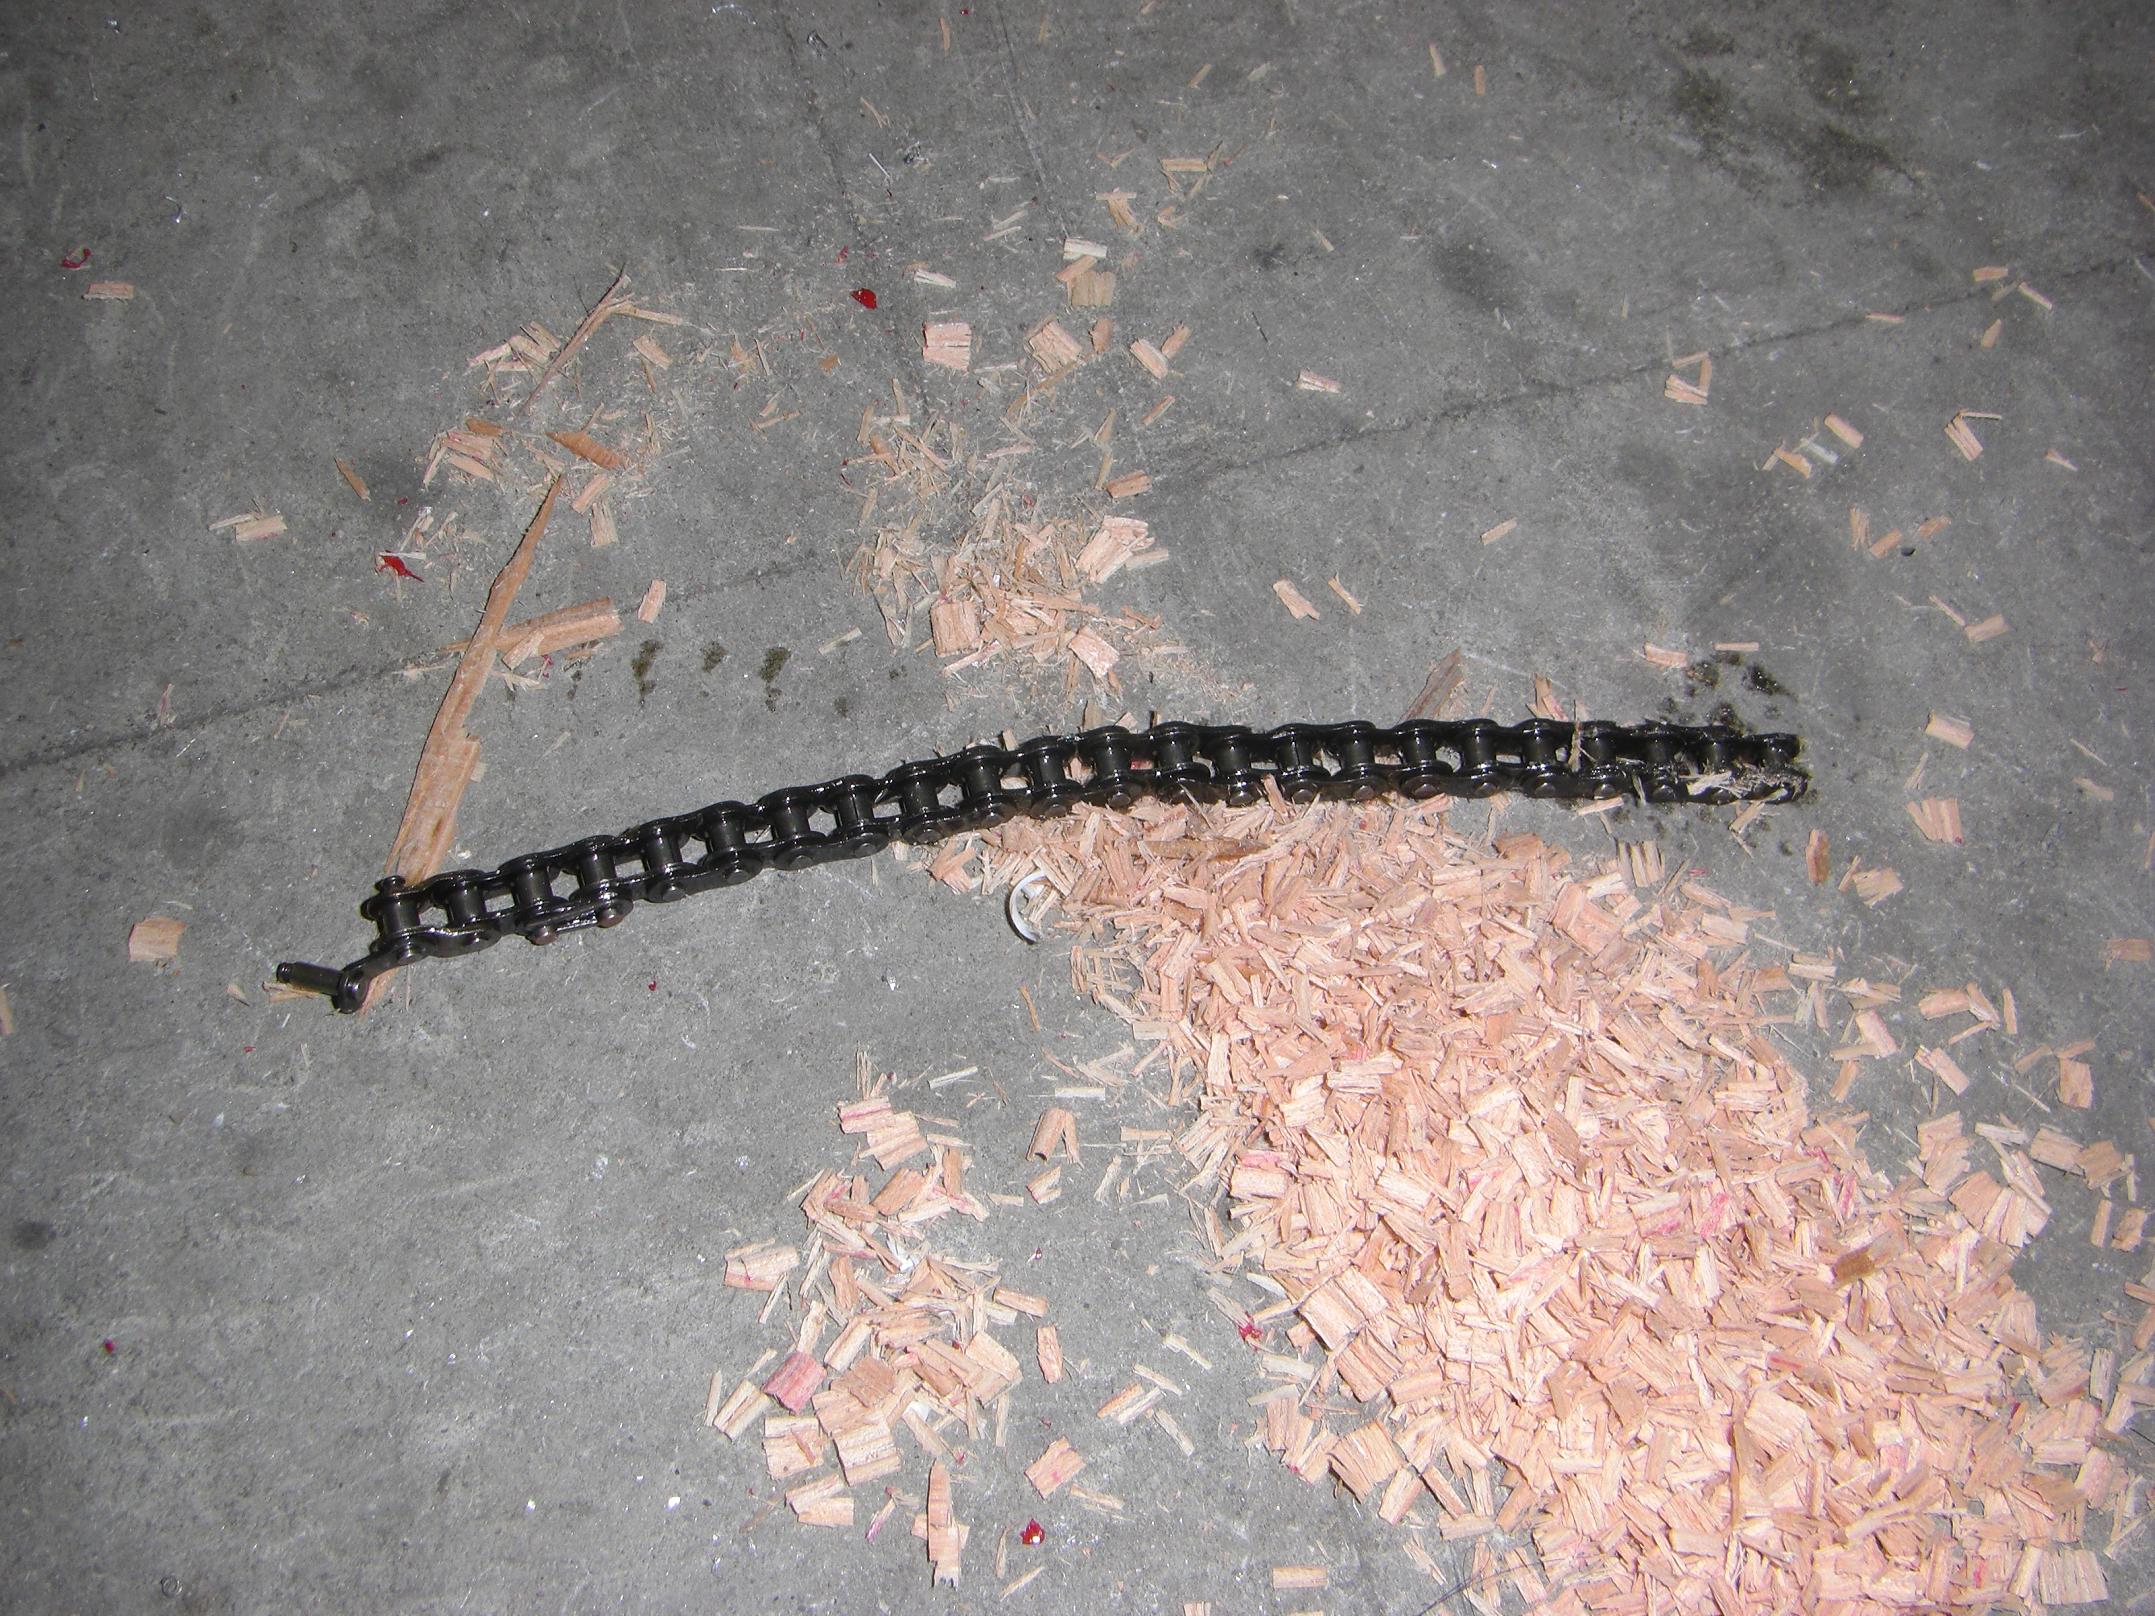
Where’s the tire?

Oh, yeah. I had to cut that off because the screws were too broken to be extracted from the endcap, and the whole thing was probably friction welded together by now.

I finally knock one endcap off with a large screwdriver and mallet and
AAAAAAAAAAAAAAAHHHHHHHHHHHHHHHHH

What HAPPENED?
The entire interior surface of the motor was completely caked in some black powdery mess. It looks like something either got inside, or otherwise managed to interfere with the stator-rotor airgap, and subsequently got ground to bits.
This probably explained the inability of the motor to start from standstill because of the massive friction.

Through some investigation of the surface conformity of the magnets, I discovered these two loose and displaced magnets which bear clear scraping marks. The black powder is probably corroded magnet bits – both dust from their ceramic bulk and the nickel-copper plating. There’s probably stator steel particles involves also. Rust on the interior tells me that water got into the motor, probably from riding around all winter.

The motor casing, after separation.

I feared for the stator’s integrity, but it was electrically sound – no burns or broken wires. The loose magnet had carved a very impressive gouge across half its thickness. The uniformity of this gouge tells me that the magnet has been dragging like this for a very long time.
Seriously – that’s a wear pattern you usually see on DC motor commutators.
The damage isn’t permanent or serious, so the stator will be reused.

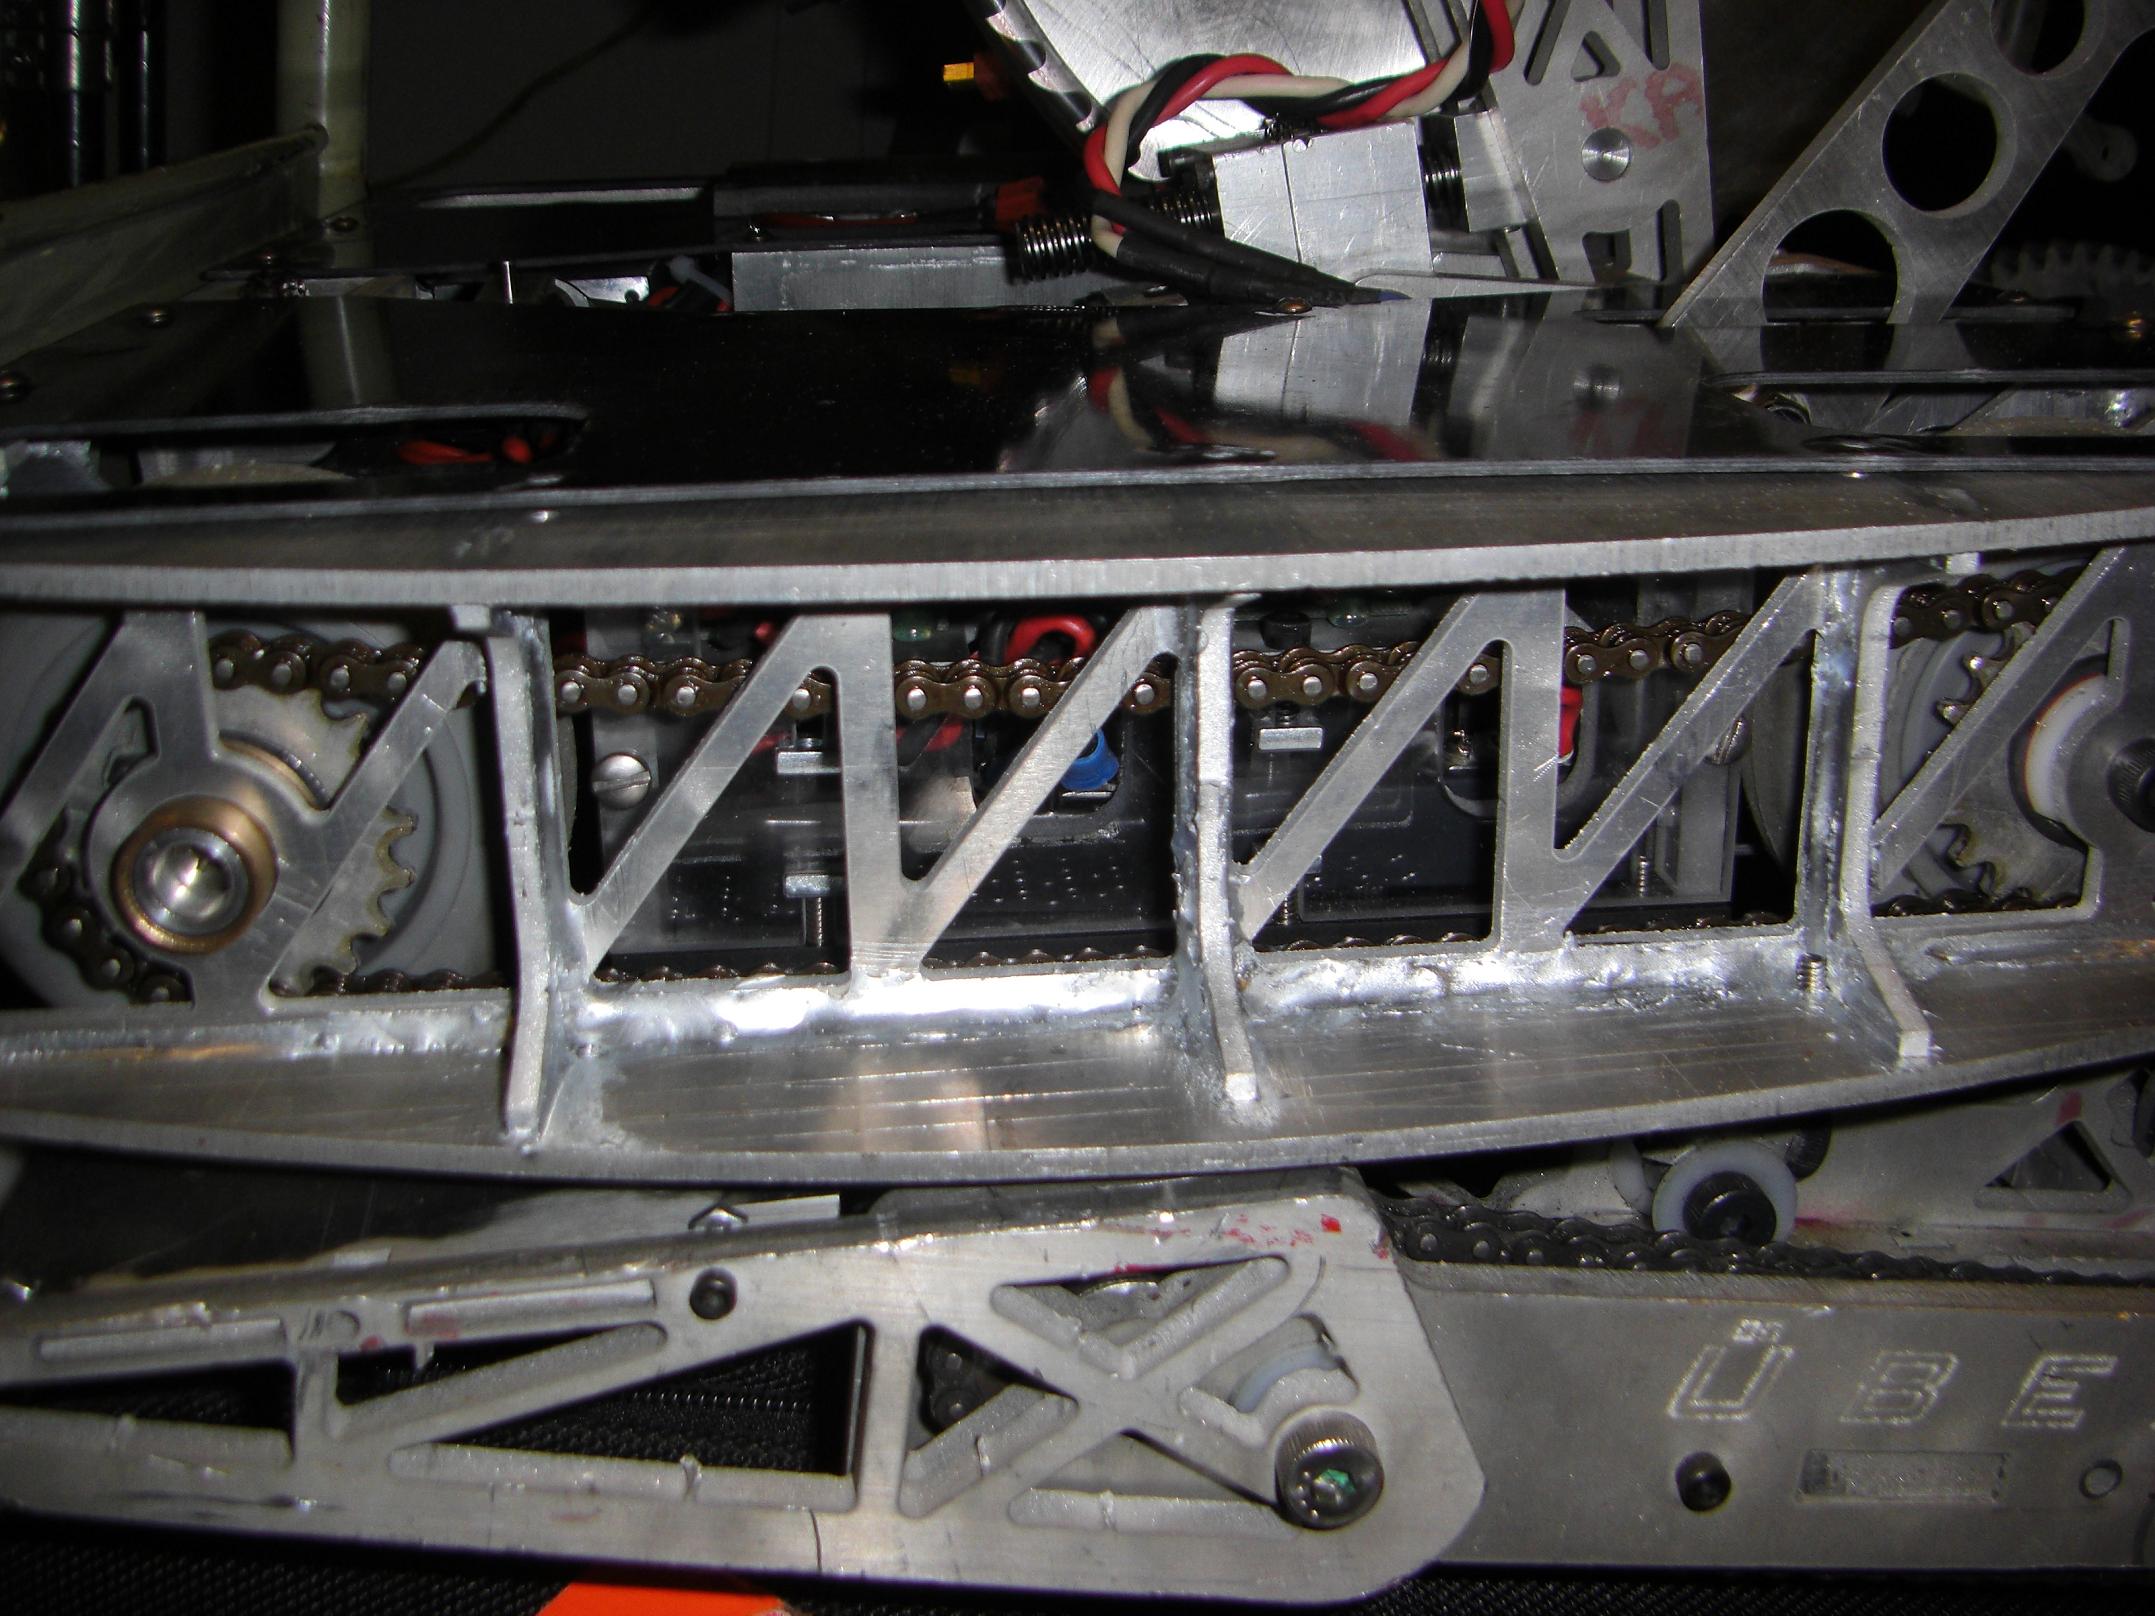
Alright, so usually this is where I make about 4 build reports detaining every minor machining step in the process of making this thing. But I think we’ve heard enough about day to day machine technique, so I’ll start saving some words and just show the interesting steps.
I got up one day and decided to just blitz everything in one shop spree. I got most of the way there, too. The components above are “protoforms” – they don’t have holes drilled and tapped yet, but the basic shape of the motor is done and the threads have even been cut into the motor can!
Making the can’s 3 1/4″-24 GYF (Girl You Fine) thread went quicker and was less disasterous than I had anticipated. Fortunately, my toy indexable cutter set came with a carbide tipped threading tool. Regardless, the finish left alot to be desired. I ended up running a needle file through the threads to clean them up – otherwise, the steel appeared more liable to tearing and smearing than.. cutting.
I suspect it’s just a matter of technique, though. That and tool quality – something mitr0nz lacks a bit.
Hurrr. A bit.

Making the threaded external collar, though, was a adventure in a first. I had to make internal threads that had to mate with an external one.
A long time ago, I anticipated eventually having to deal with this problem (or was just tool shopping) and picked up some internal threading tools, both left hand and right handed. I finally was able to whip one out and use it on the aluminum threaded collar.

Here they are, the most hideous threads known to man.
Actually, they are not that bad. Aluminum machines like a blaze with carbide, and most of the gunk in the threads is just particles mixed in cutting oil.

And the motor can screws on!
I decided to leave the inner diameter a little loose. This made the collar wobble slightly on the motor can, but I figured that while removing metal is always easier than putting it back, trying to line up the lathe’s leadscrew and threading feed with something it already made is not so easy.

A bit of shaping and parting later, there was a threaded collar.

And the collar threaded onto the can…

And everything test-fitted together.

After making sure the fits were correct, I put in the new motor magnets. They are SuperdupermagnetGeorge‘s M2515. For all your stock and custom magnet needs, see Supermagnet George. He’s supplied the mags for literally ALL the motors I have ever built, including the customs for Deathrunner!
There are very few magnet arrangements that yield an almost 100% fill with flat magnets, but somehow, during the builds of this motor, I managed to hit two already. 28 magnets complete a circle in this redesigned can with a gap the size of a few stacked sheets of paper left over!
It could have been totally closed if I had machined the can just 0.005″ smaller.

With the motor assembled, I cored out my last 125mm scooter wheel.

And here is the motor in the test fixture, ready for a whirl. I ended up being too lazy to actually put fastening features on the ring, and ended up just cranking it with a set of vise grips.
I can’t say that I’m satisfied with the machining tolerances (there’s a very small amount of wobble and the bearing fits are suboptimal), but that’s what I get for blitzing everything.